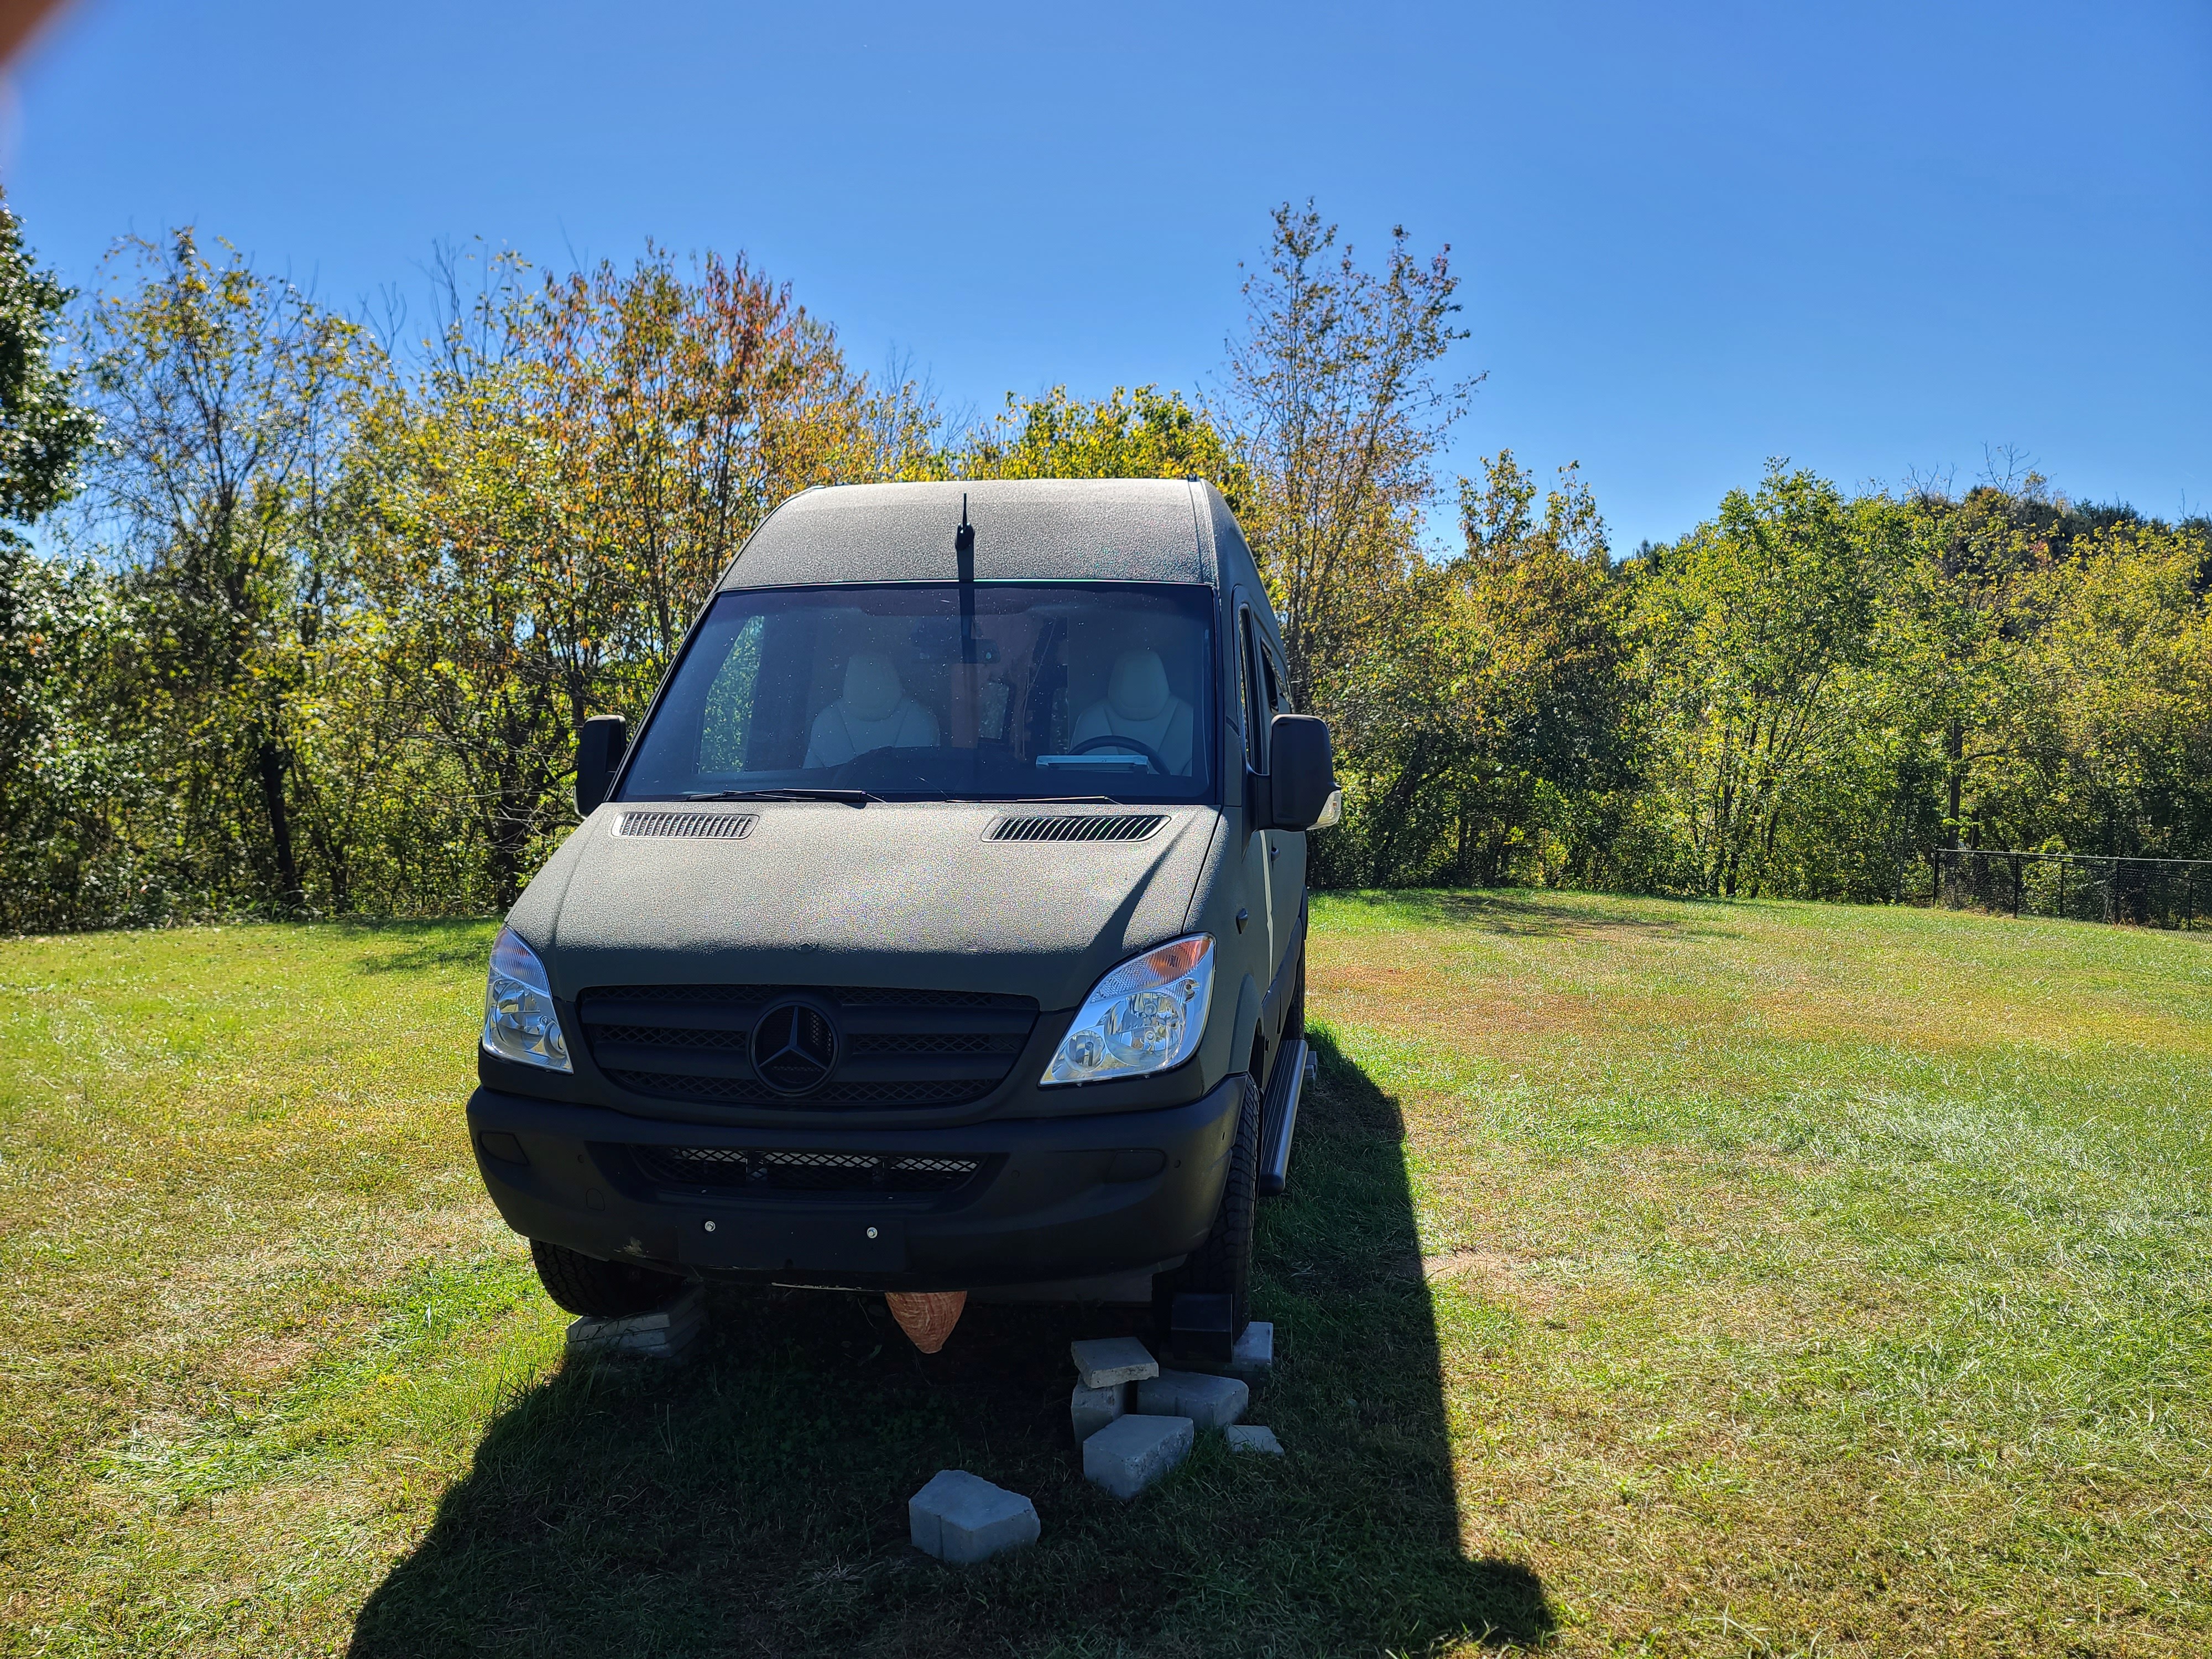
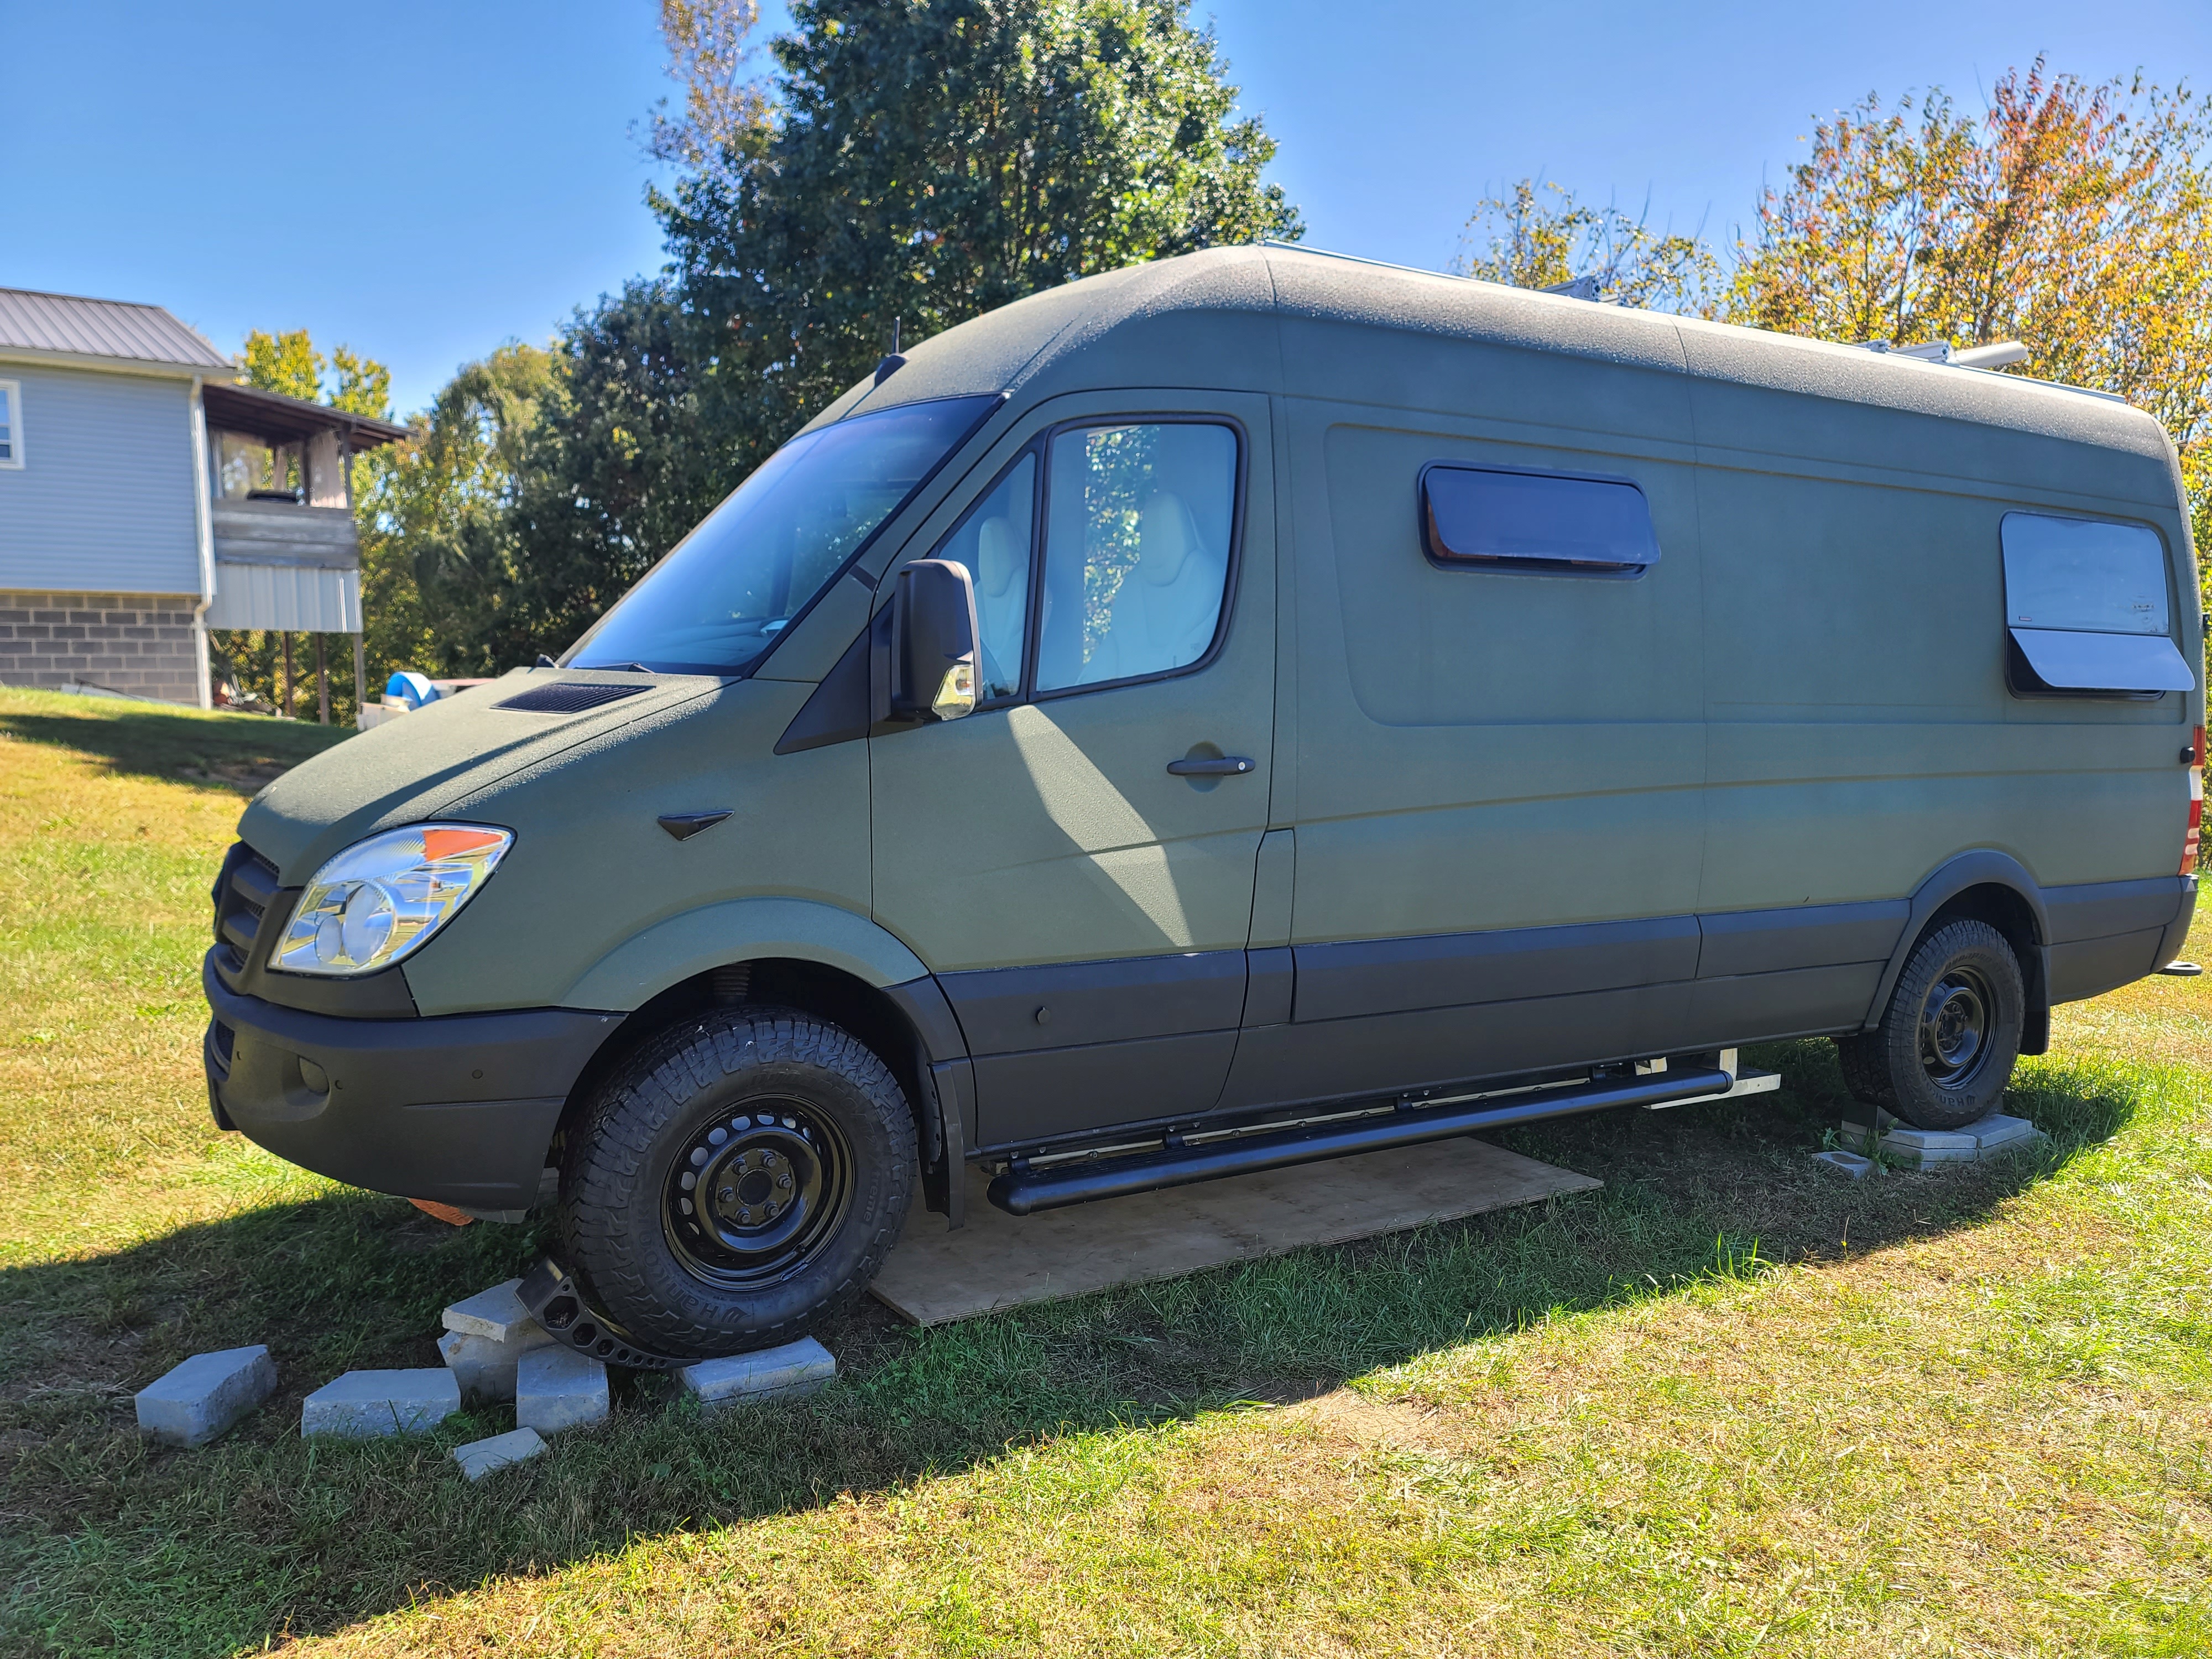
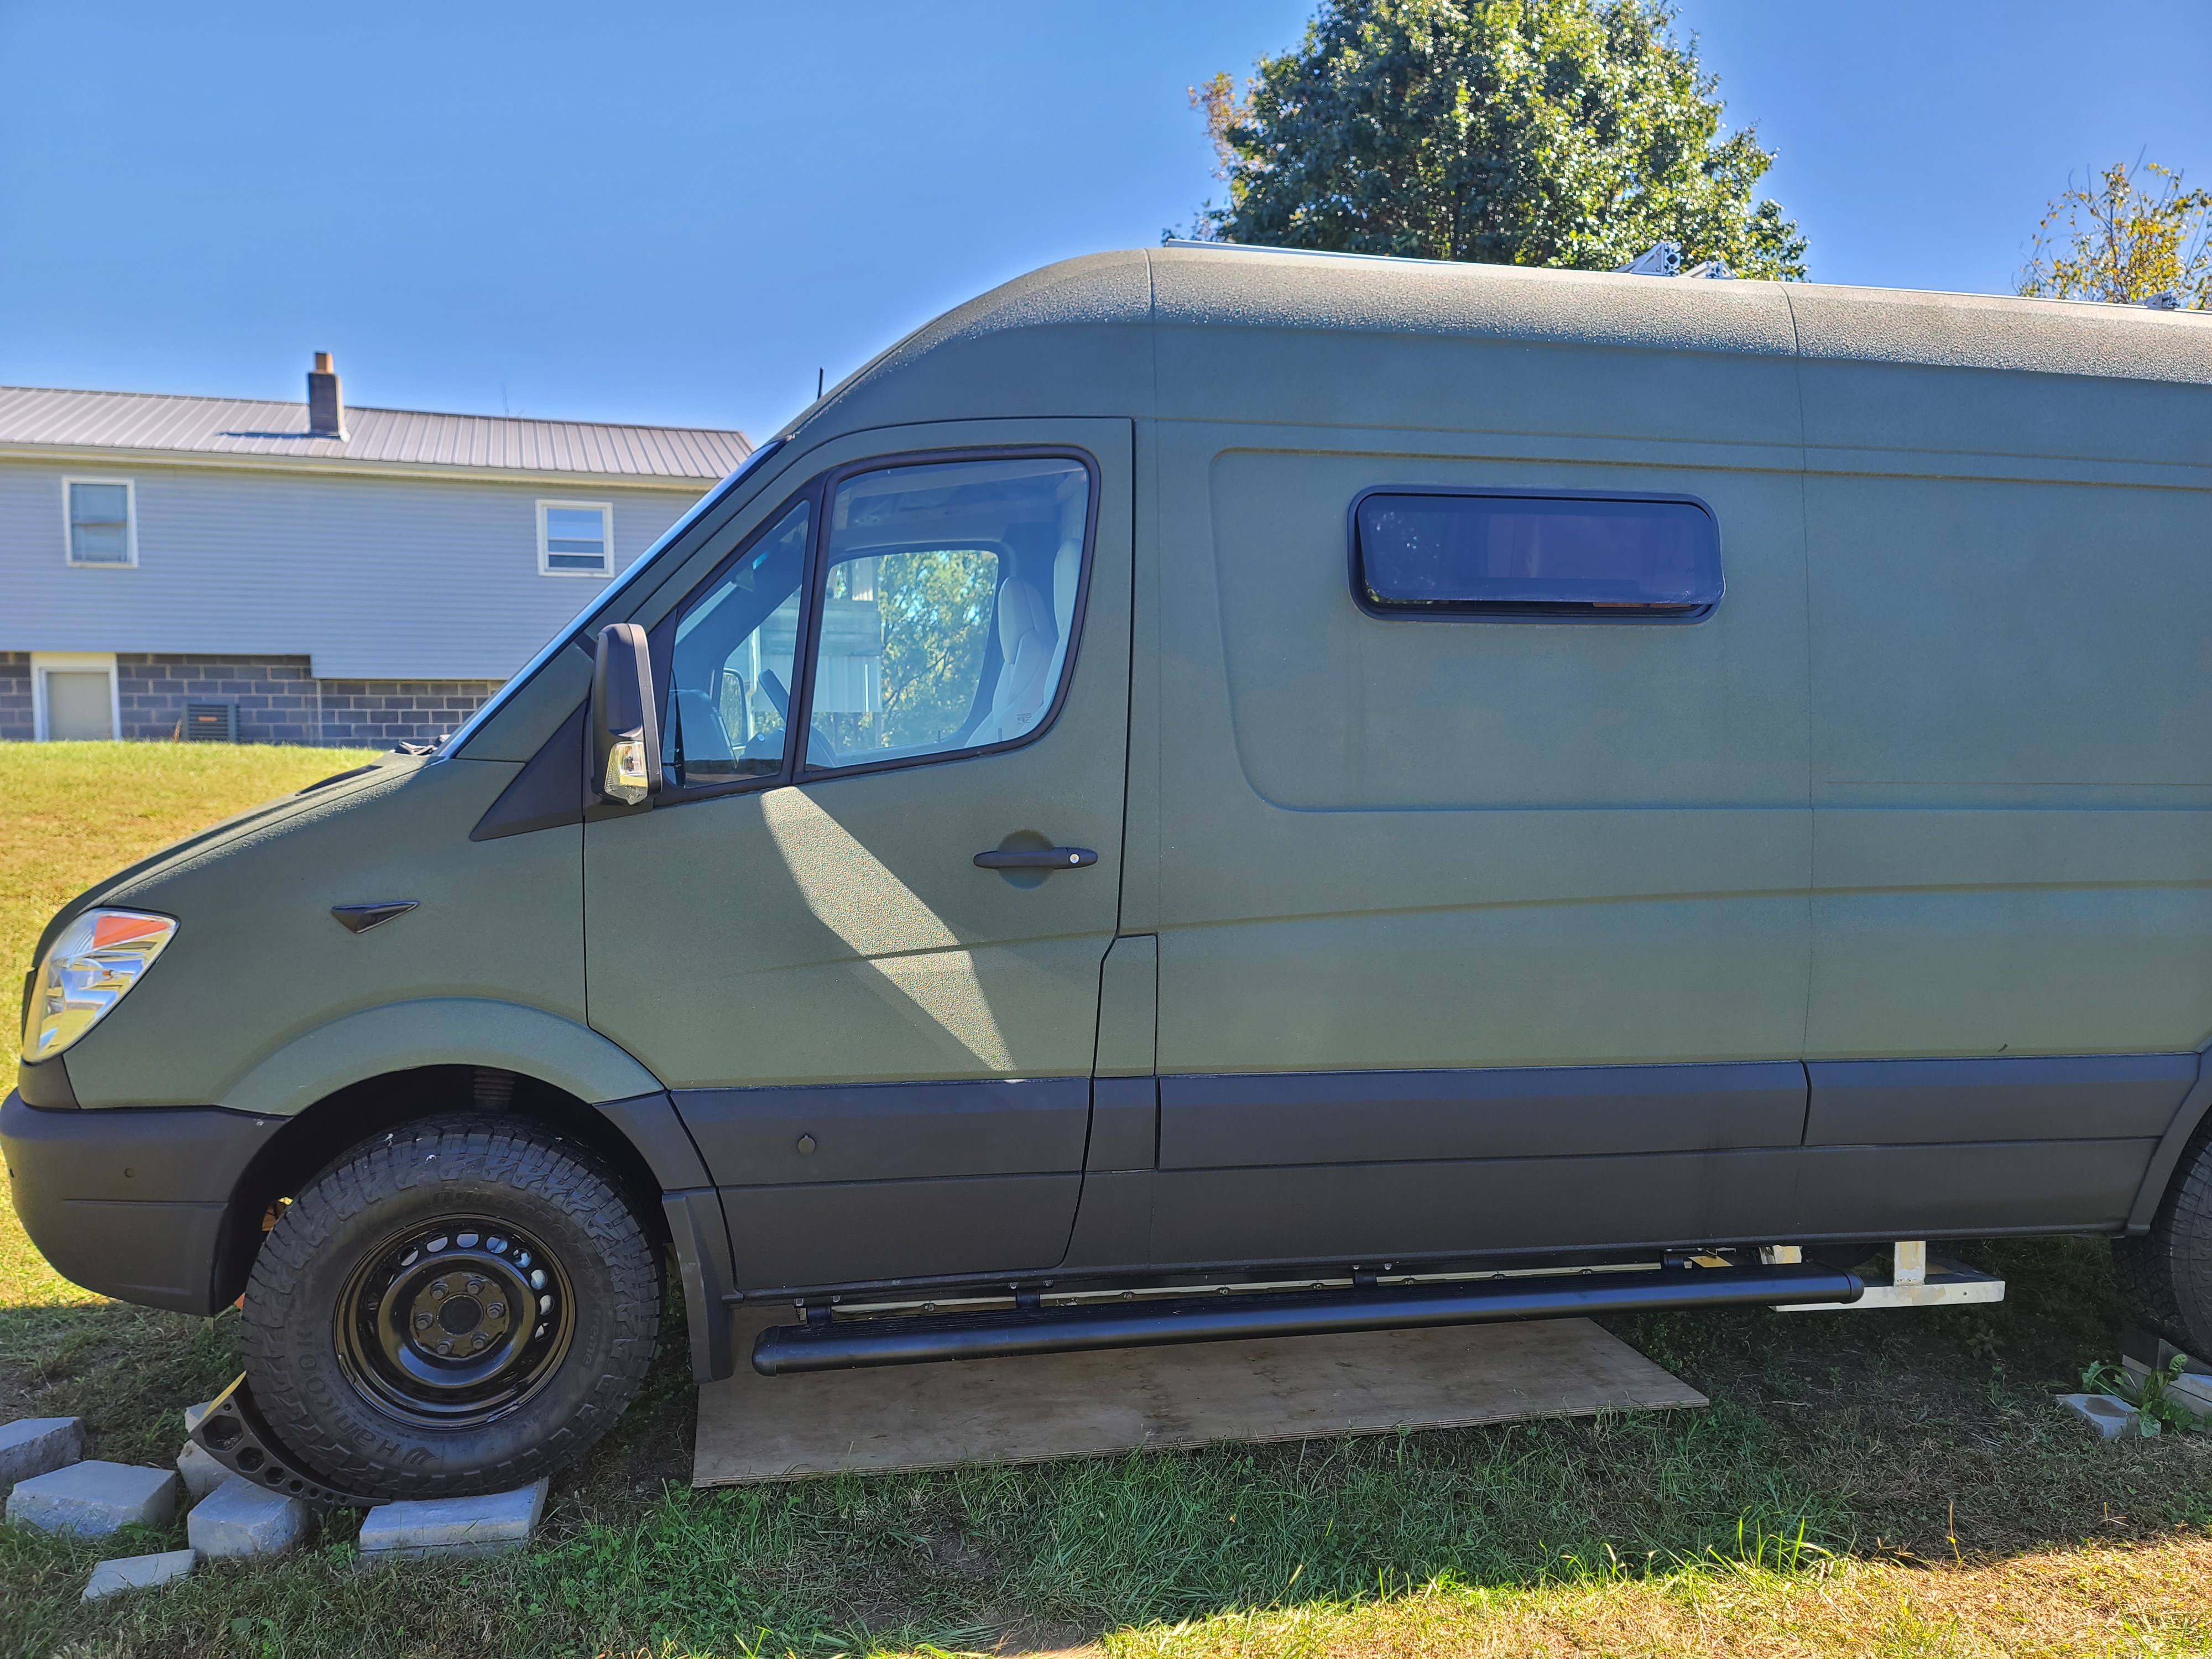
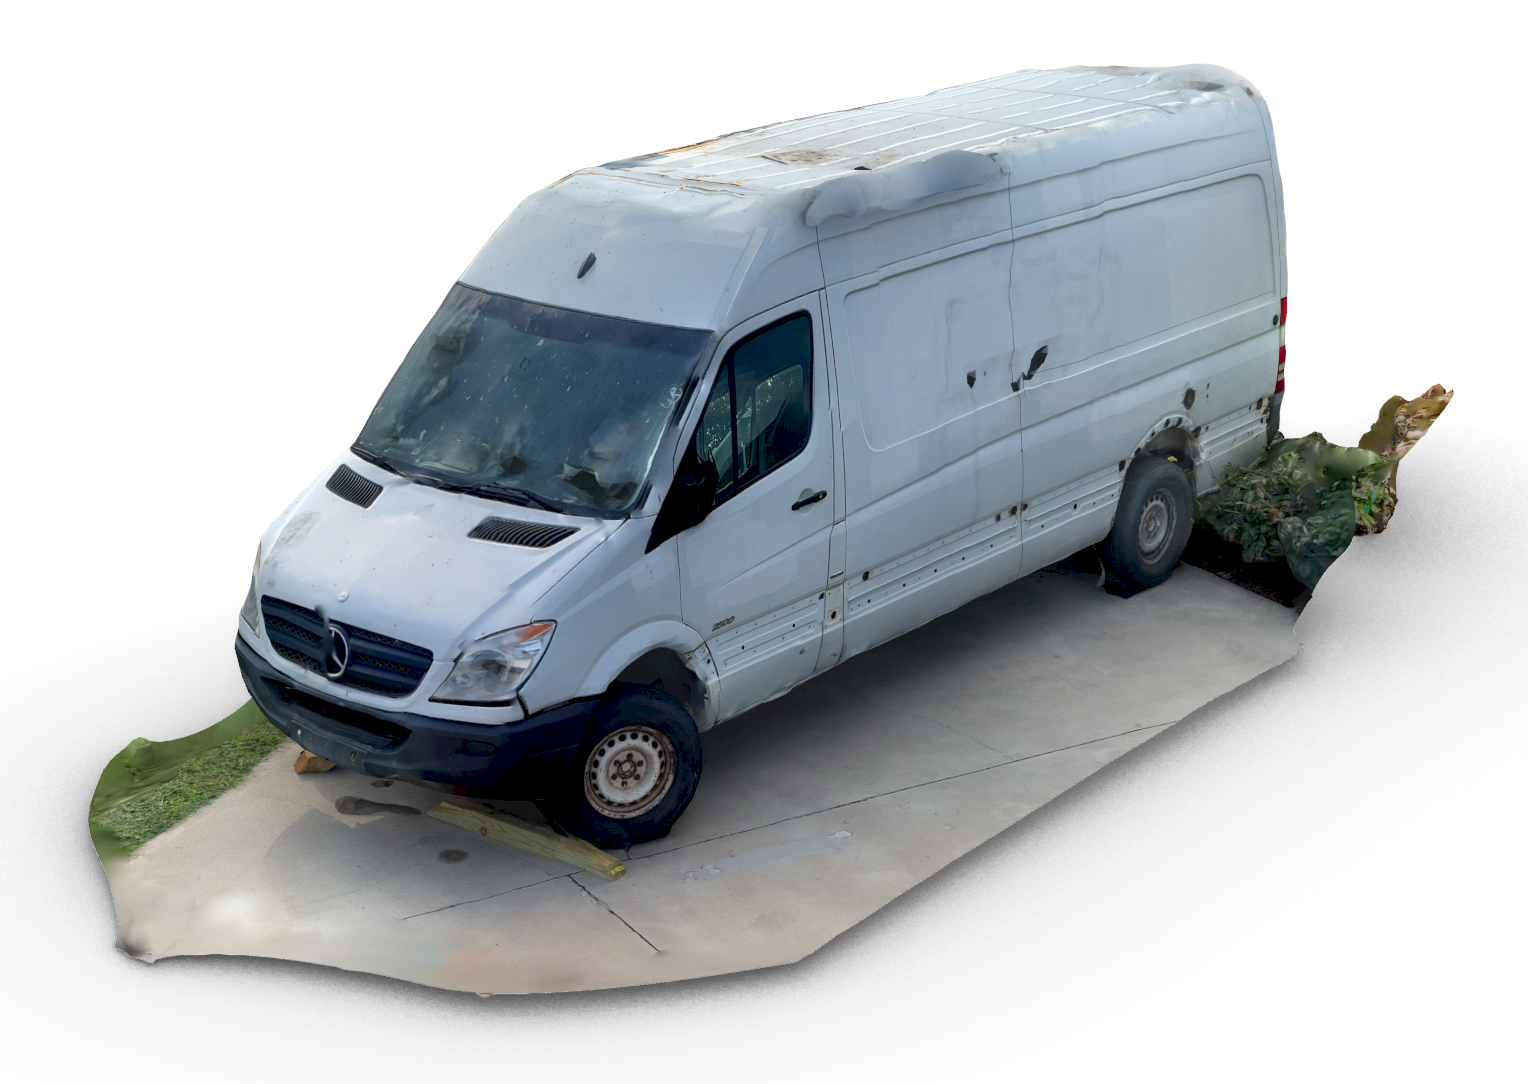
This is a Van called Zym
An arranged marriage against their wills - this is an EV conversion project.
At a glance:
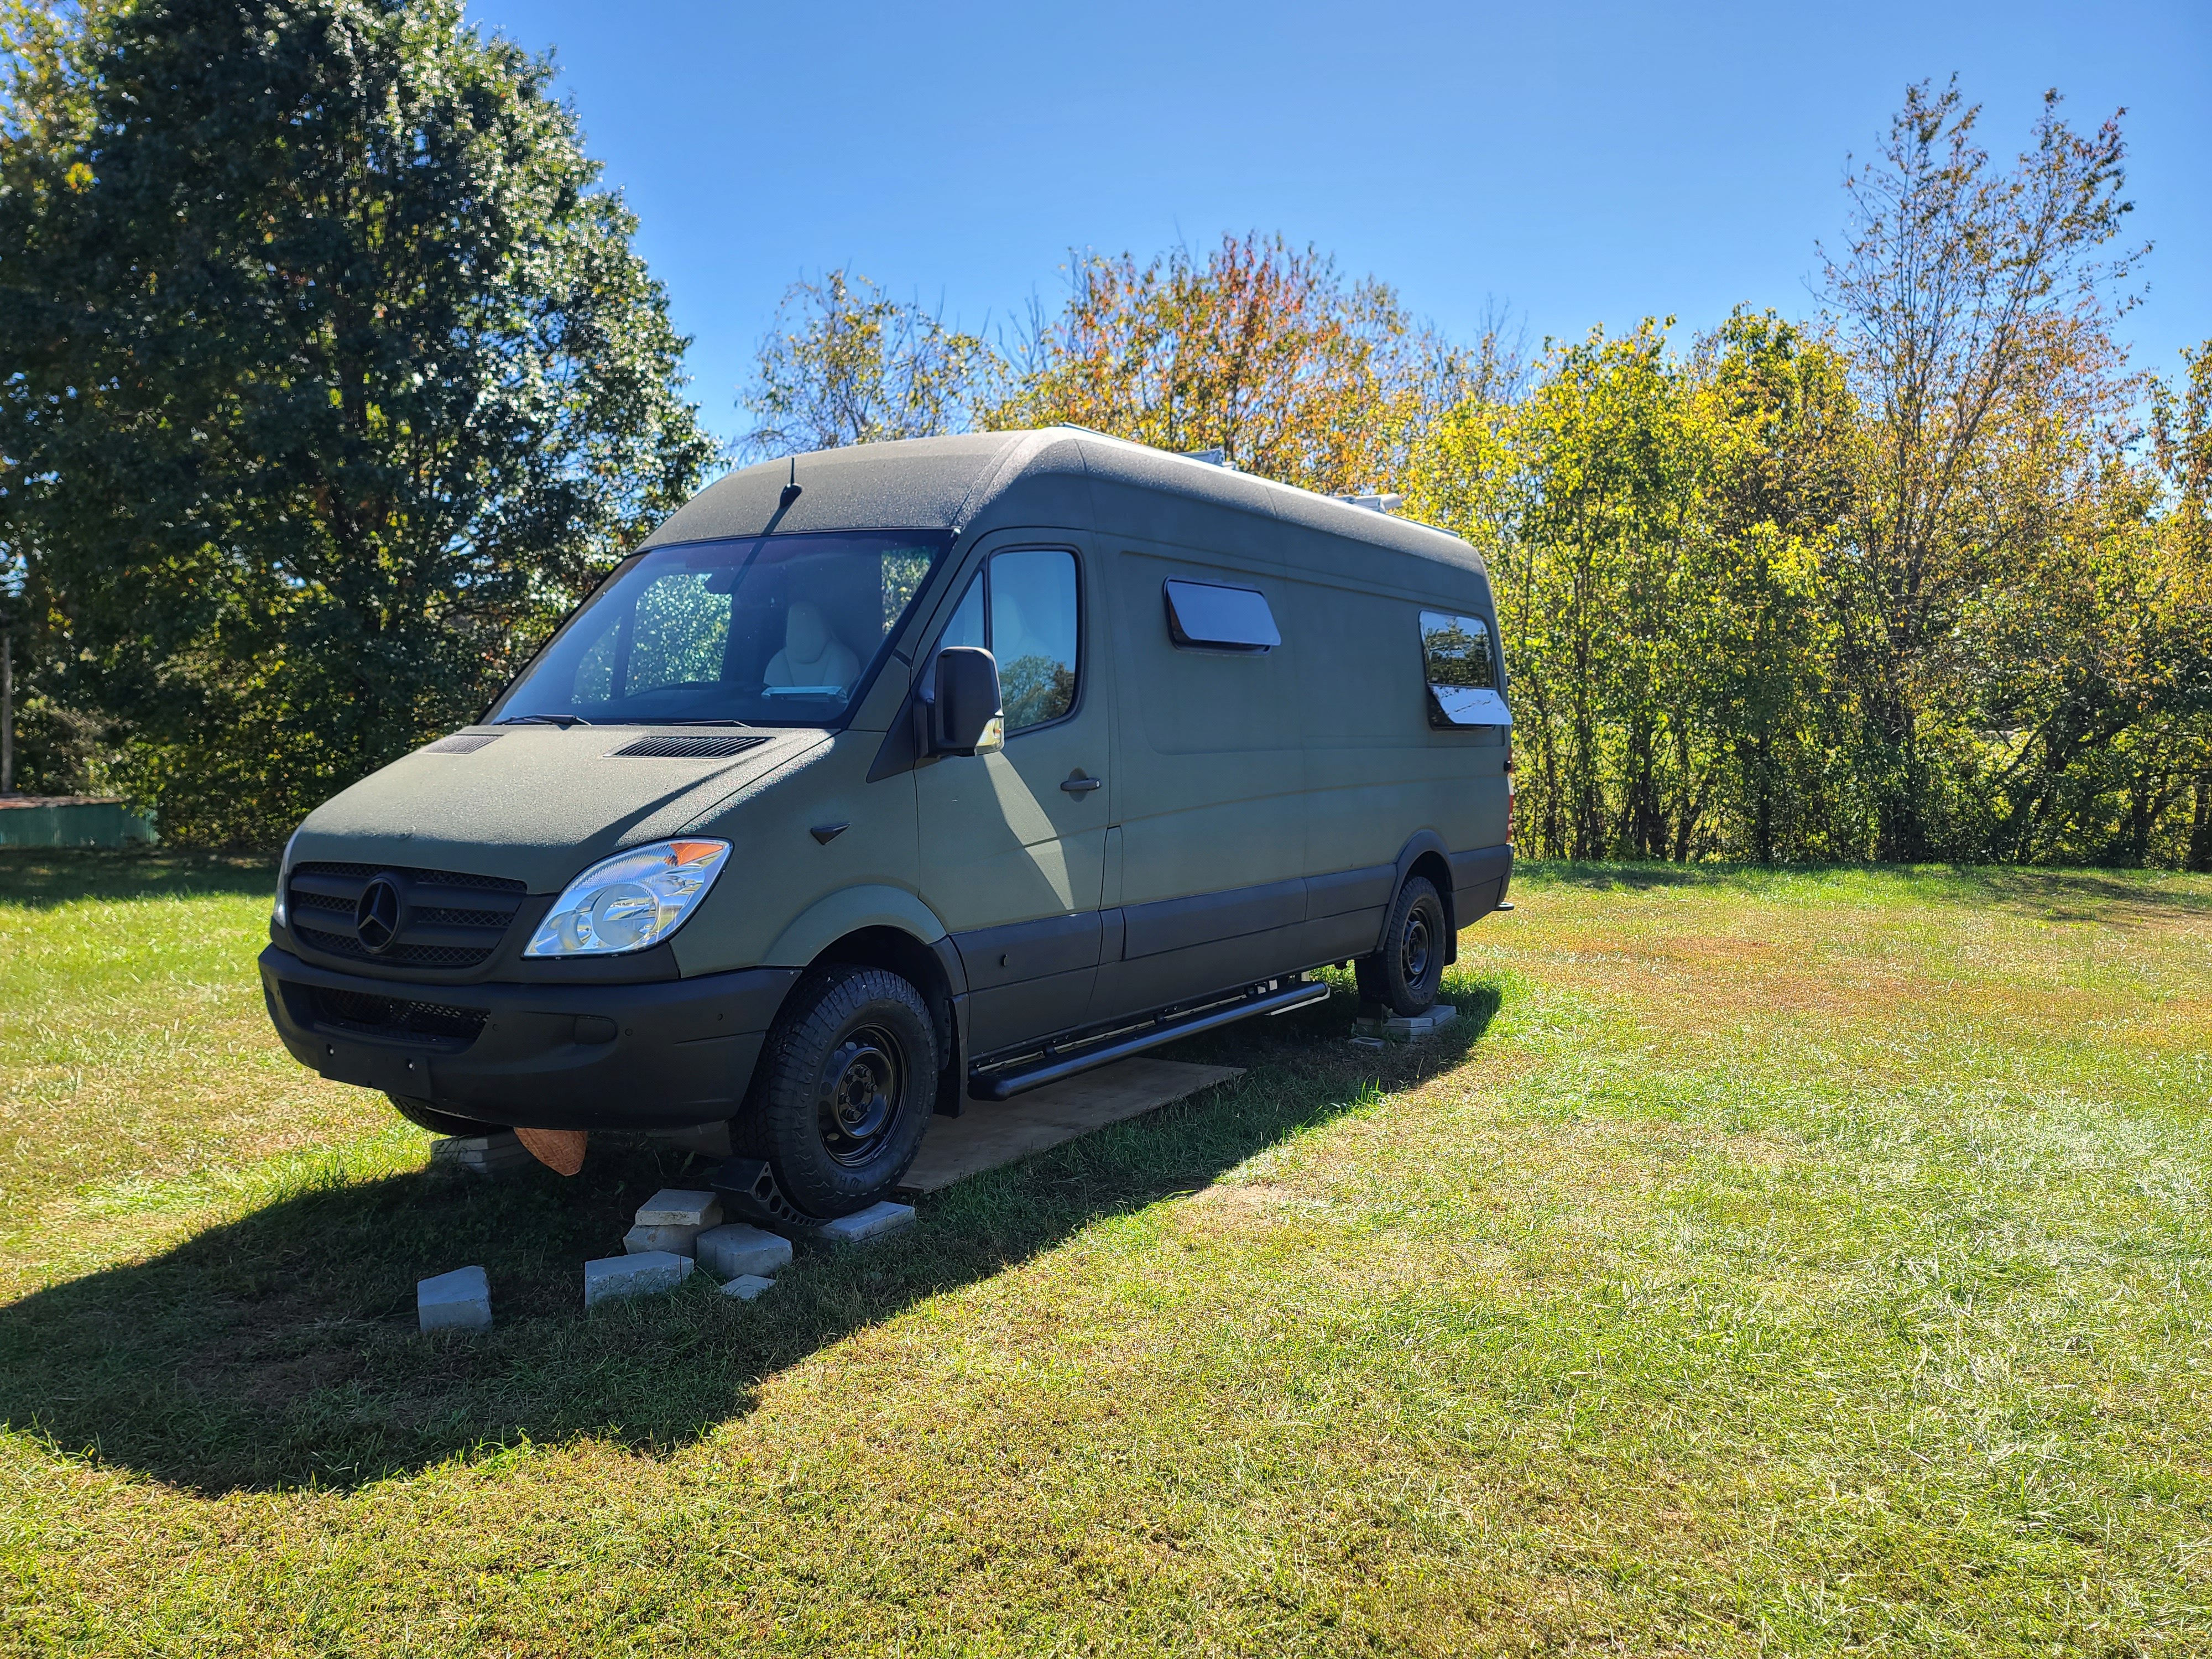
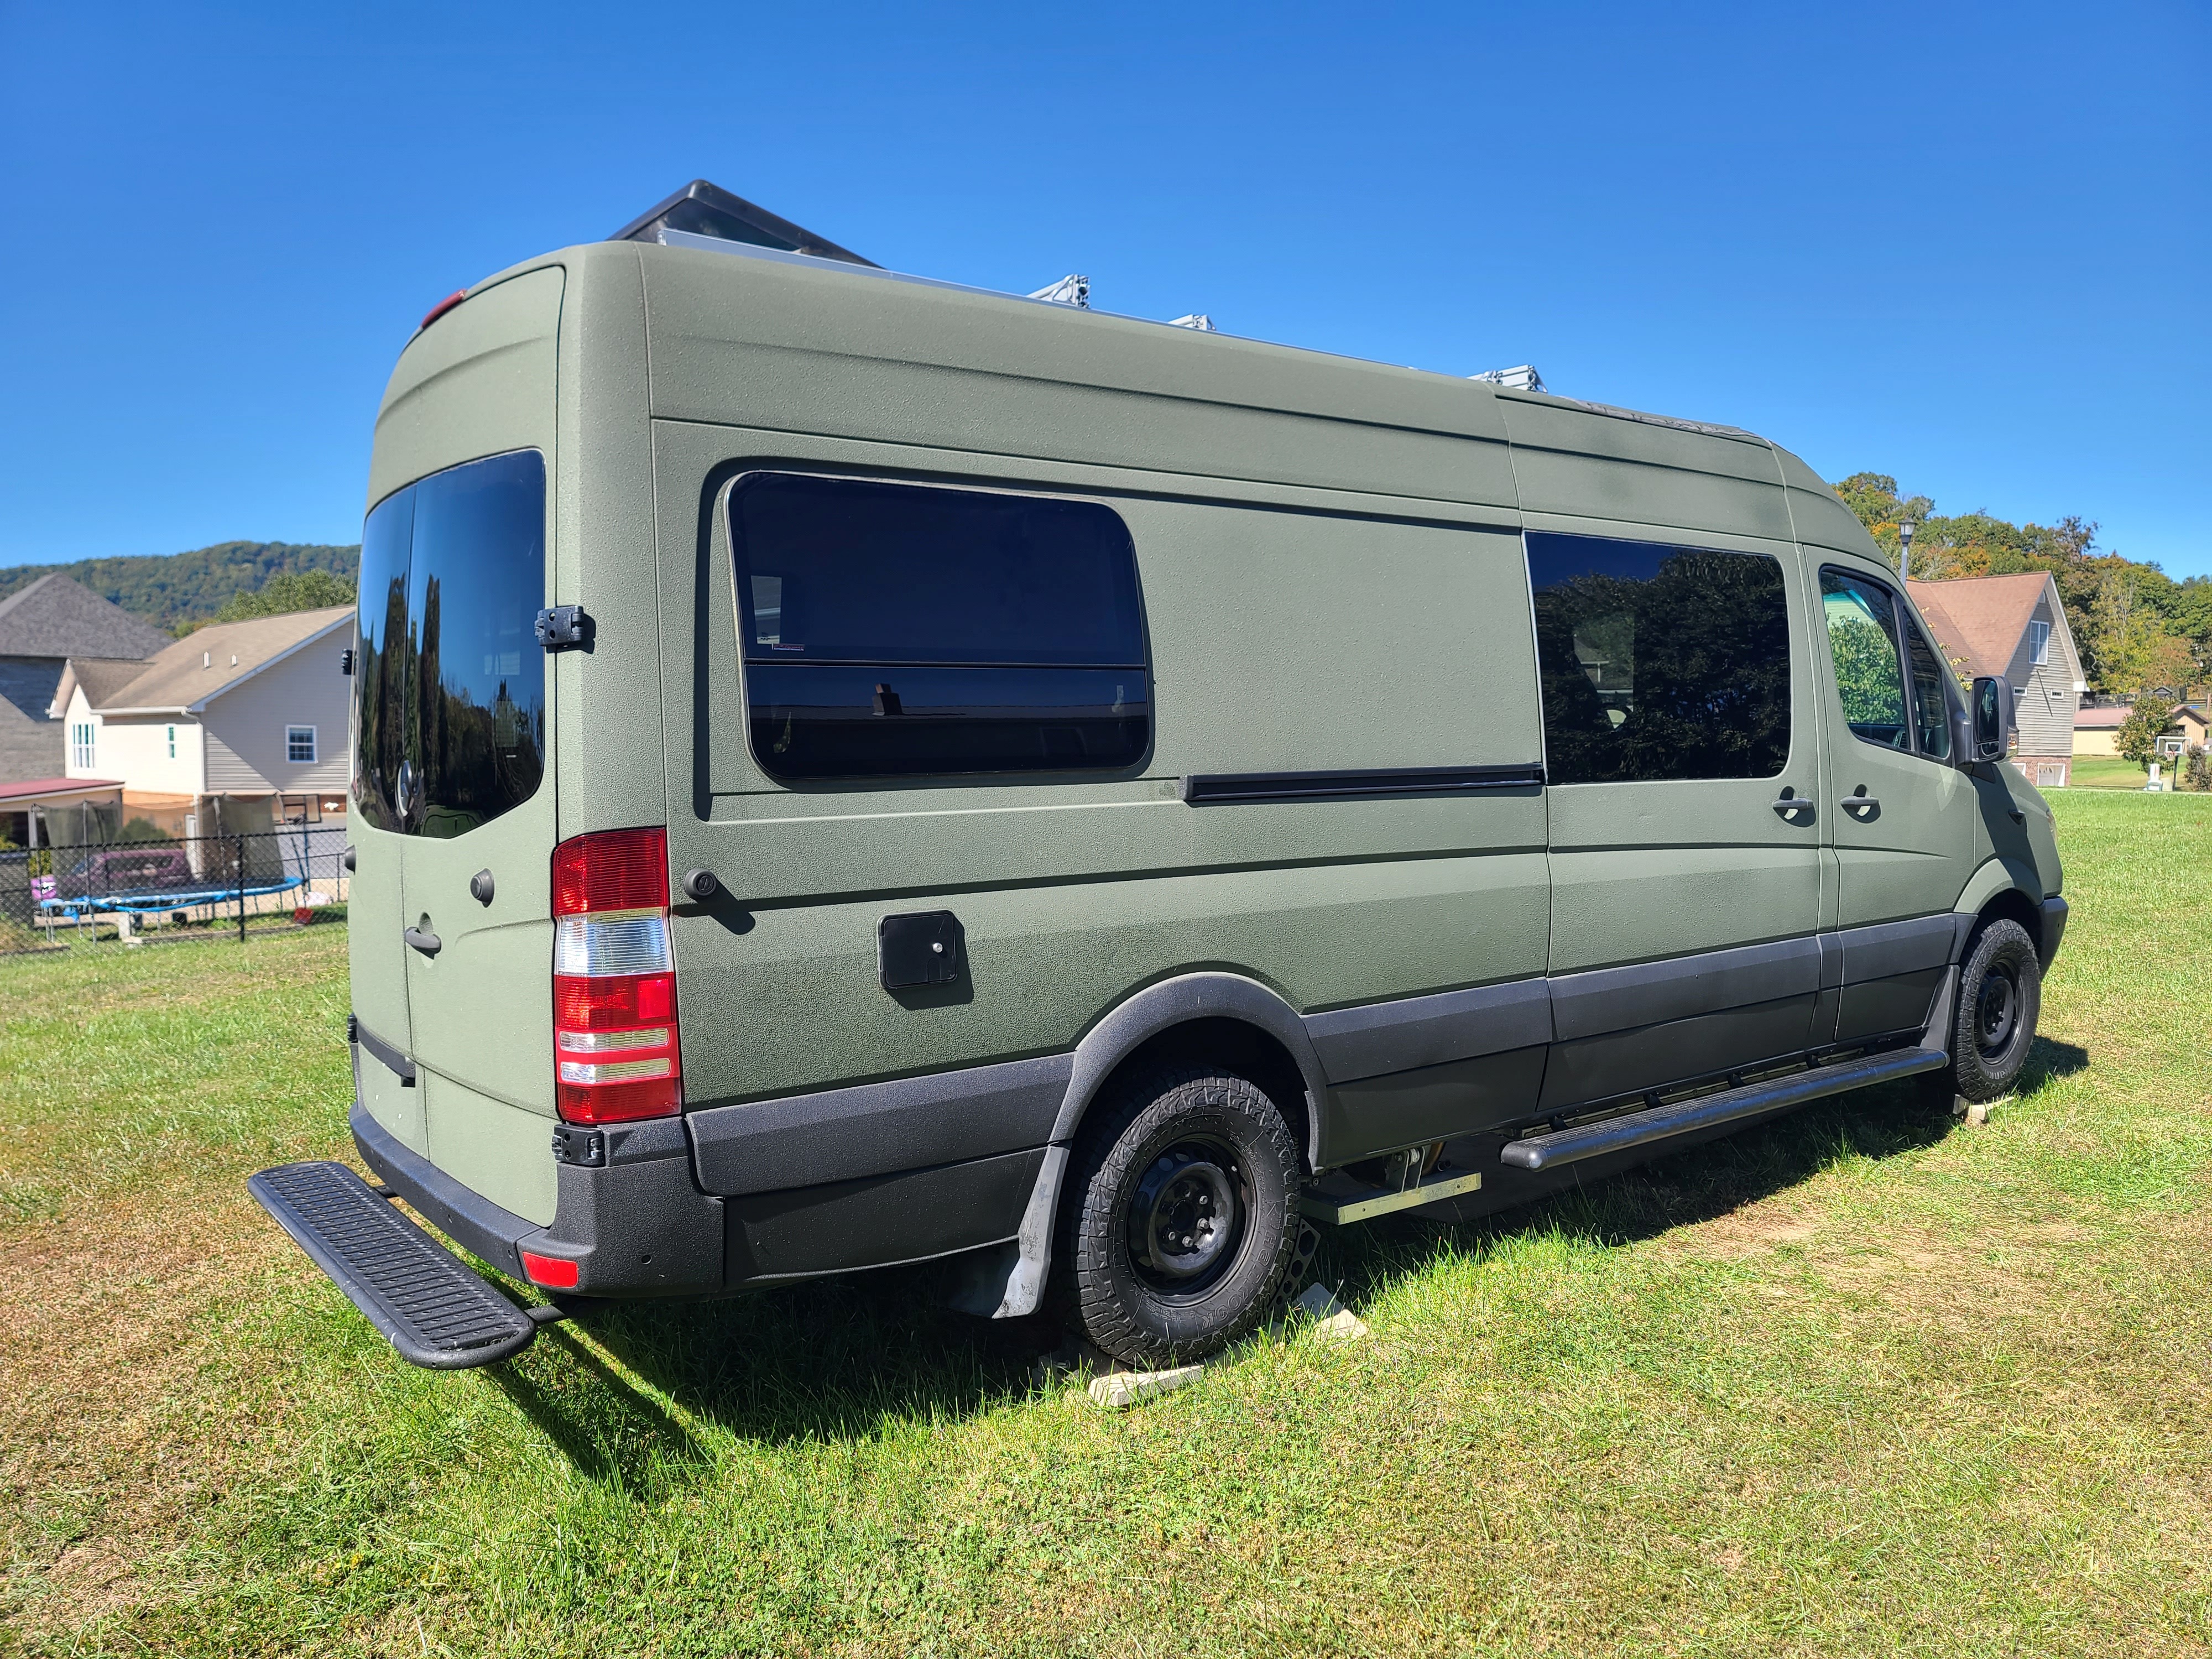
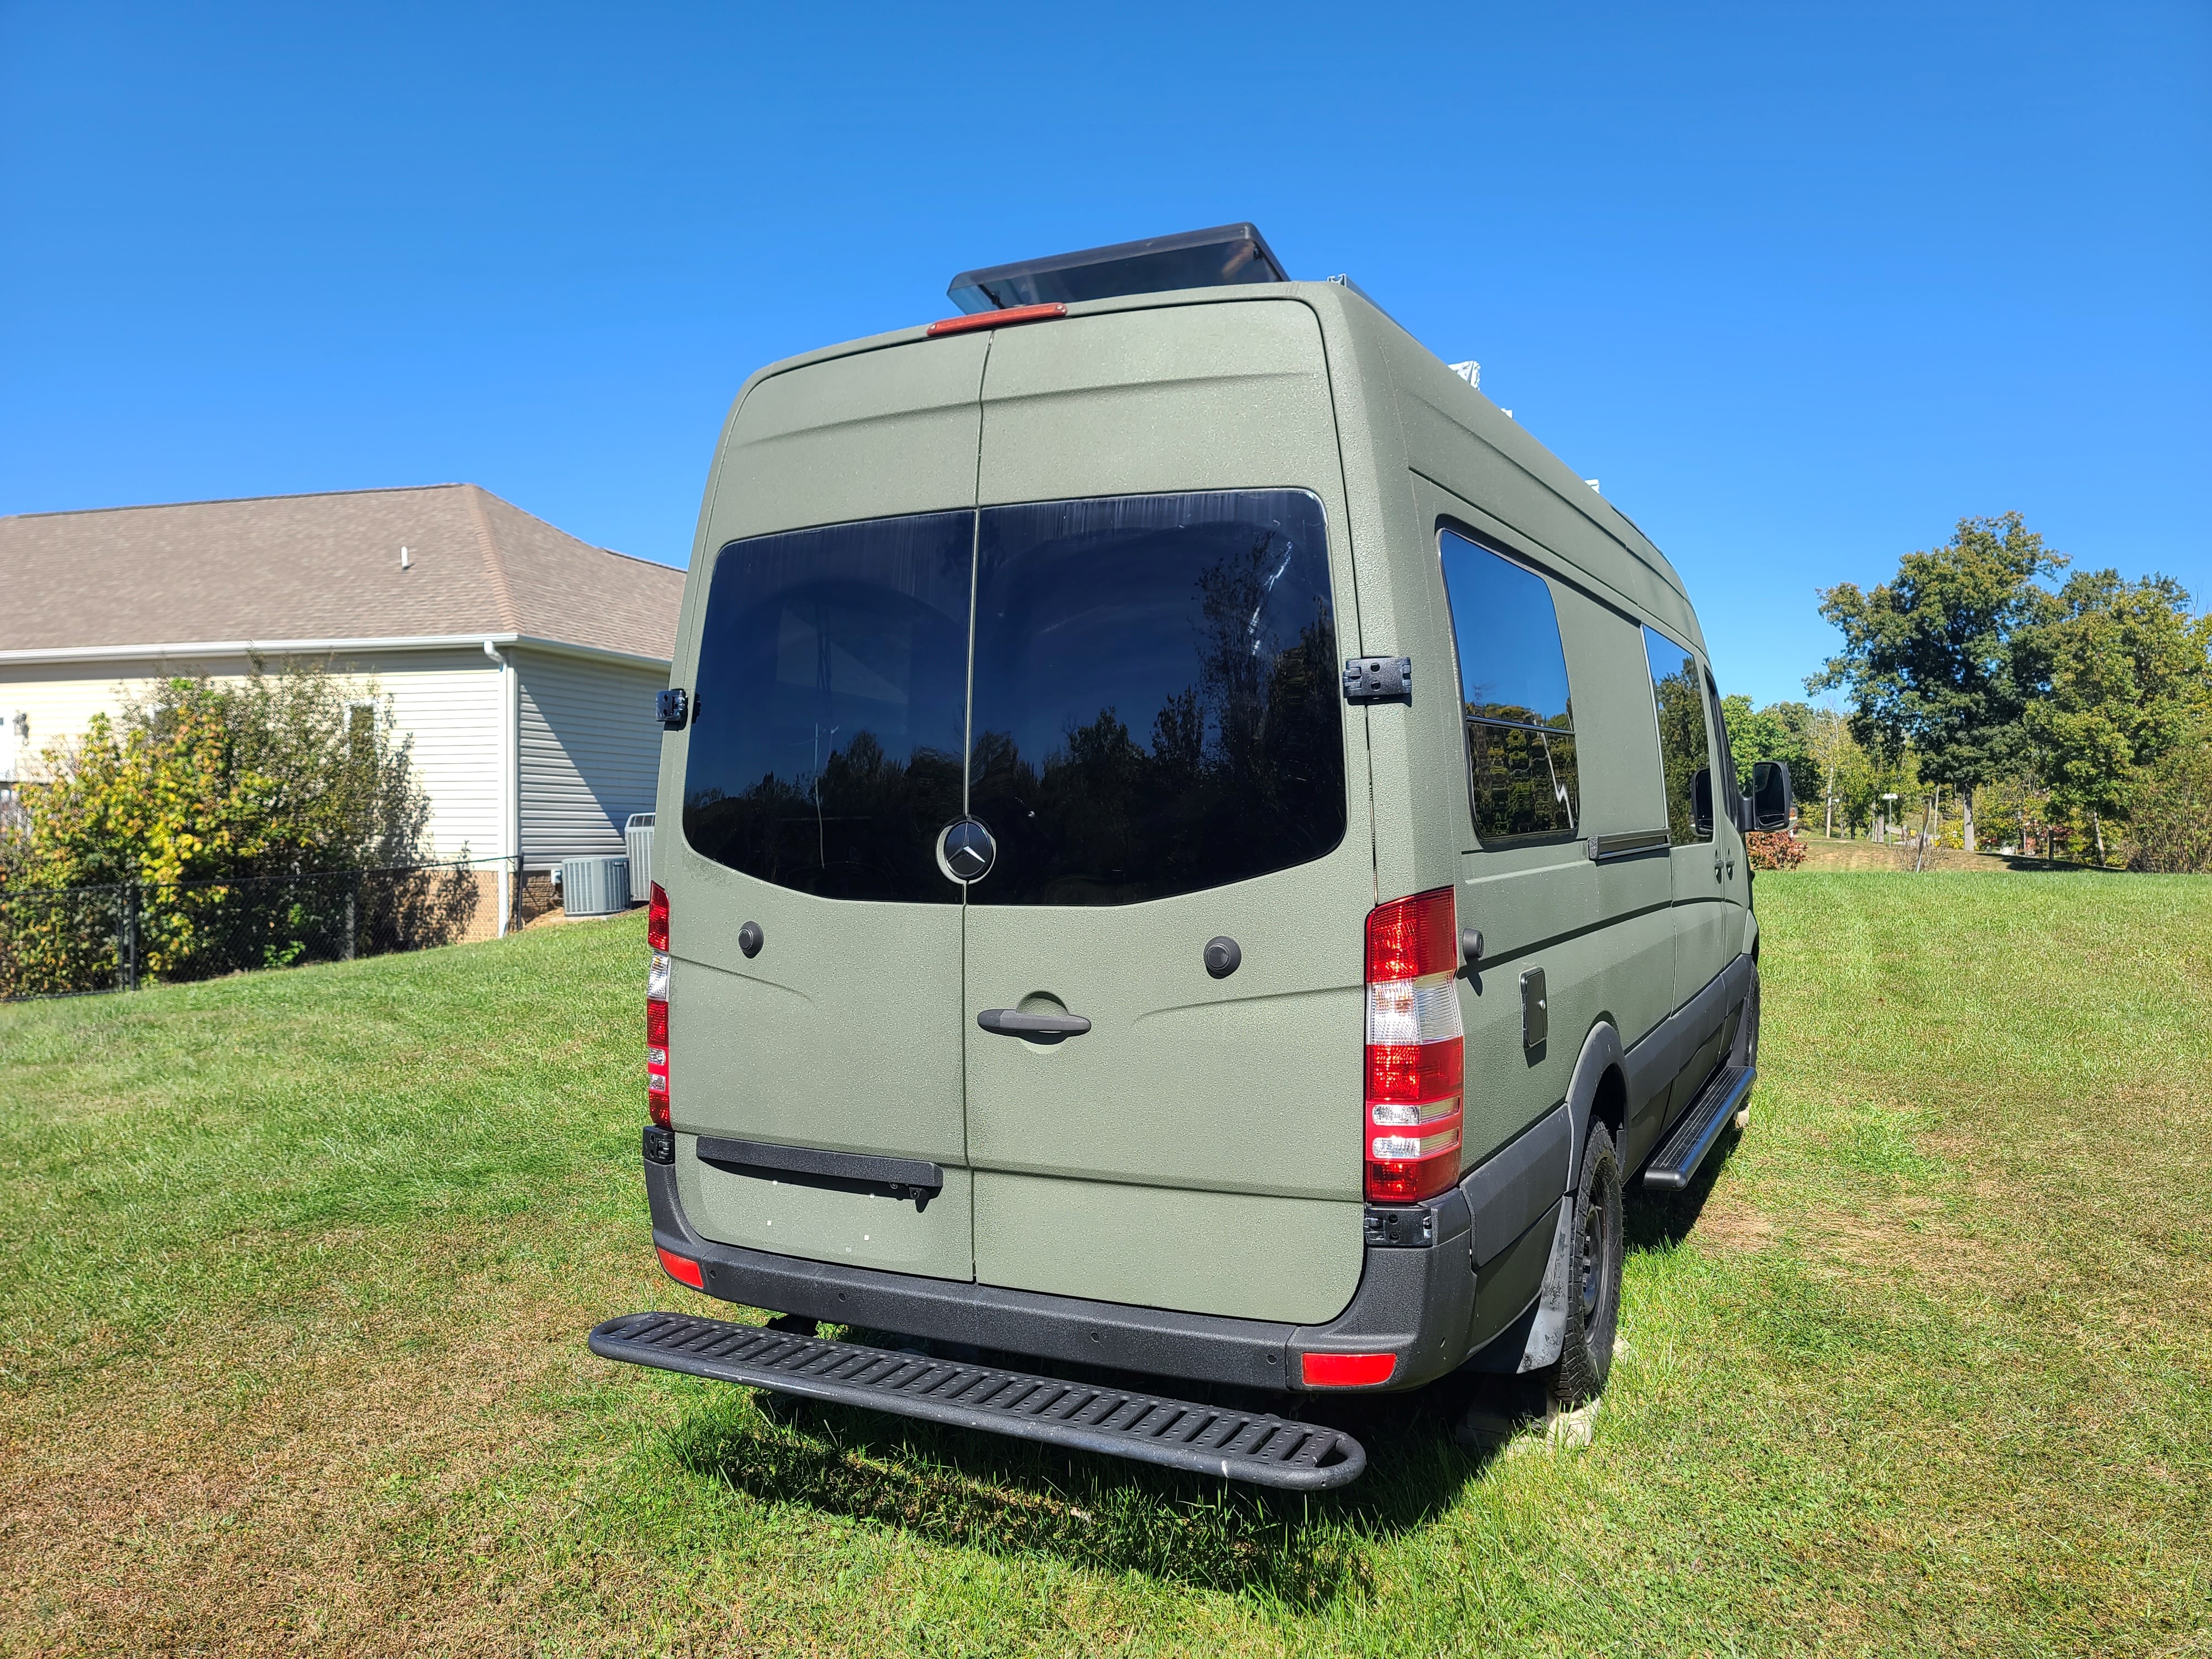
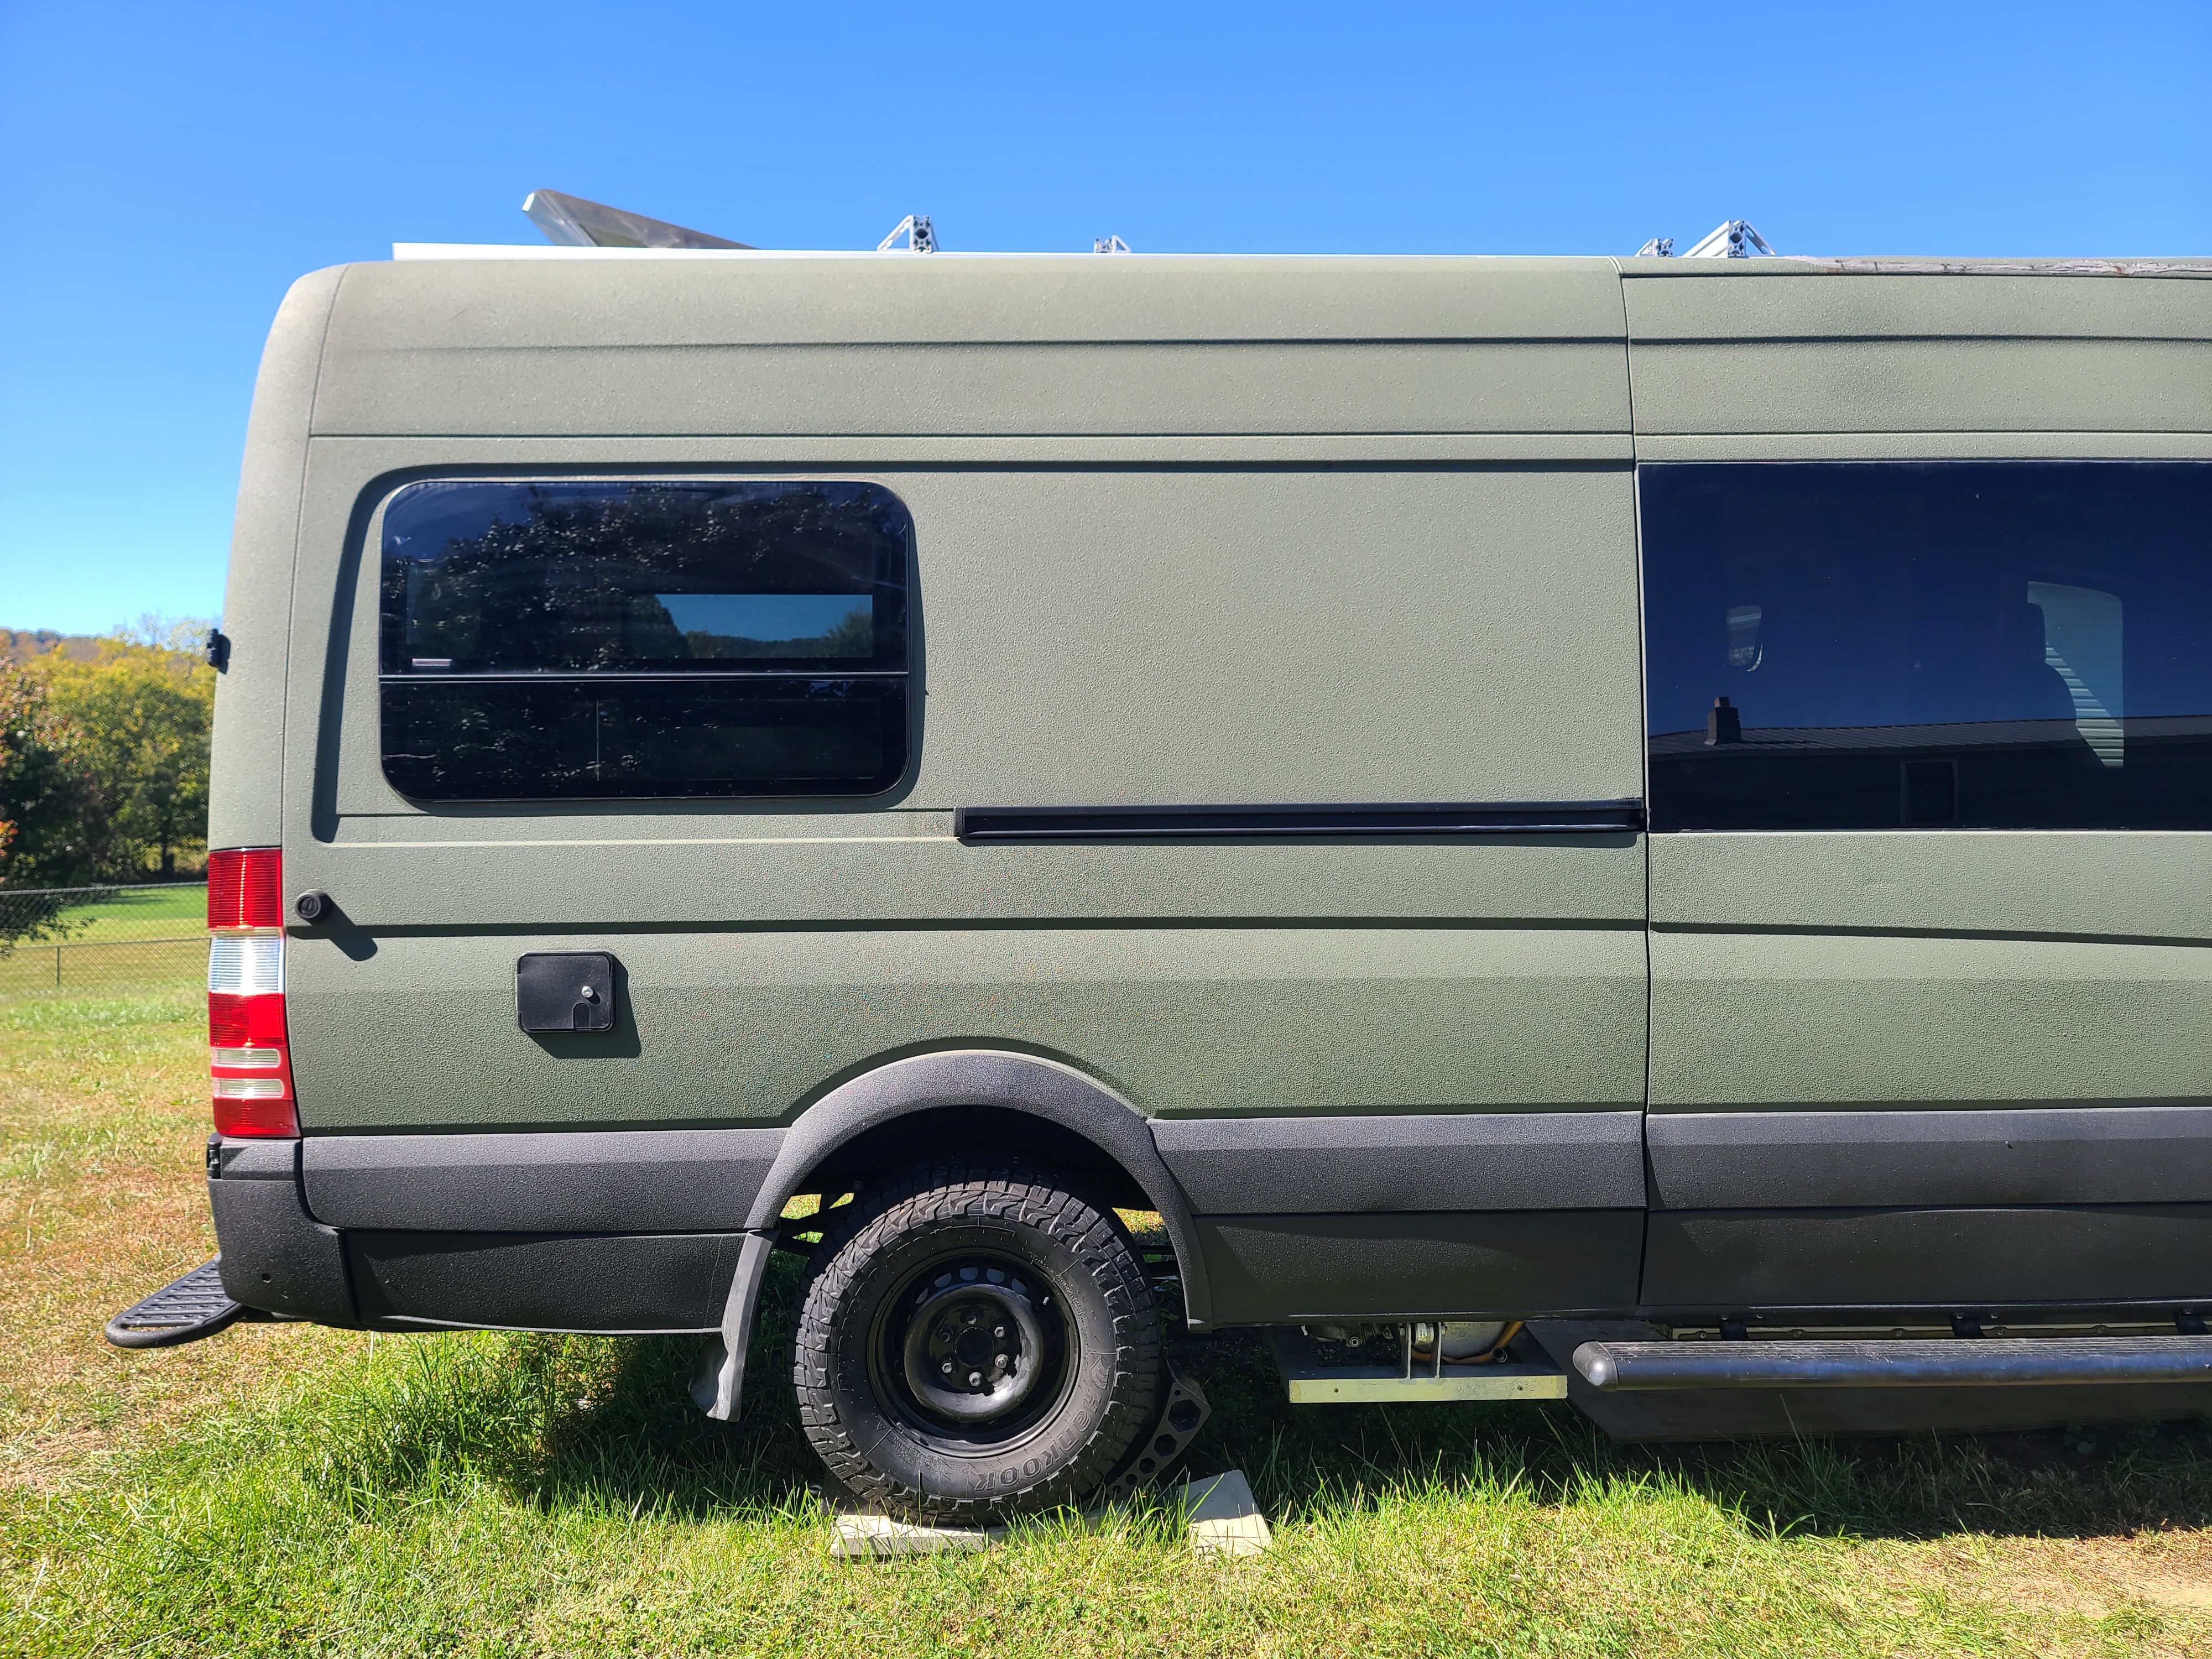
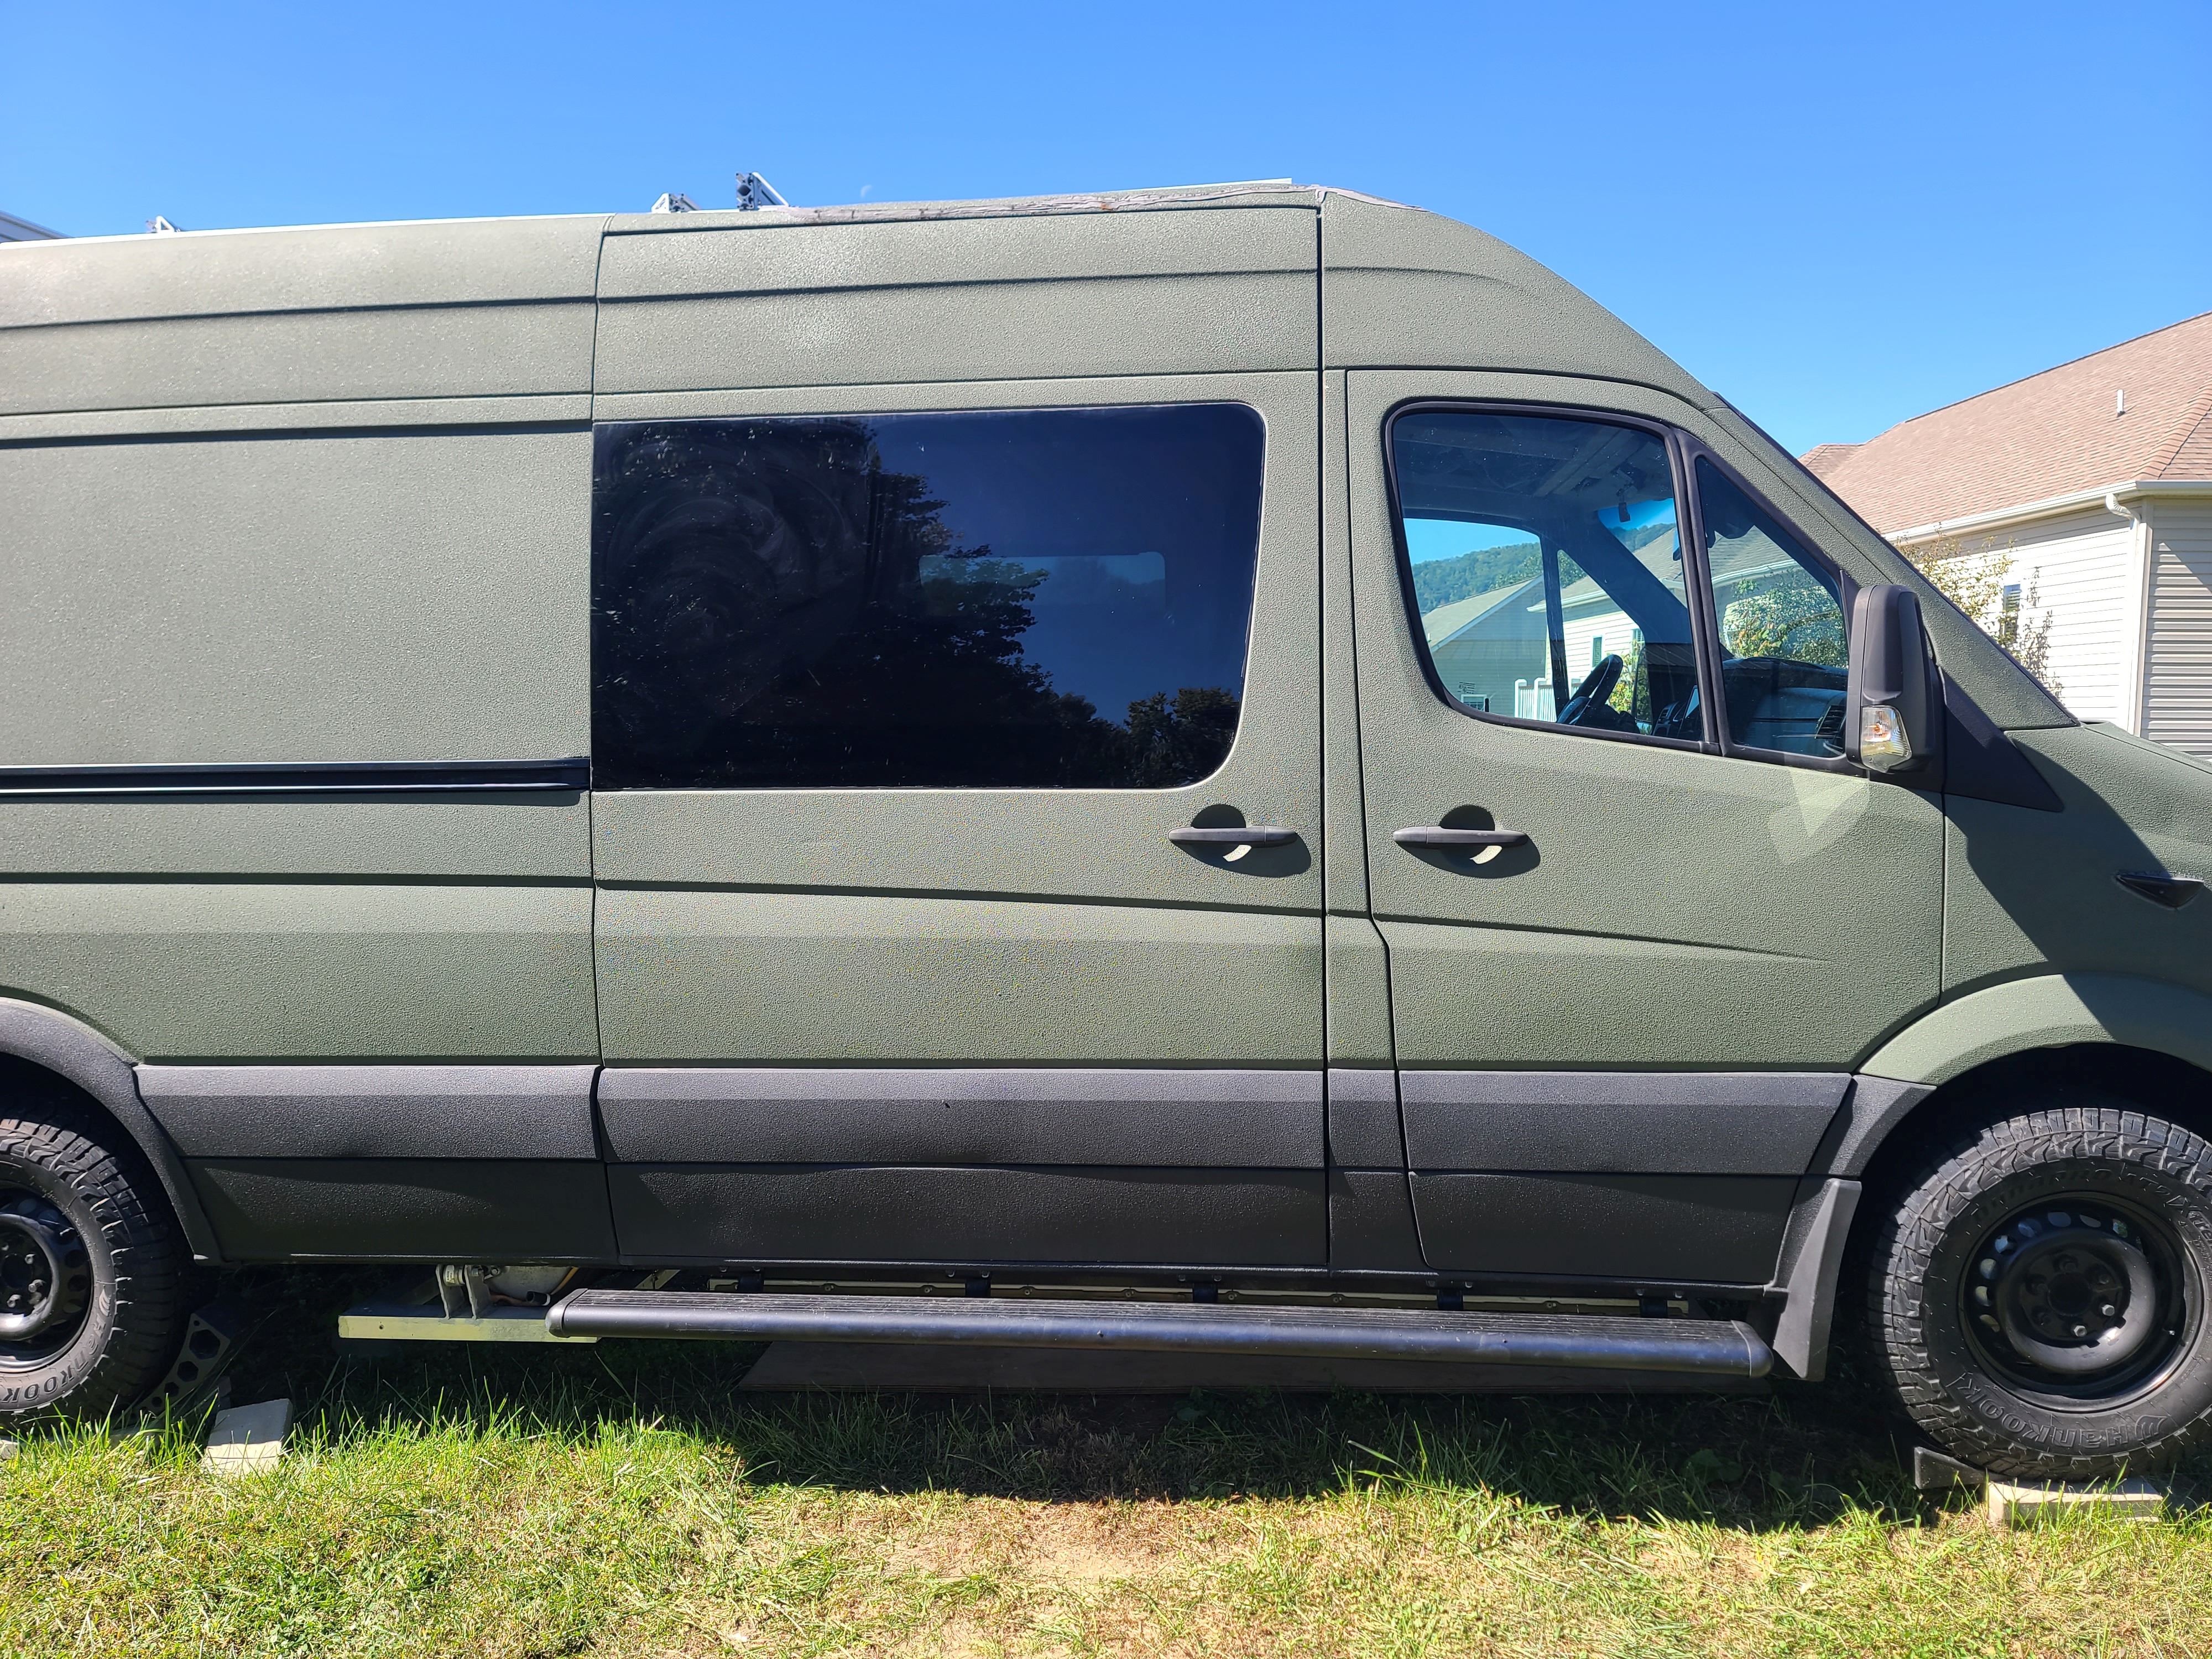
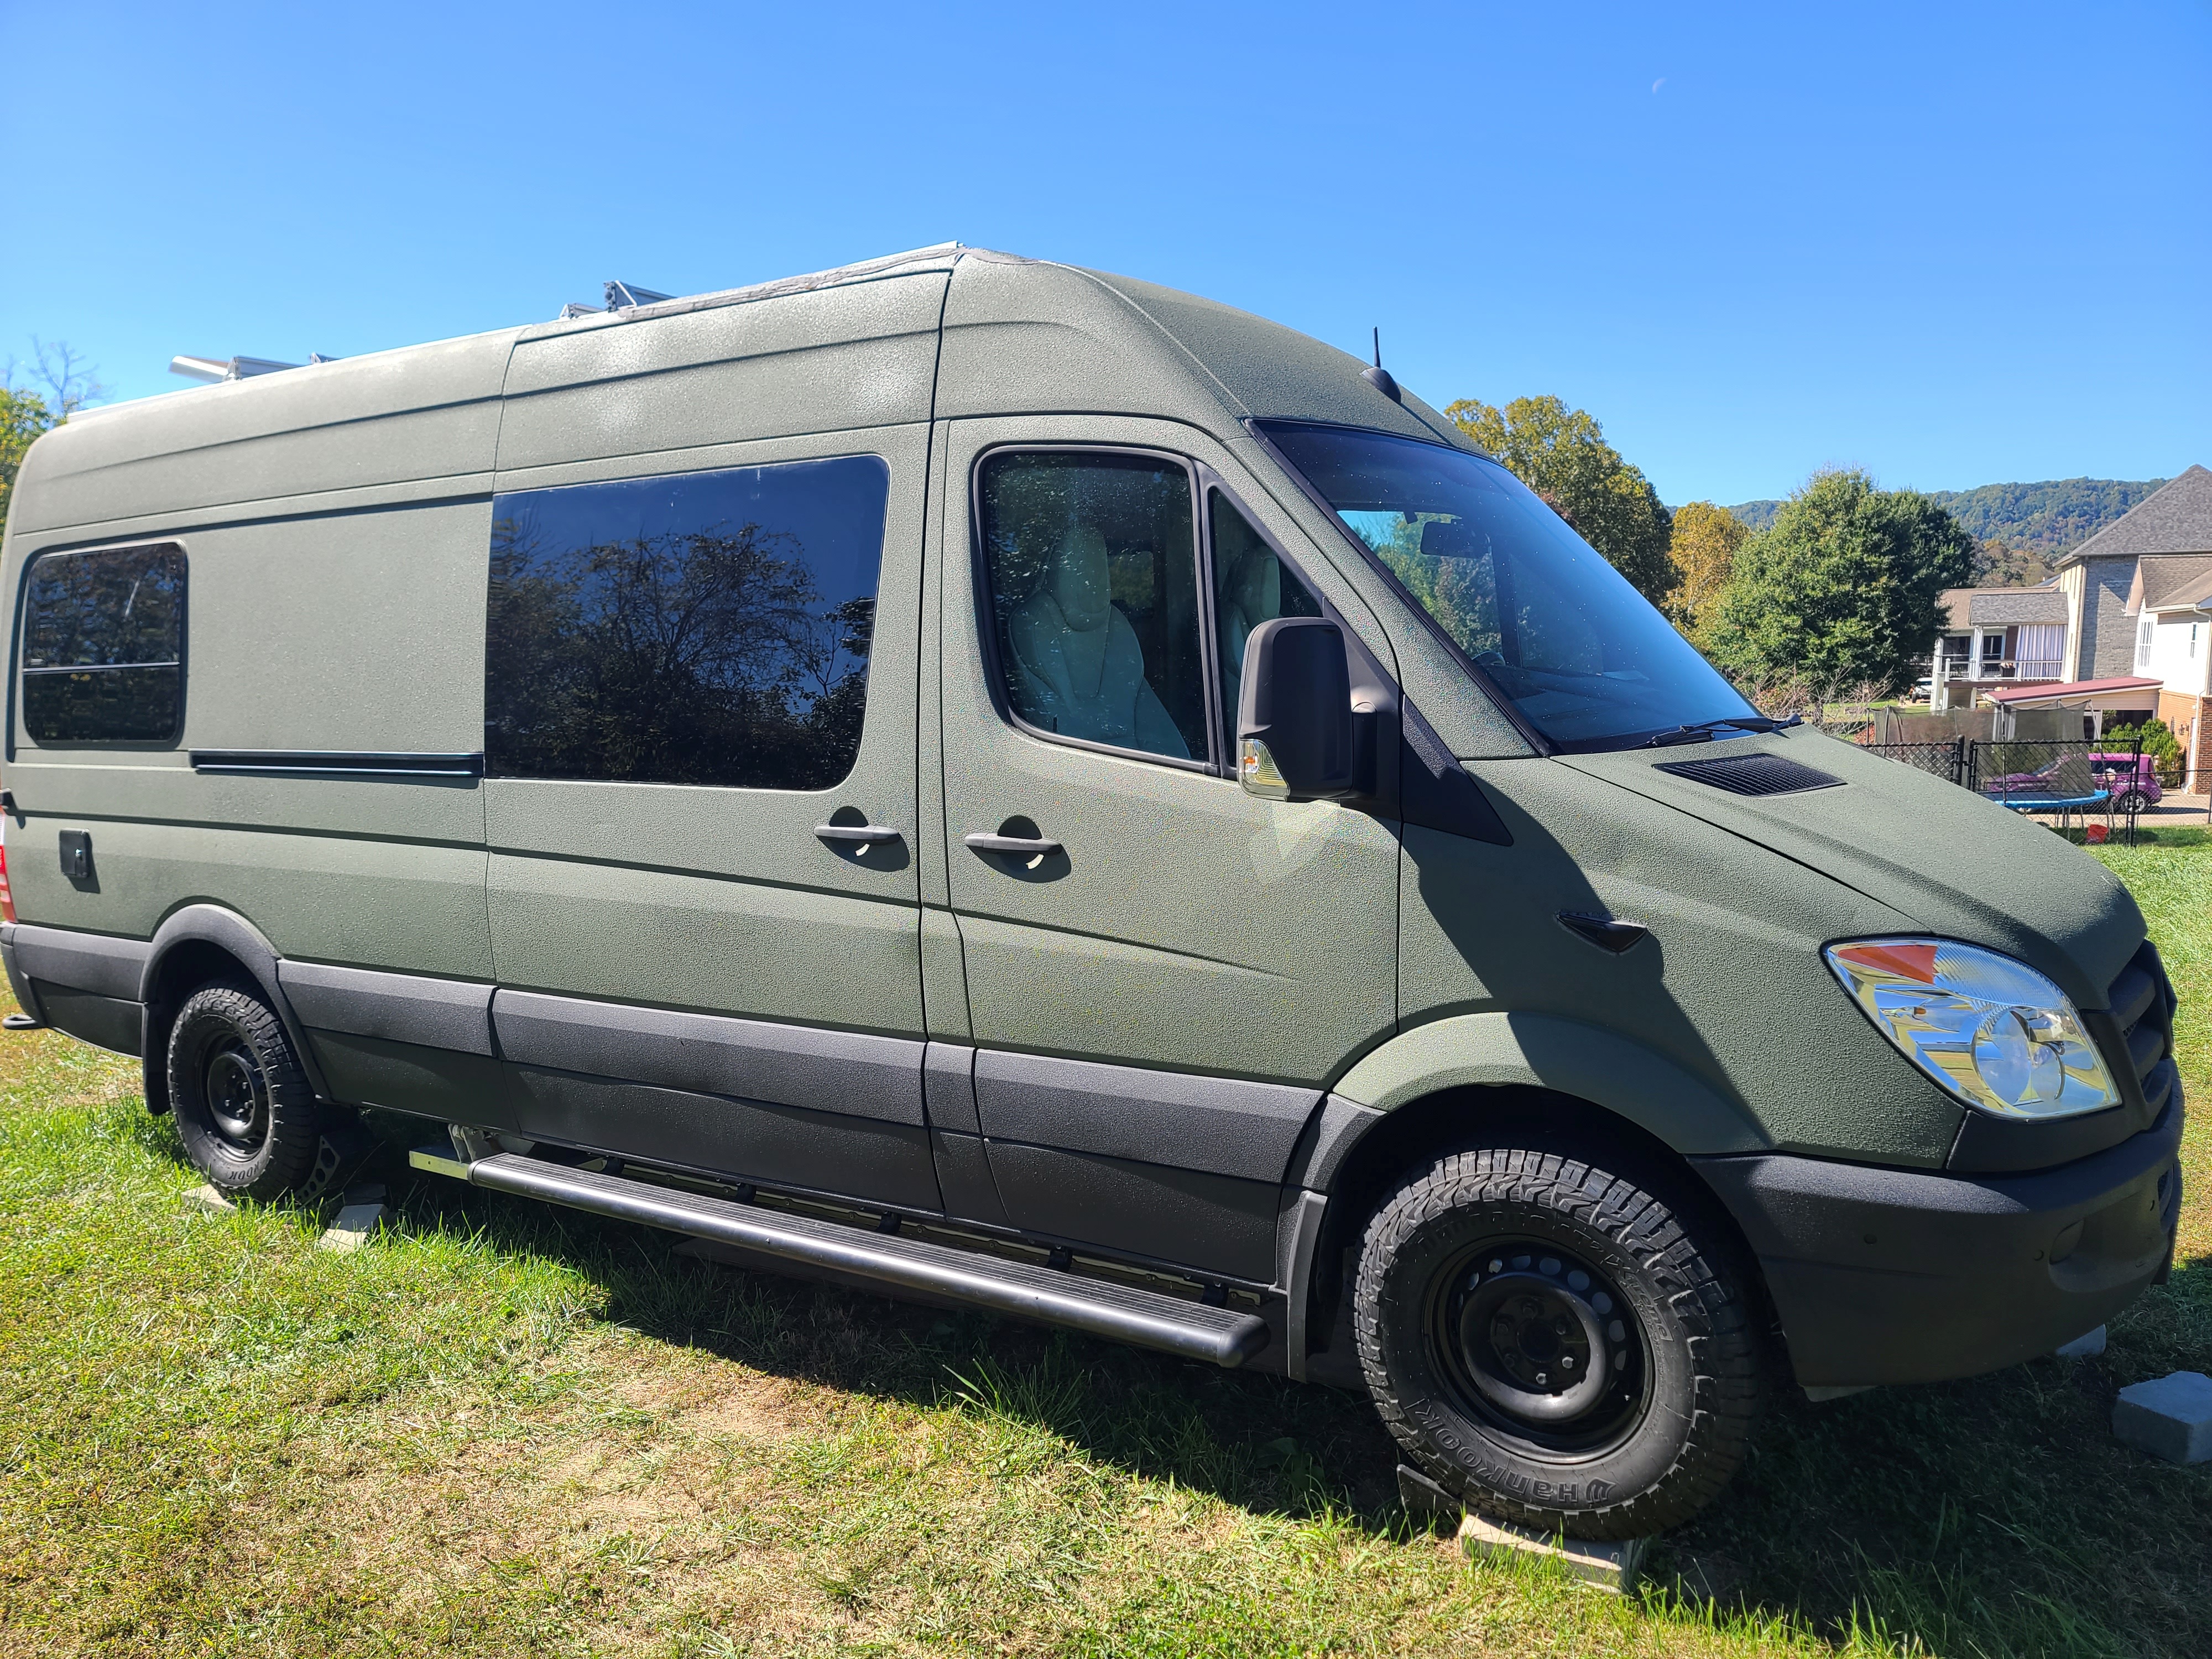
It's the body of a 2011 Mercedes Sprinter Van, 170 Wheelbase (clean WA title, 407,021 miles)
With the brains and drivetrain of a 2018 Tesla Model S 75D (salvage CA title, 36,581 miles)
At the bottom of this page, there are details of the Victron Power Package, Roof Rack Package, and a contact form!

It's got good bones, we've done a lot of upgrades to it:
(click image to expand)
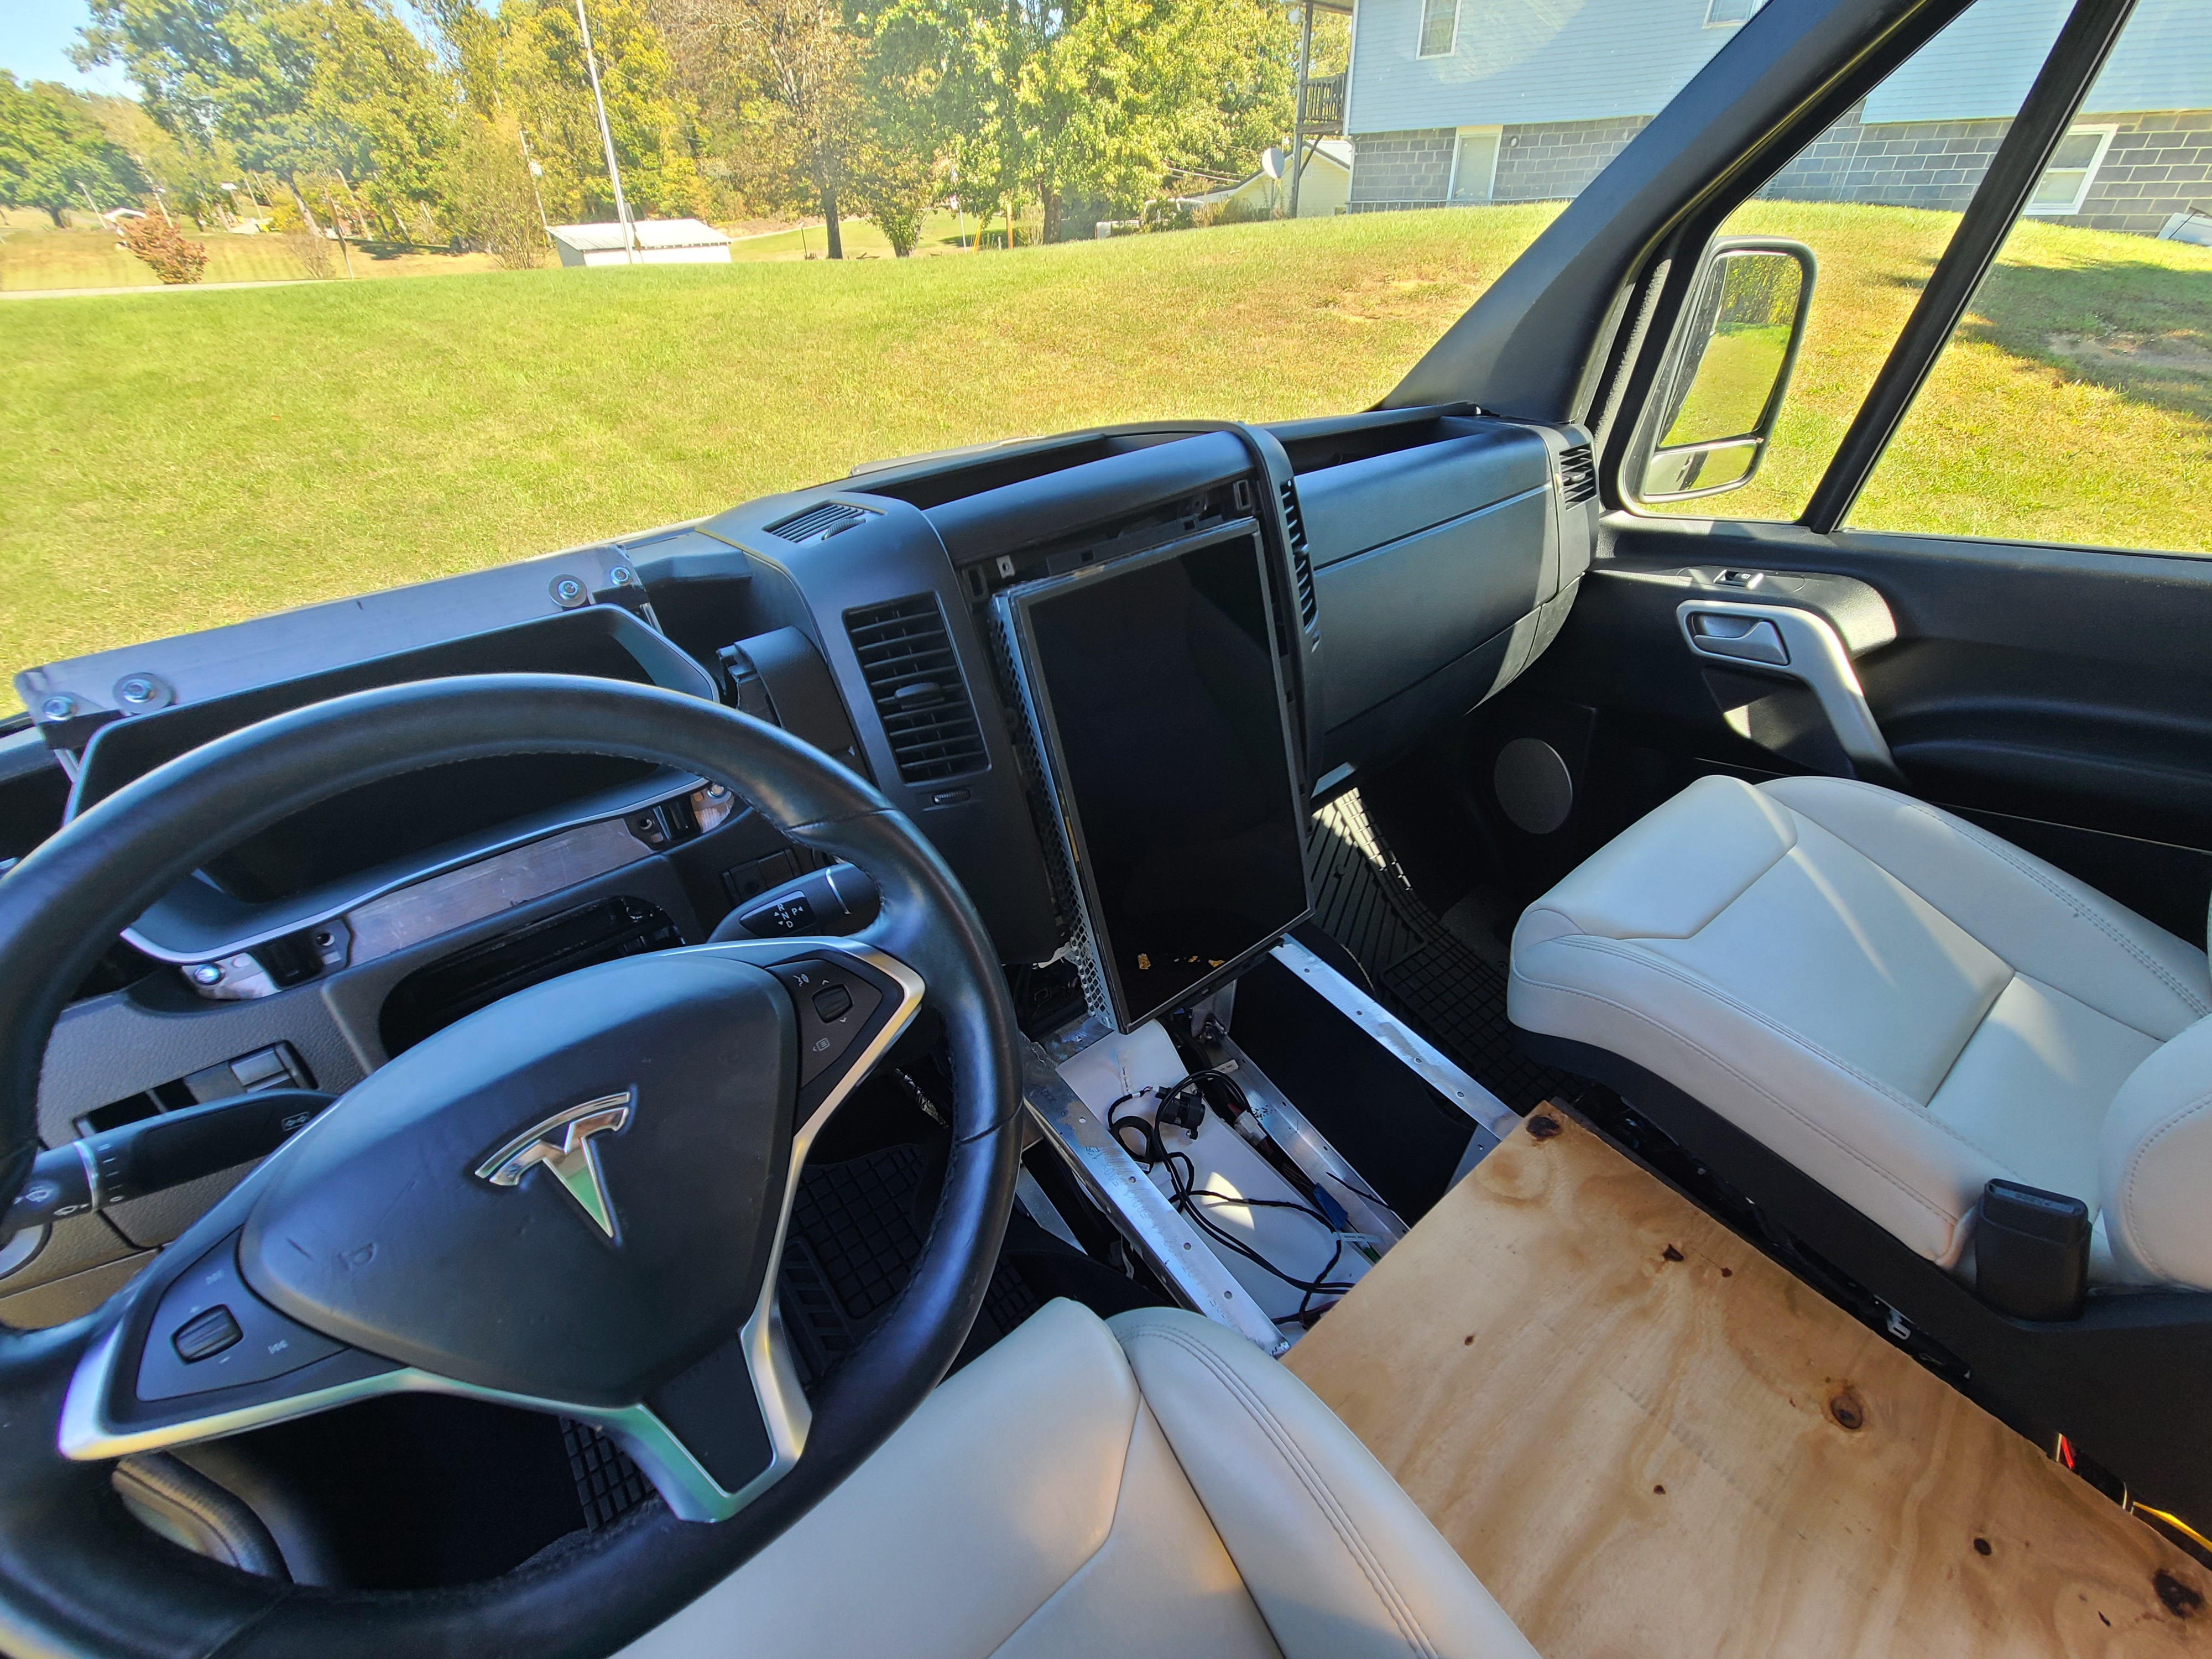
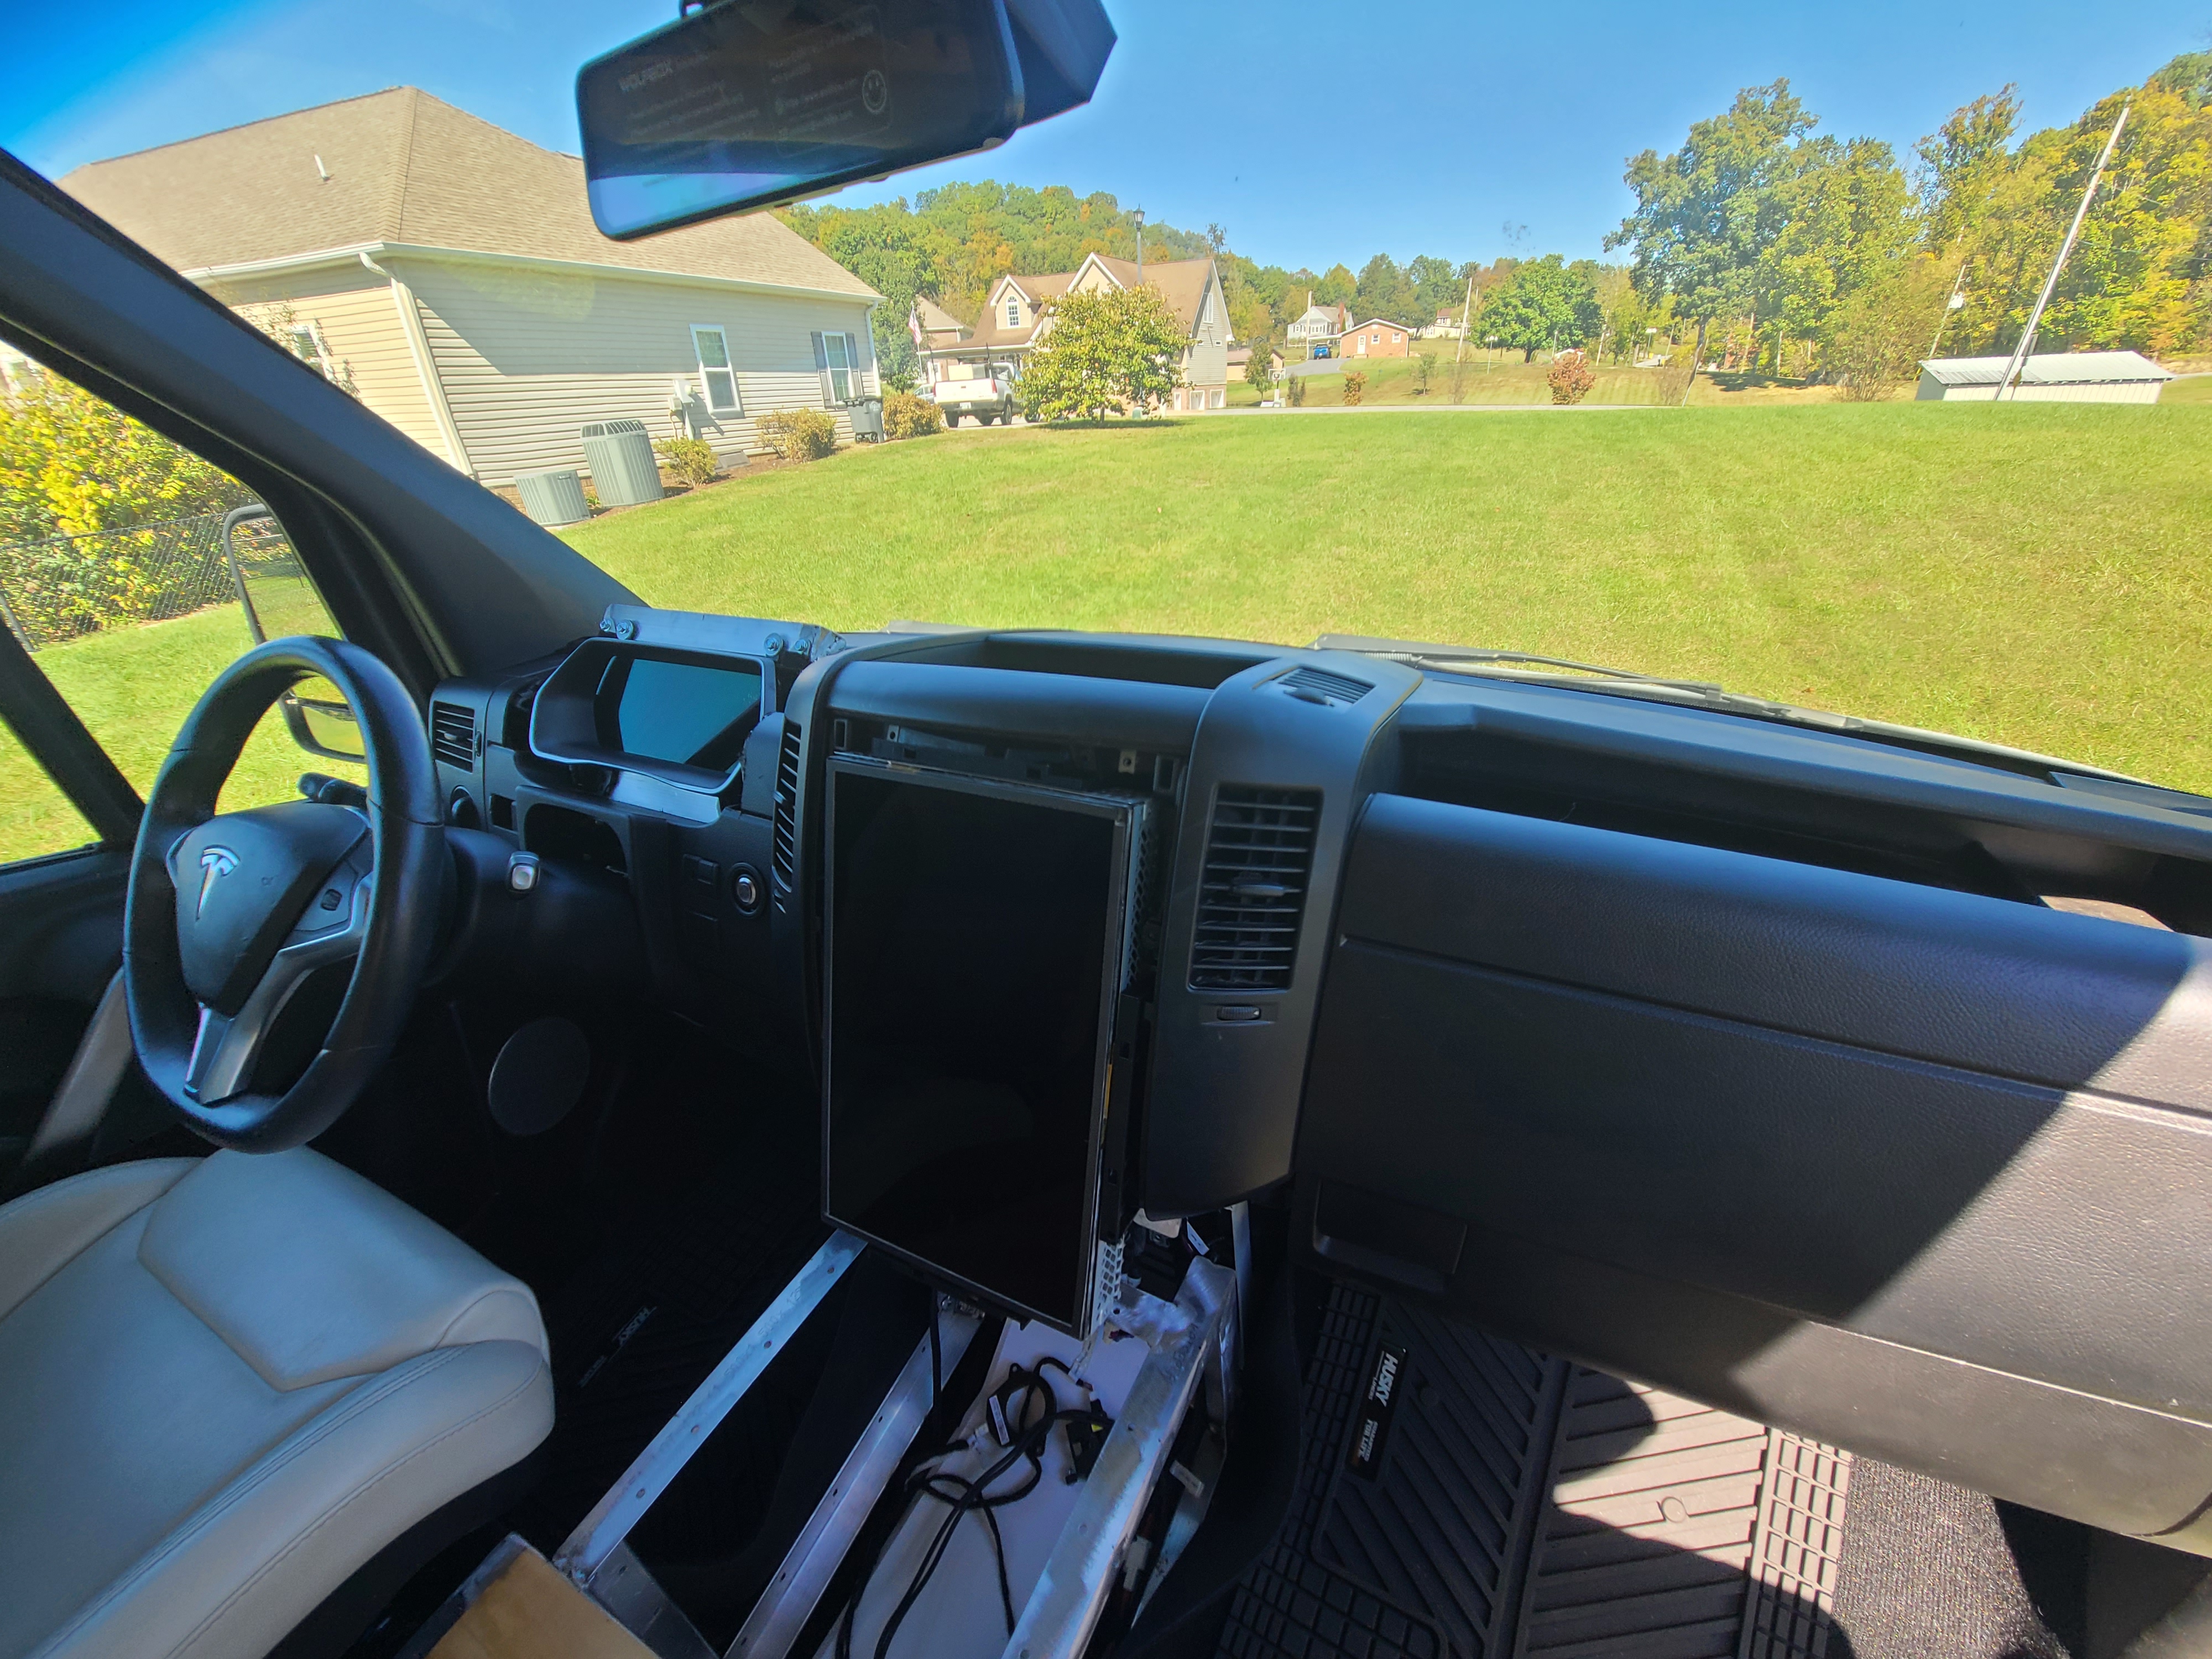
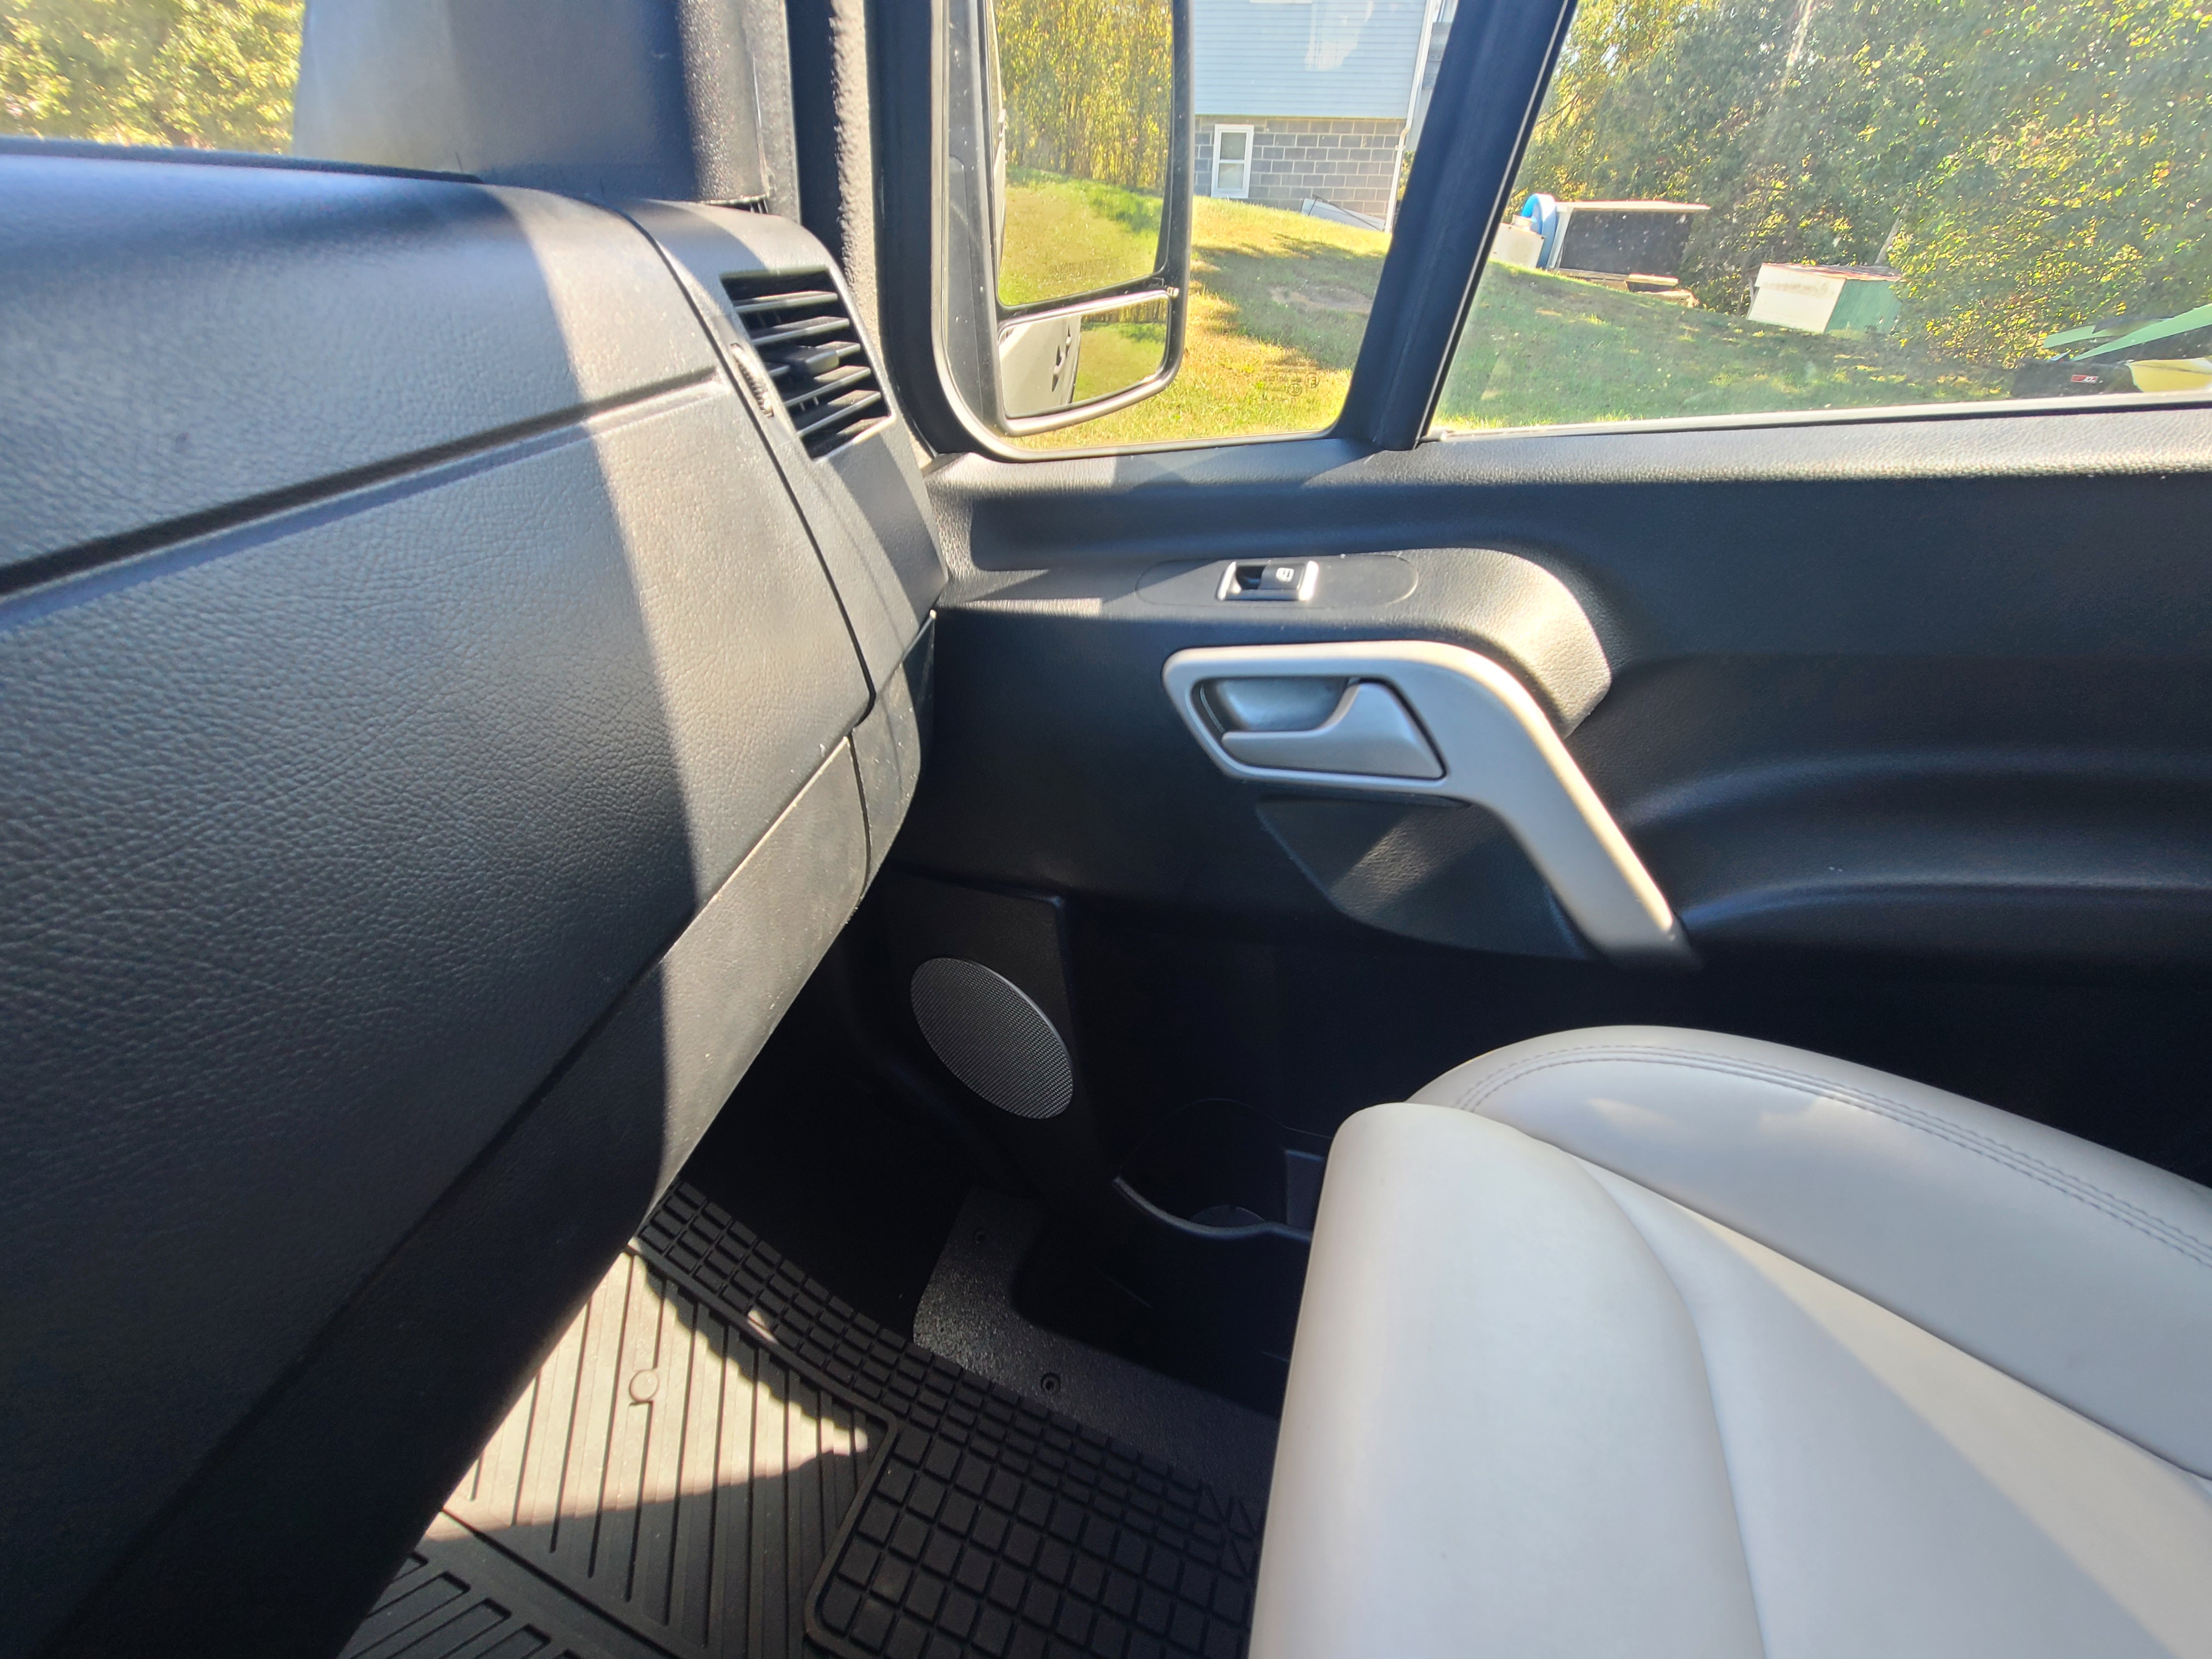
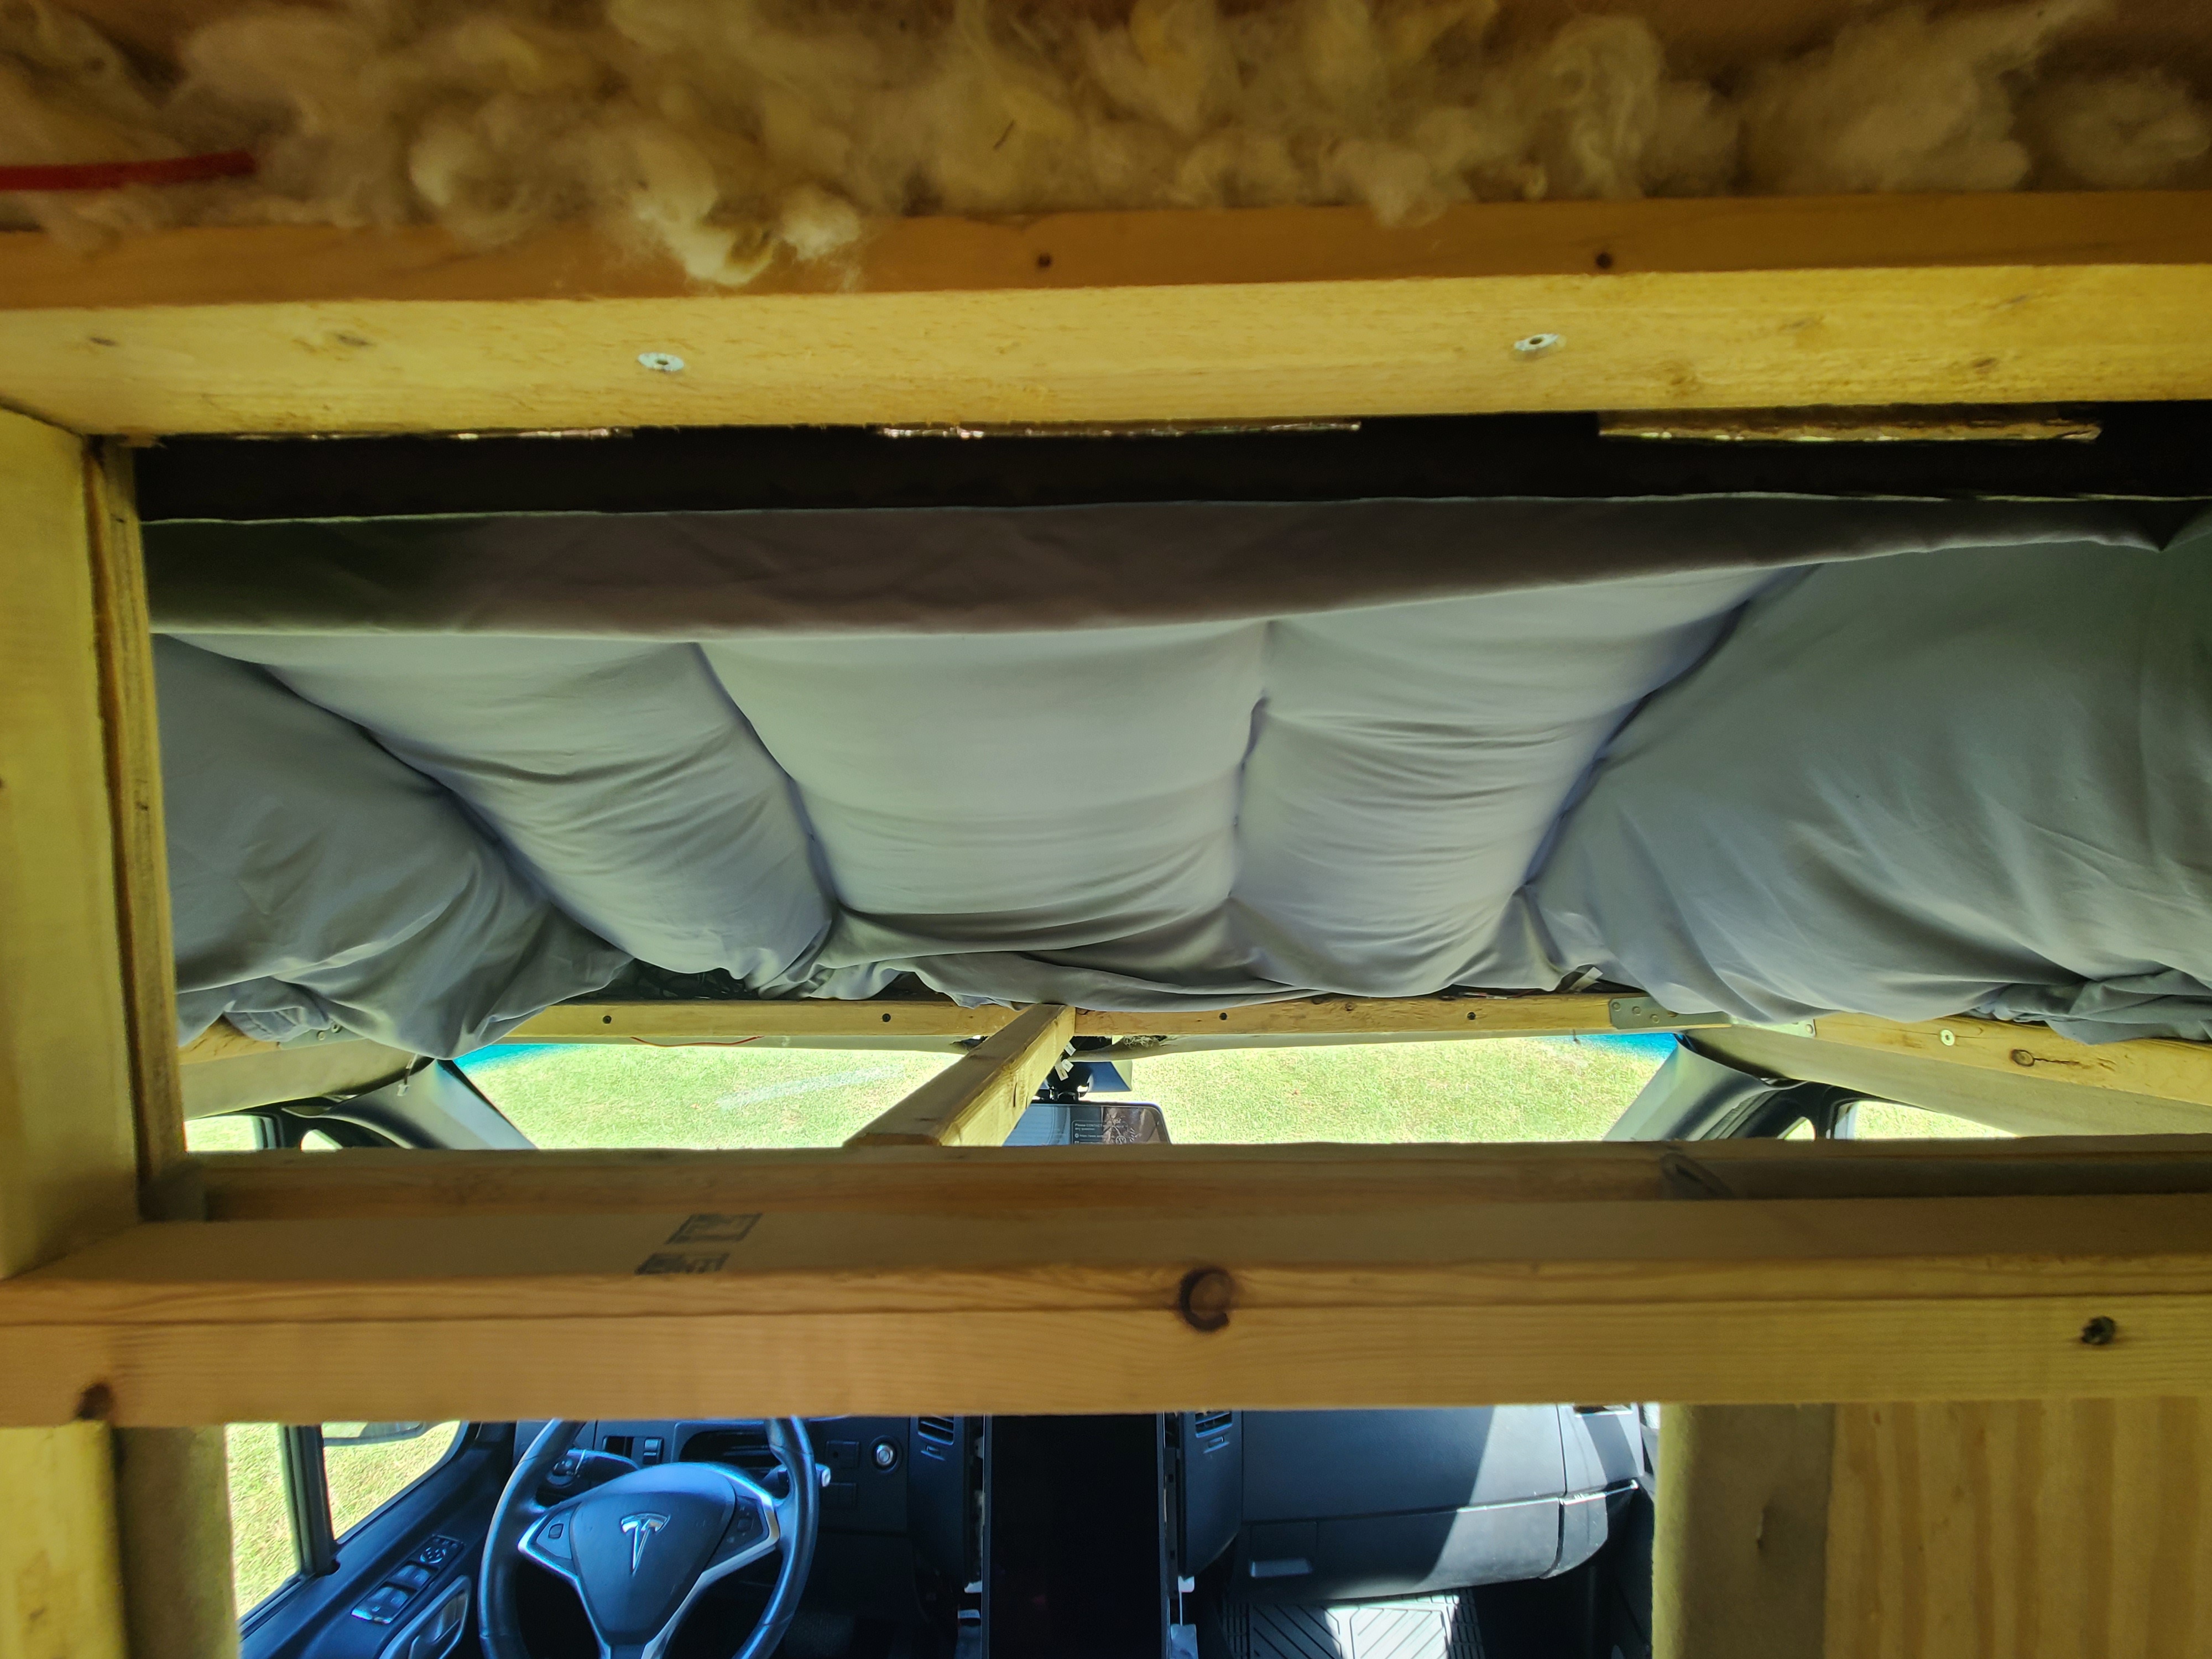
Where Mercedes meets Tesla
The Tesla components had to do some gymnastics to merge with the Mercedes Dashboard.
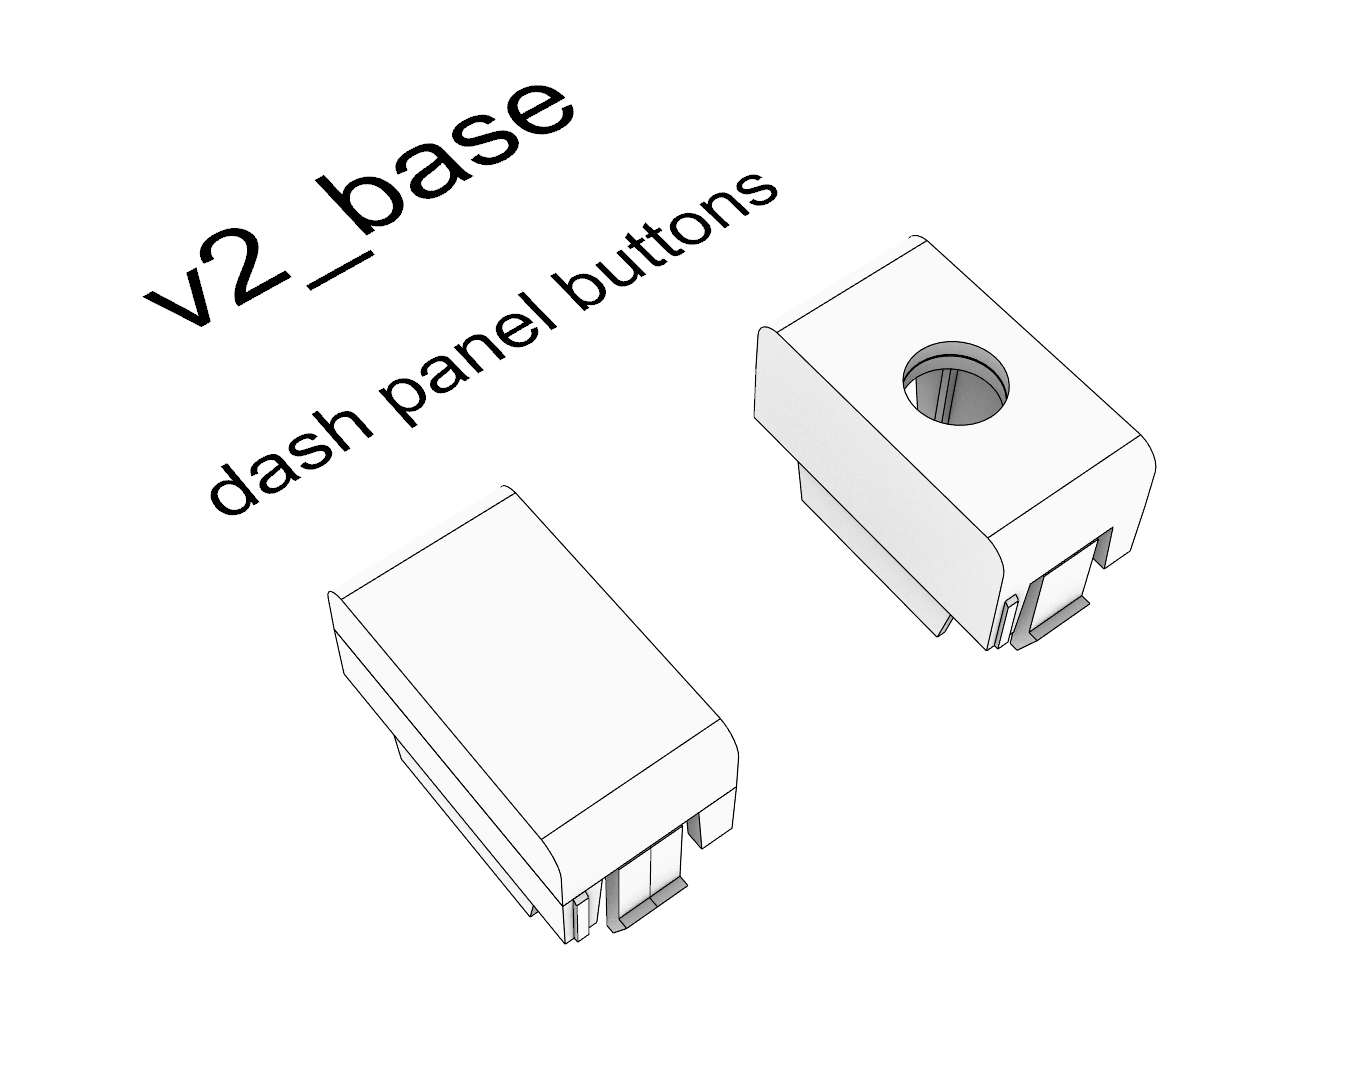
Adapters were manufactured out of steel or aluminum for the large components. The smaller components utilize 3D printed adapters made from ASA filament (to enhance durability, strength, and heat resistance).
The transmission tunnel was flattened out to fit the Tesla HVAC system.
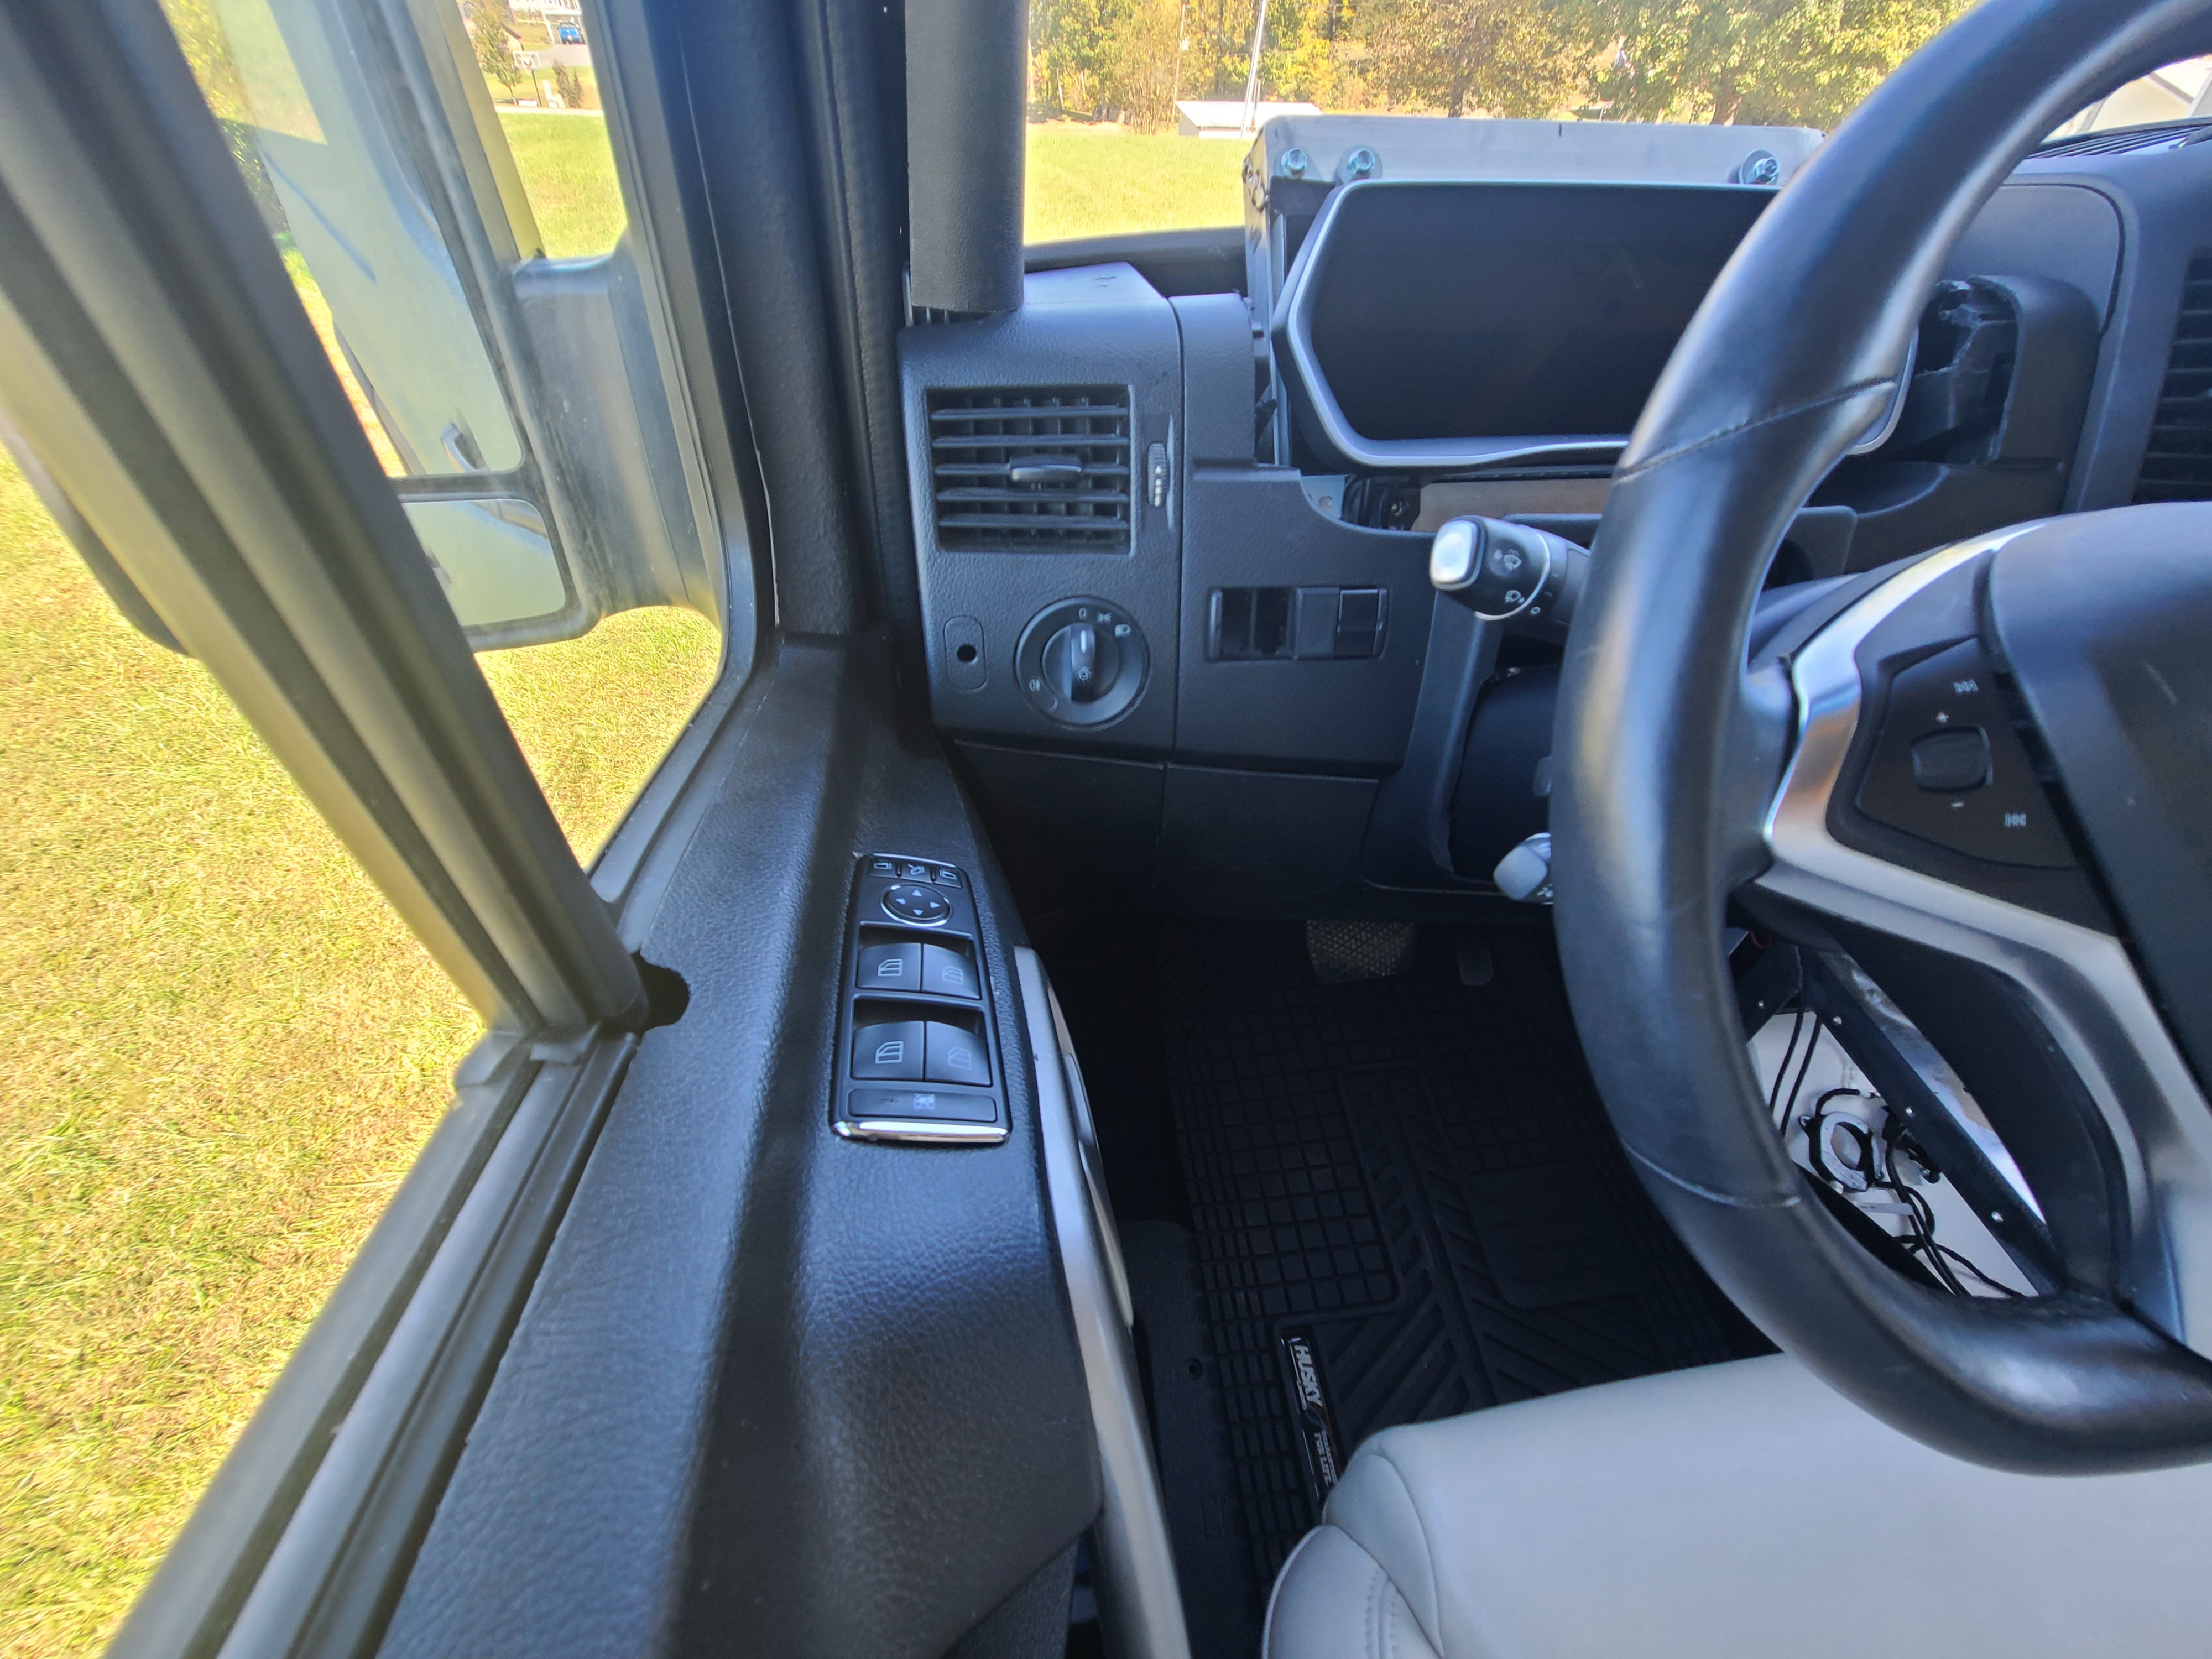
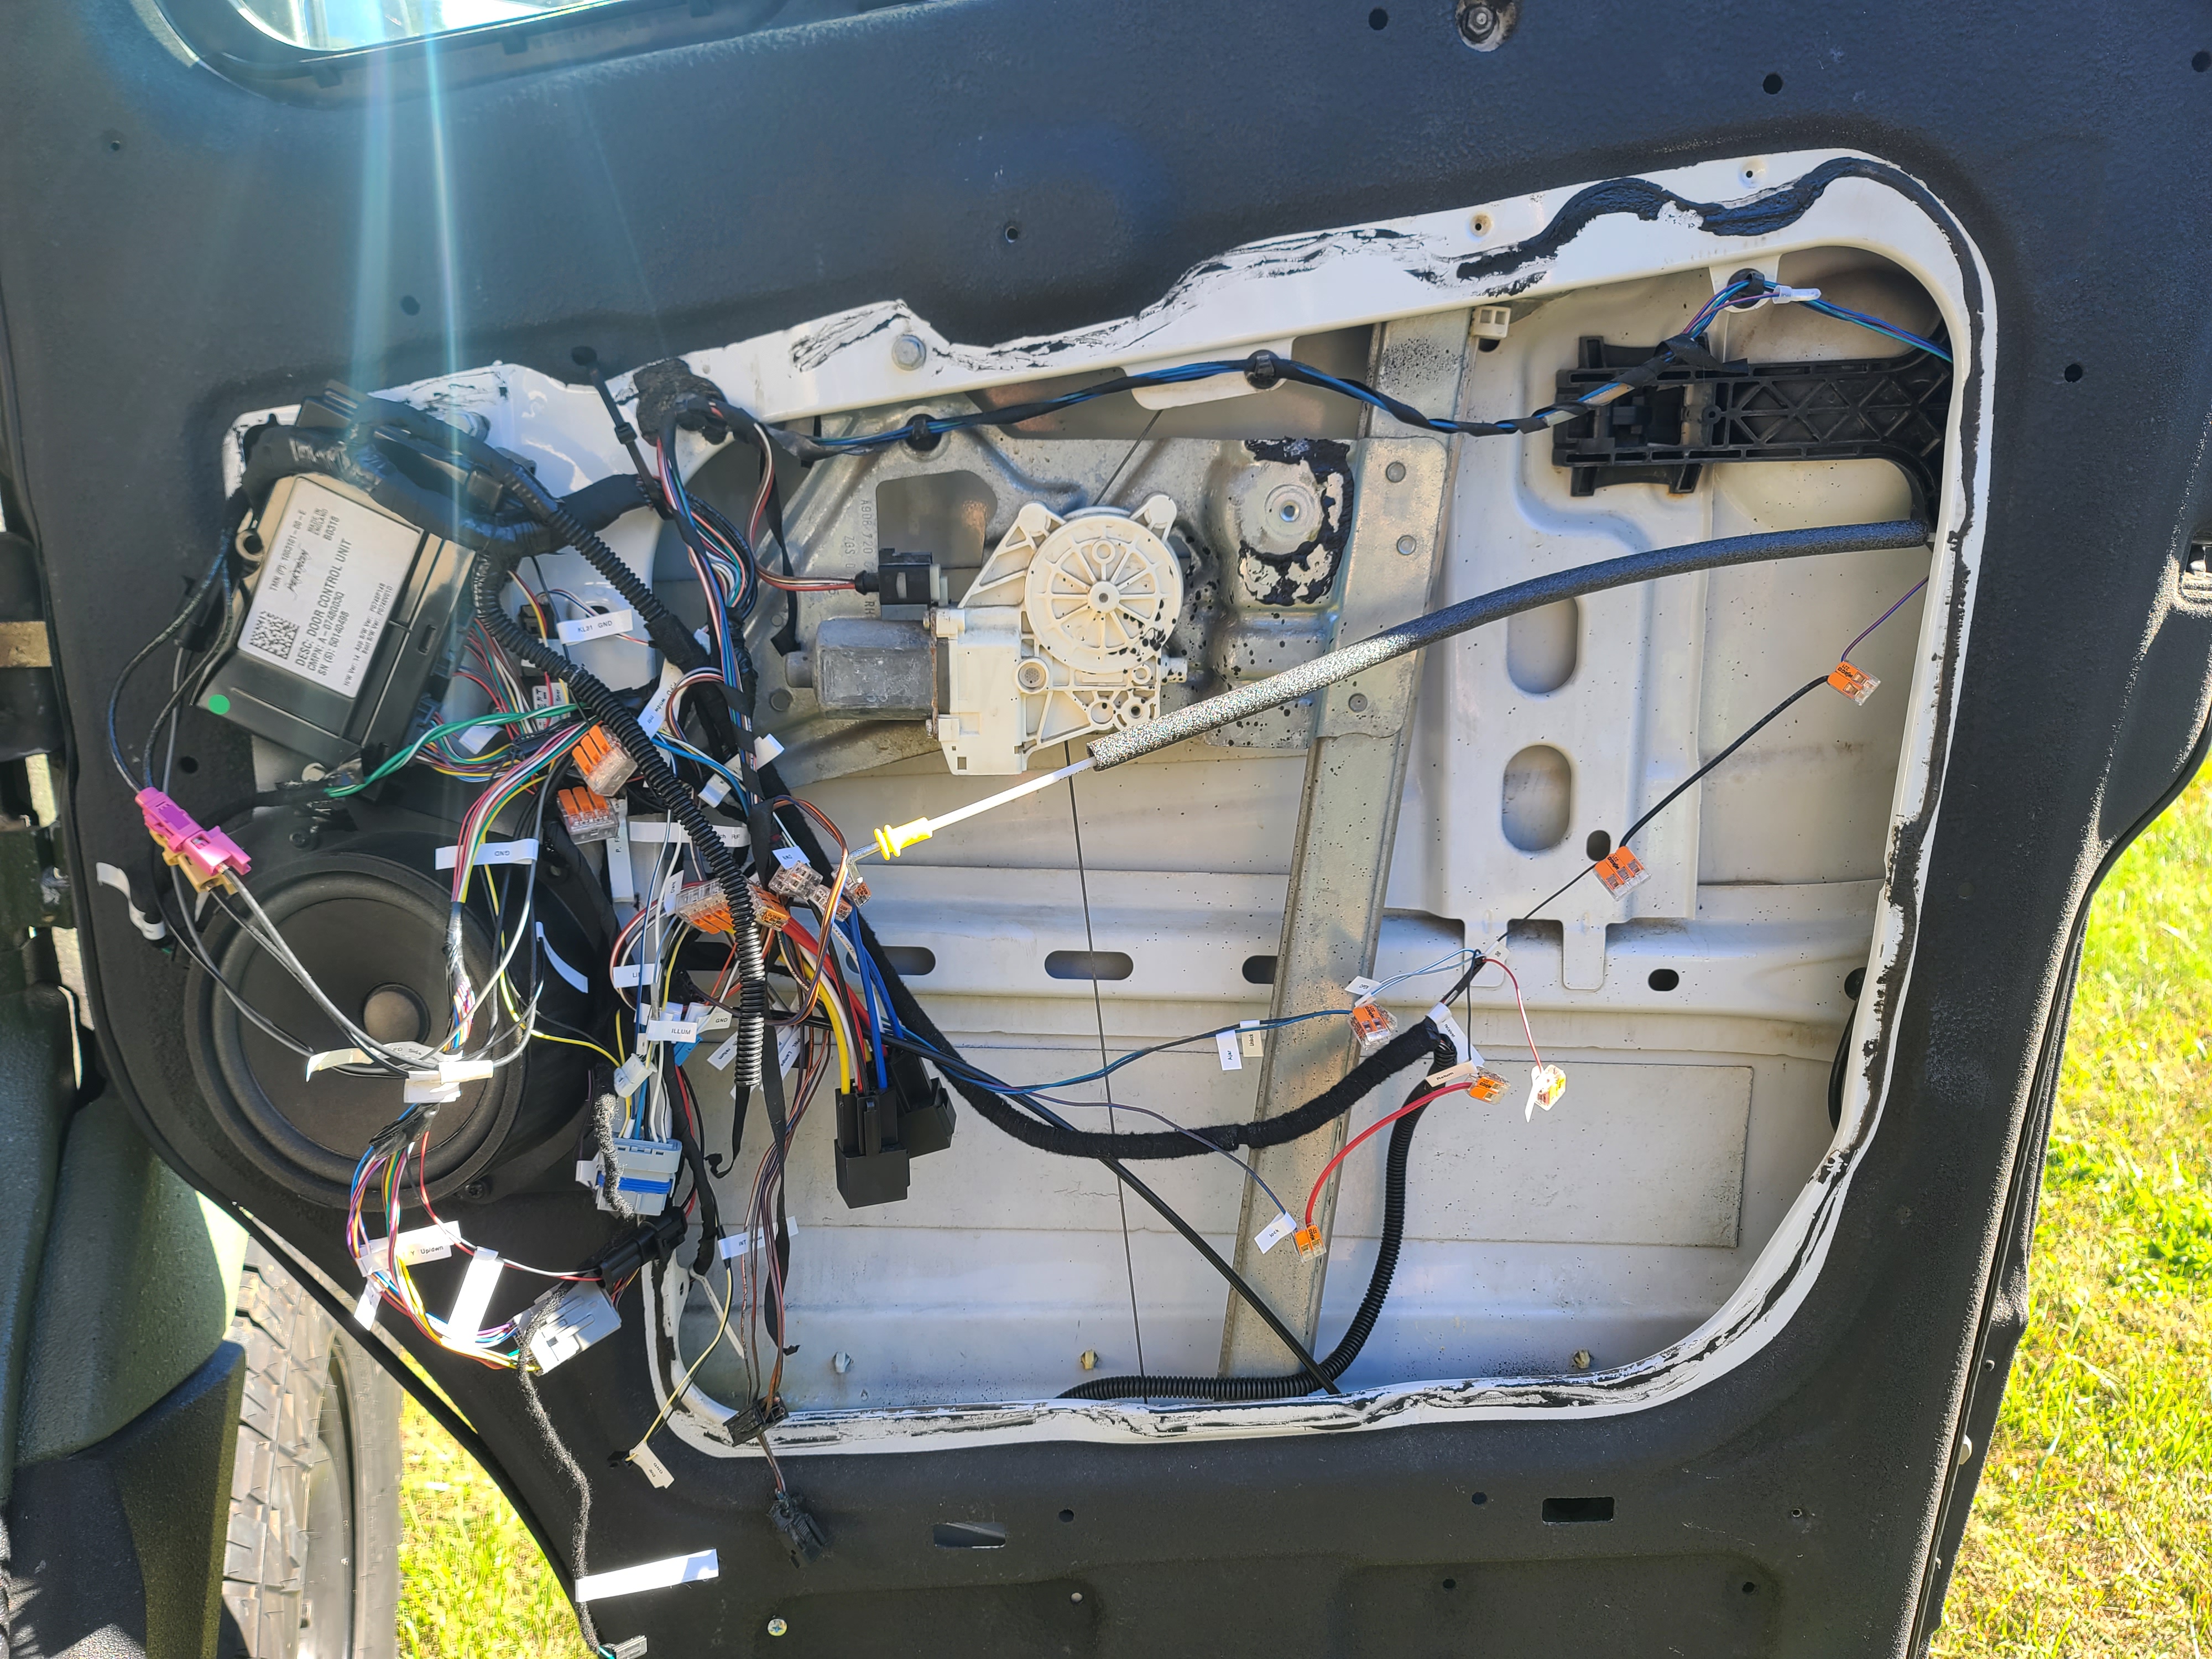
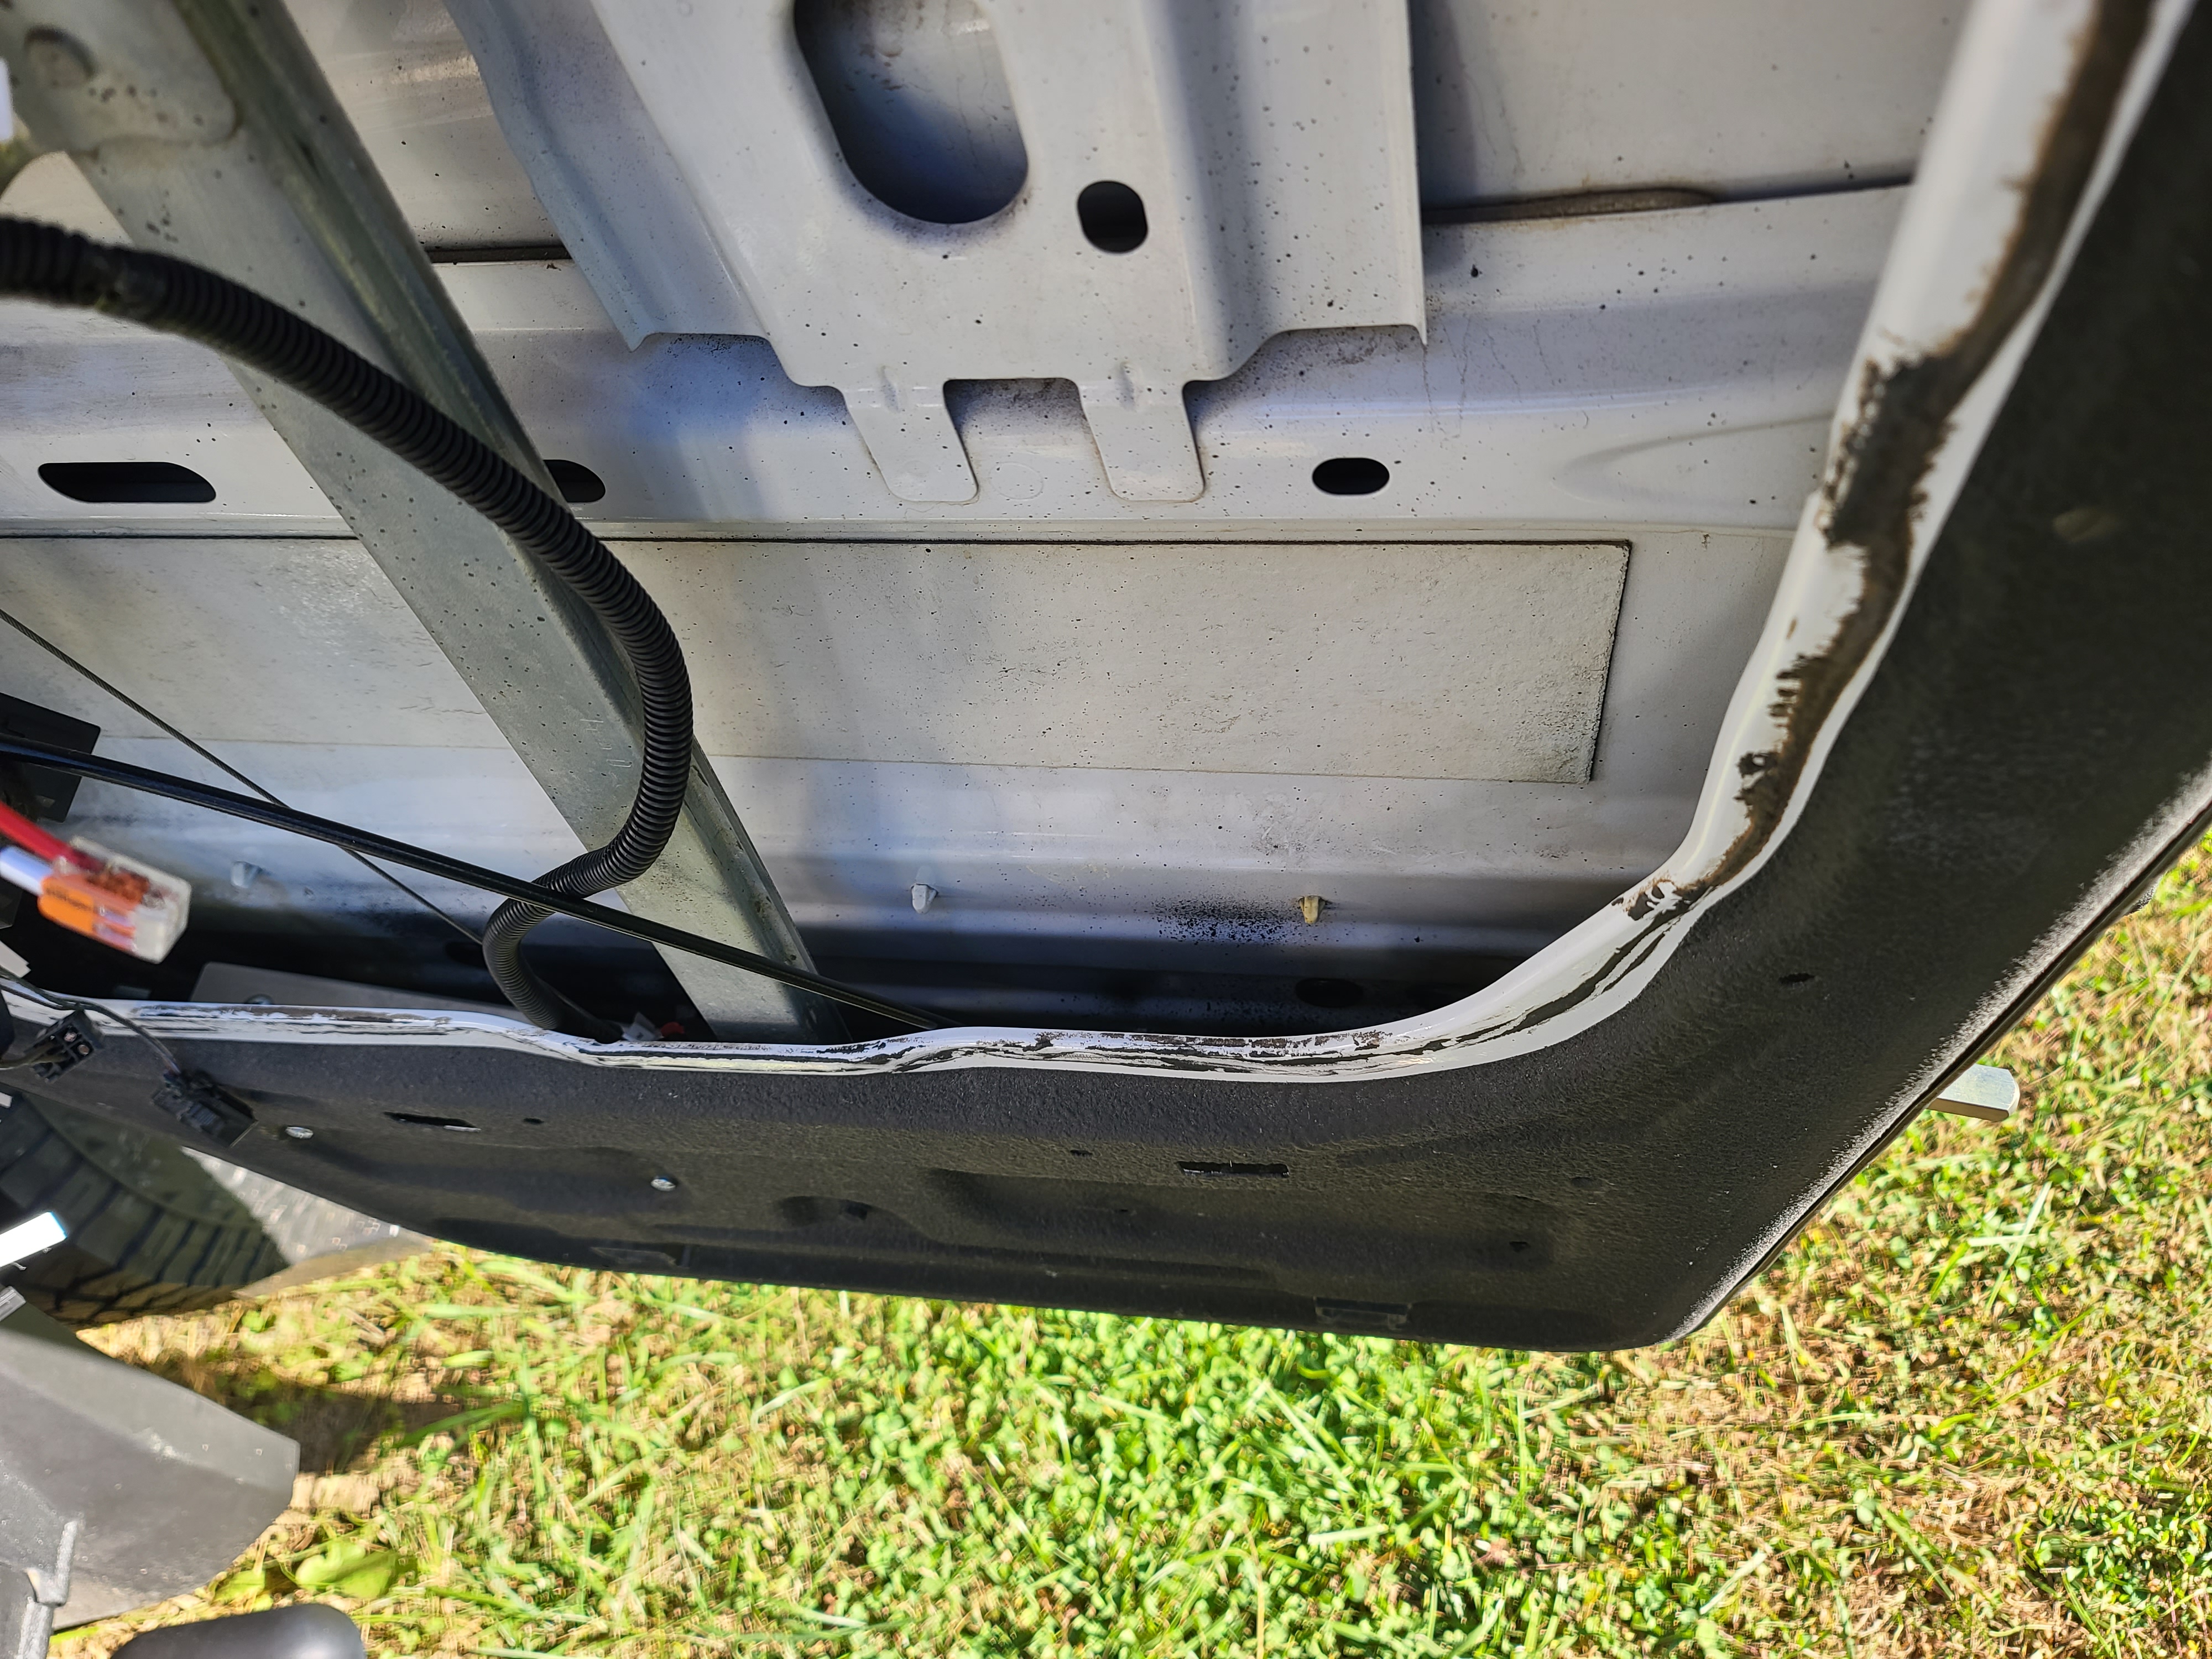
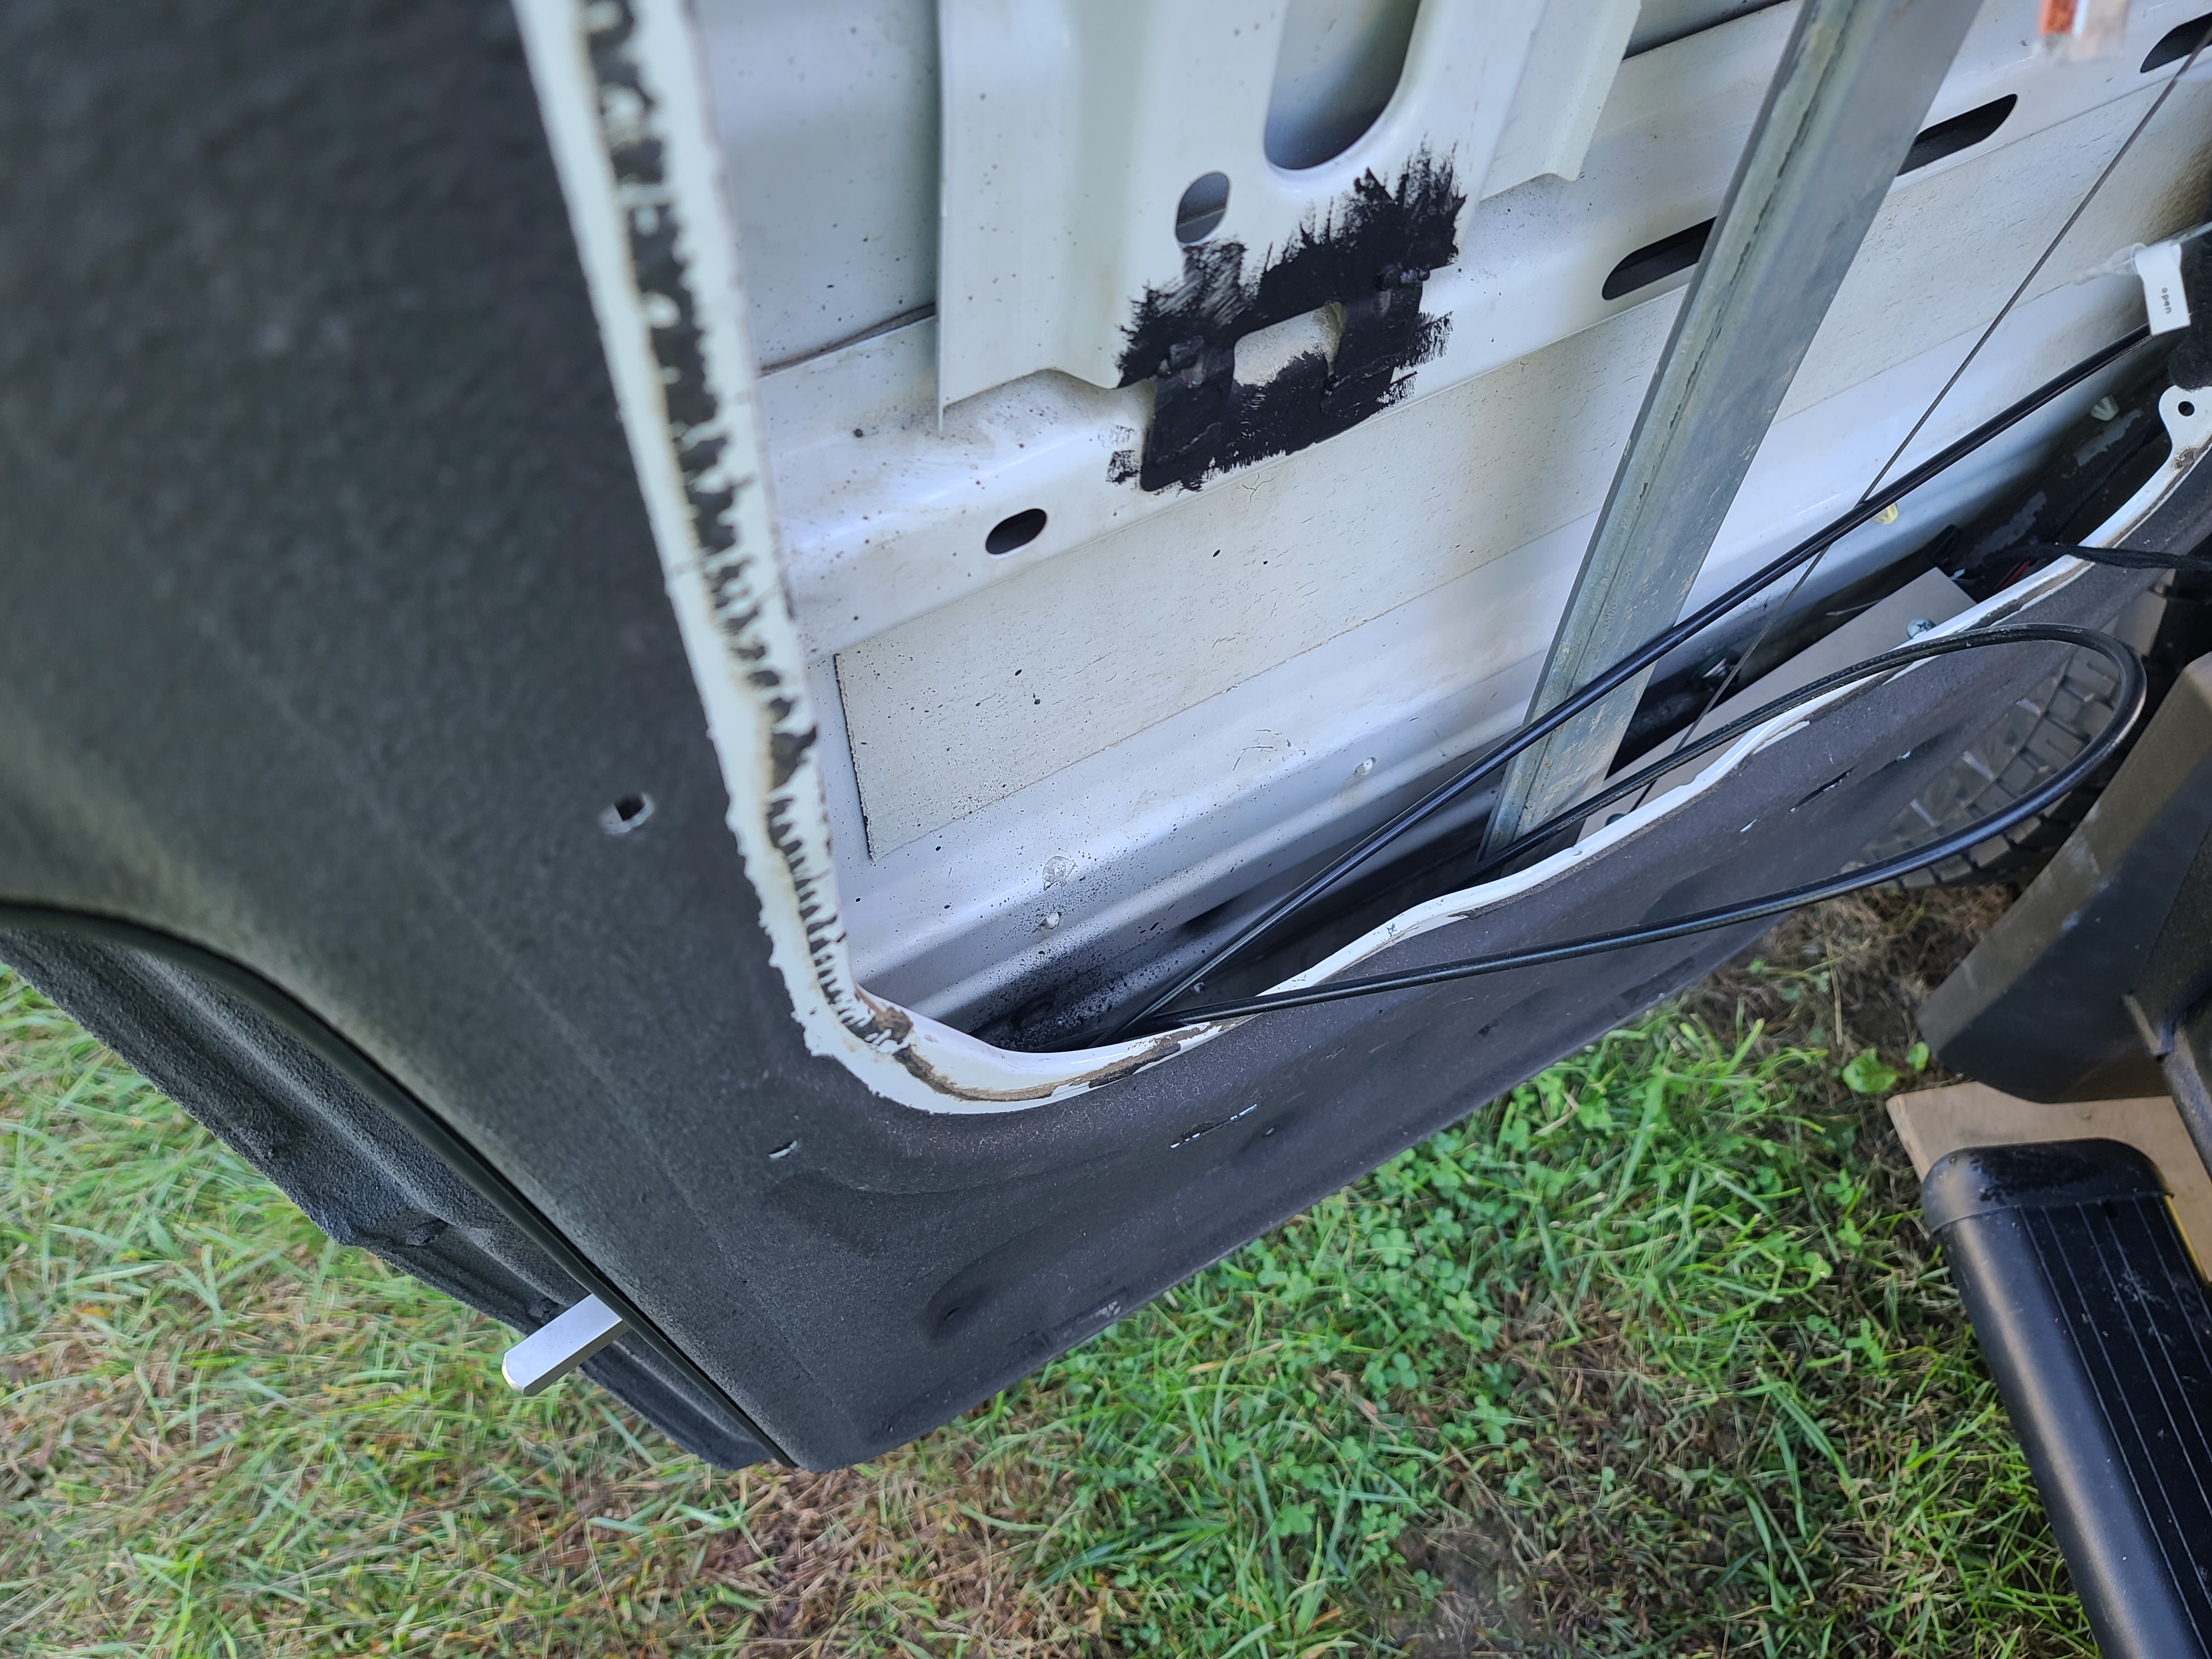
Referencing the Tesla wiring diagrams, the Mercedes side mirrors, door locks, windows, and tailights were connected. All cables are labeled to help track the systems.
(click image to expand)


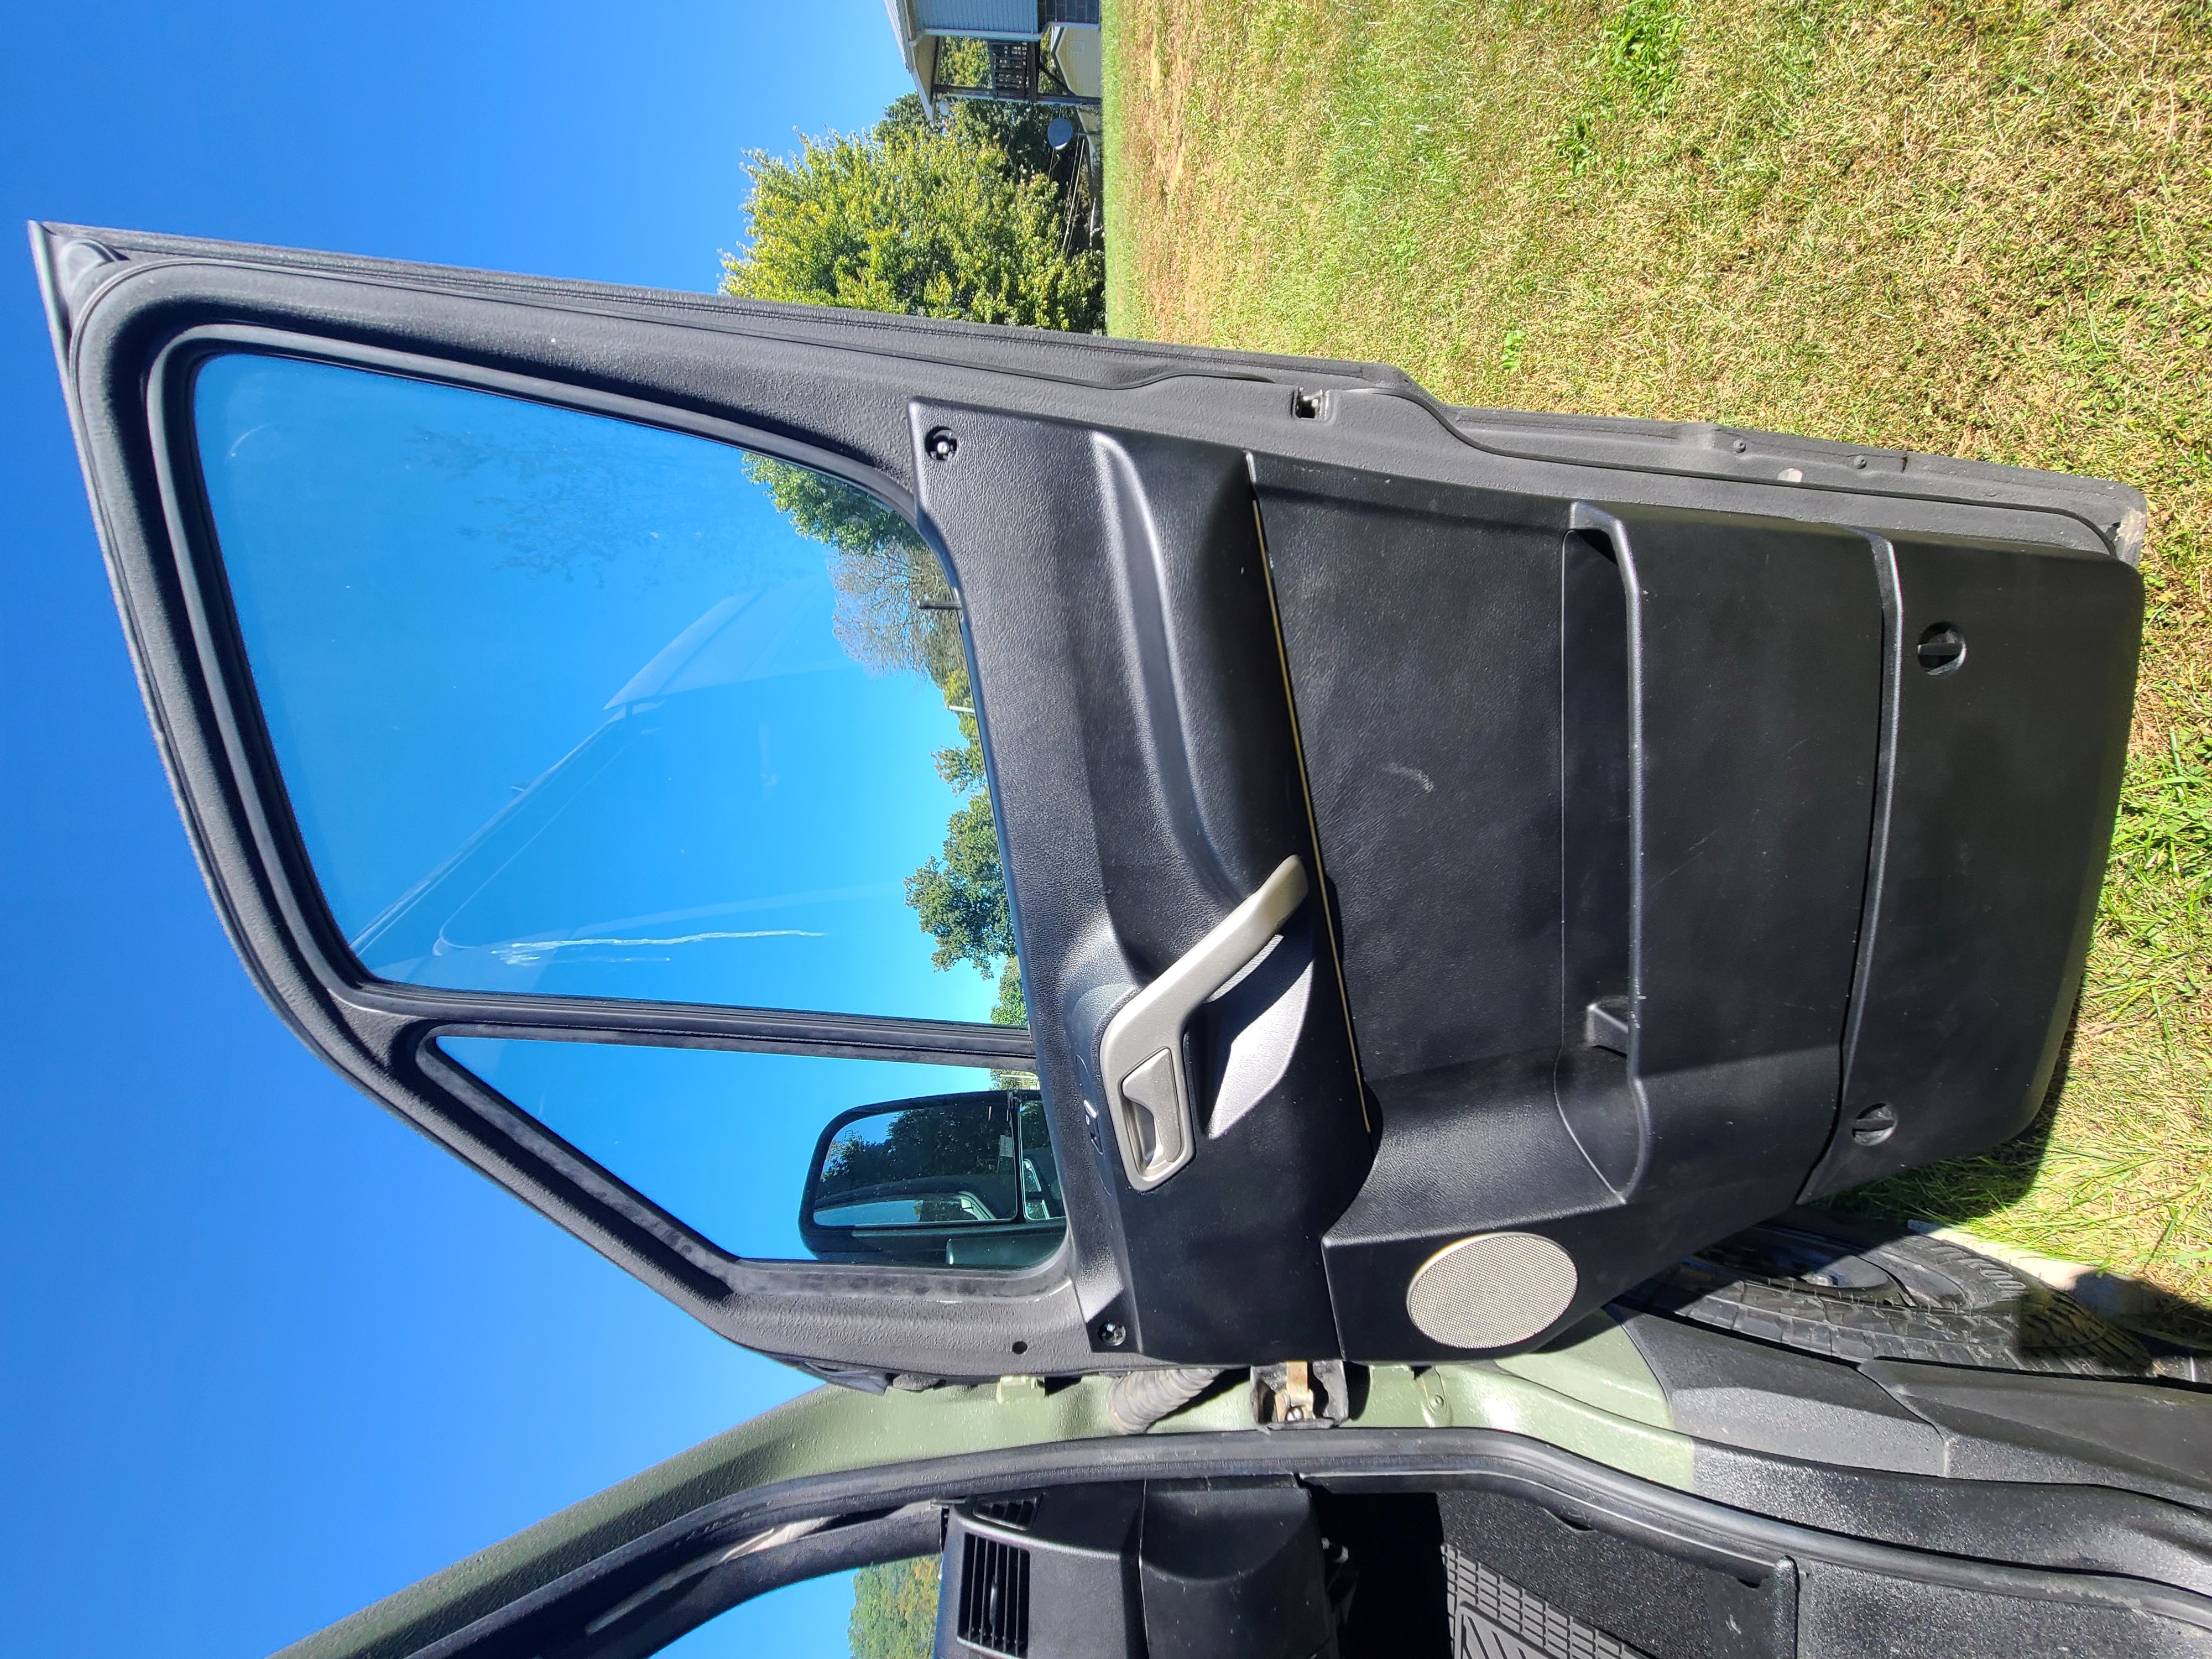
A few details
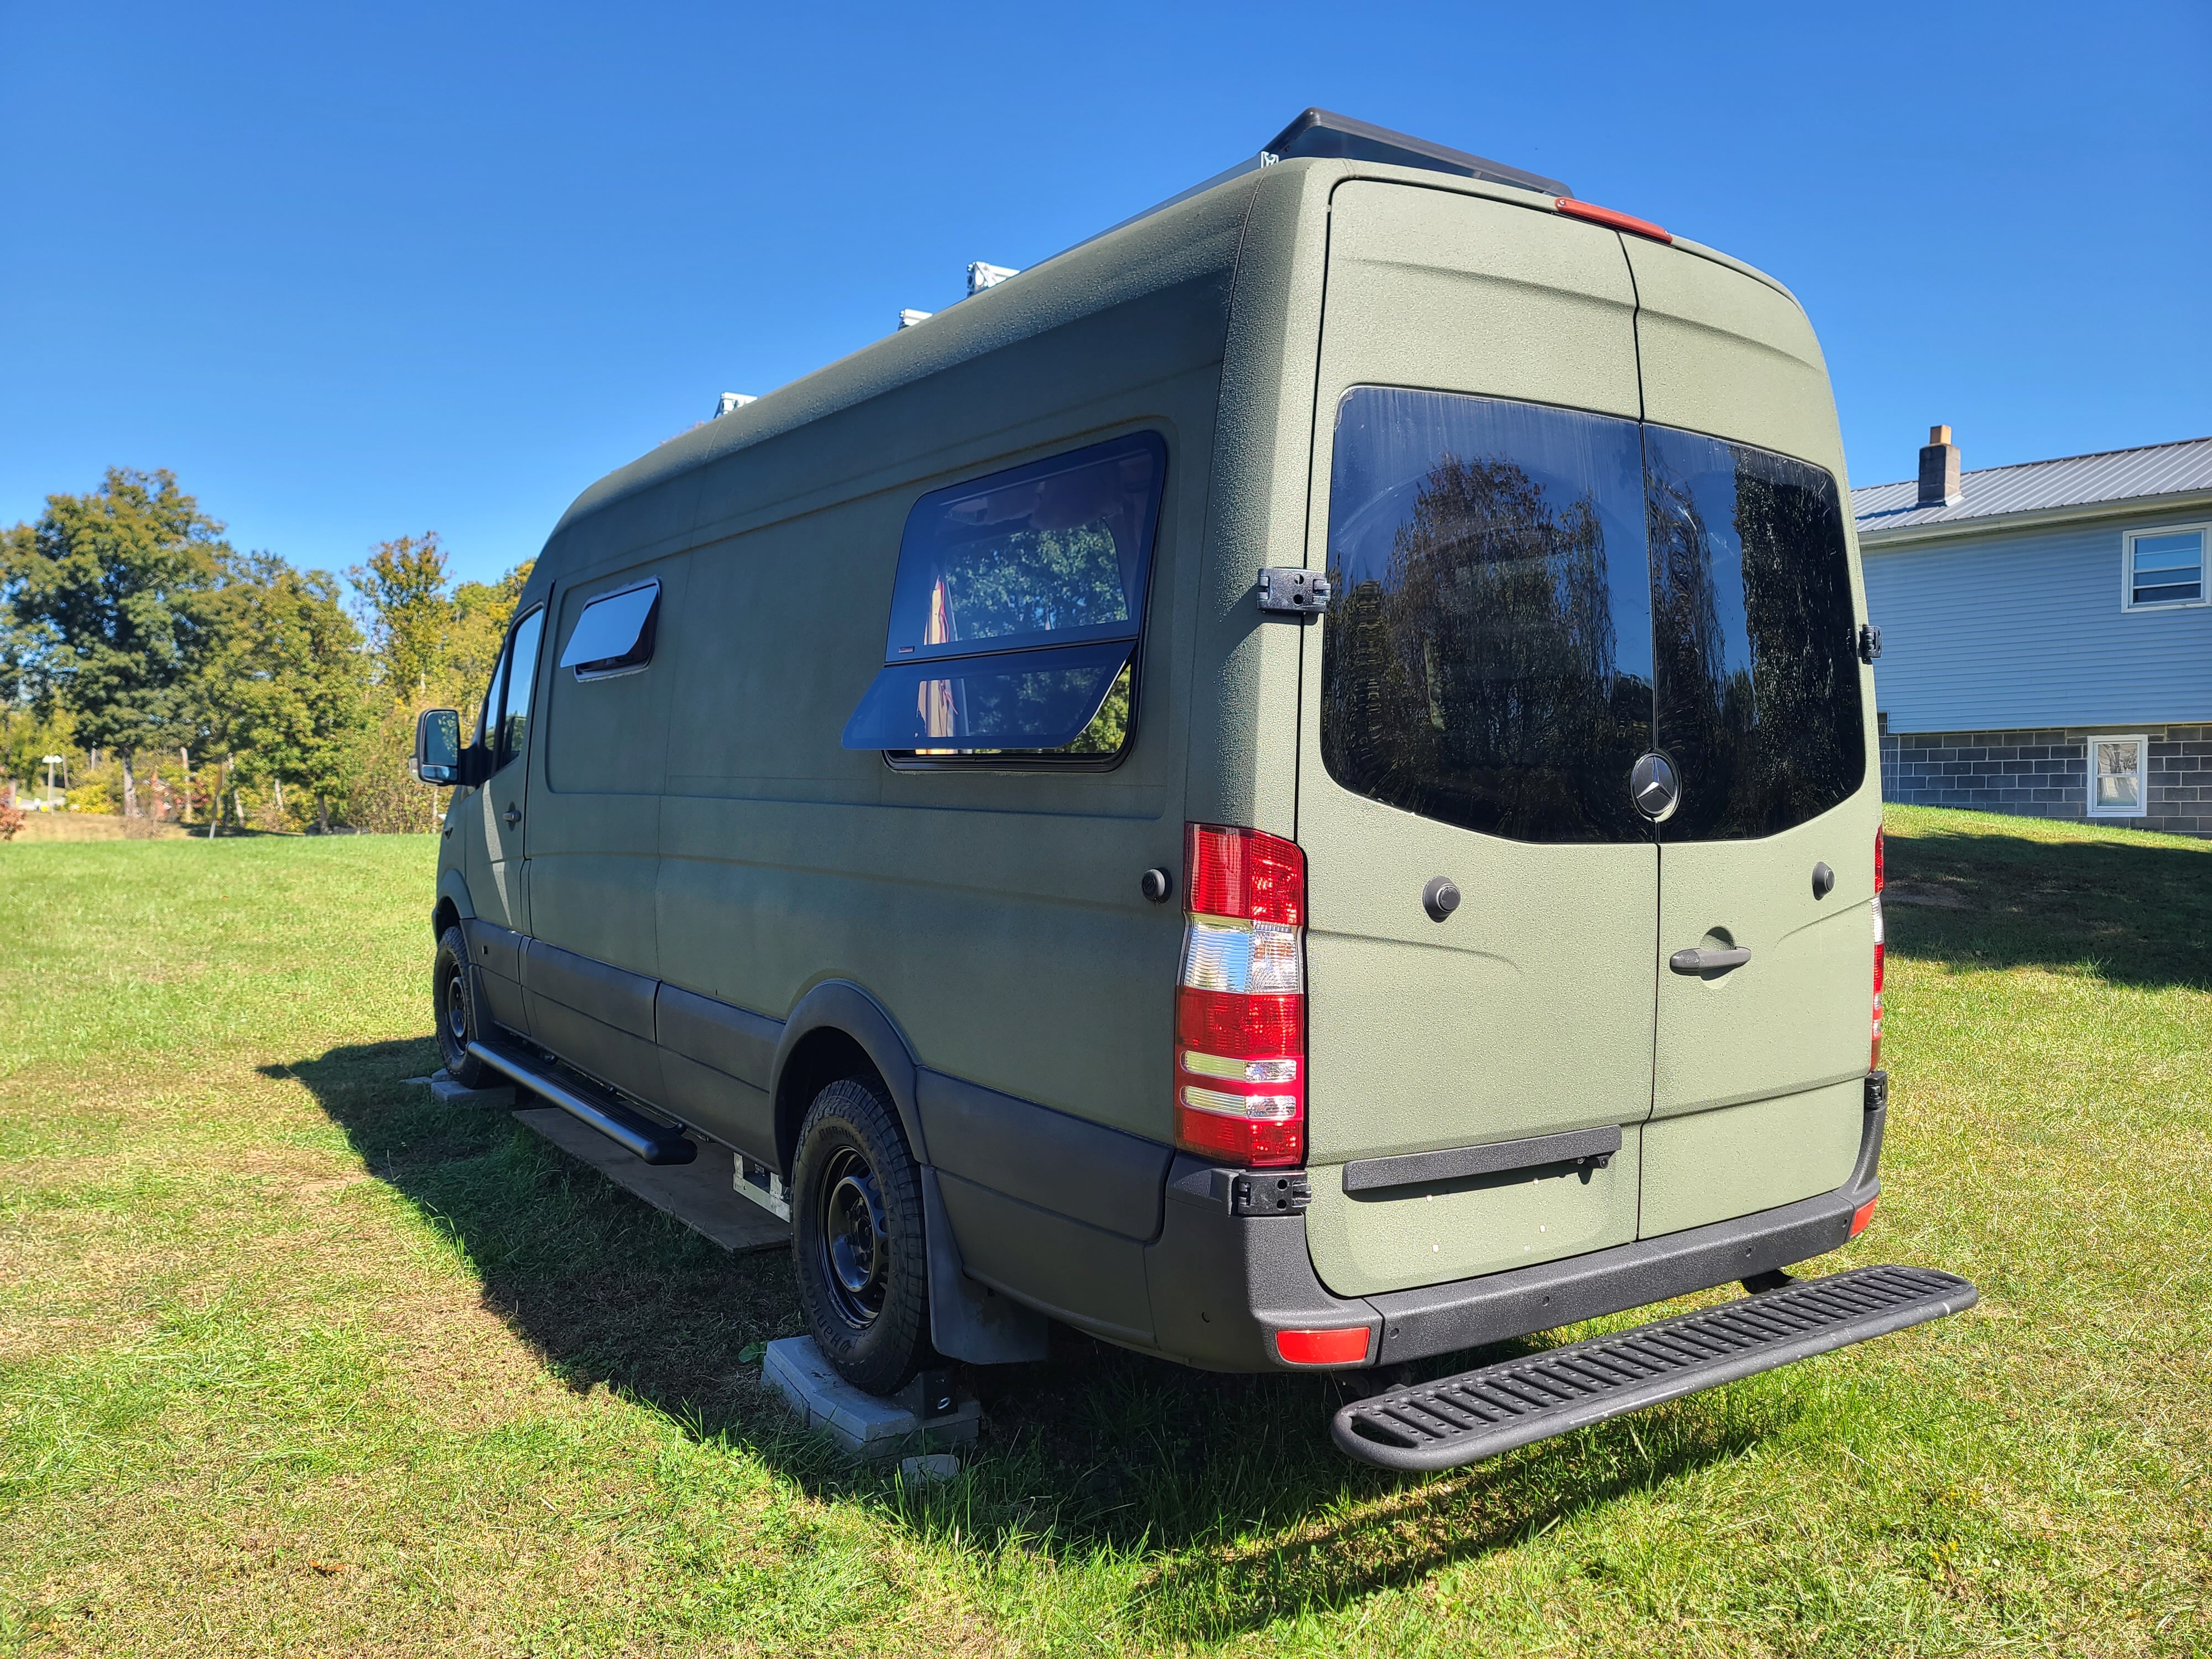
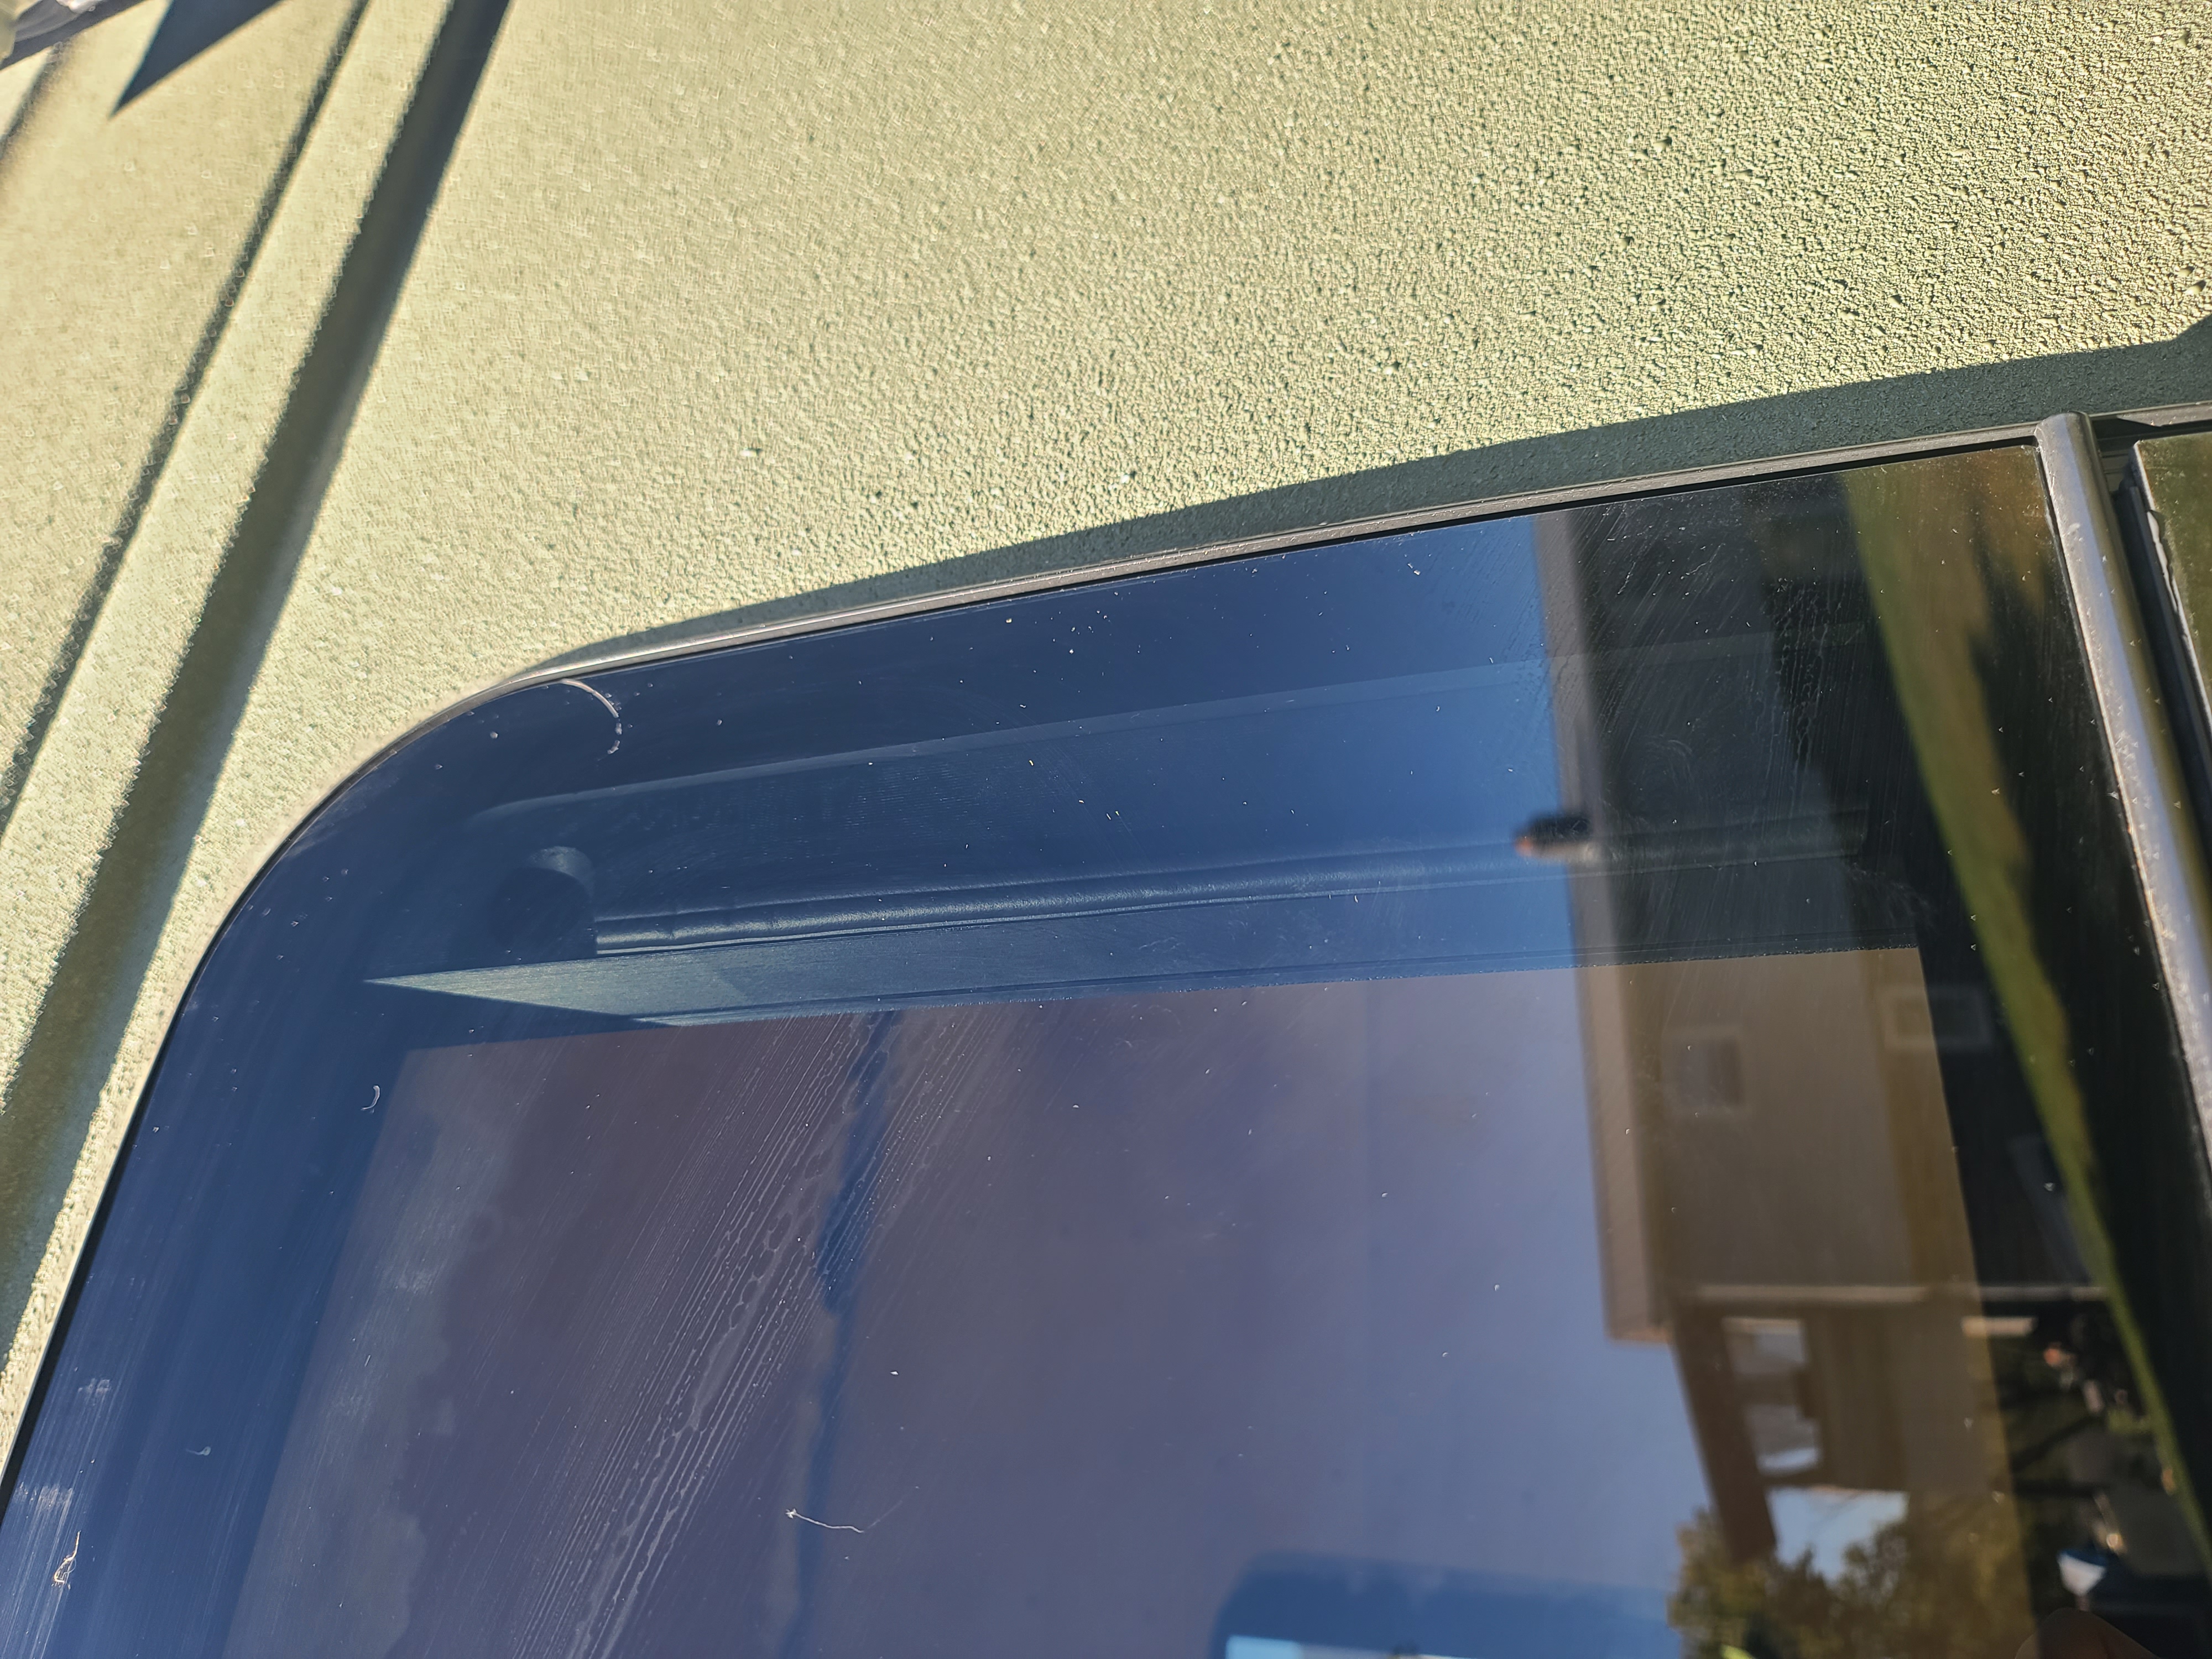
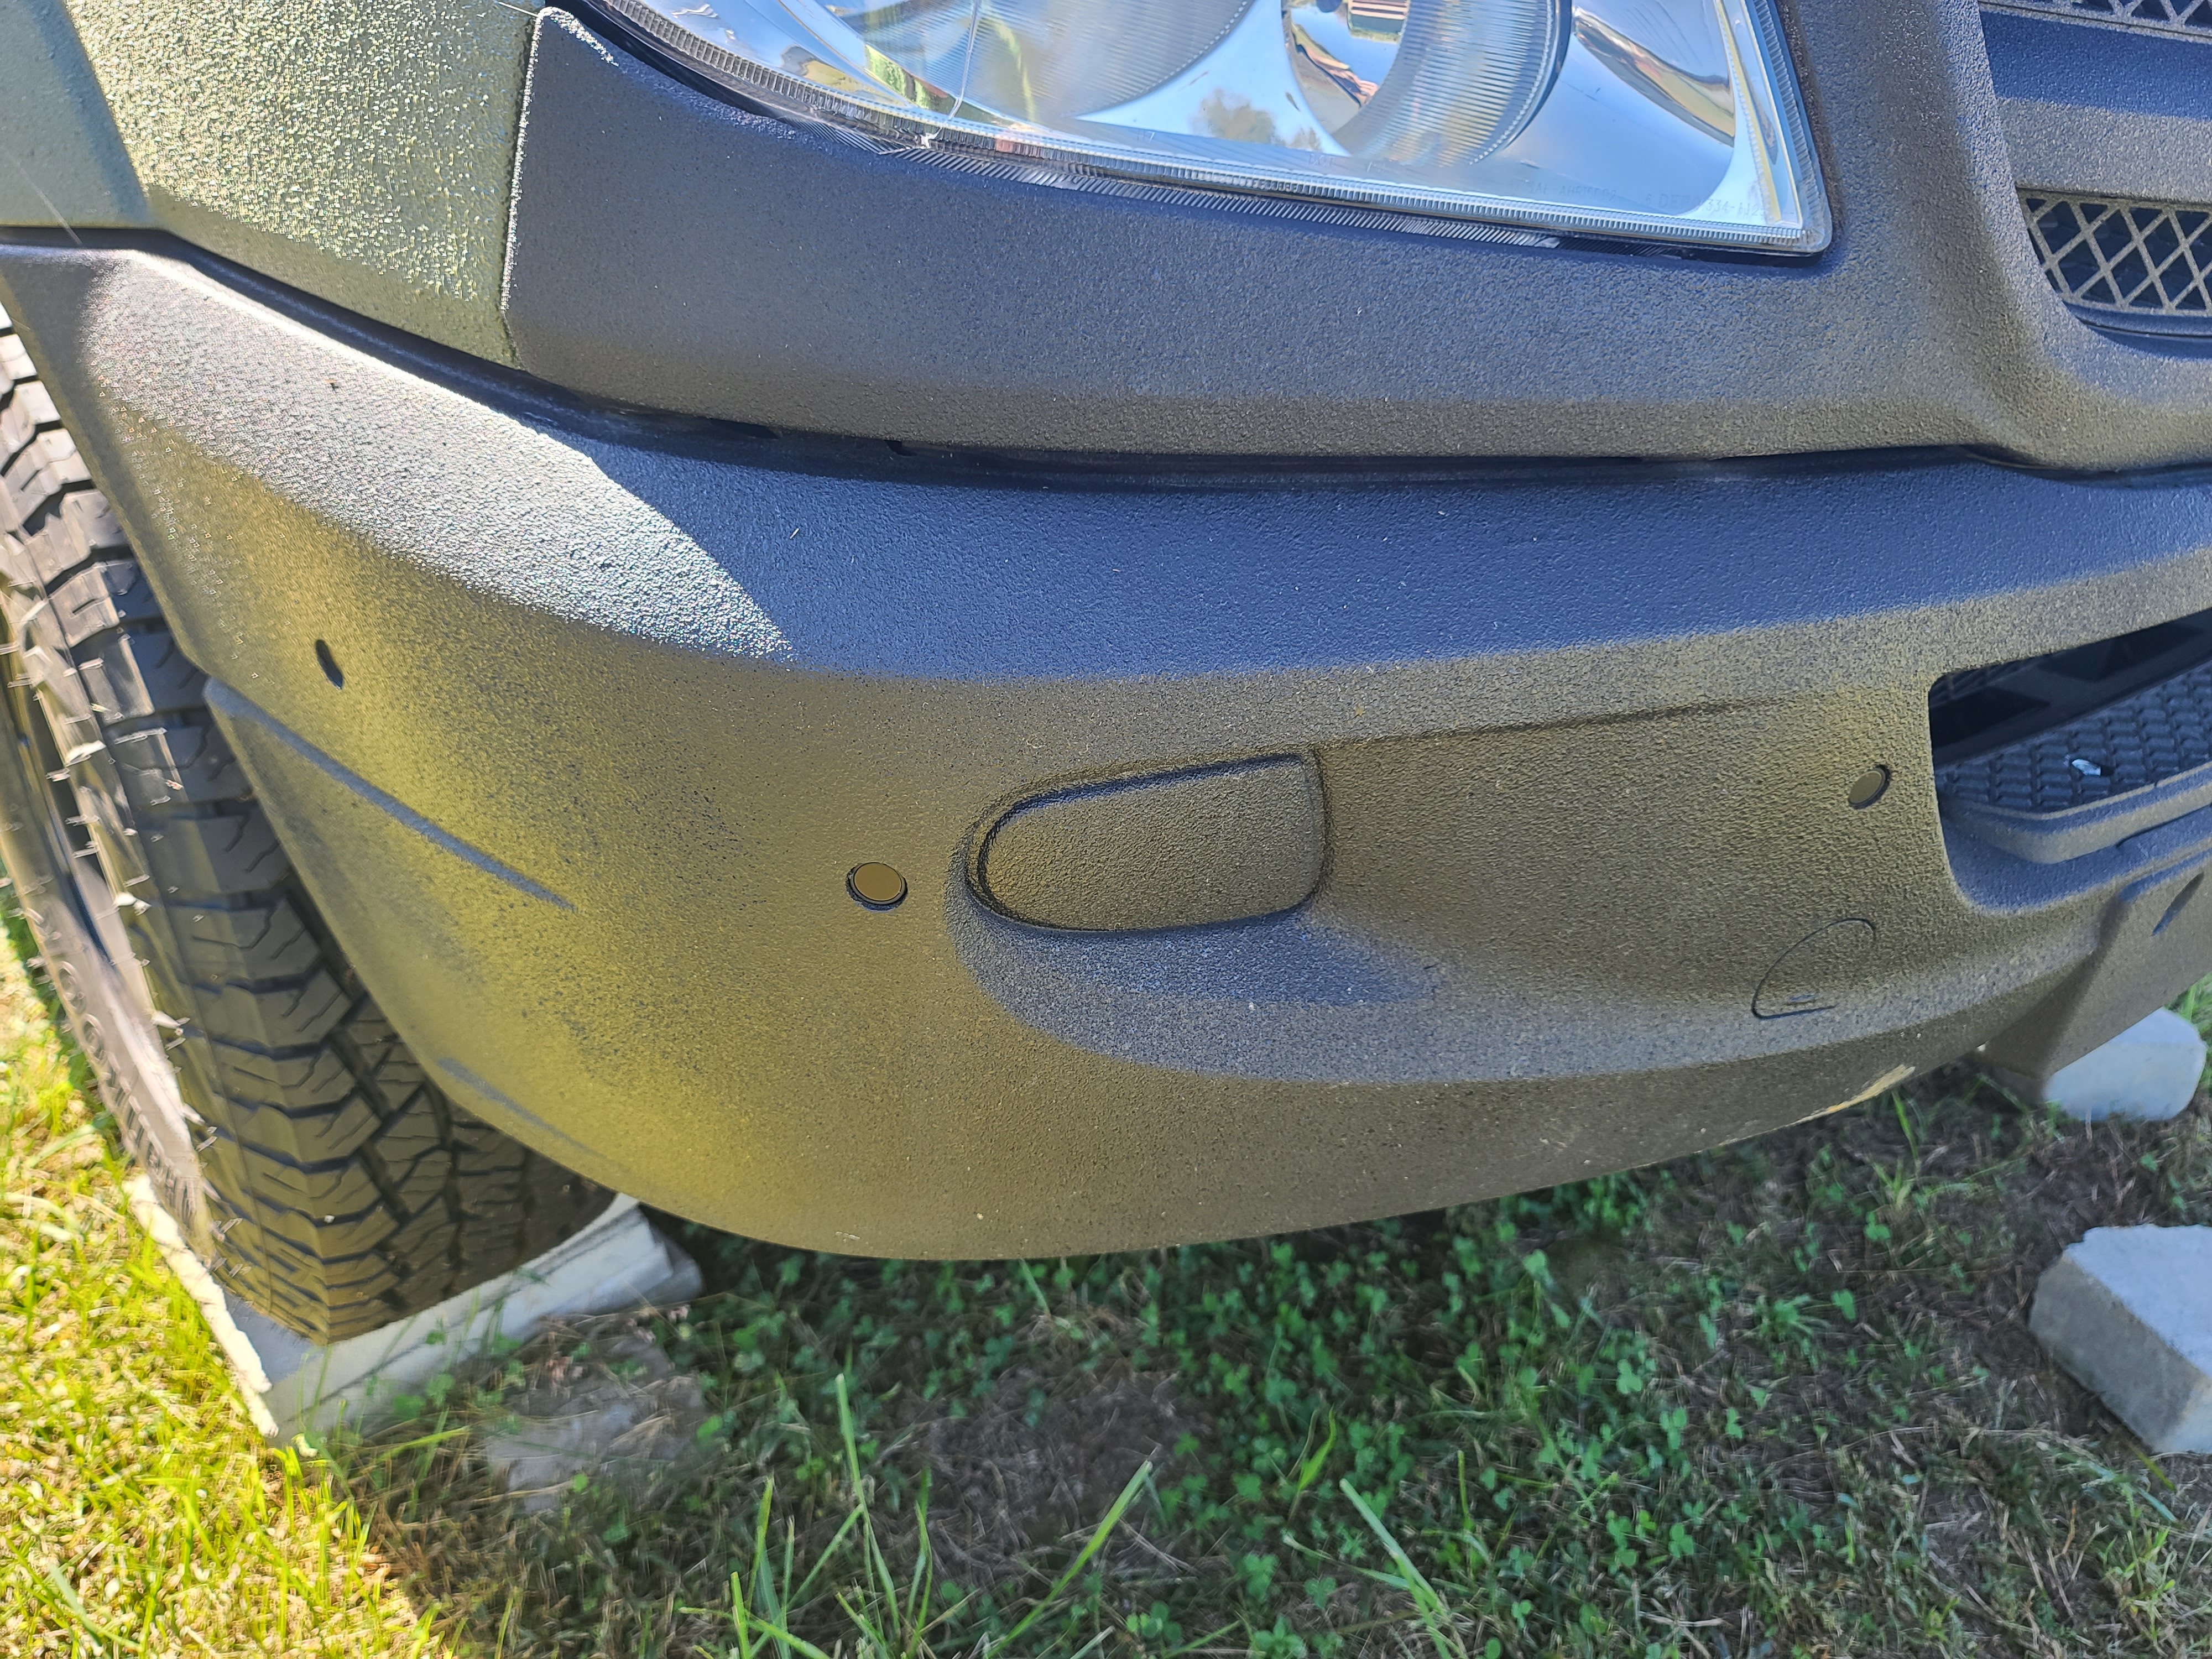
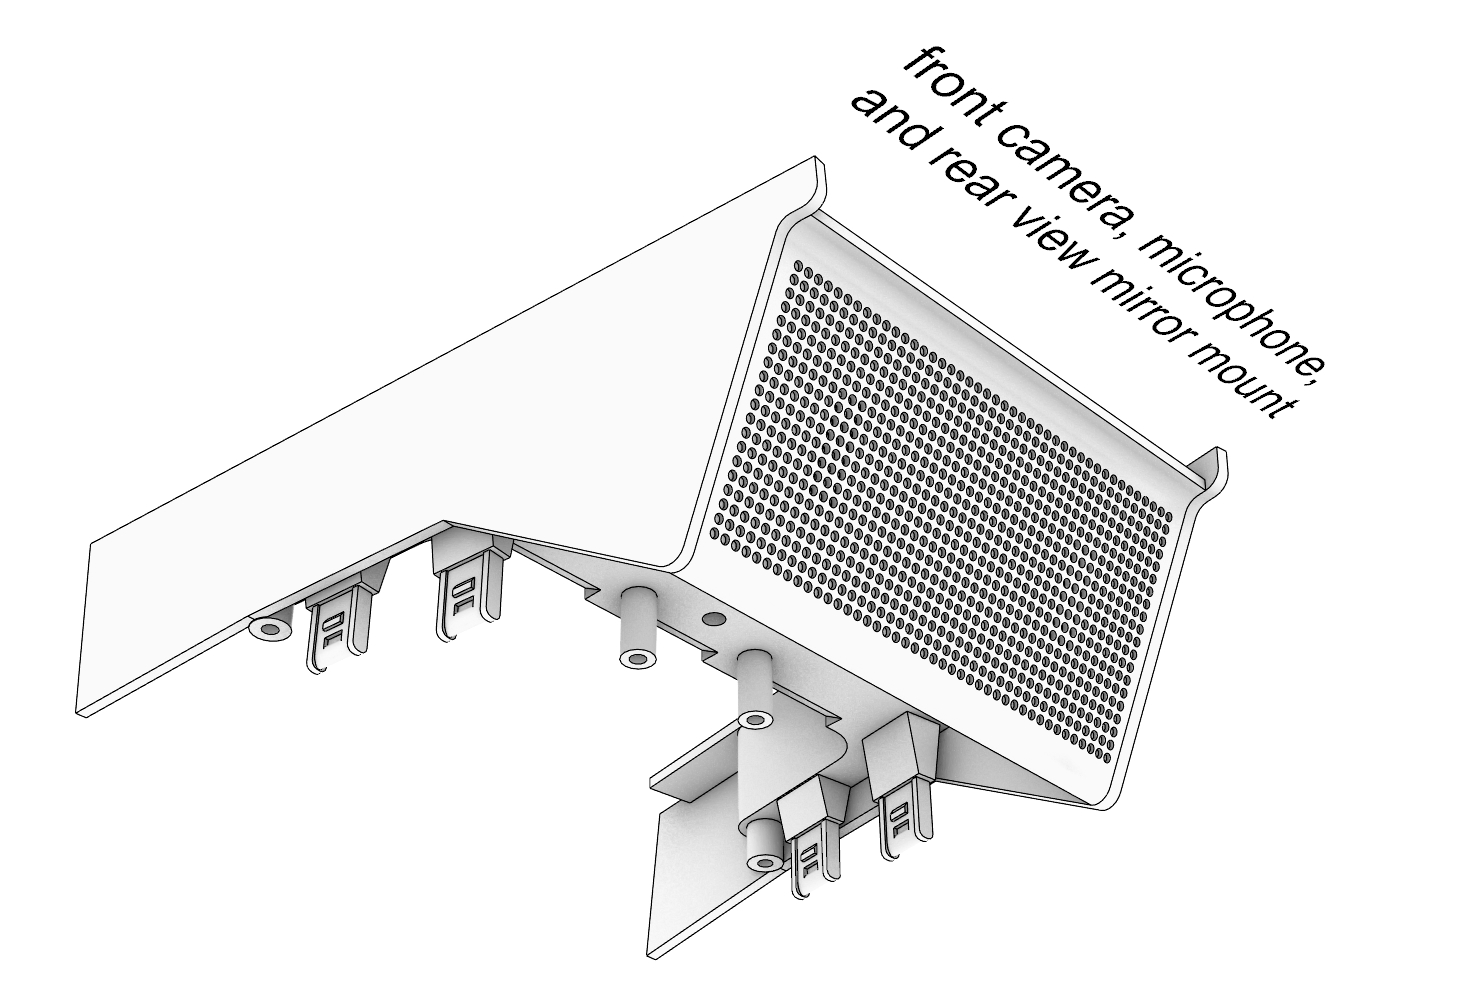
The Tesla cameras have been integrated into the Mercedes. A custom, 3D printed, ASA rear view mirror mount holds the front cameras and hands-free mic. The front fender body panels were modified to mount the Tesla forward cameras. The B-Pillar cameras are mounted in the rear bunk windows in the cargo area. The license plate trim holds the Tesla rear camera.
The Wolfbox rear view mirror display is integrated in the 3D print and the rear camera is also mounted on the license plate trim.
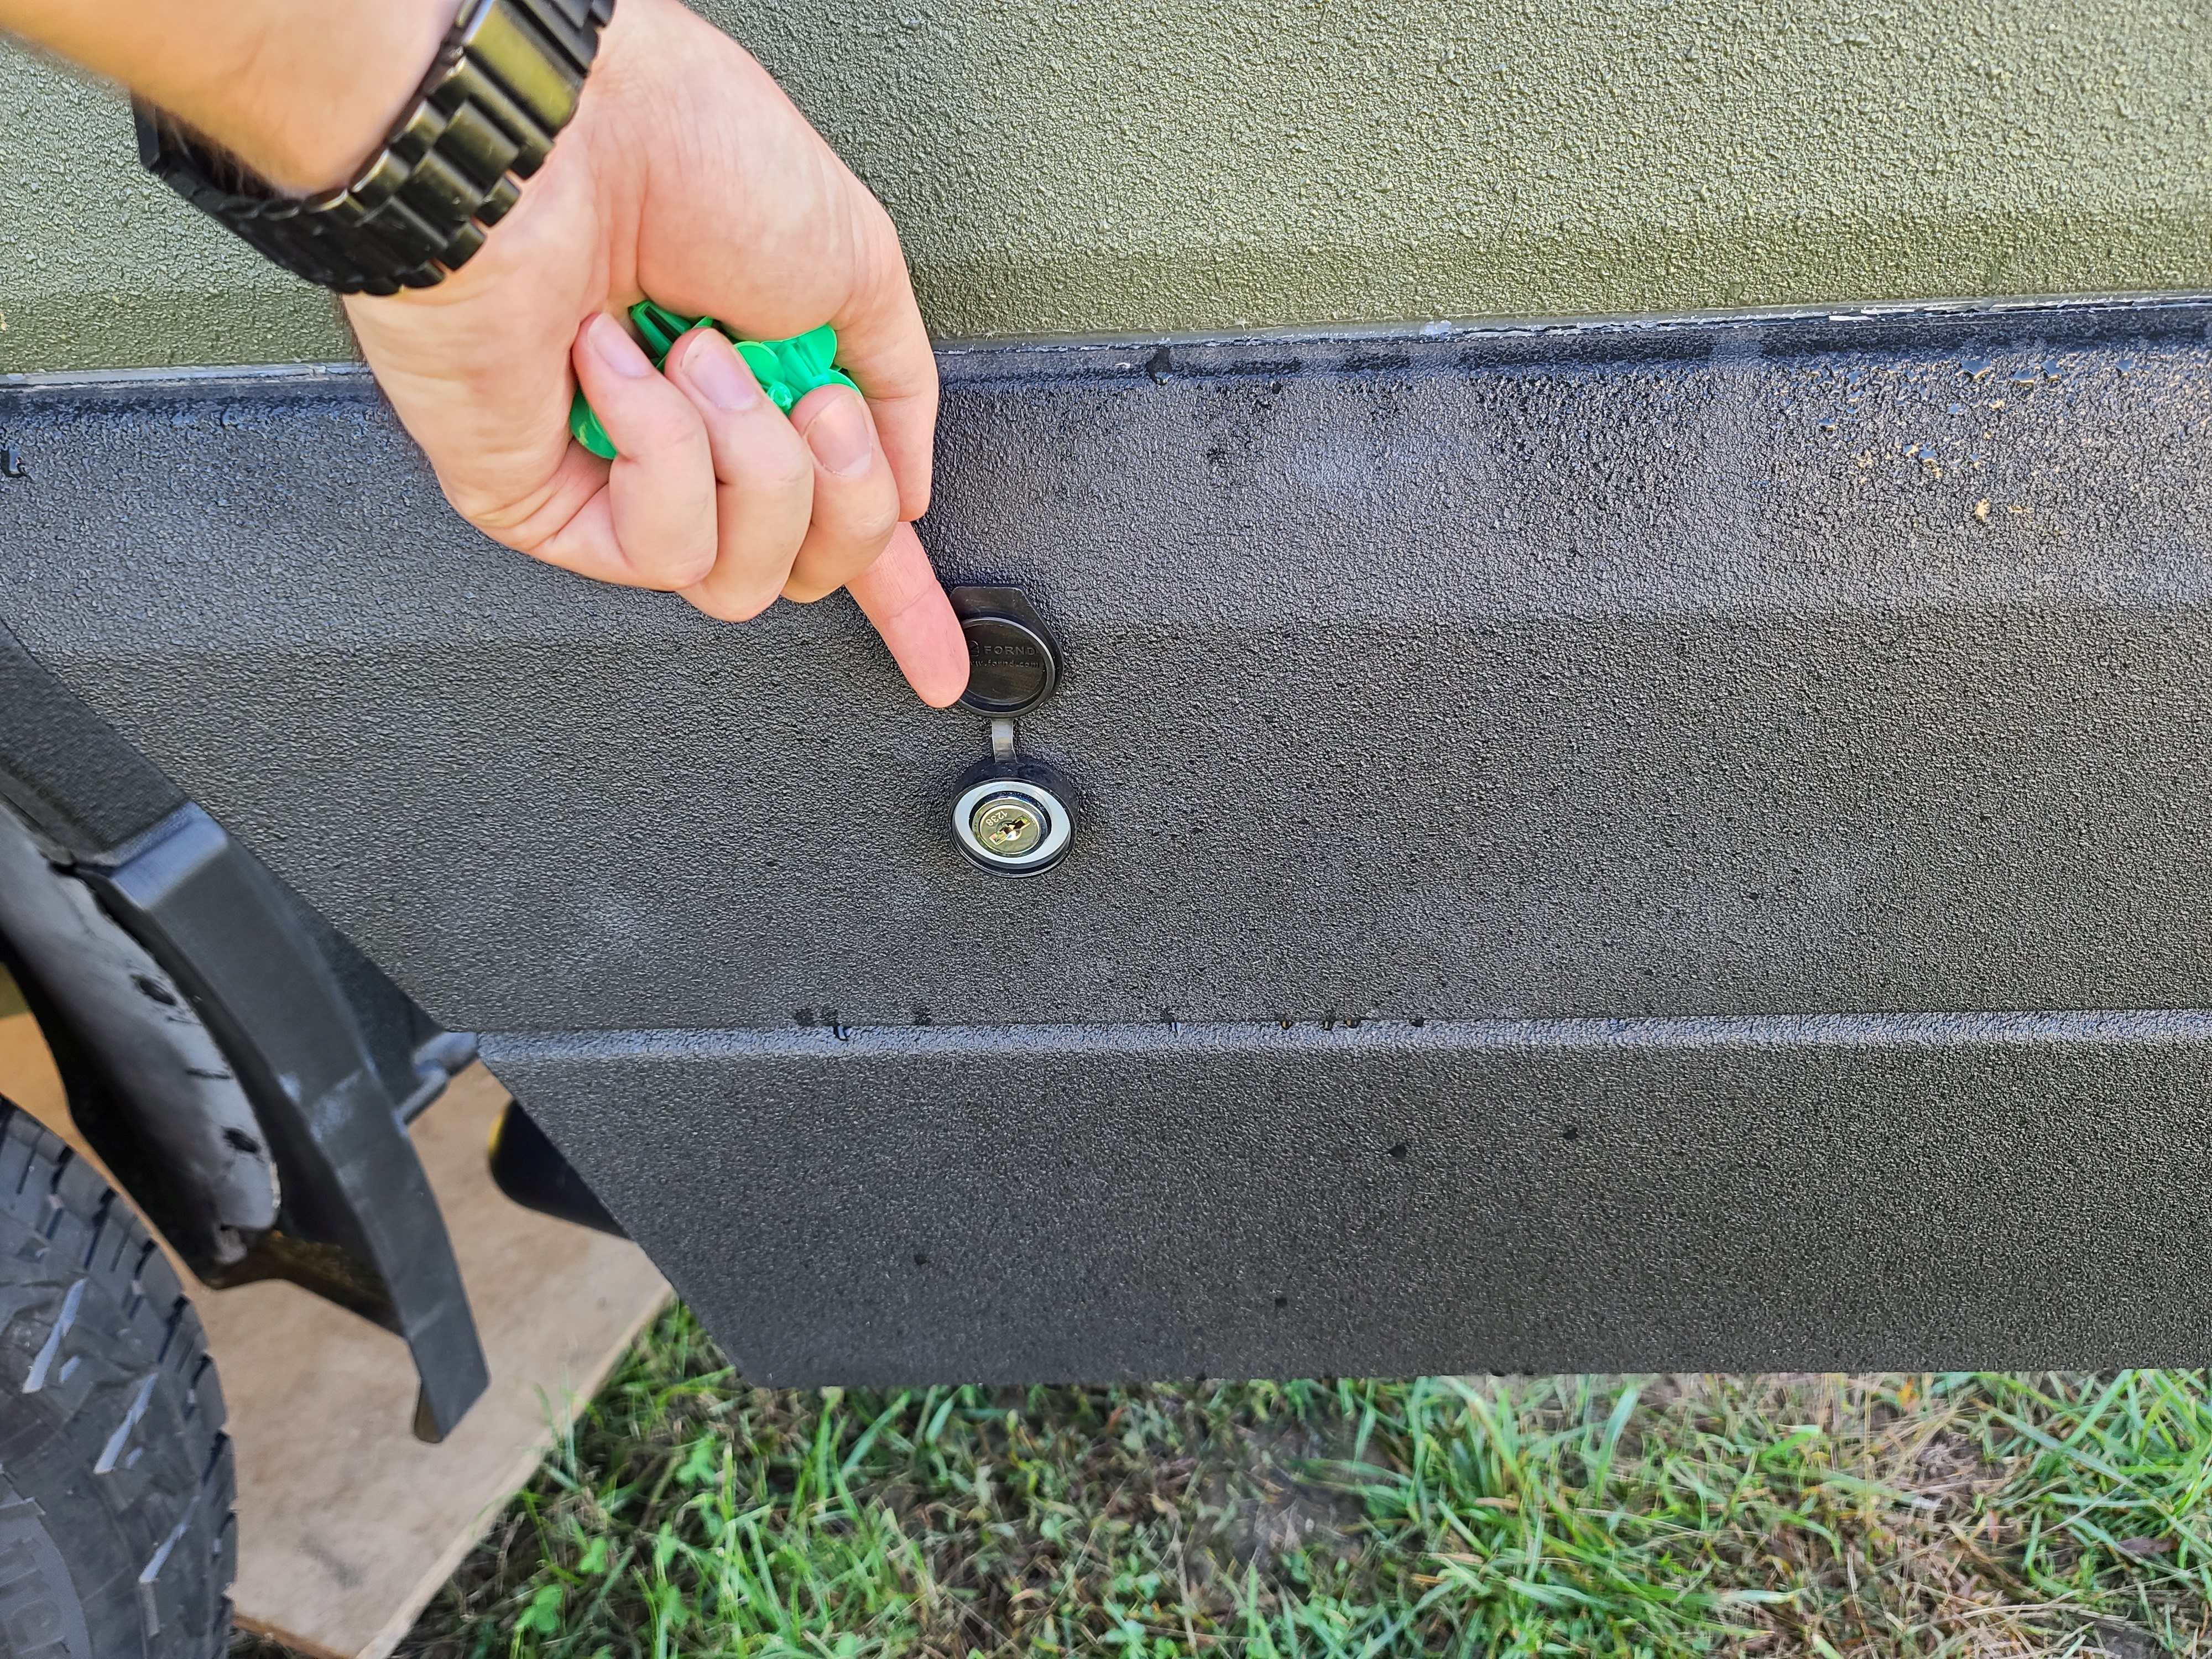
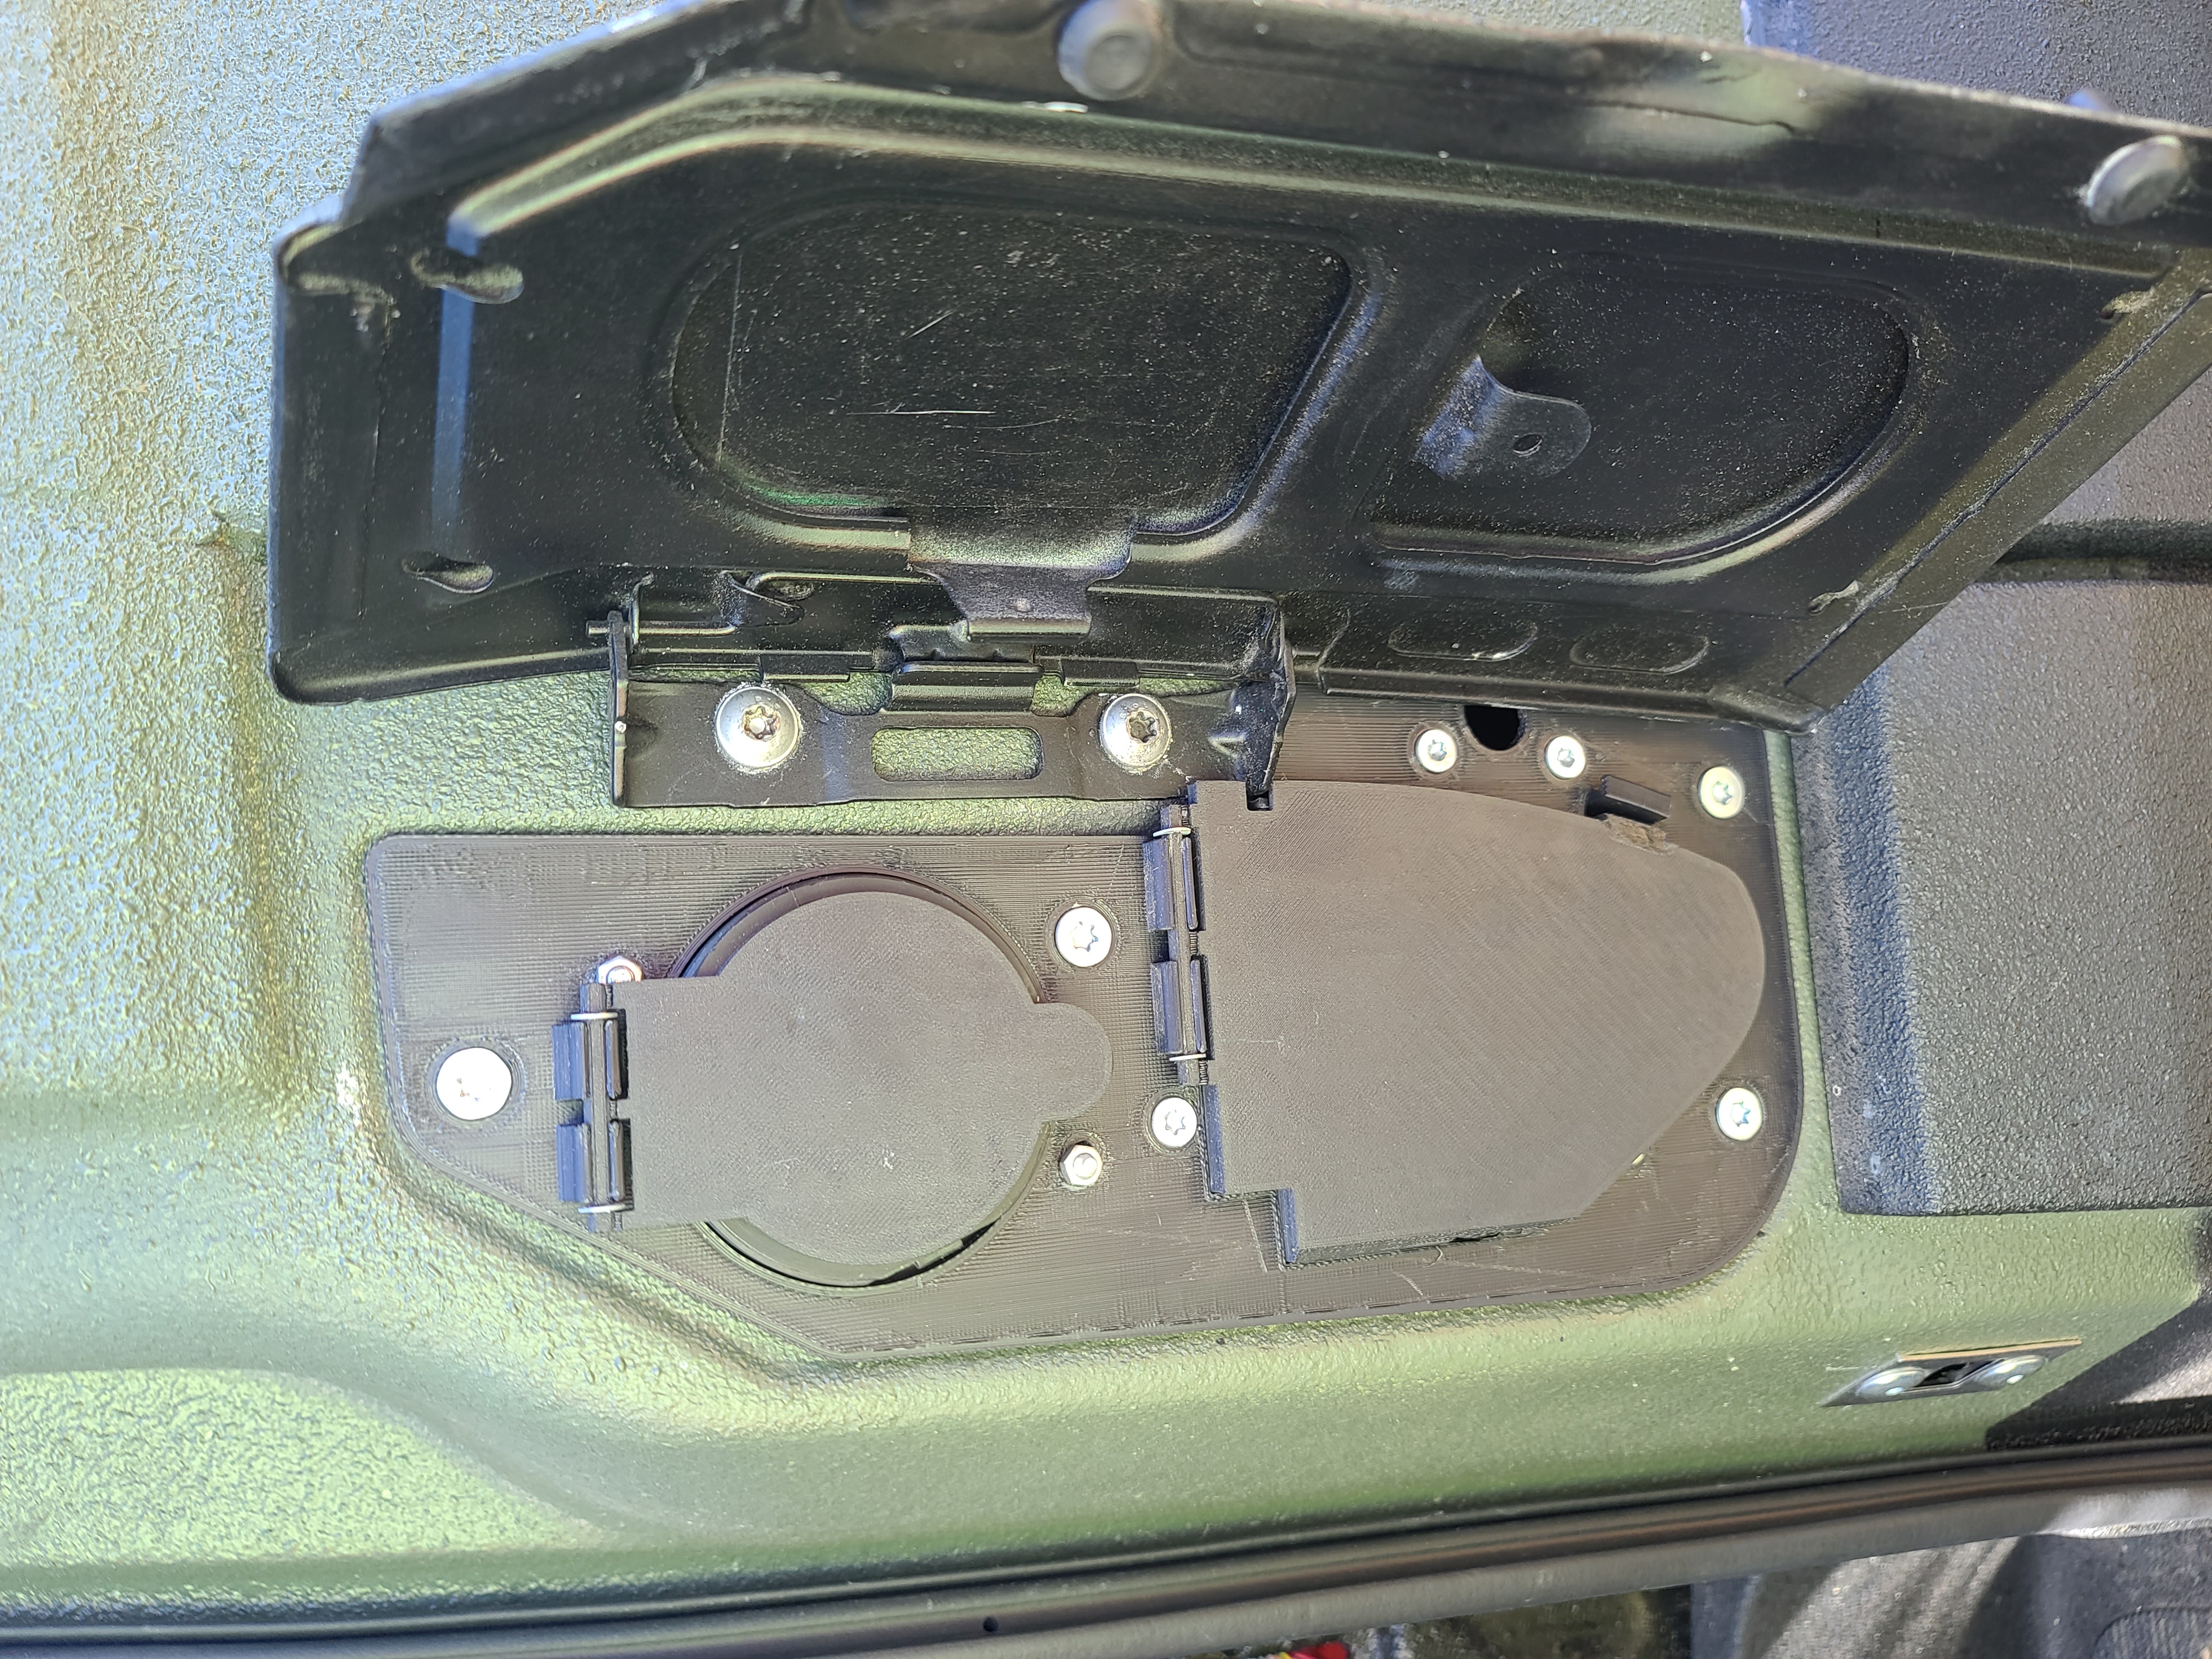
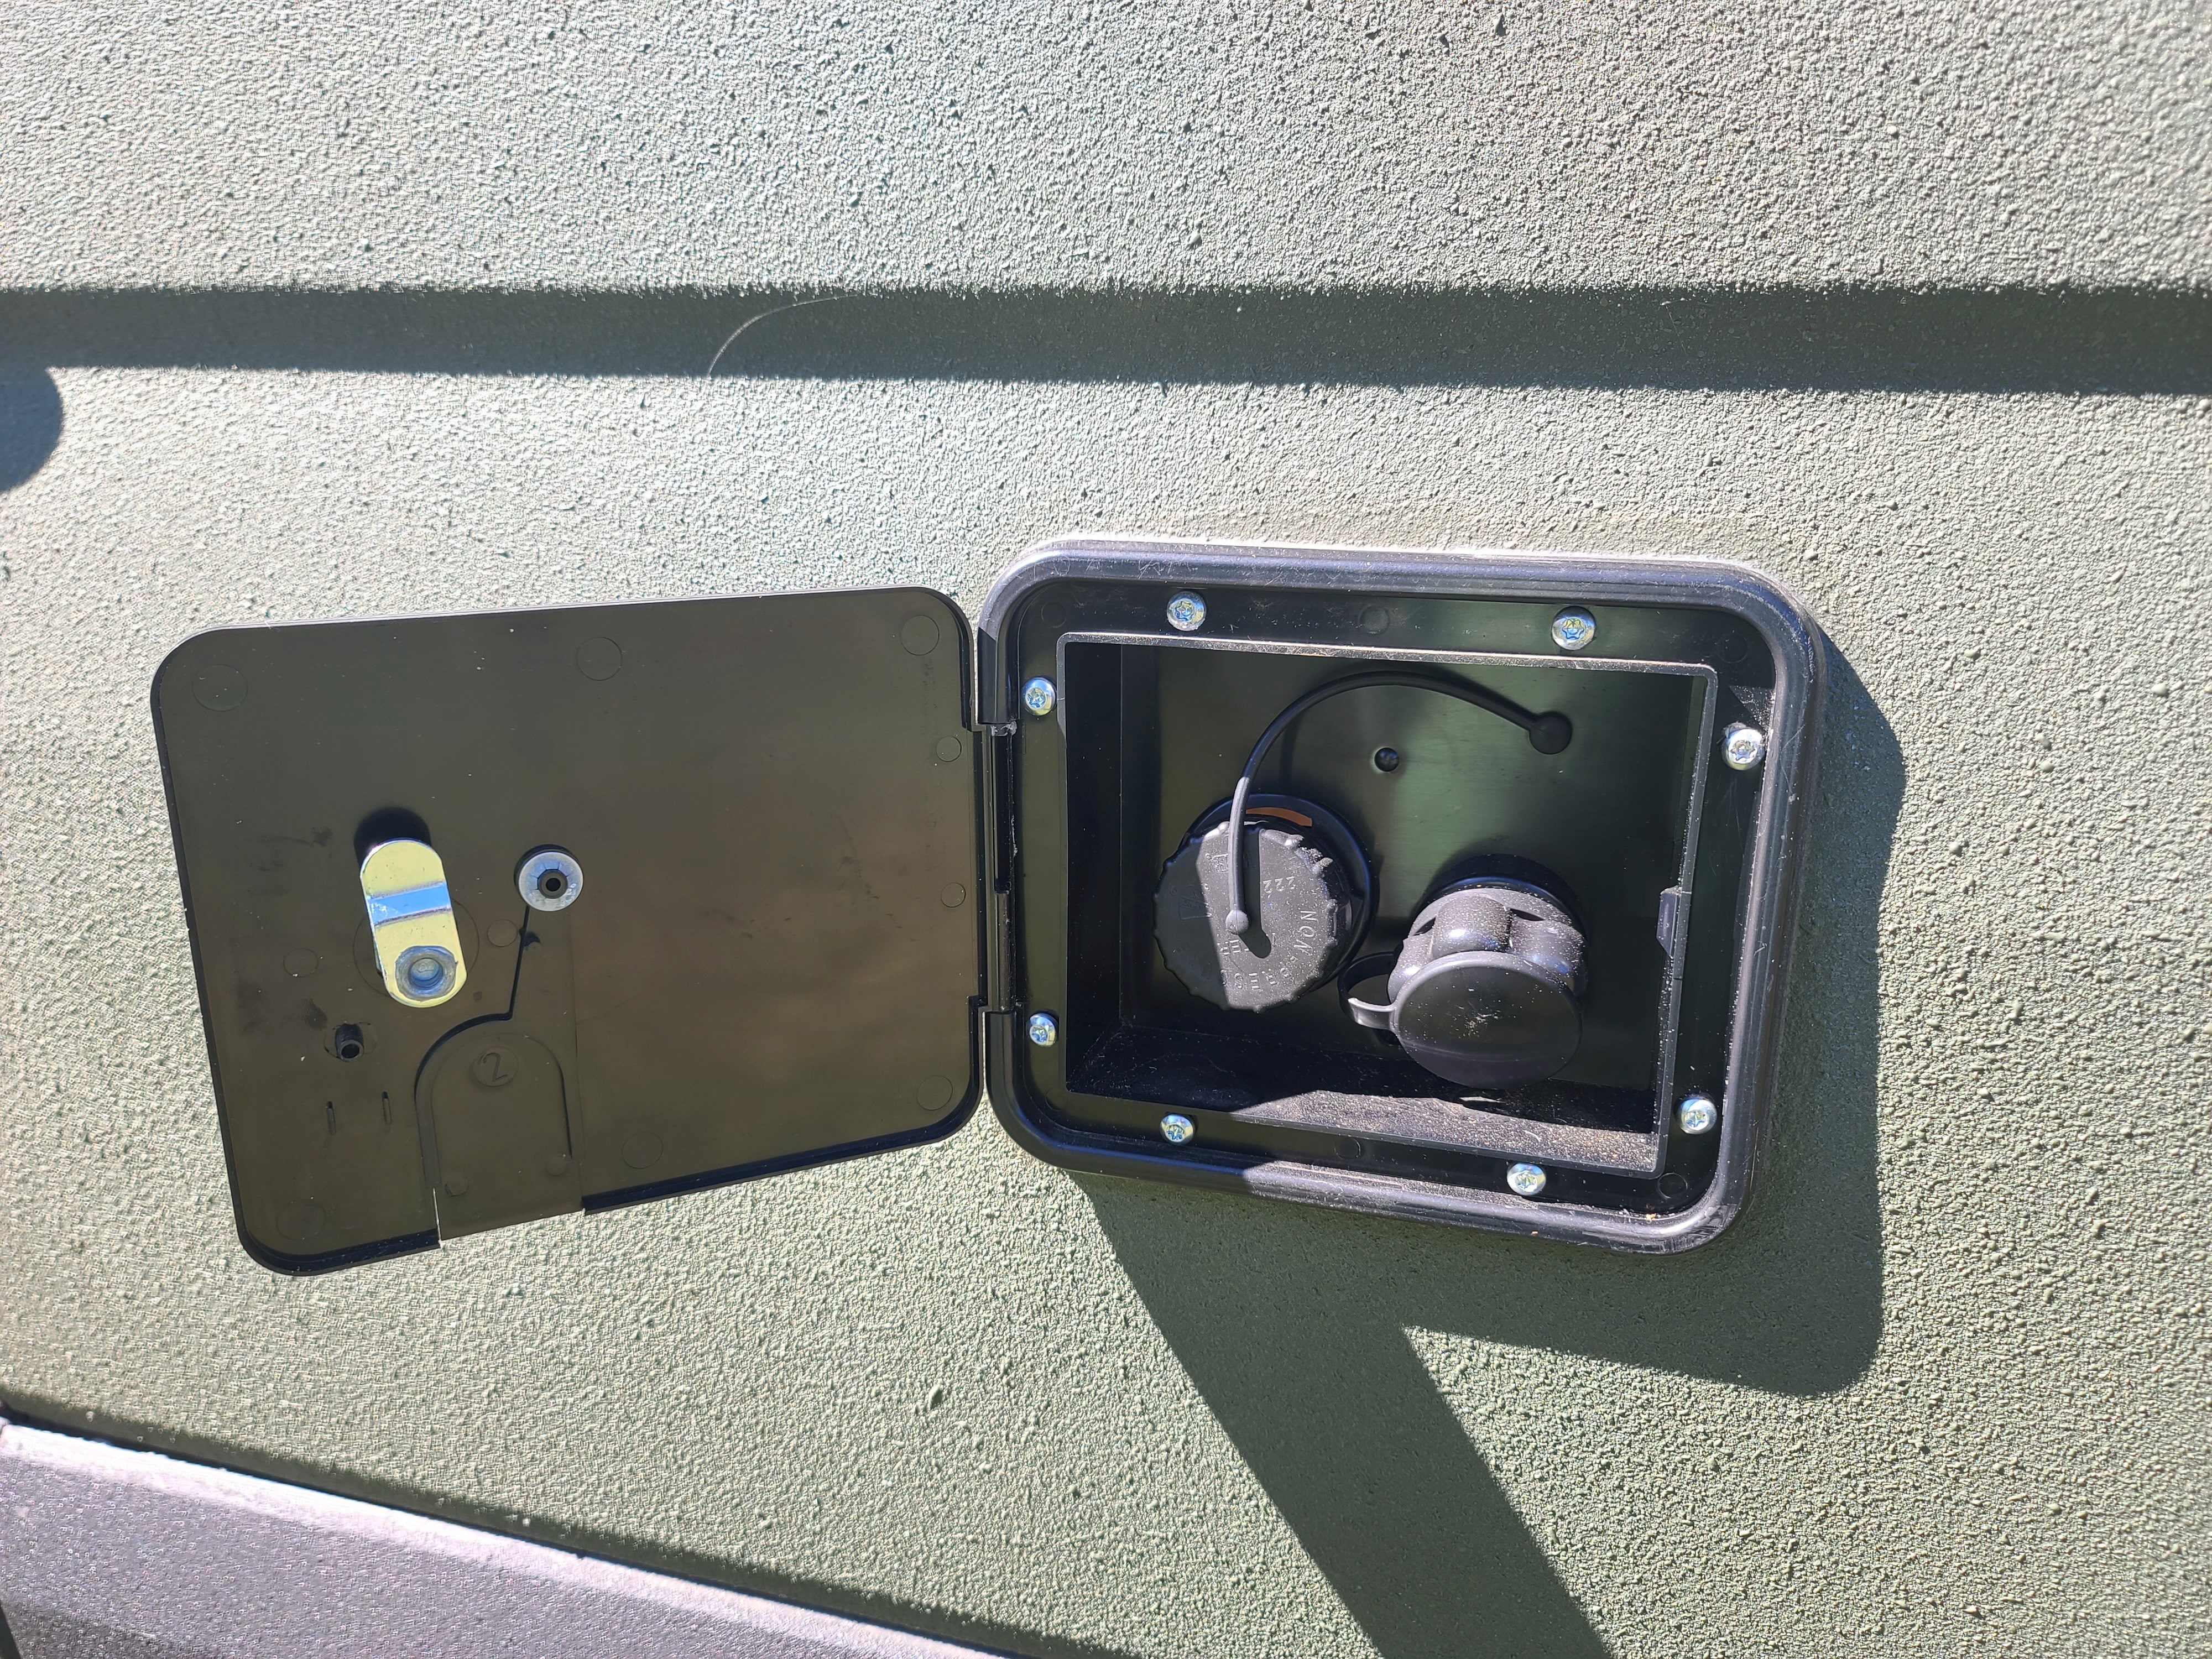
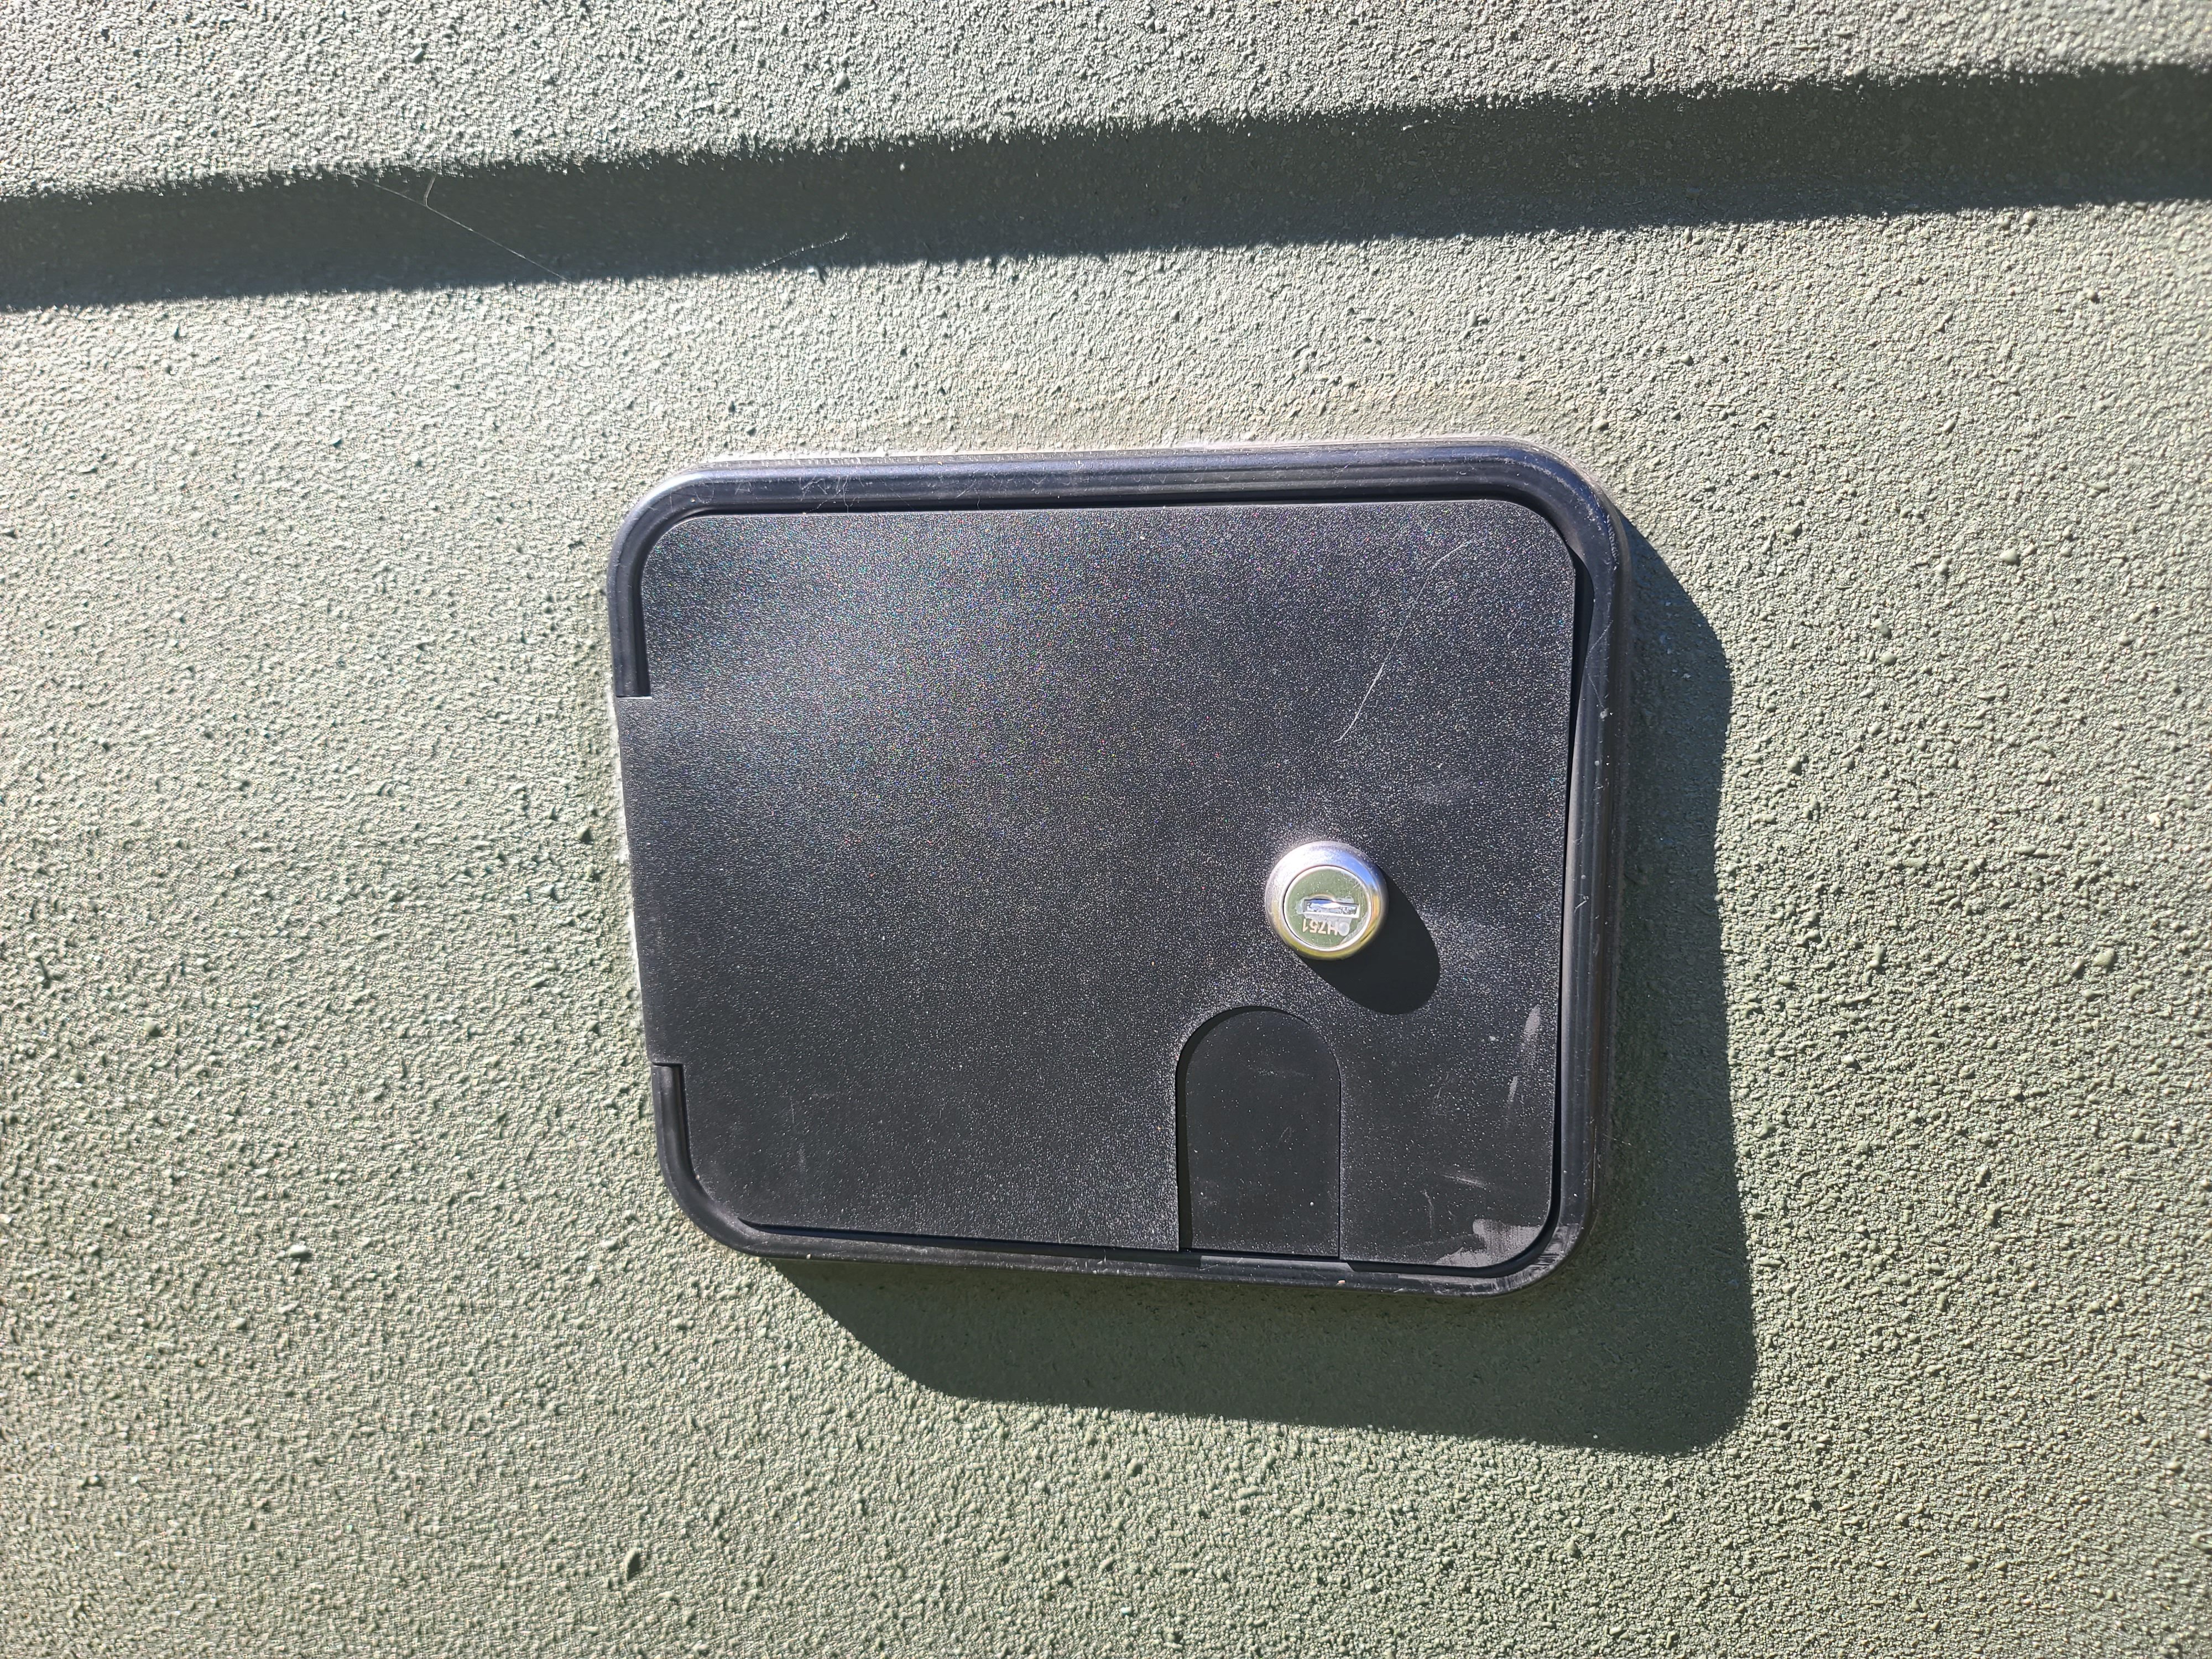
A lockable water fill port with a separate city fill port is mounted on the rear passenger side.
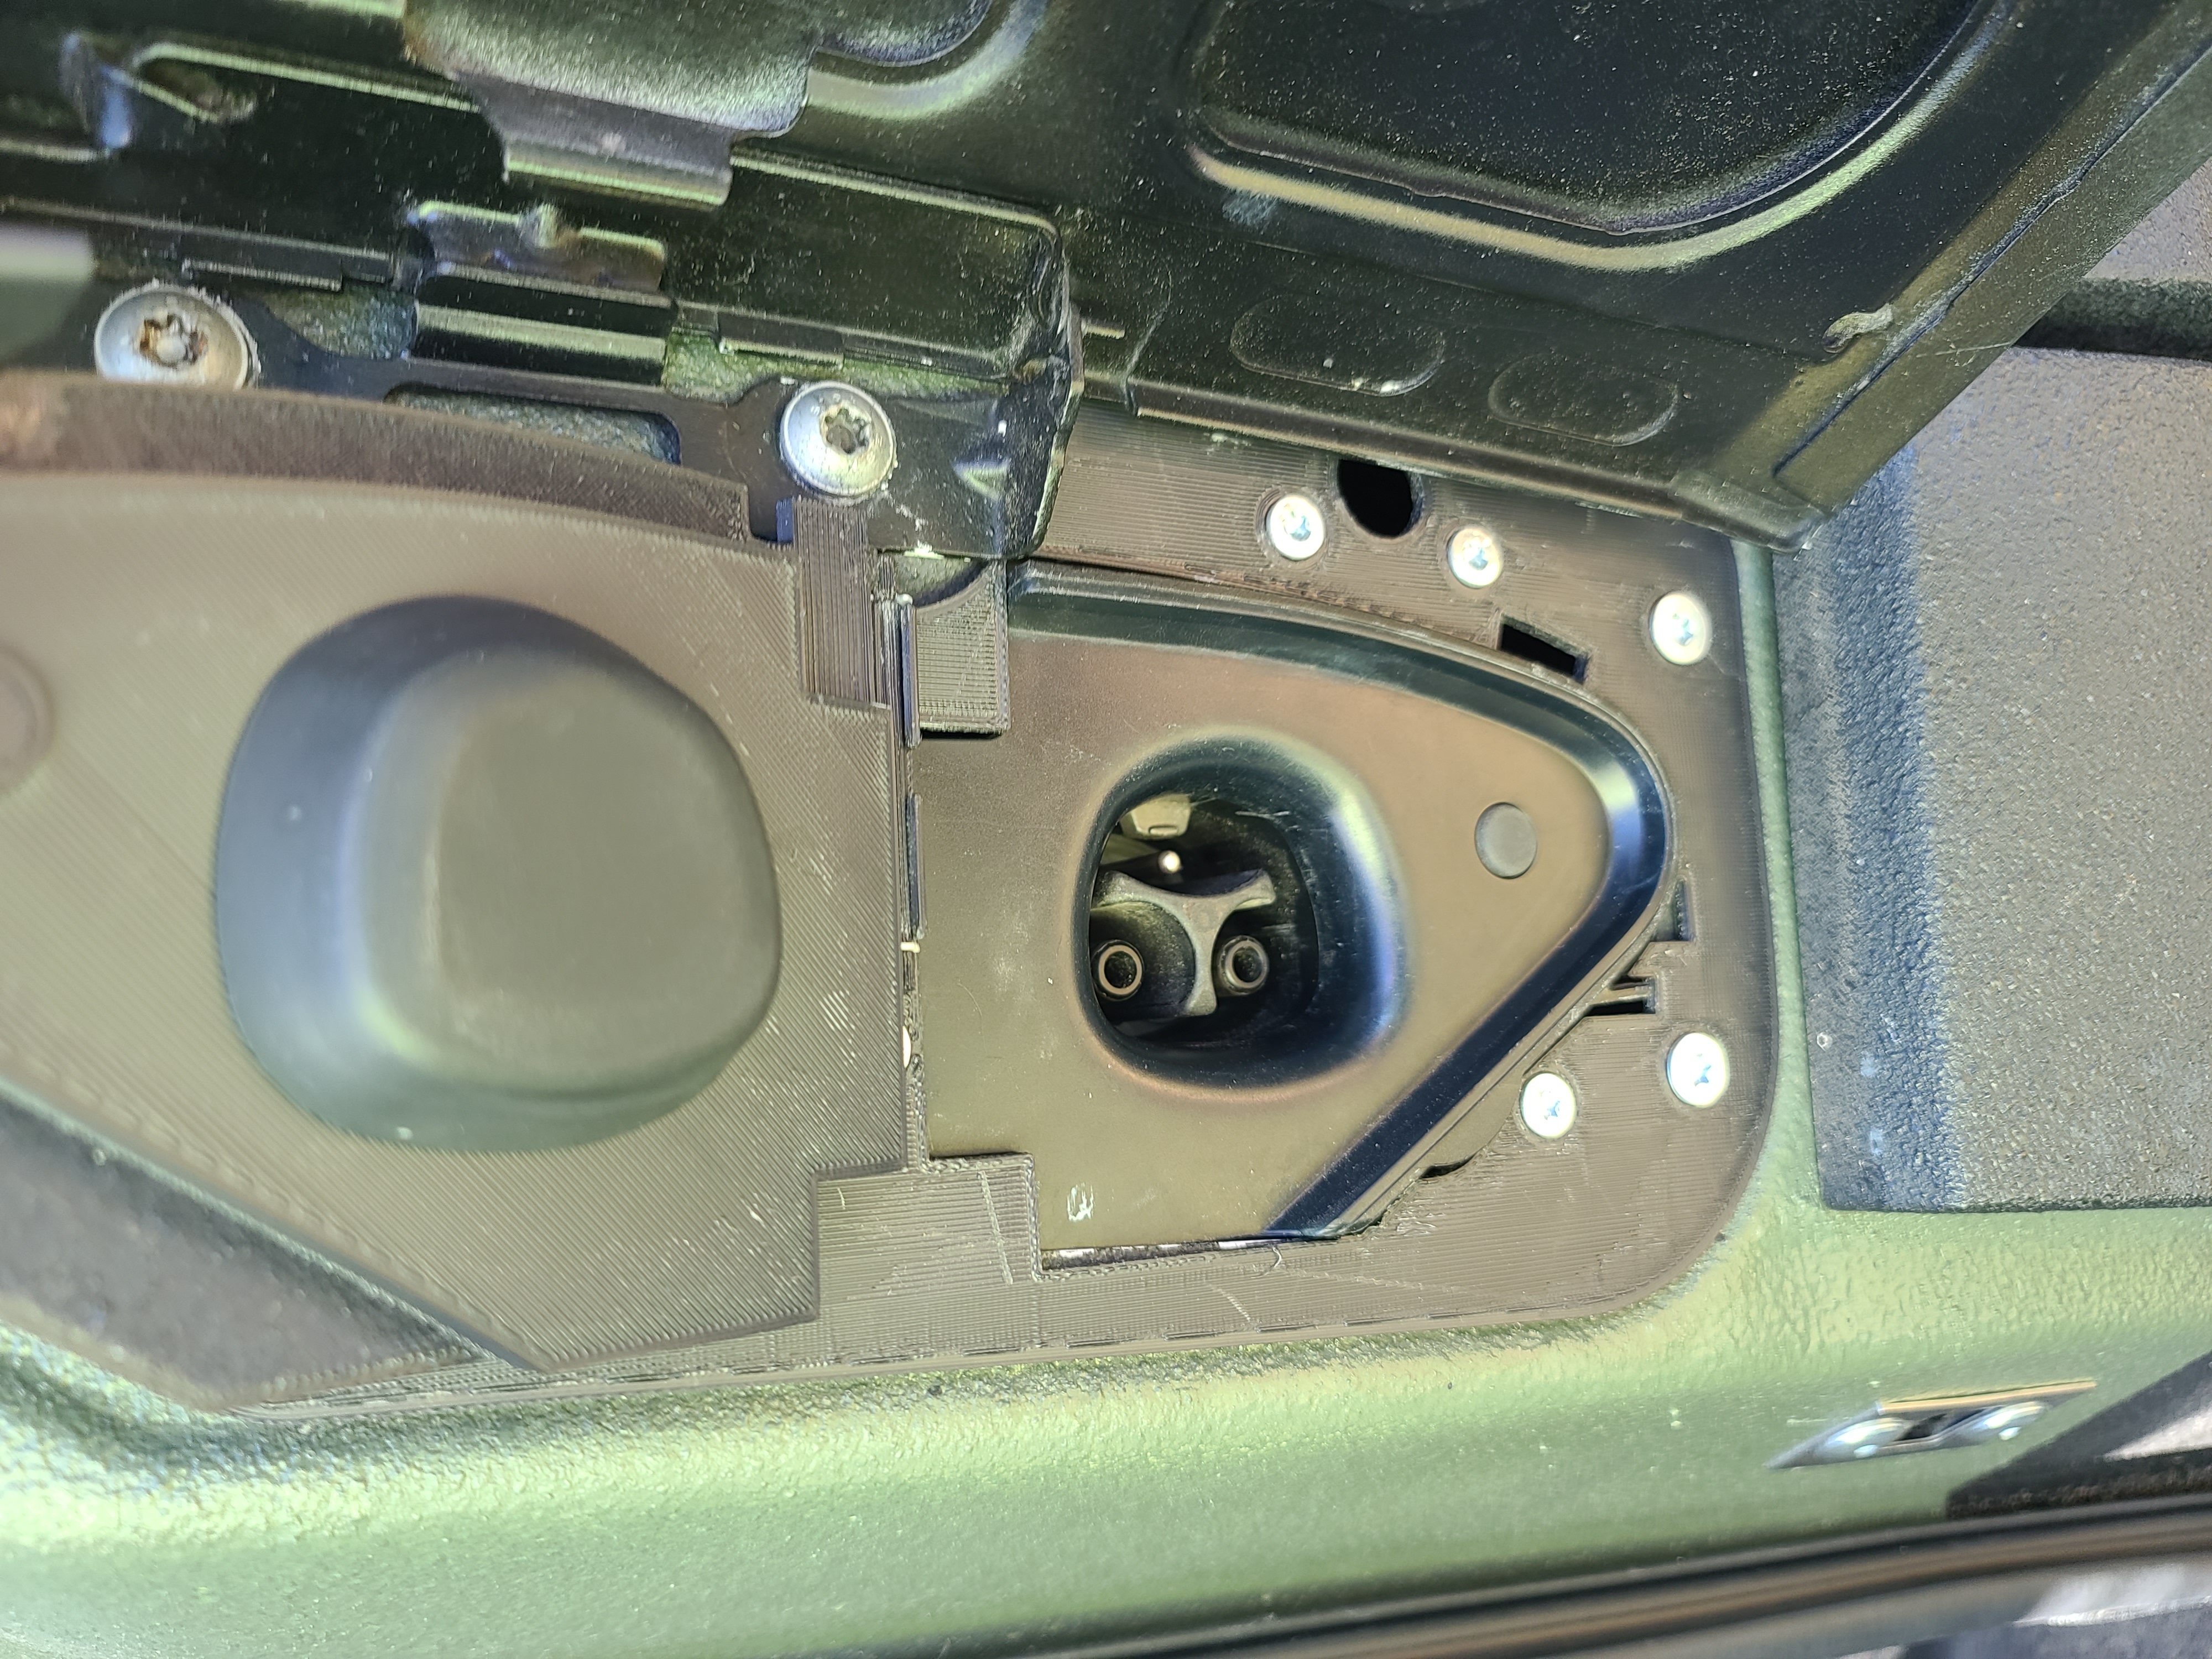
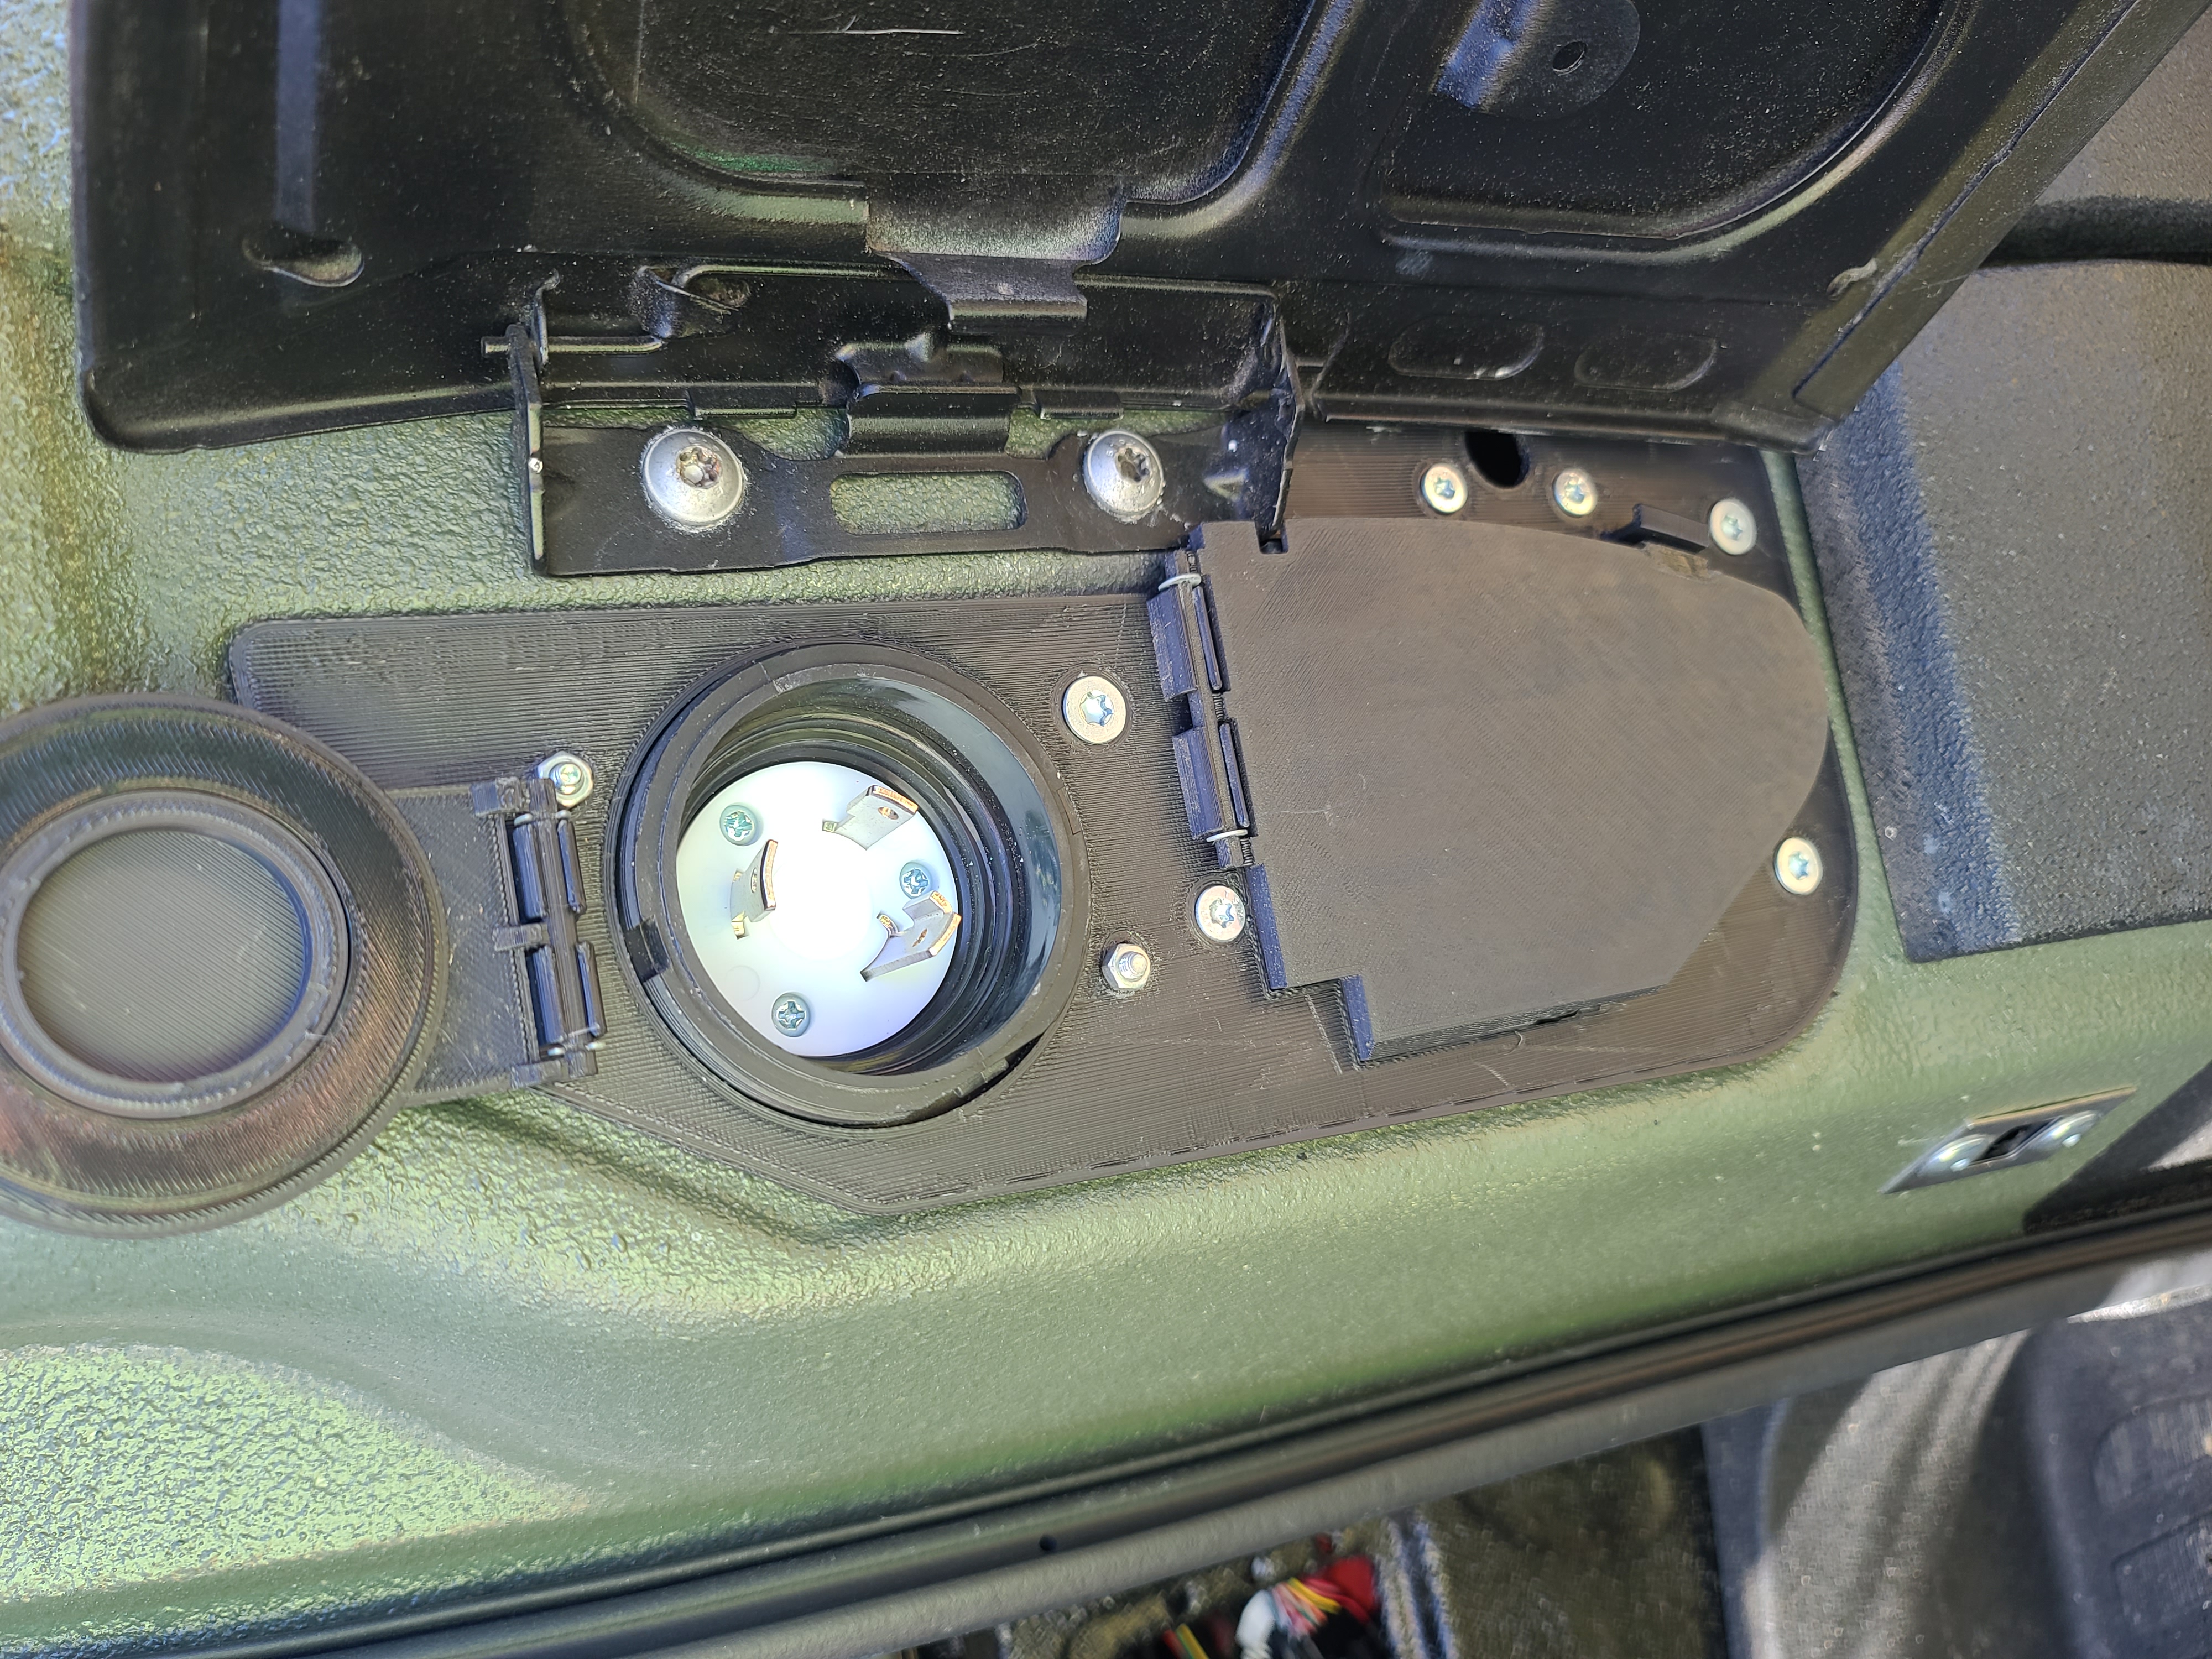
The diesel fuel port has been replaced with the Tesla charge port and a 30 Amp port for the living system.
The front and rear bumper sensors are integrated into the Mercedes bumpers.
The Thunderbolt deadbolt system is integrated in all the doors with the manual override on the driver door.
(click image to expand)


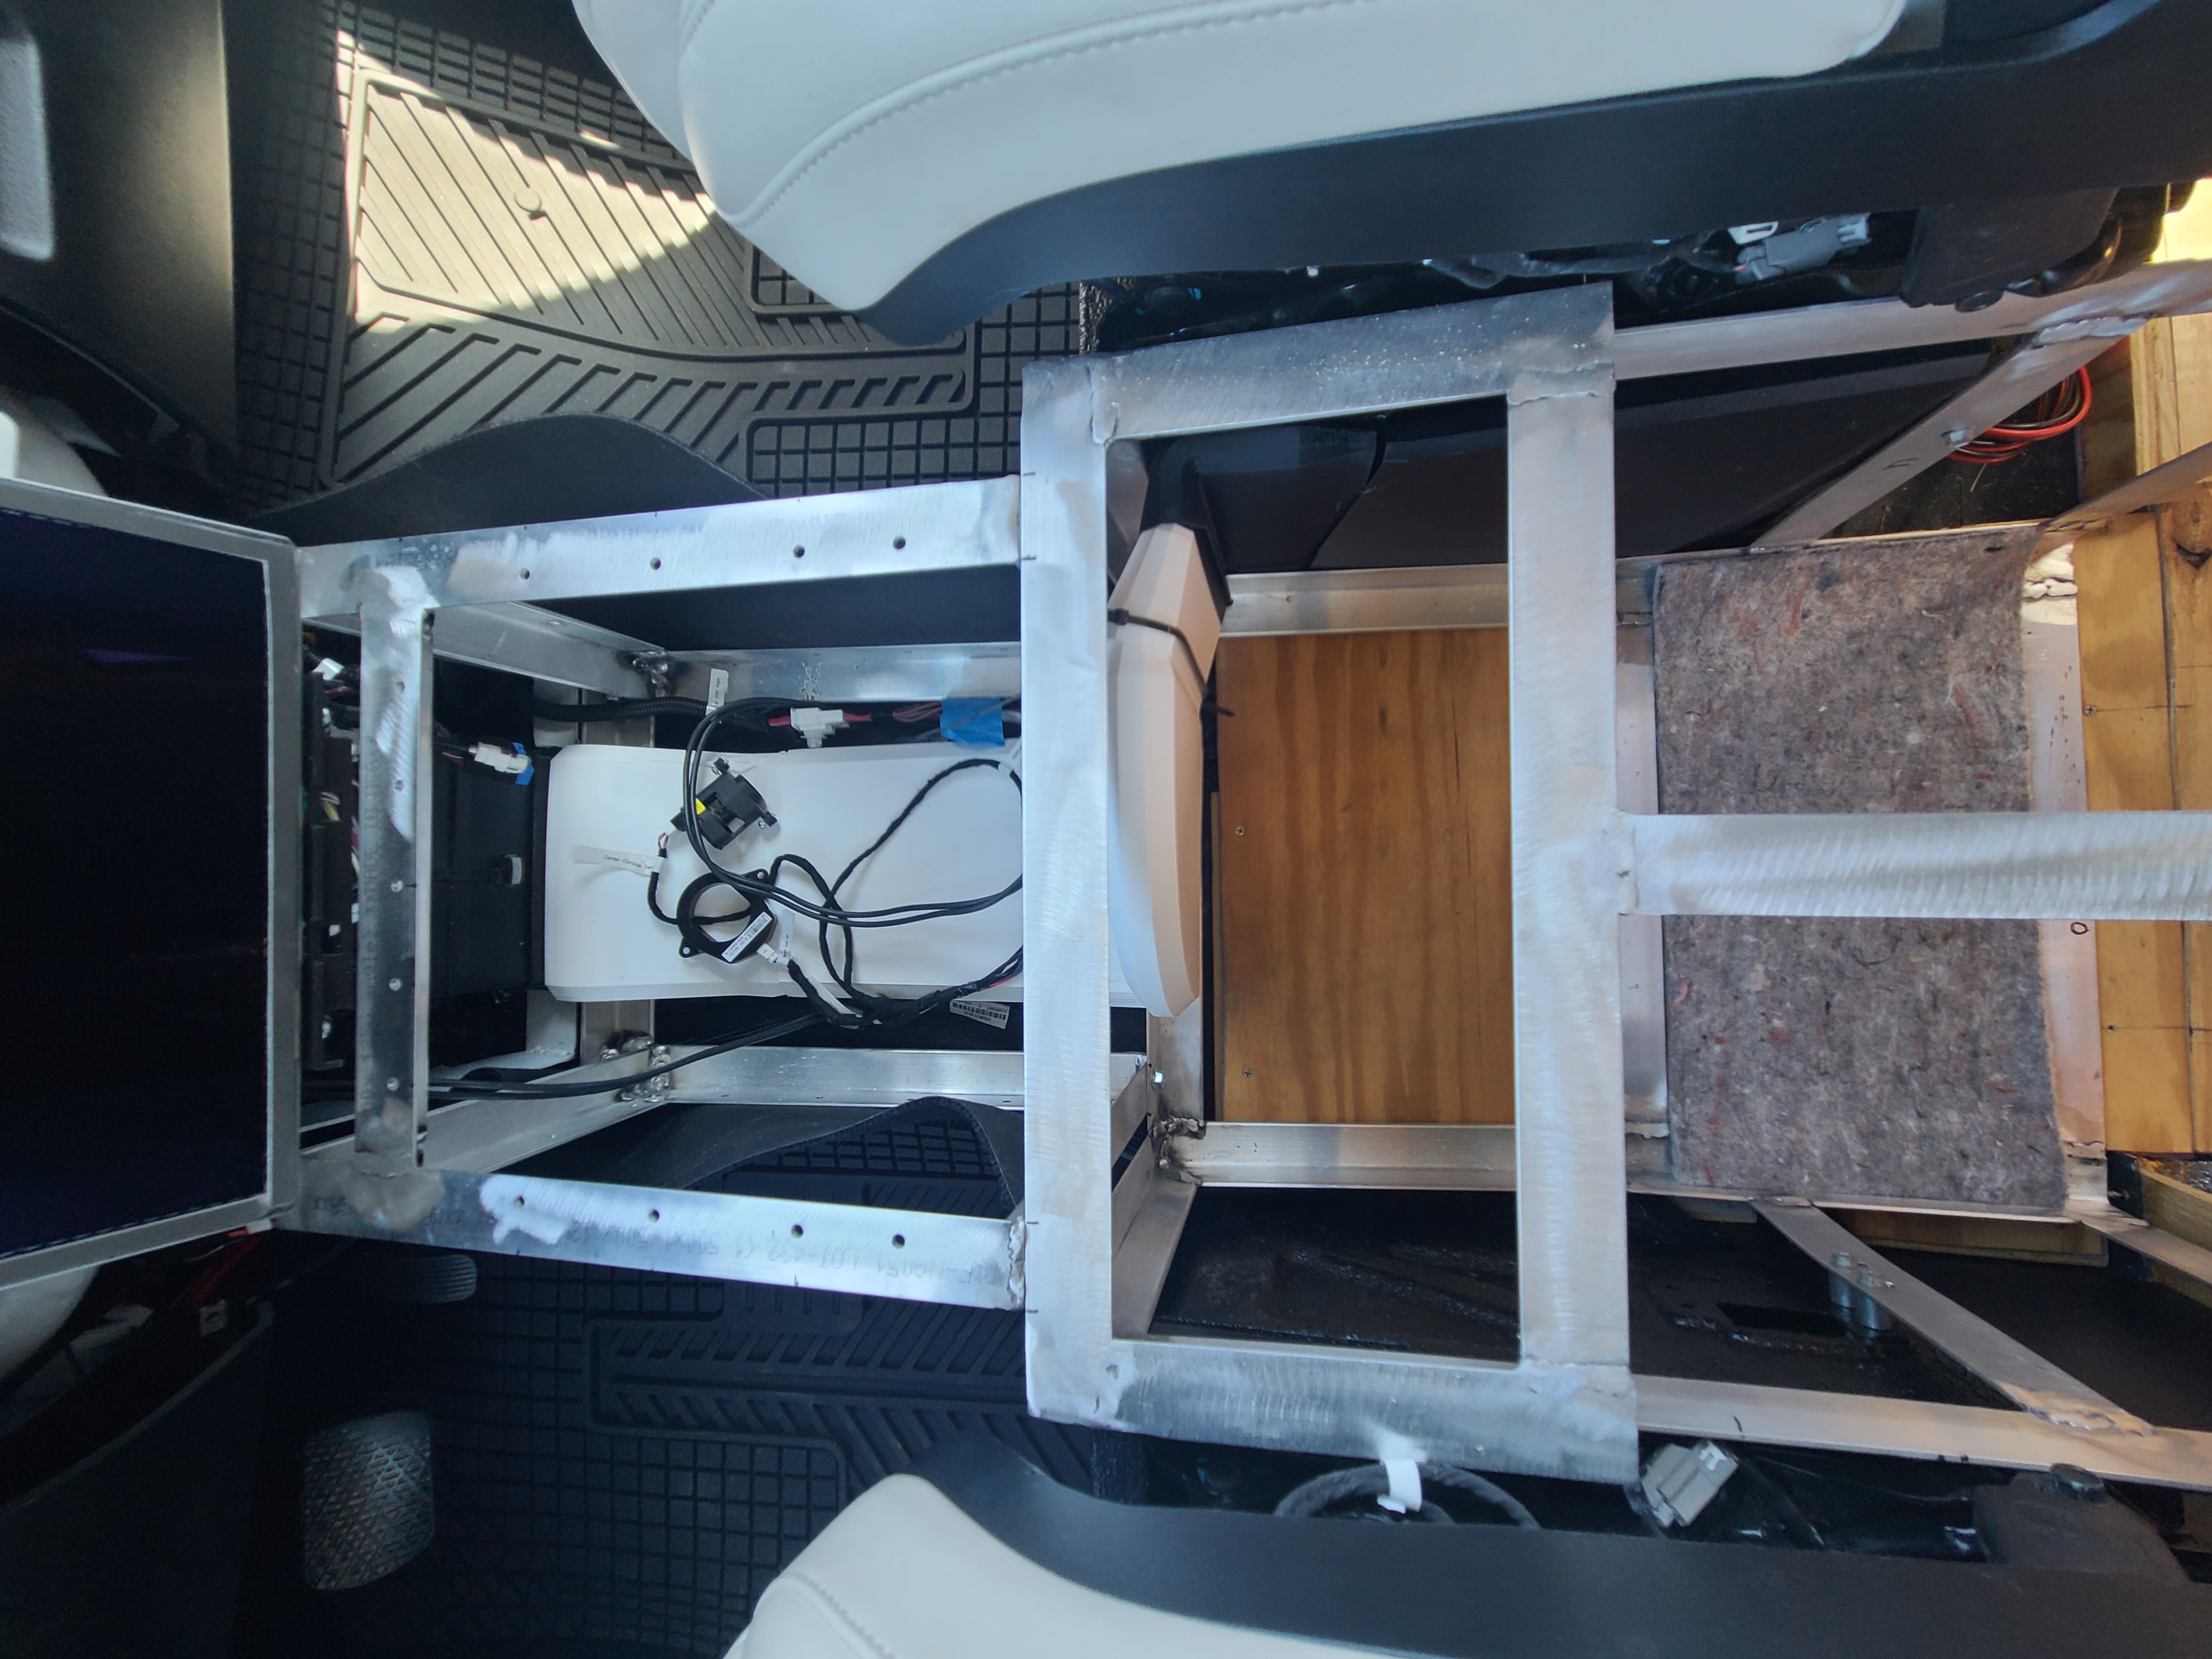
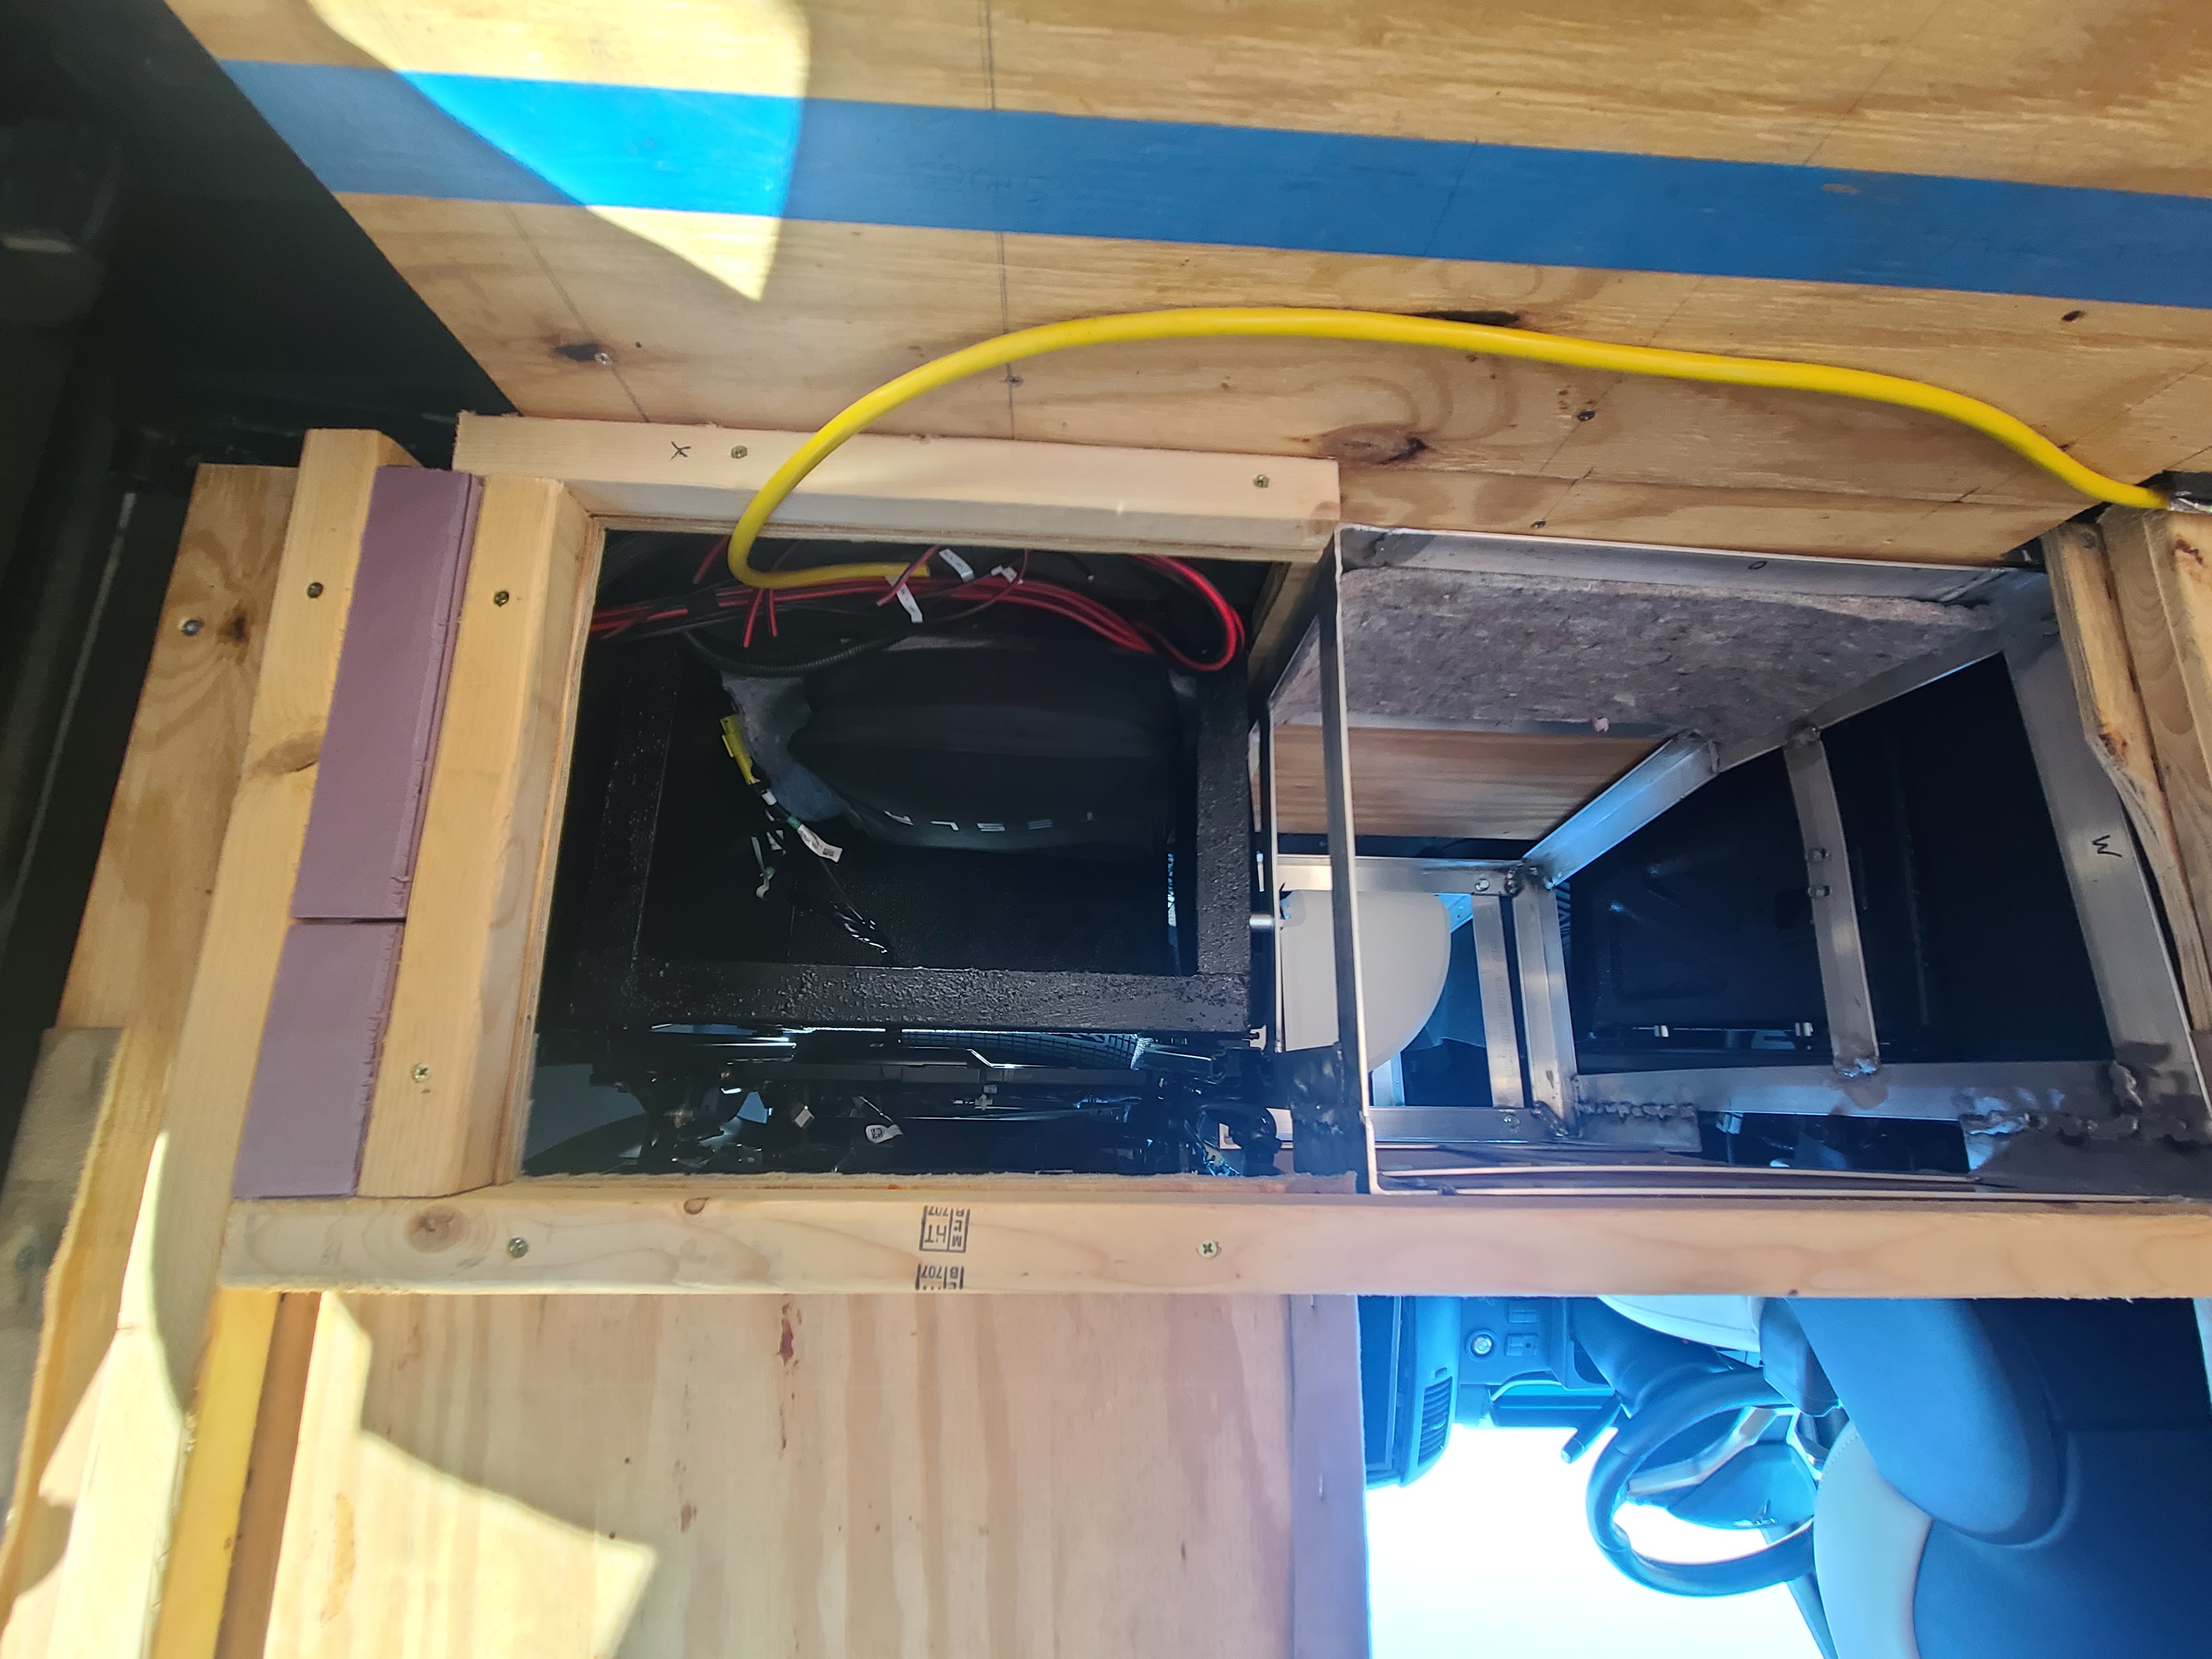
A few (more) details
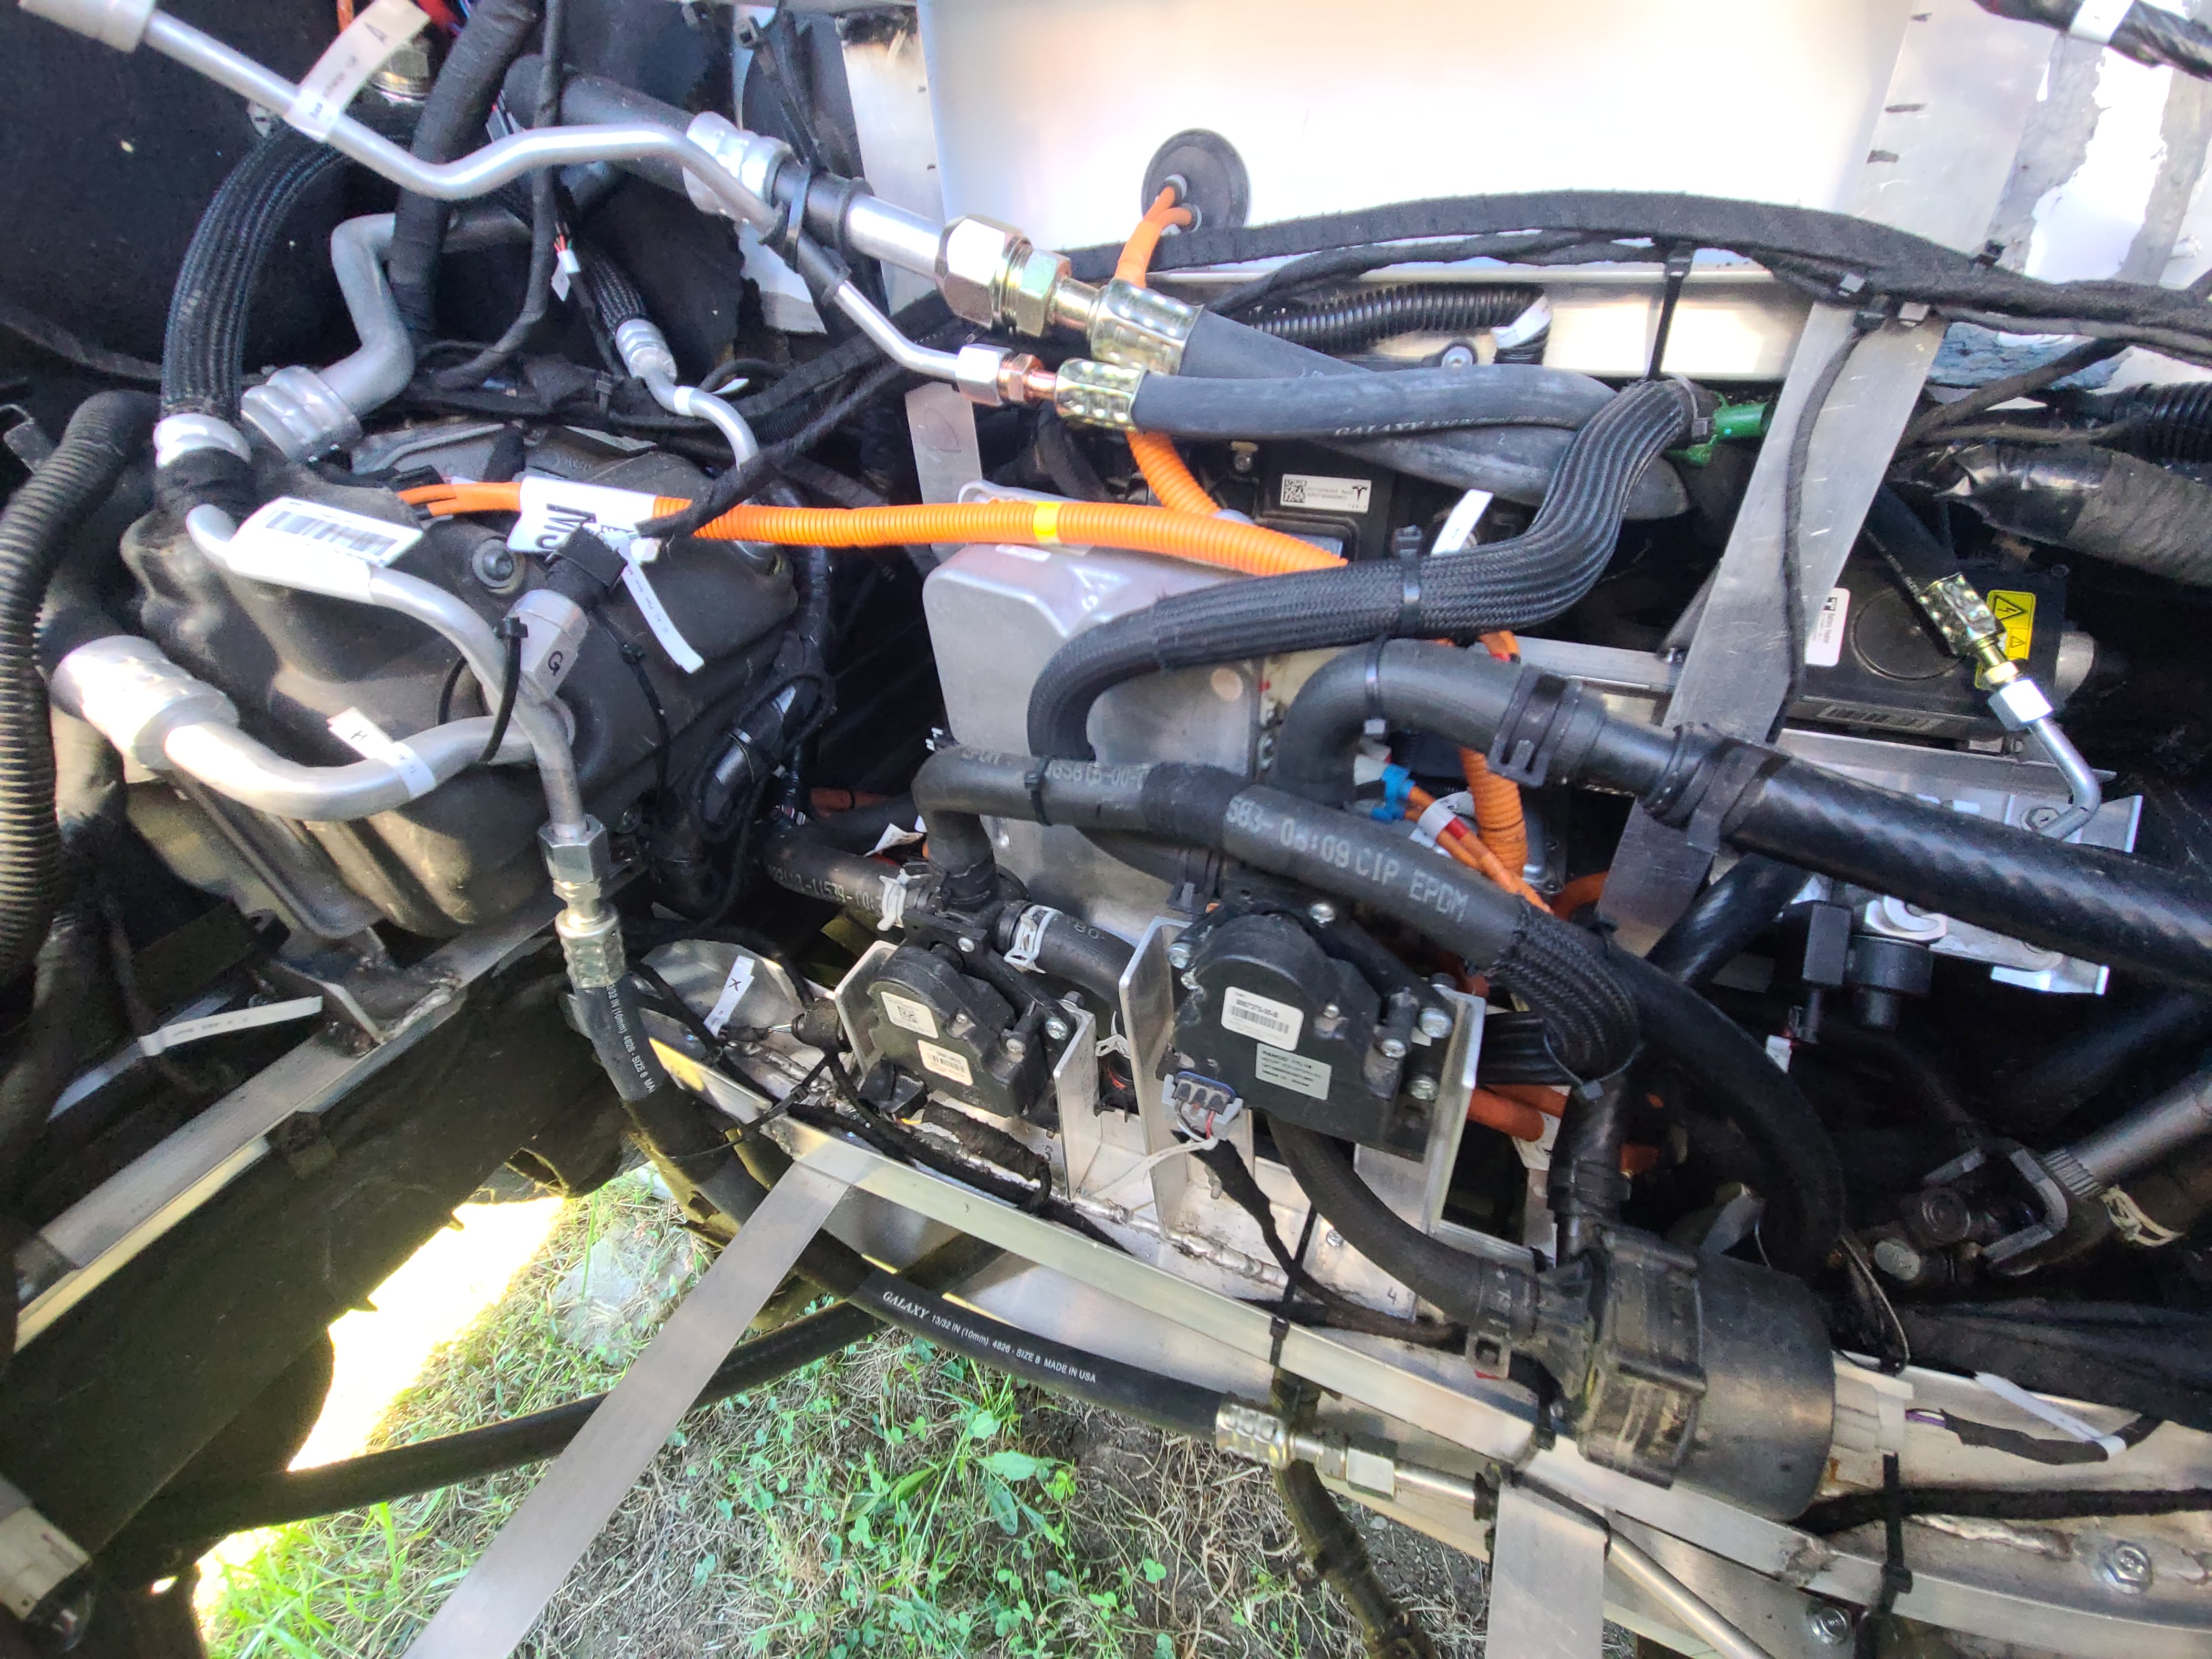
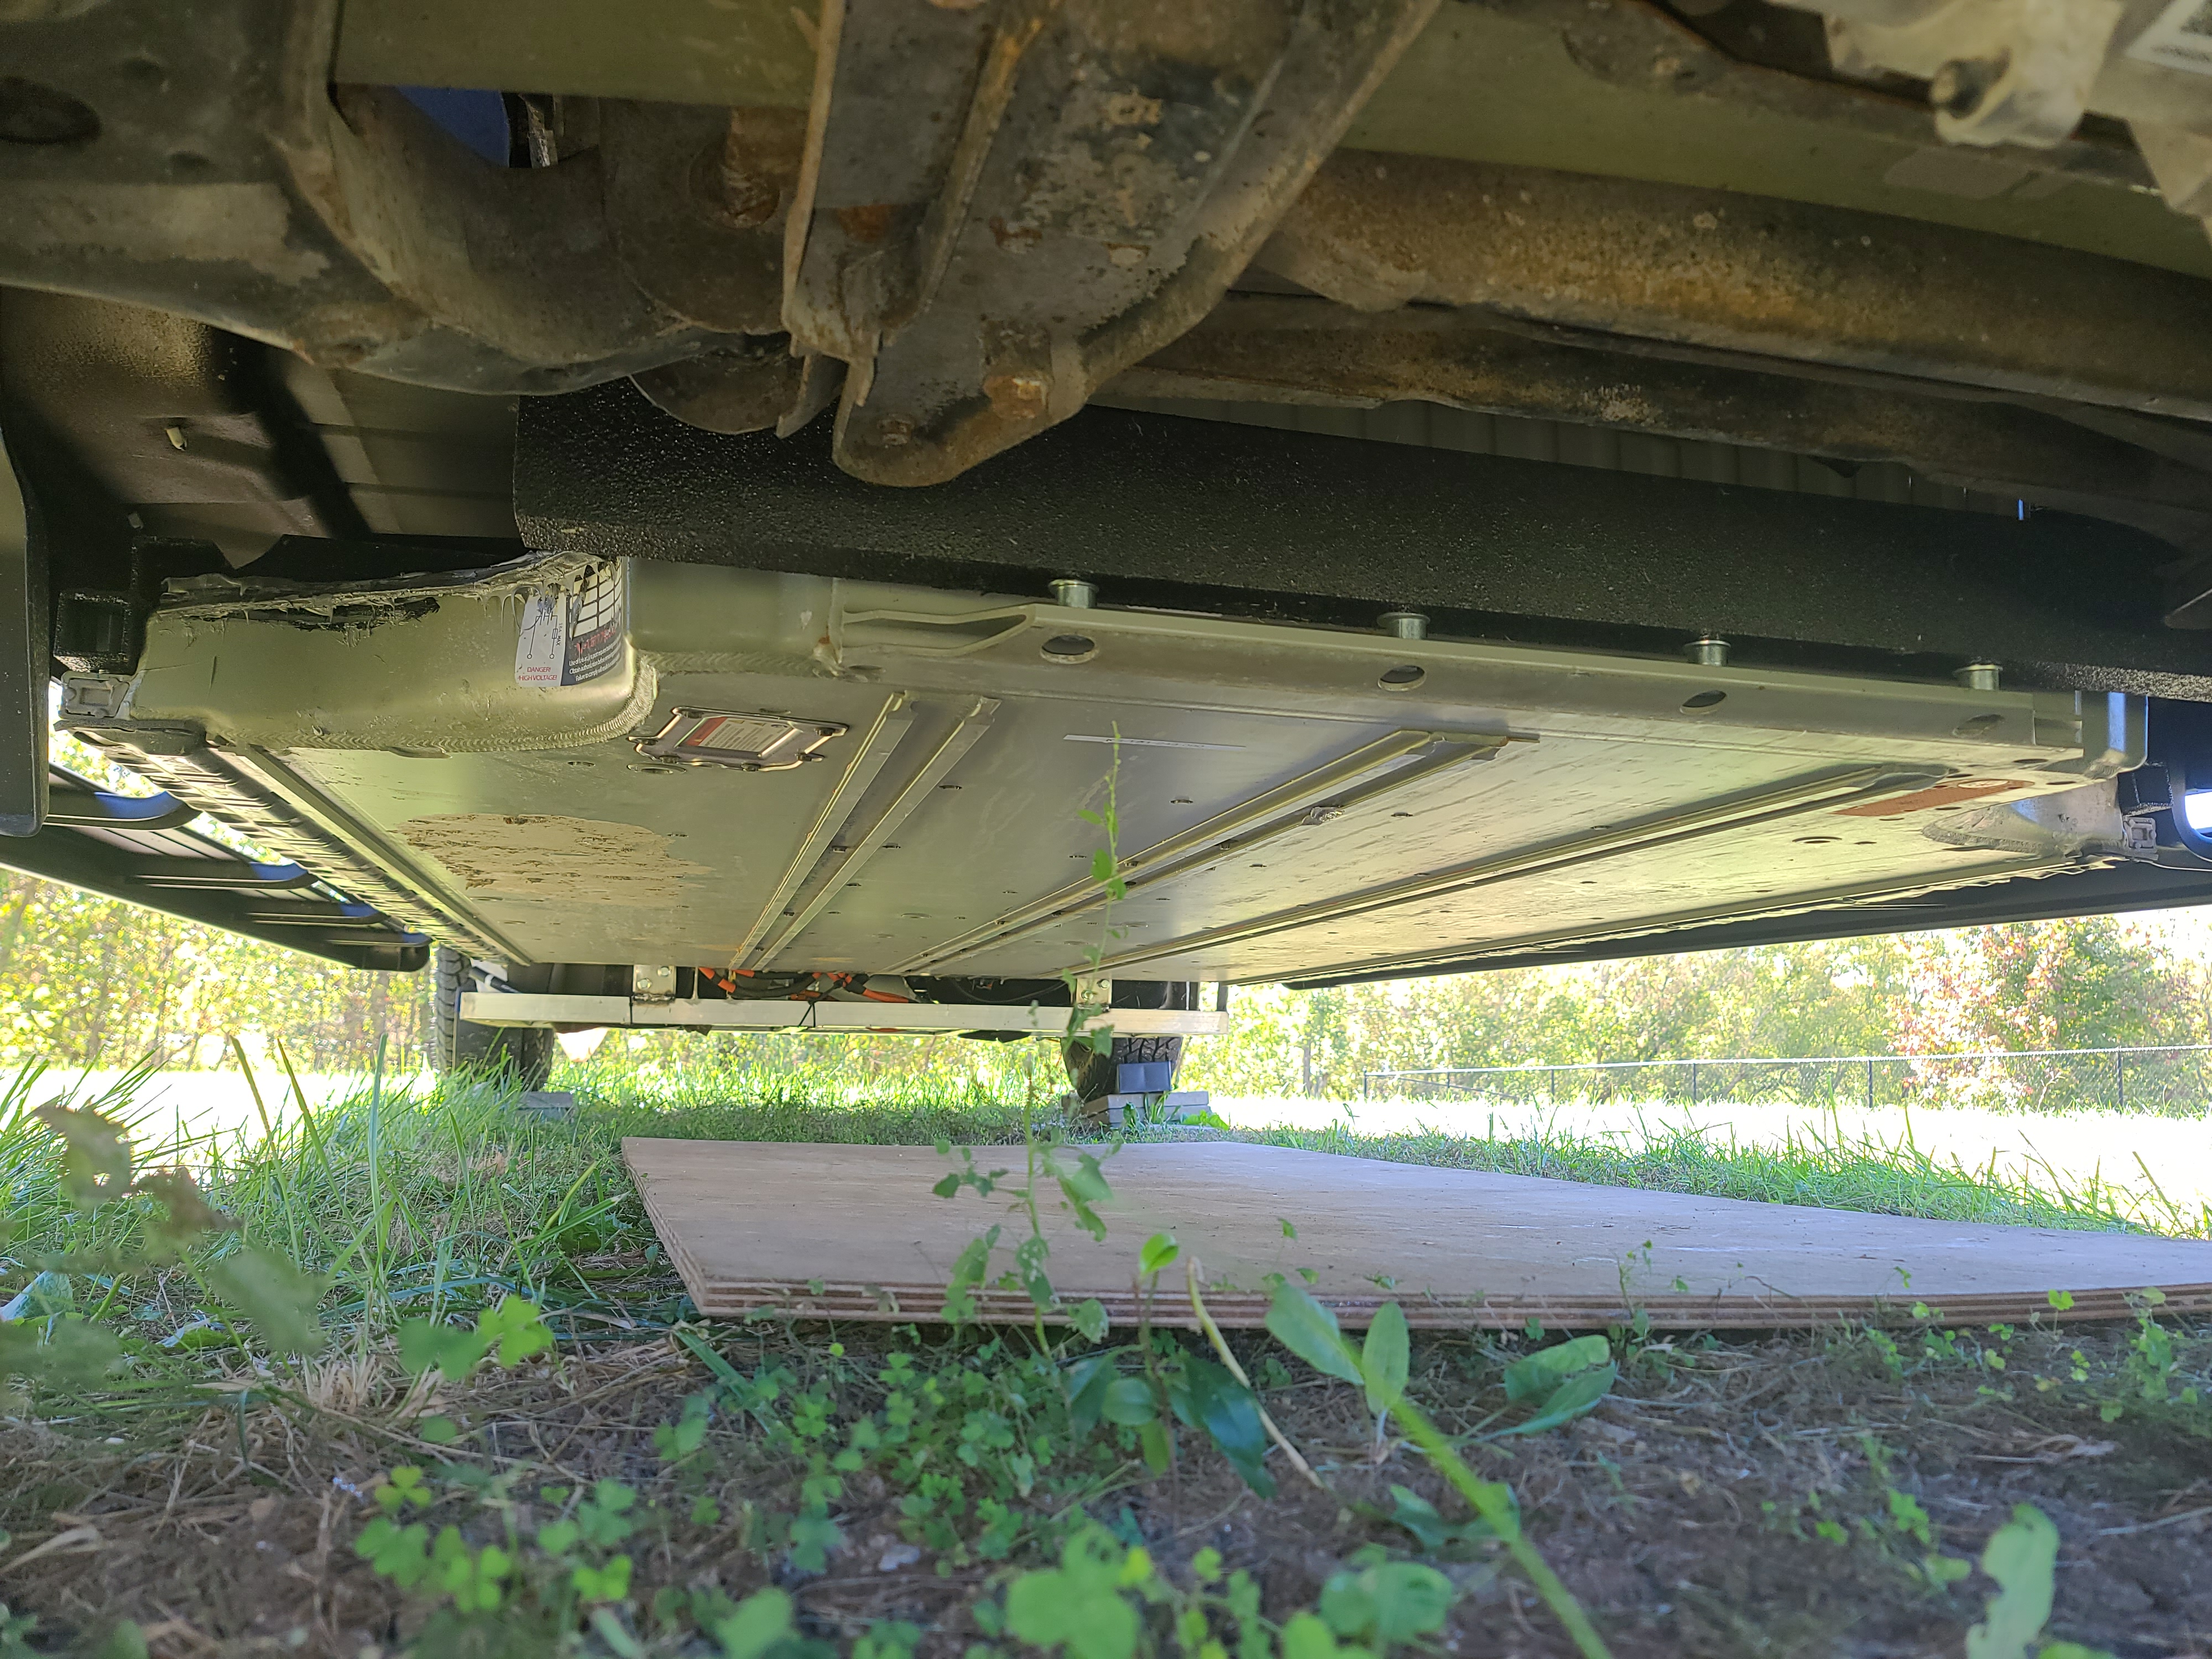
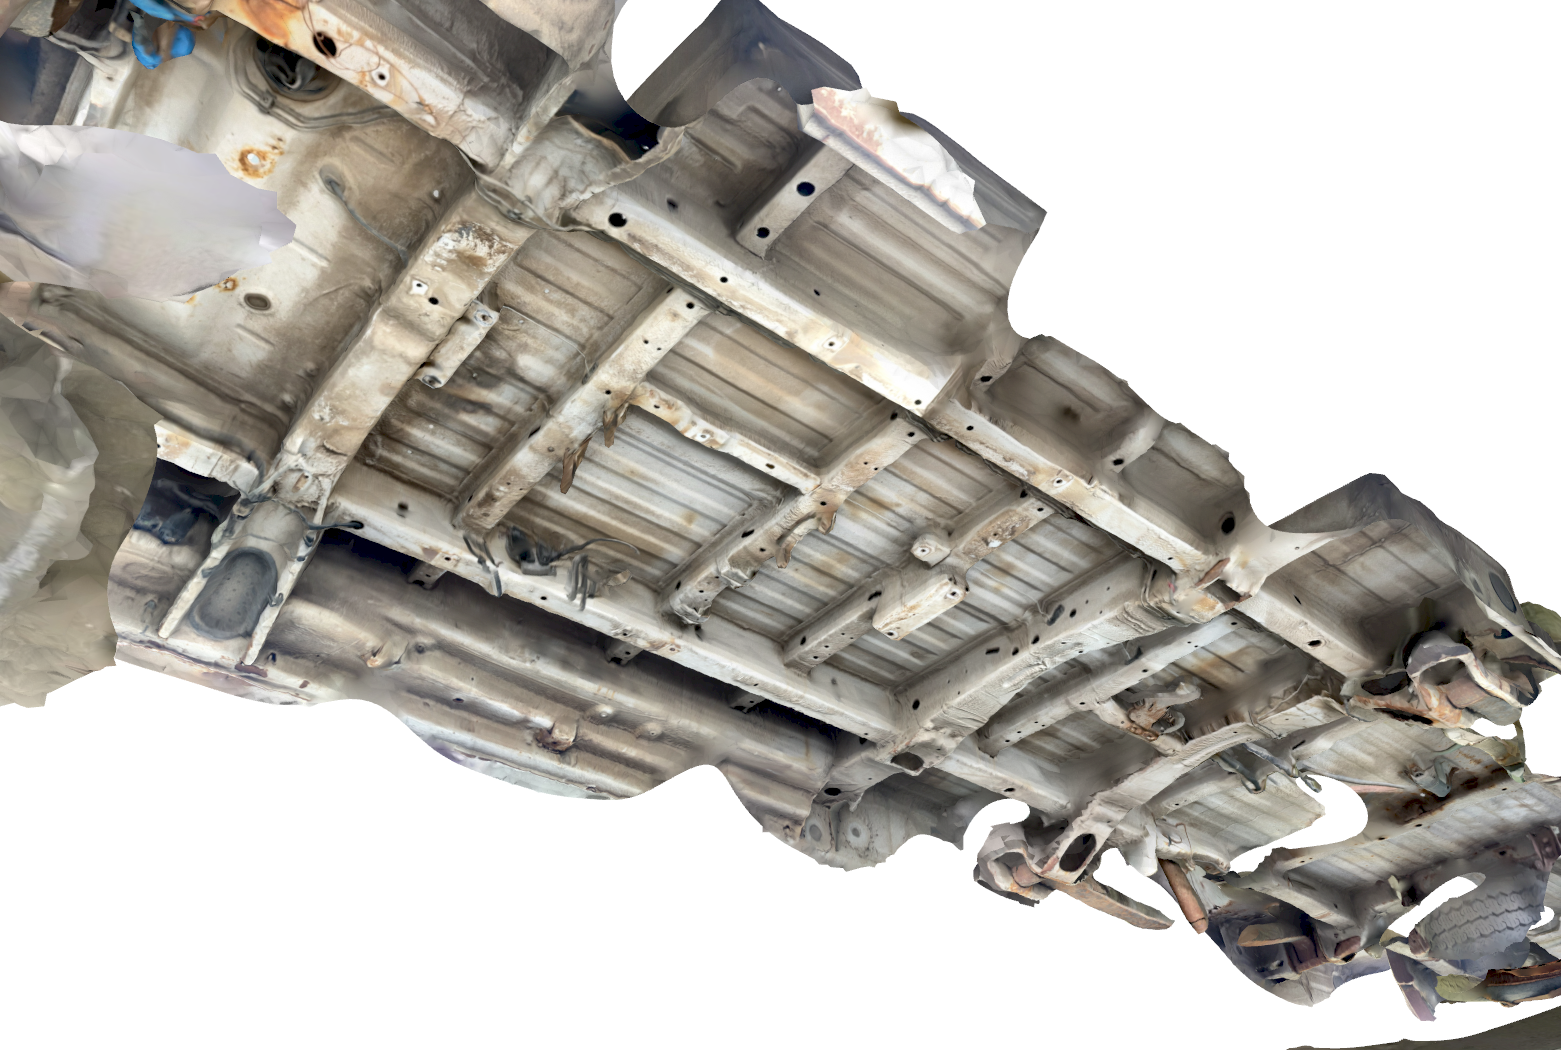
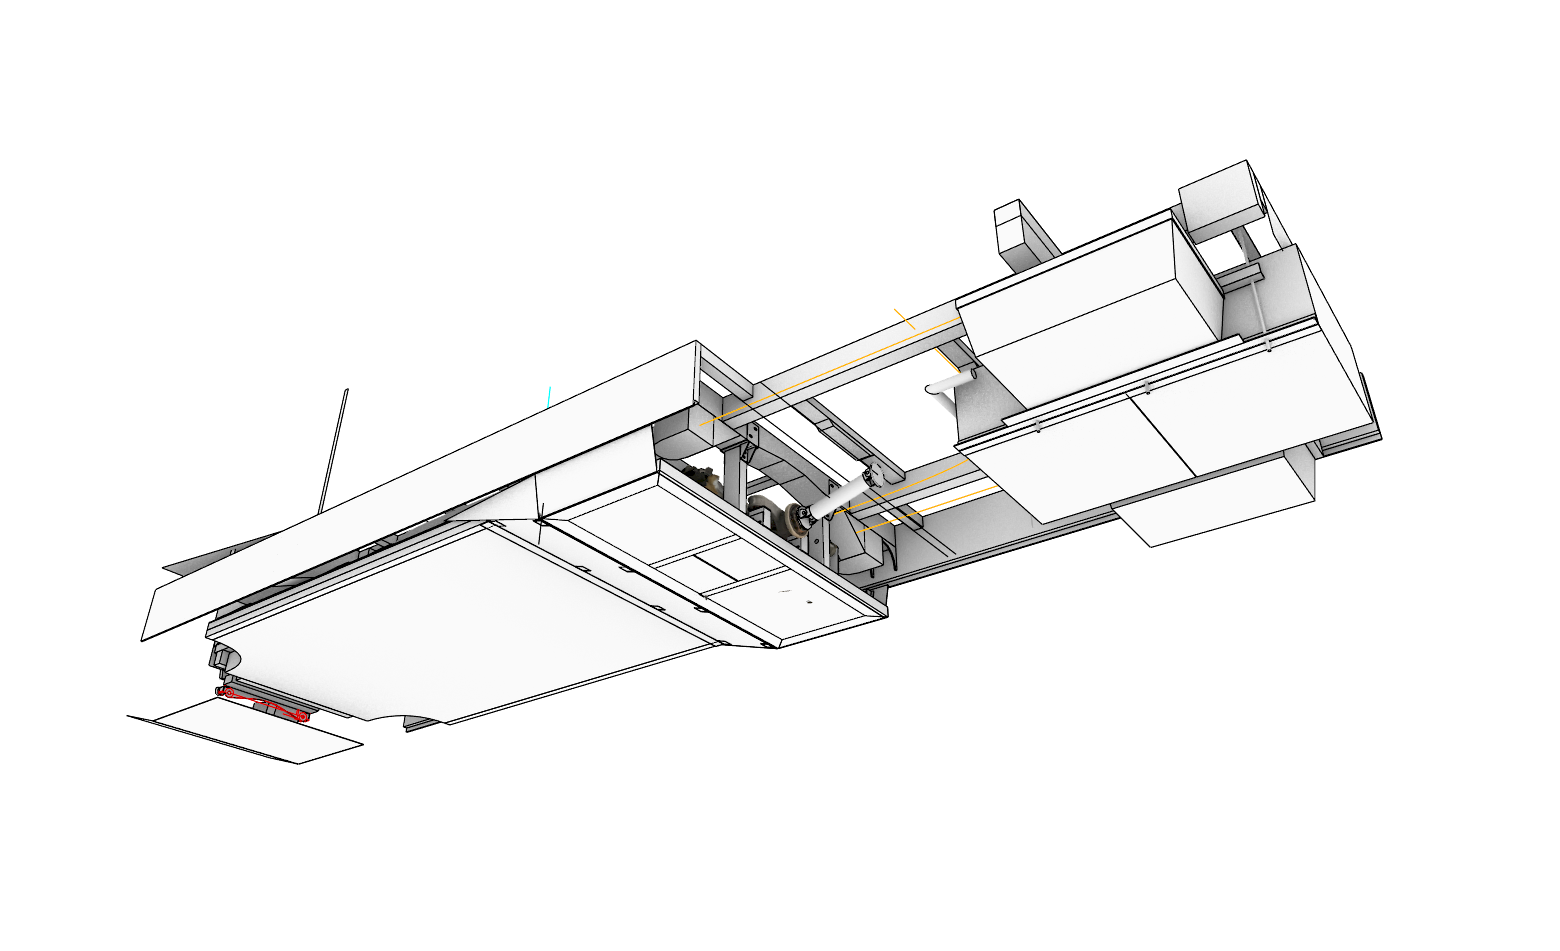
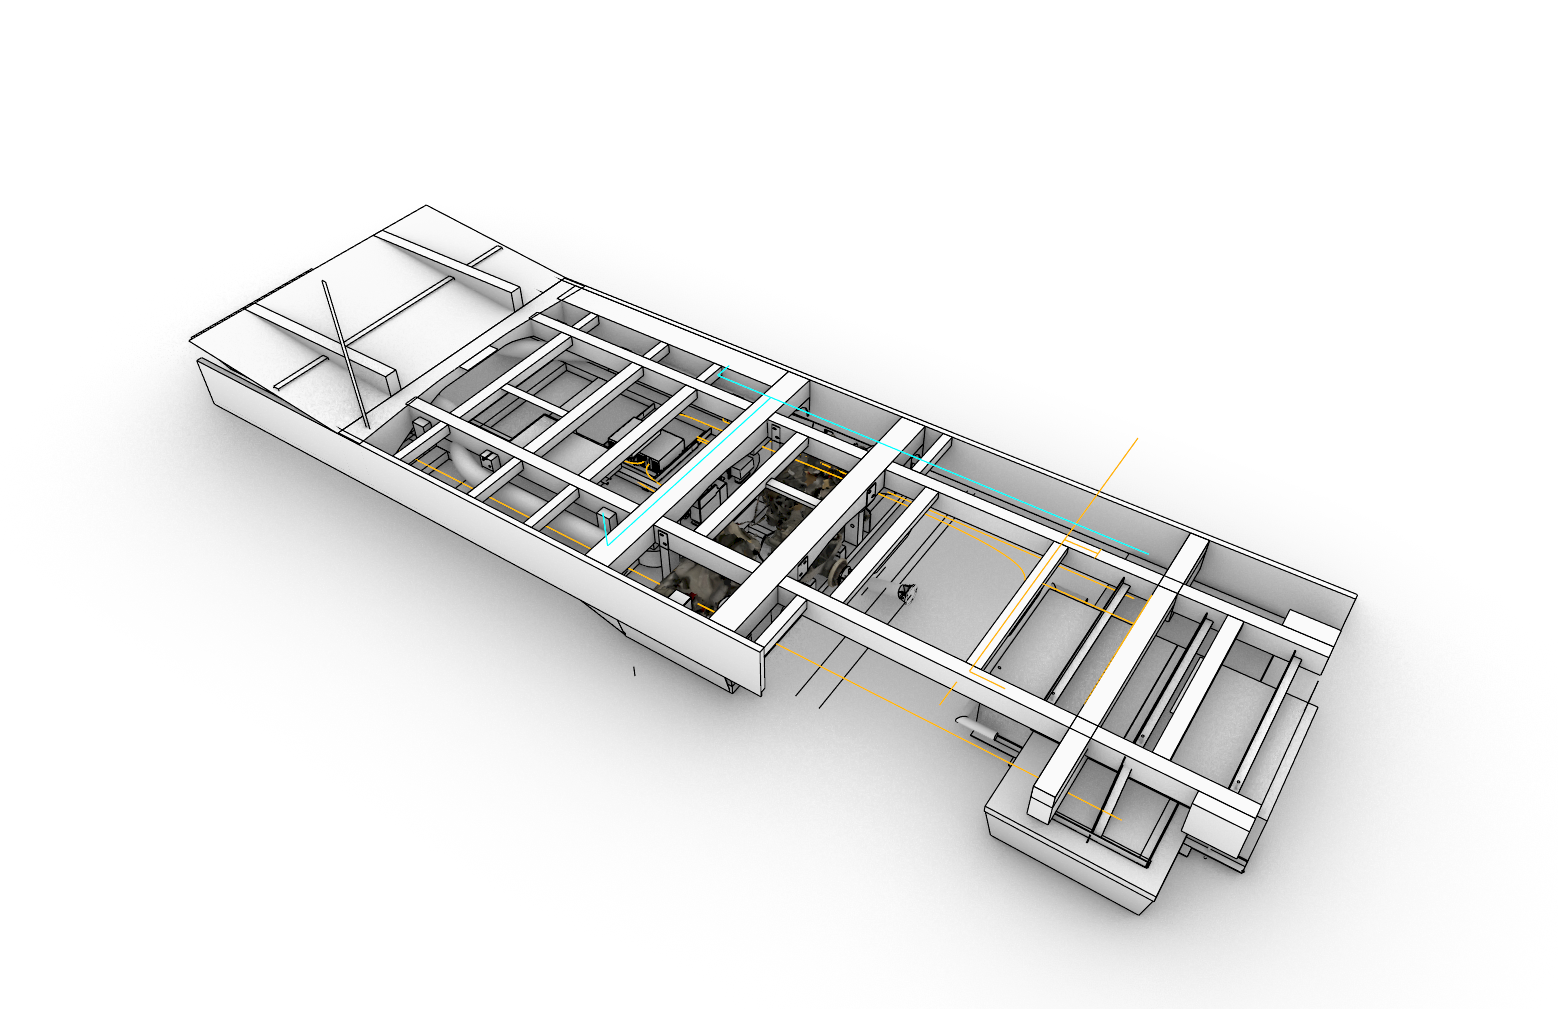
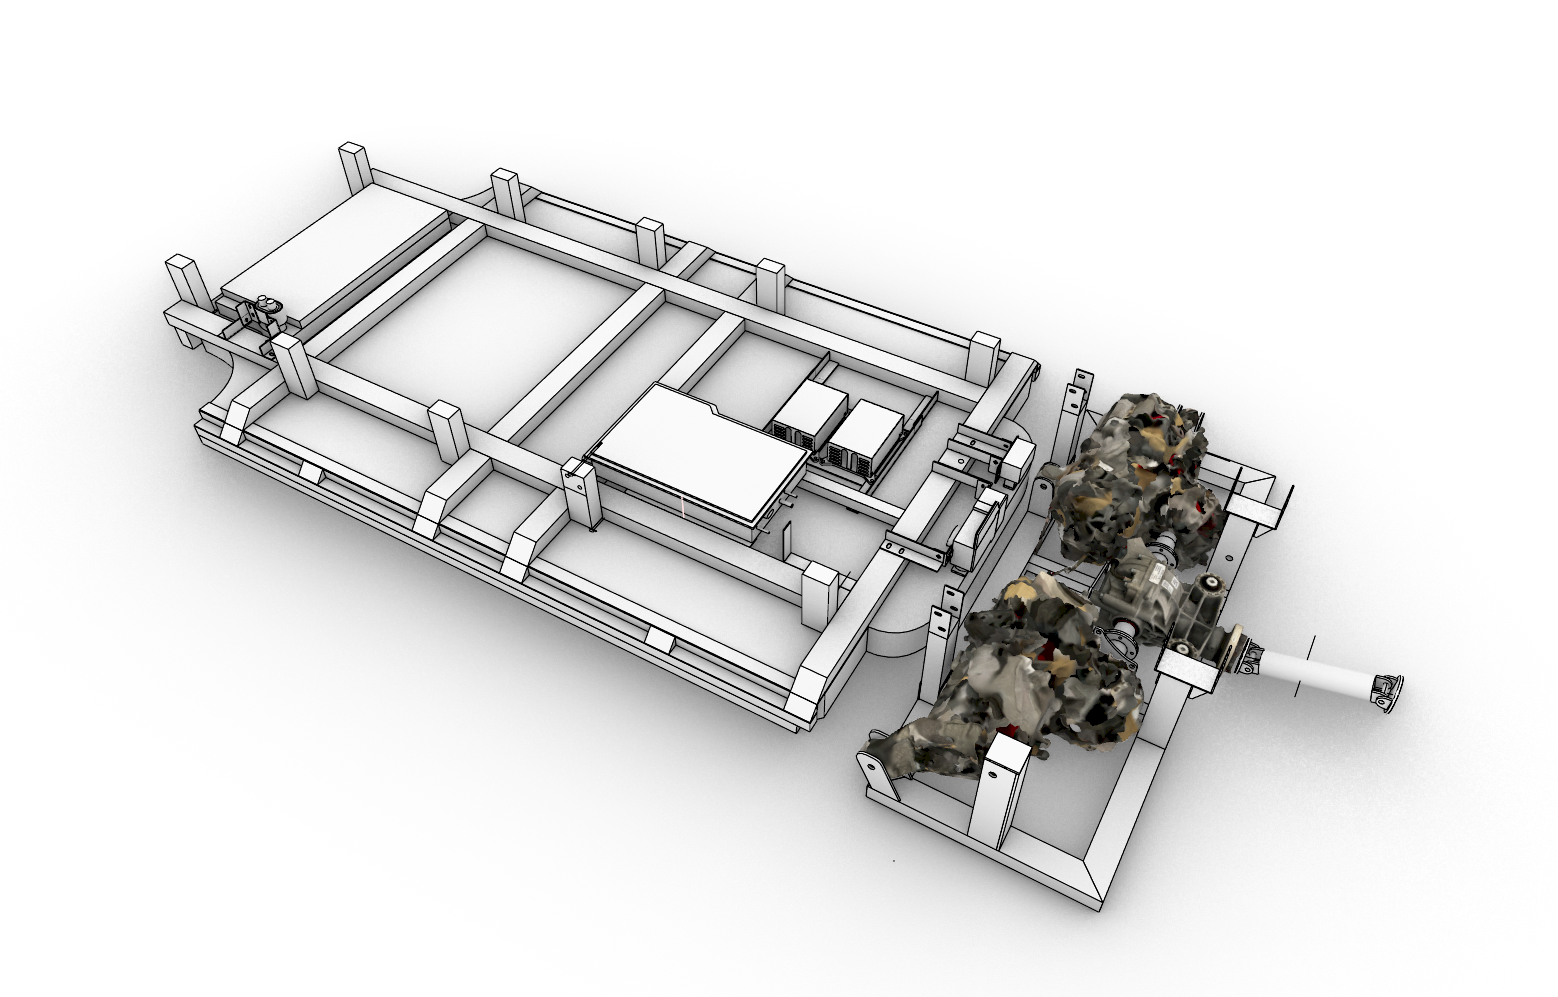
All the major components of the Tesla Model S have been mounted. The system turns on and diagnostics can be run.
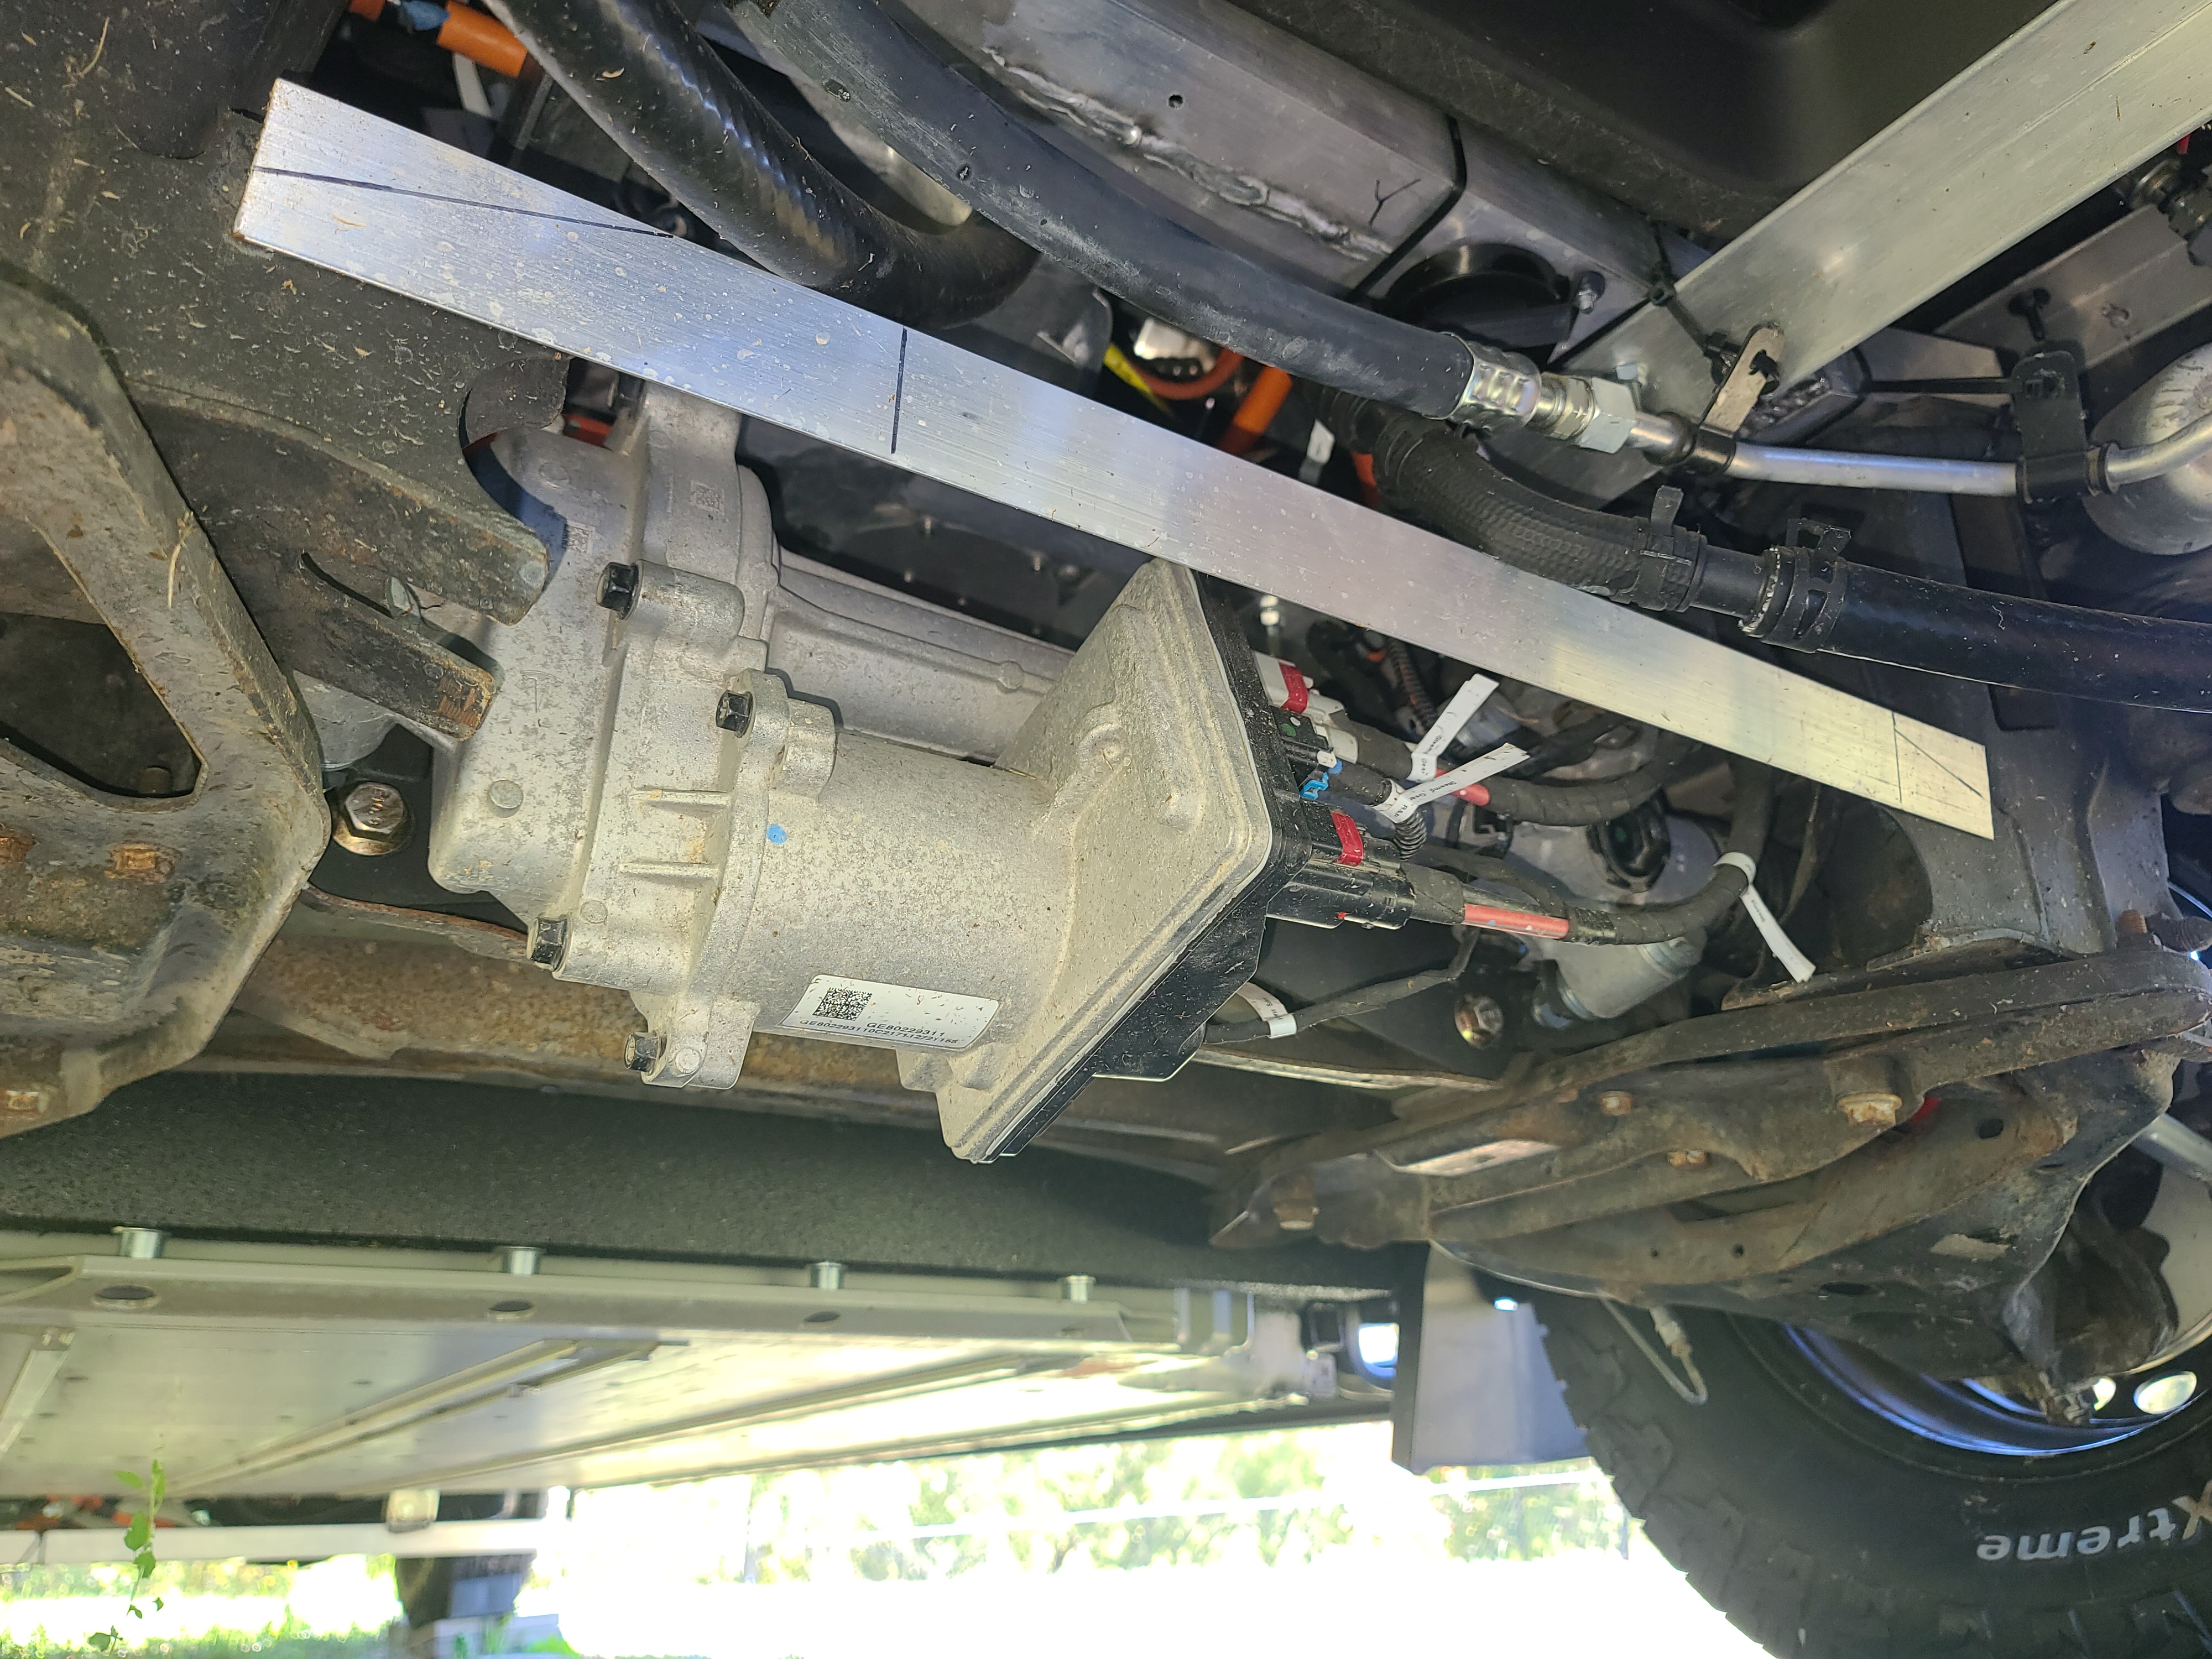
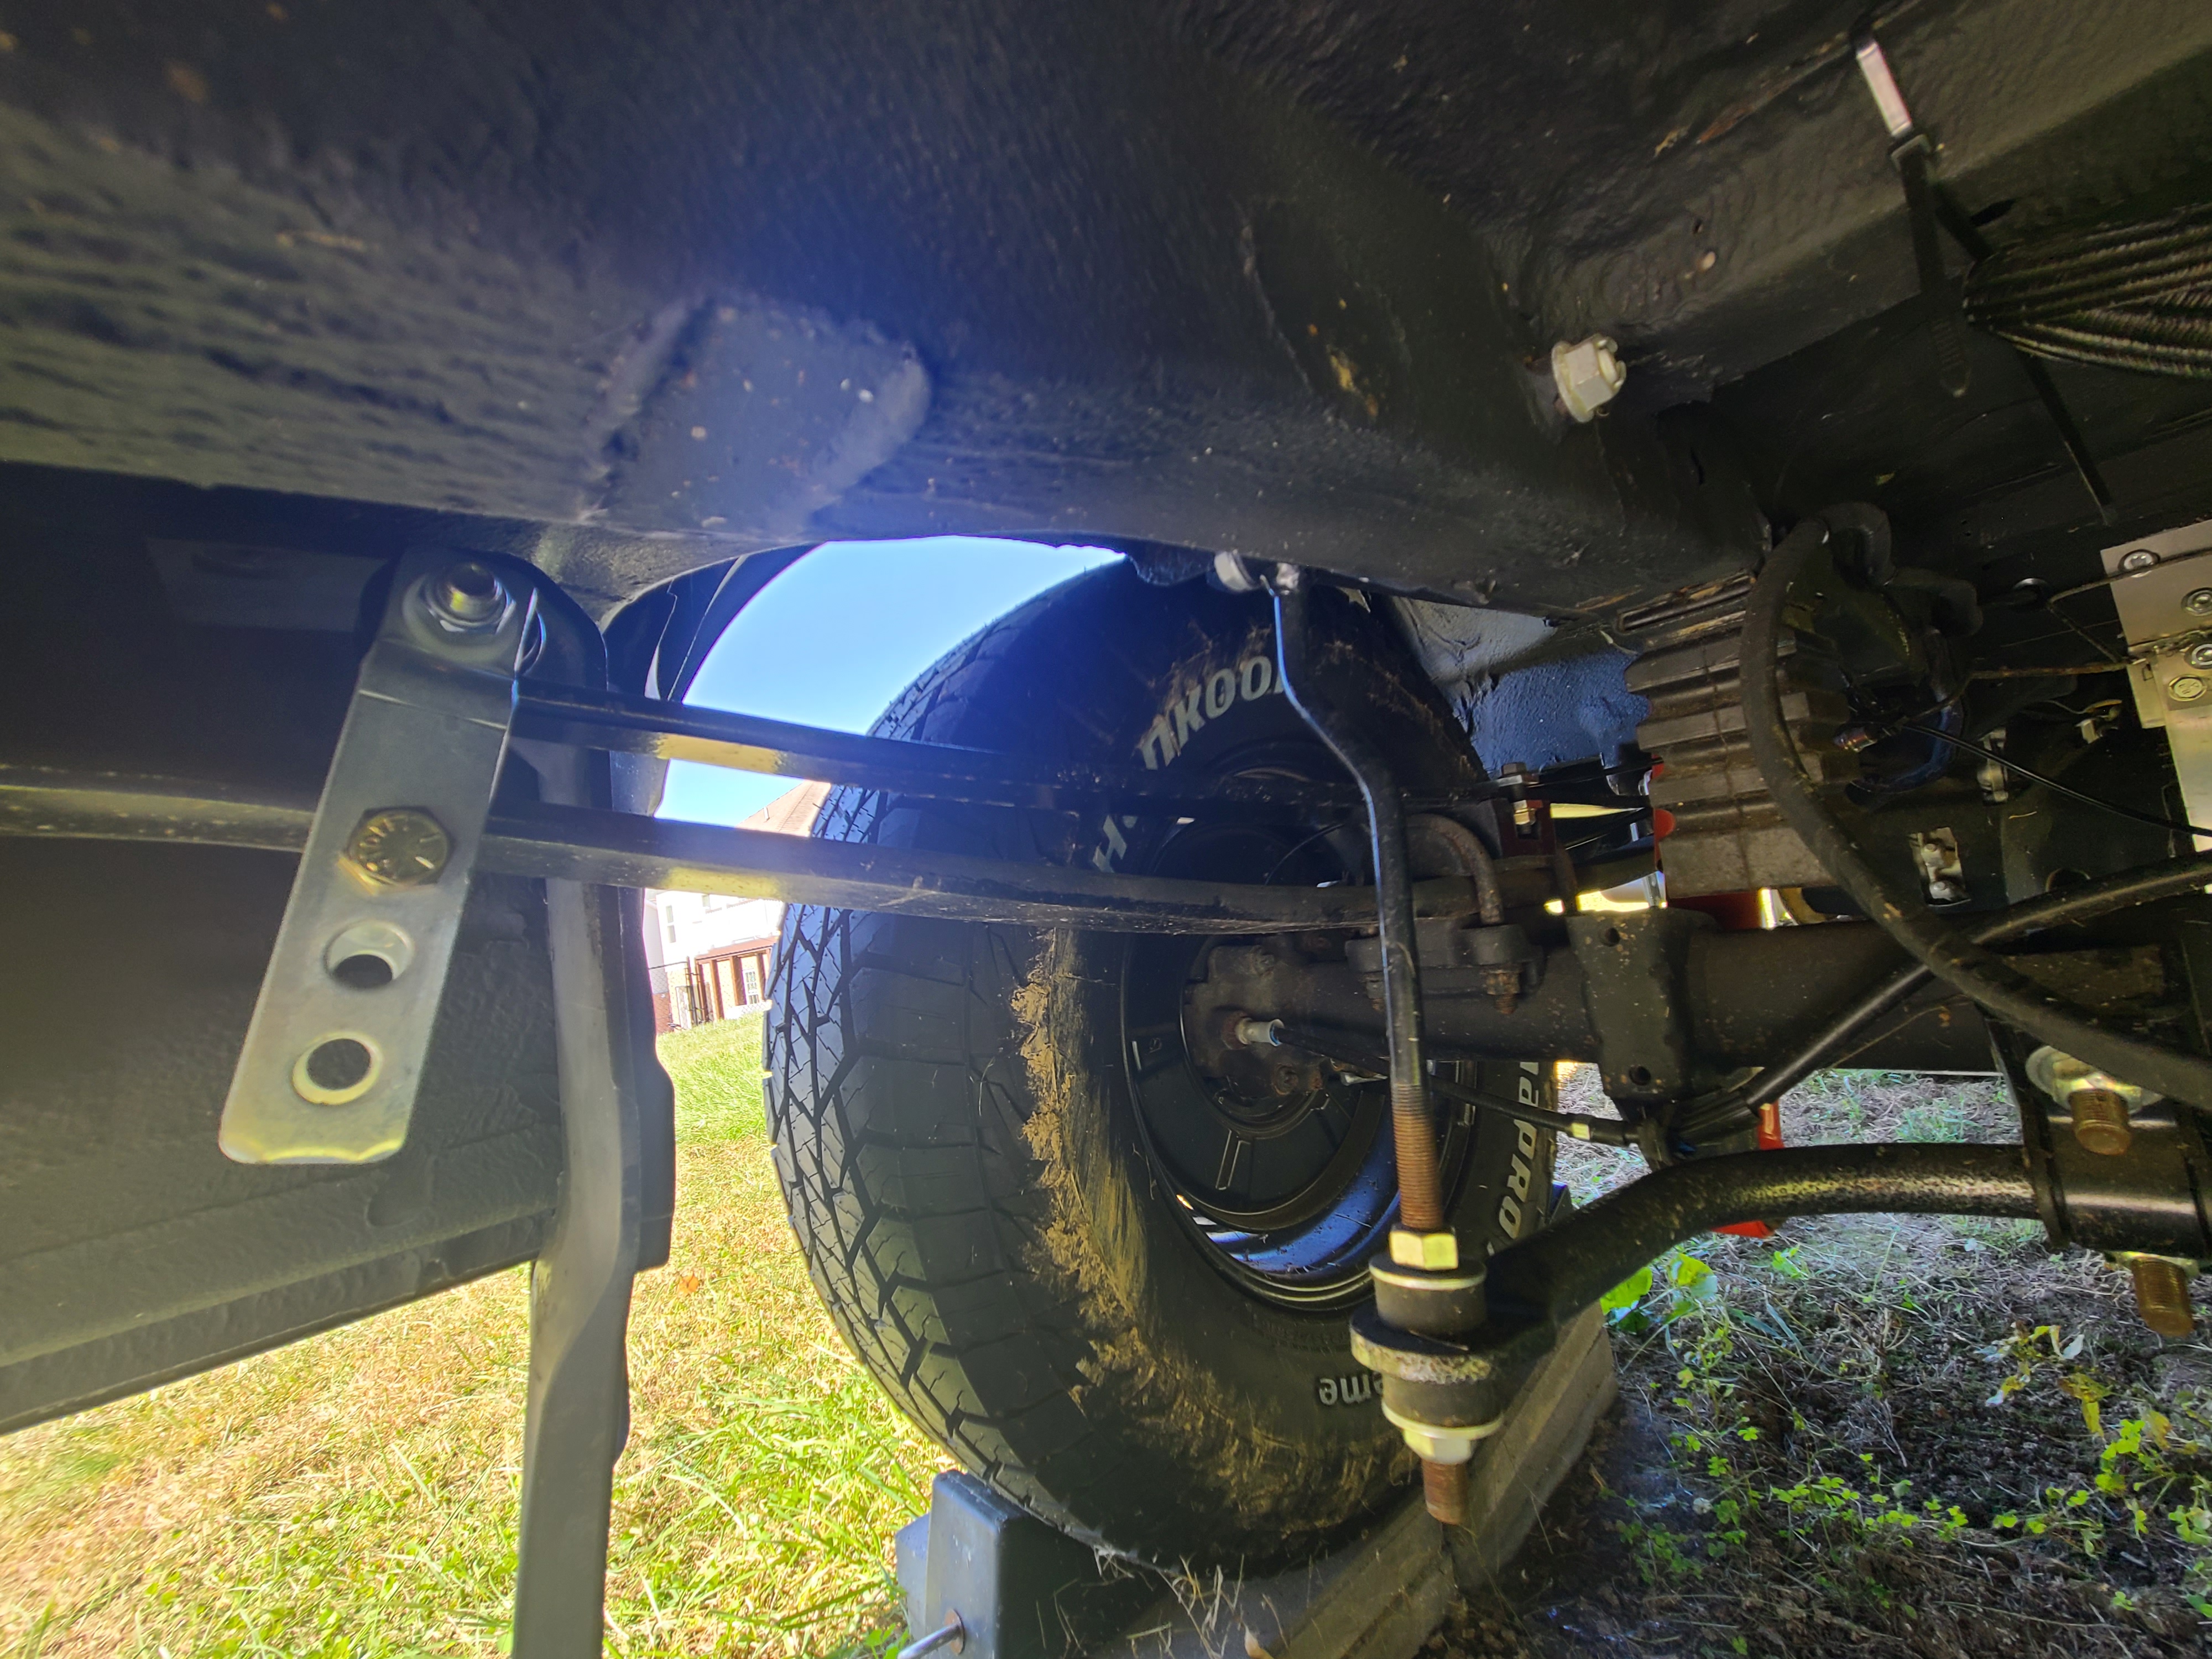
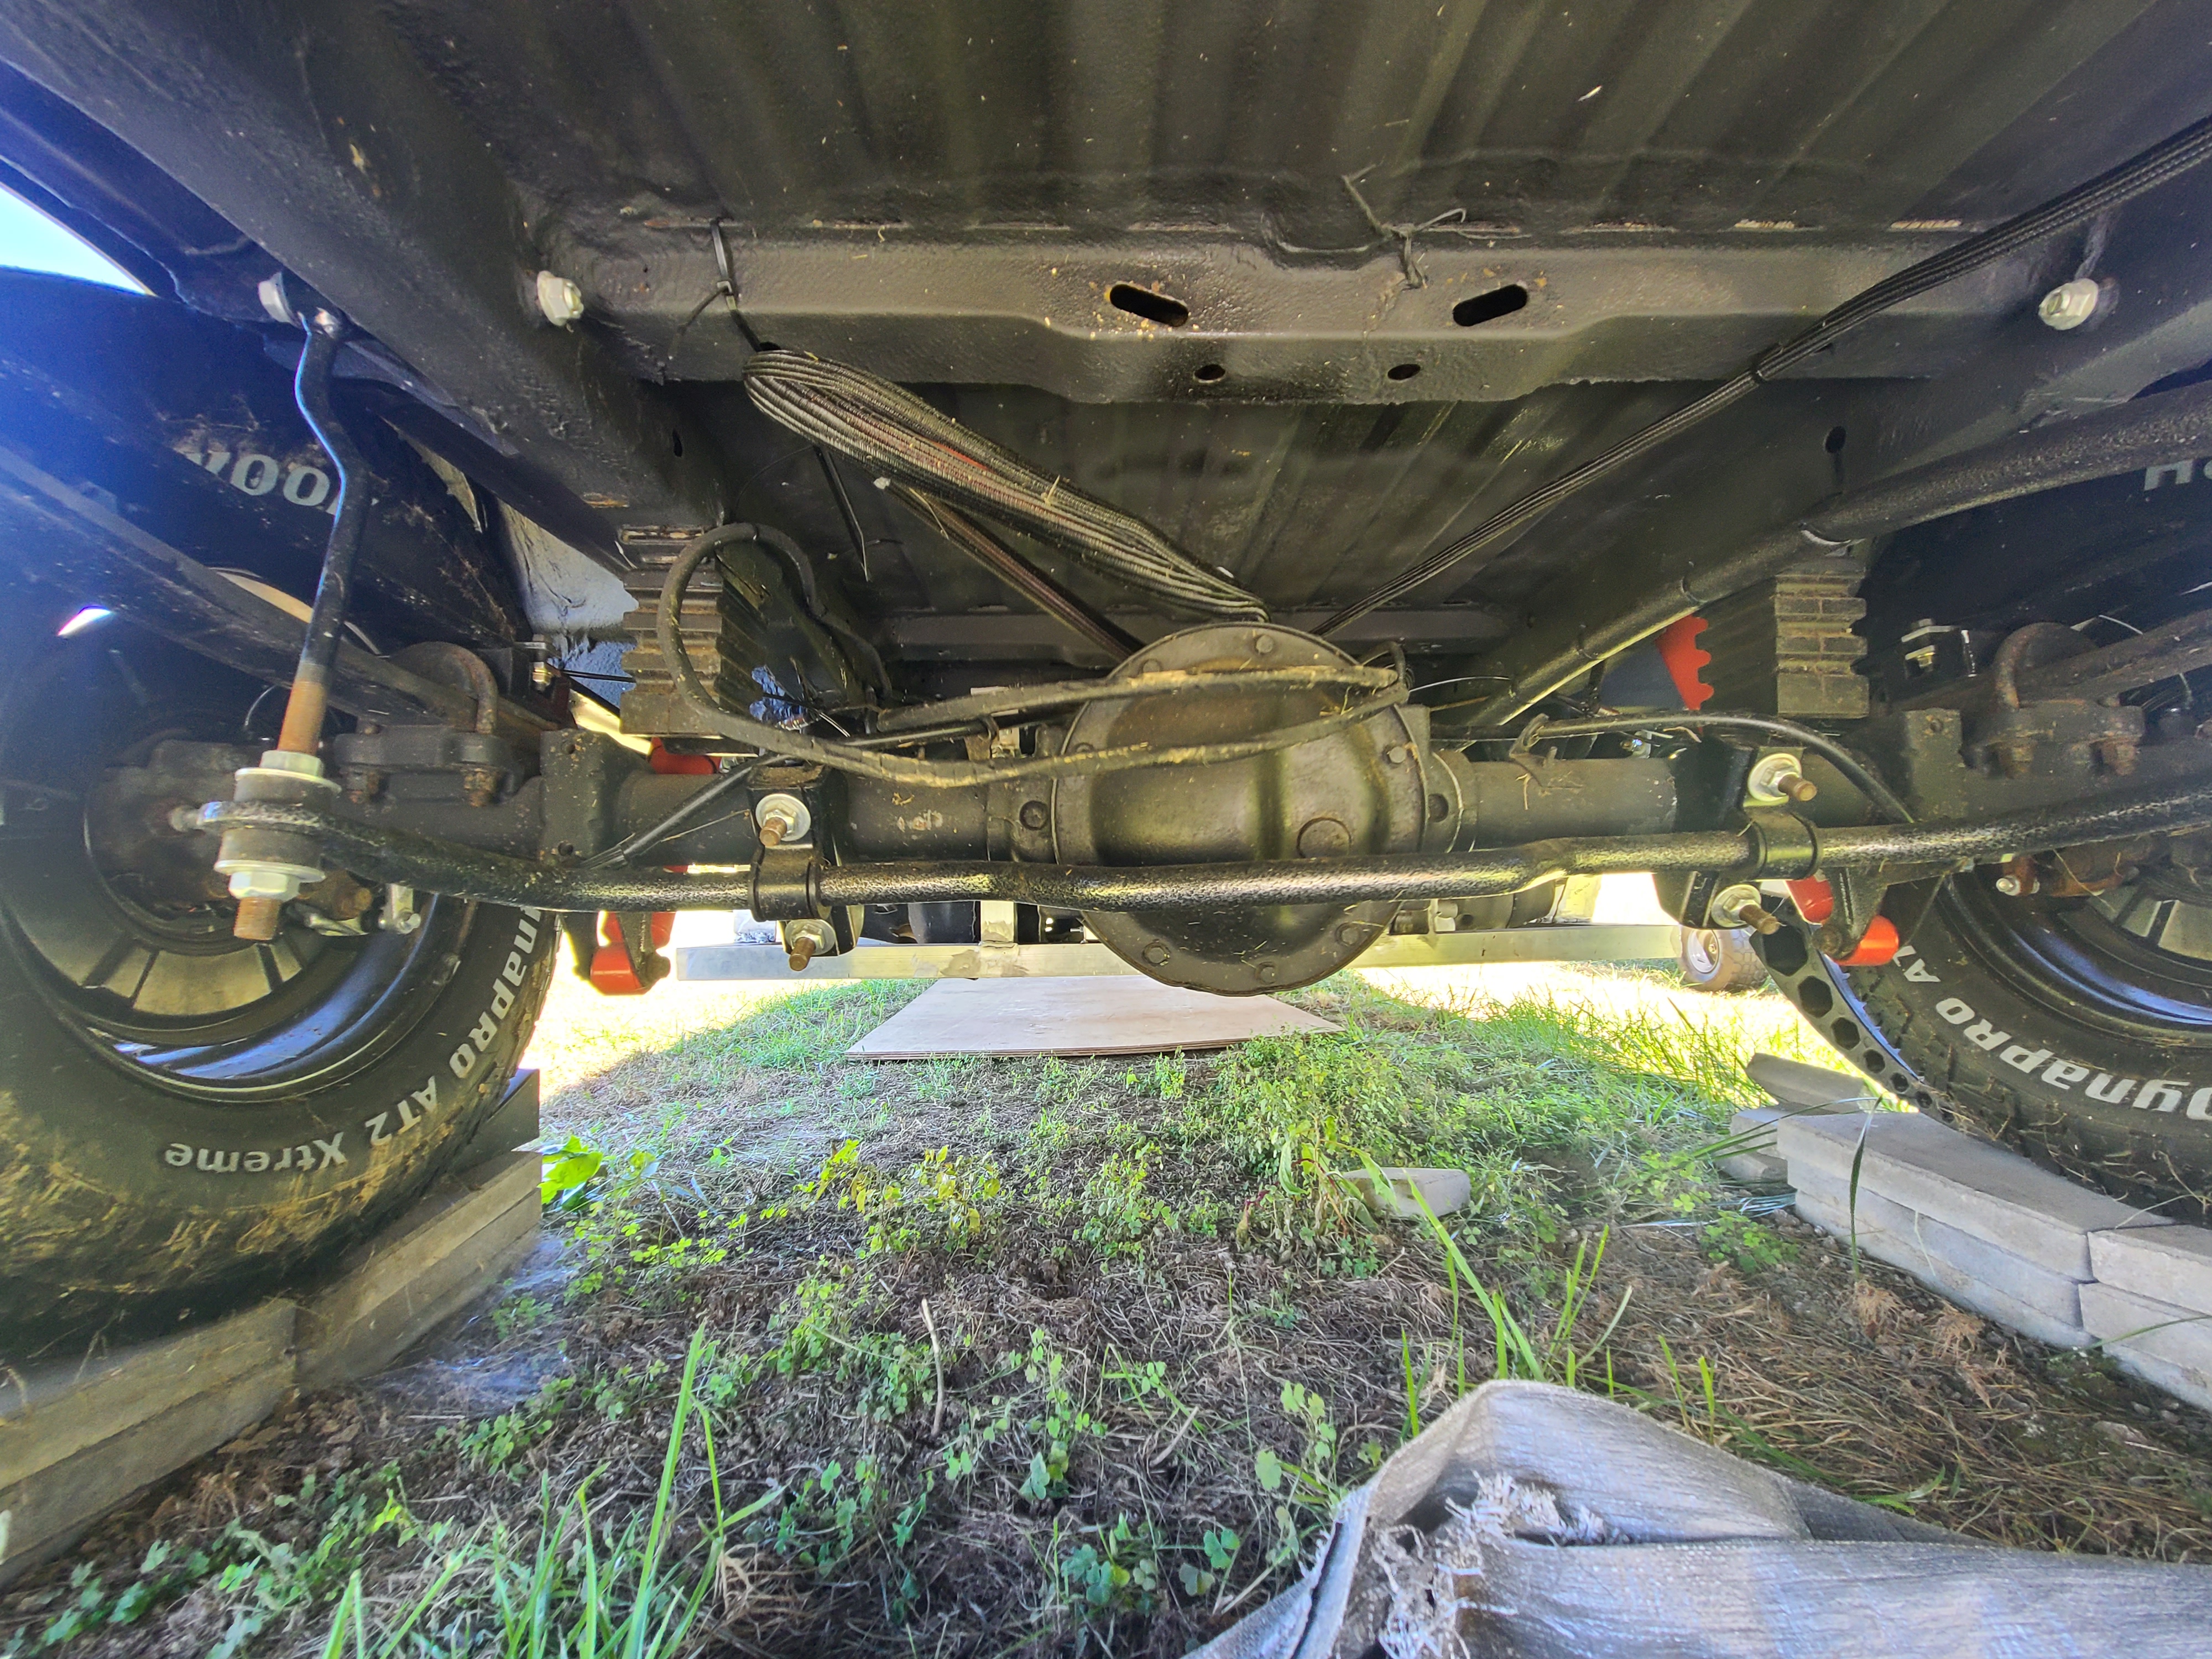
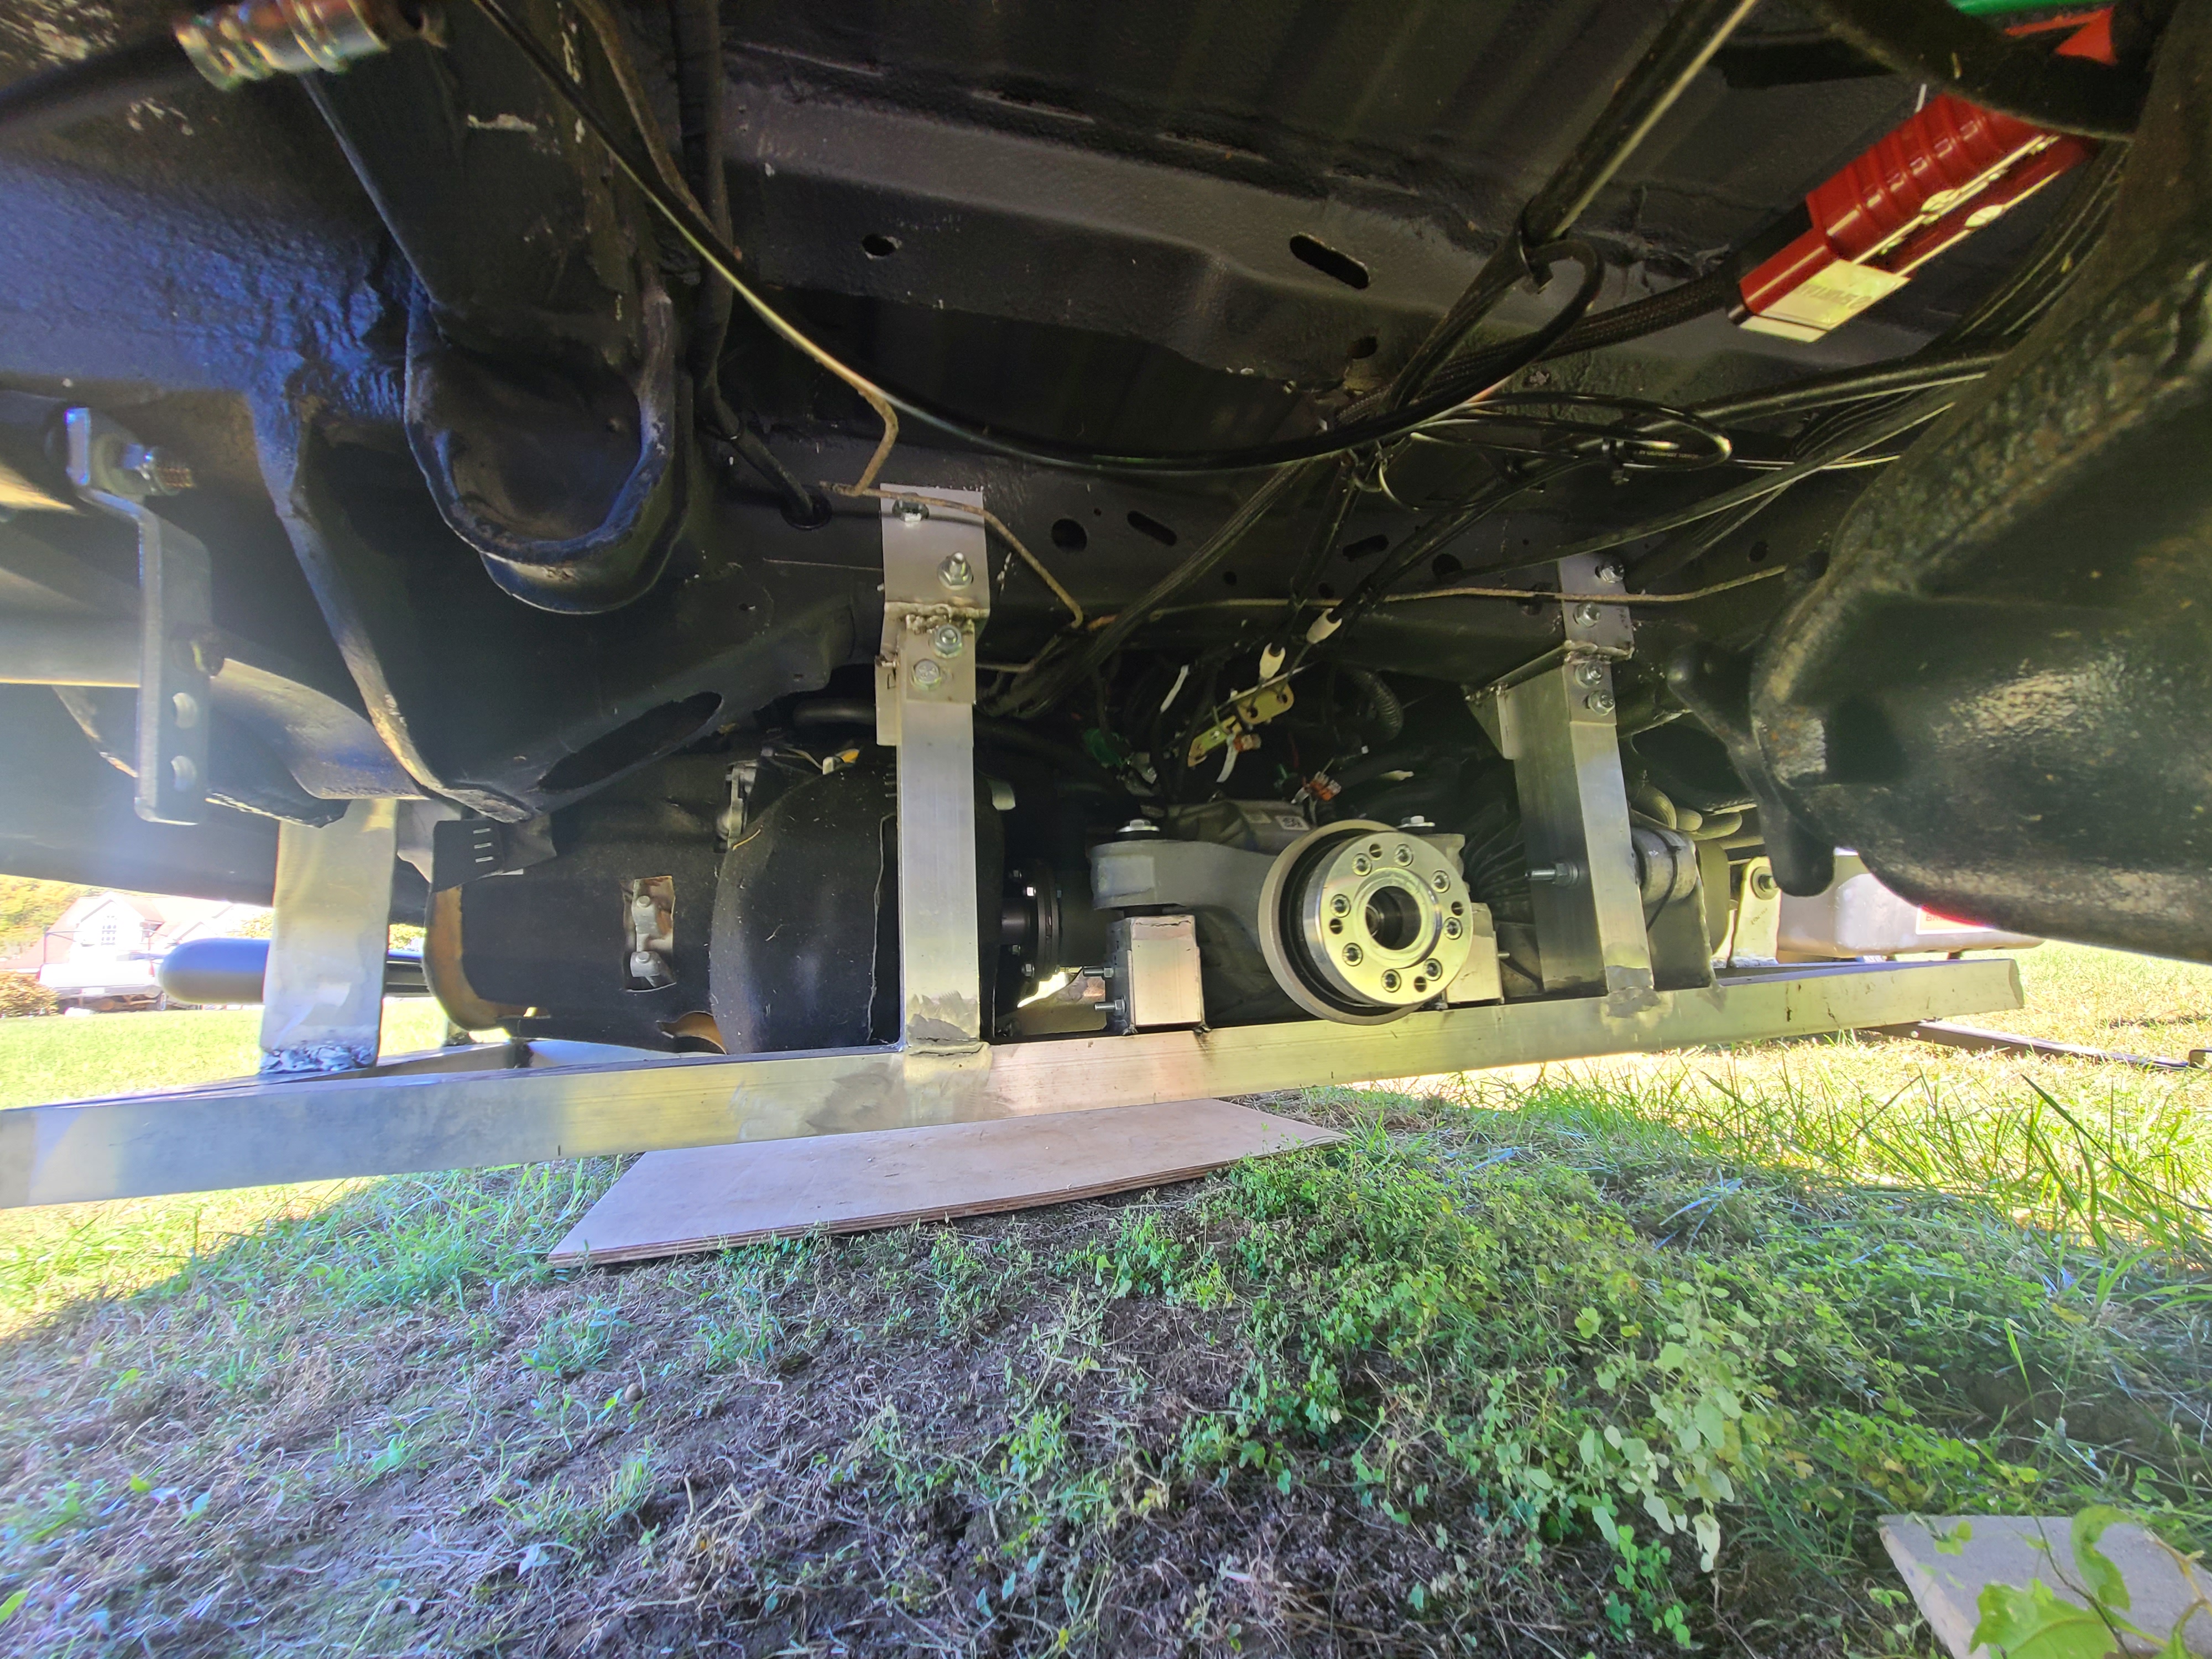
The drivetrain is complete and mounted in a custom configuration. The stock Sprinter is RWD, and to utilize the full potential of the Small Drive Units while minimizing confusion of the Tesla system, we've combined the output of each motor into a single Dodge Charger independent suspension differential (sounds crazy, we know).
Lots of math went into figuring out the gear ratio to make sure the RWD Sprinter would not be put under excessive stress.
Since the motors are mounted in reverse, the oil pump needed to be modified. If you've done your research, there's an irreversible modification that needs to be made to the oil pump to get it to flow properly in reverse. Instead, I designed and developed a set of gears that turn the reverse turning motor into forward motion on the oil pump. That means it can be undone to restore the oil pump to its factory state!
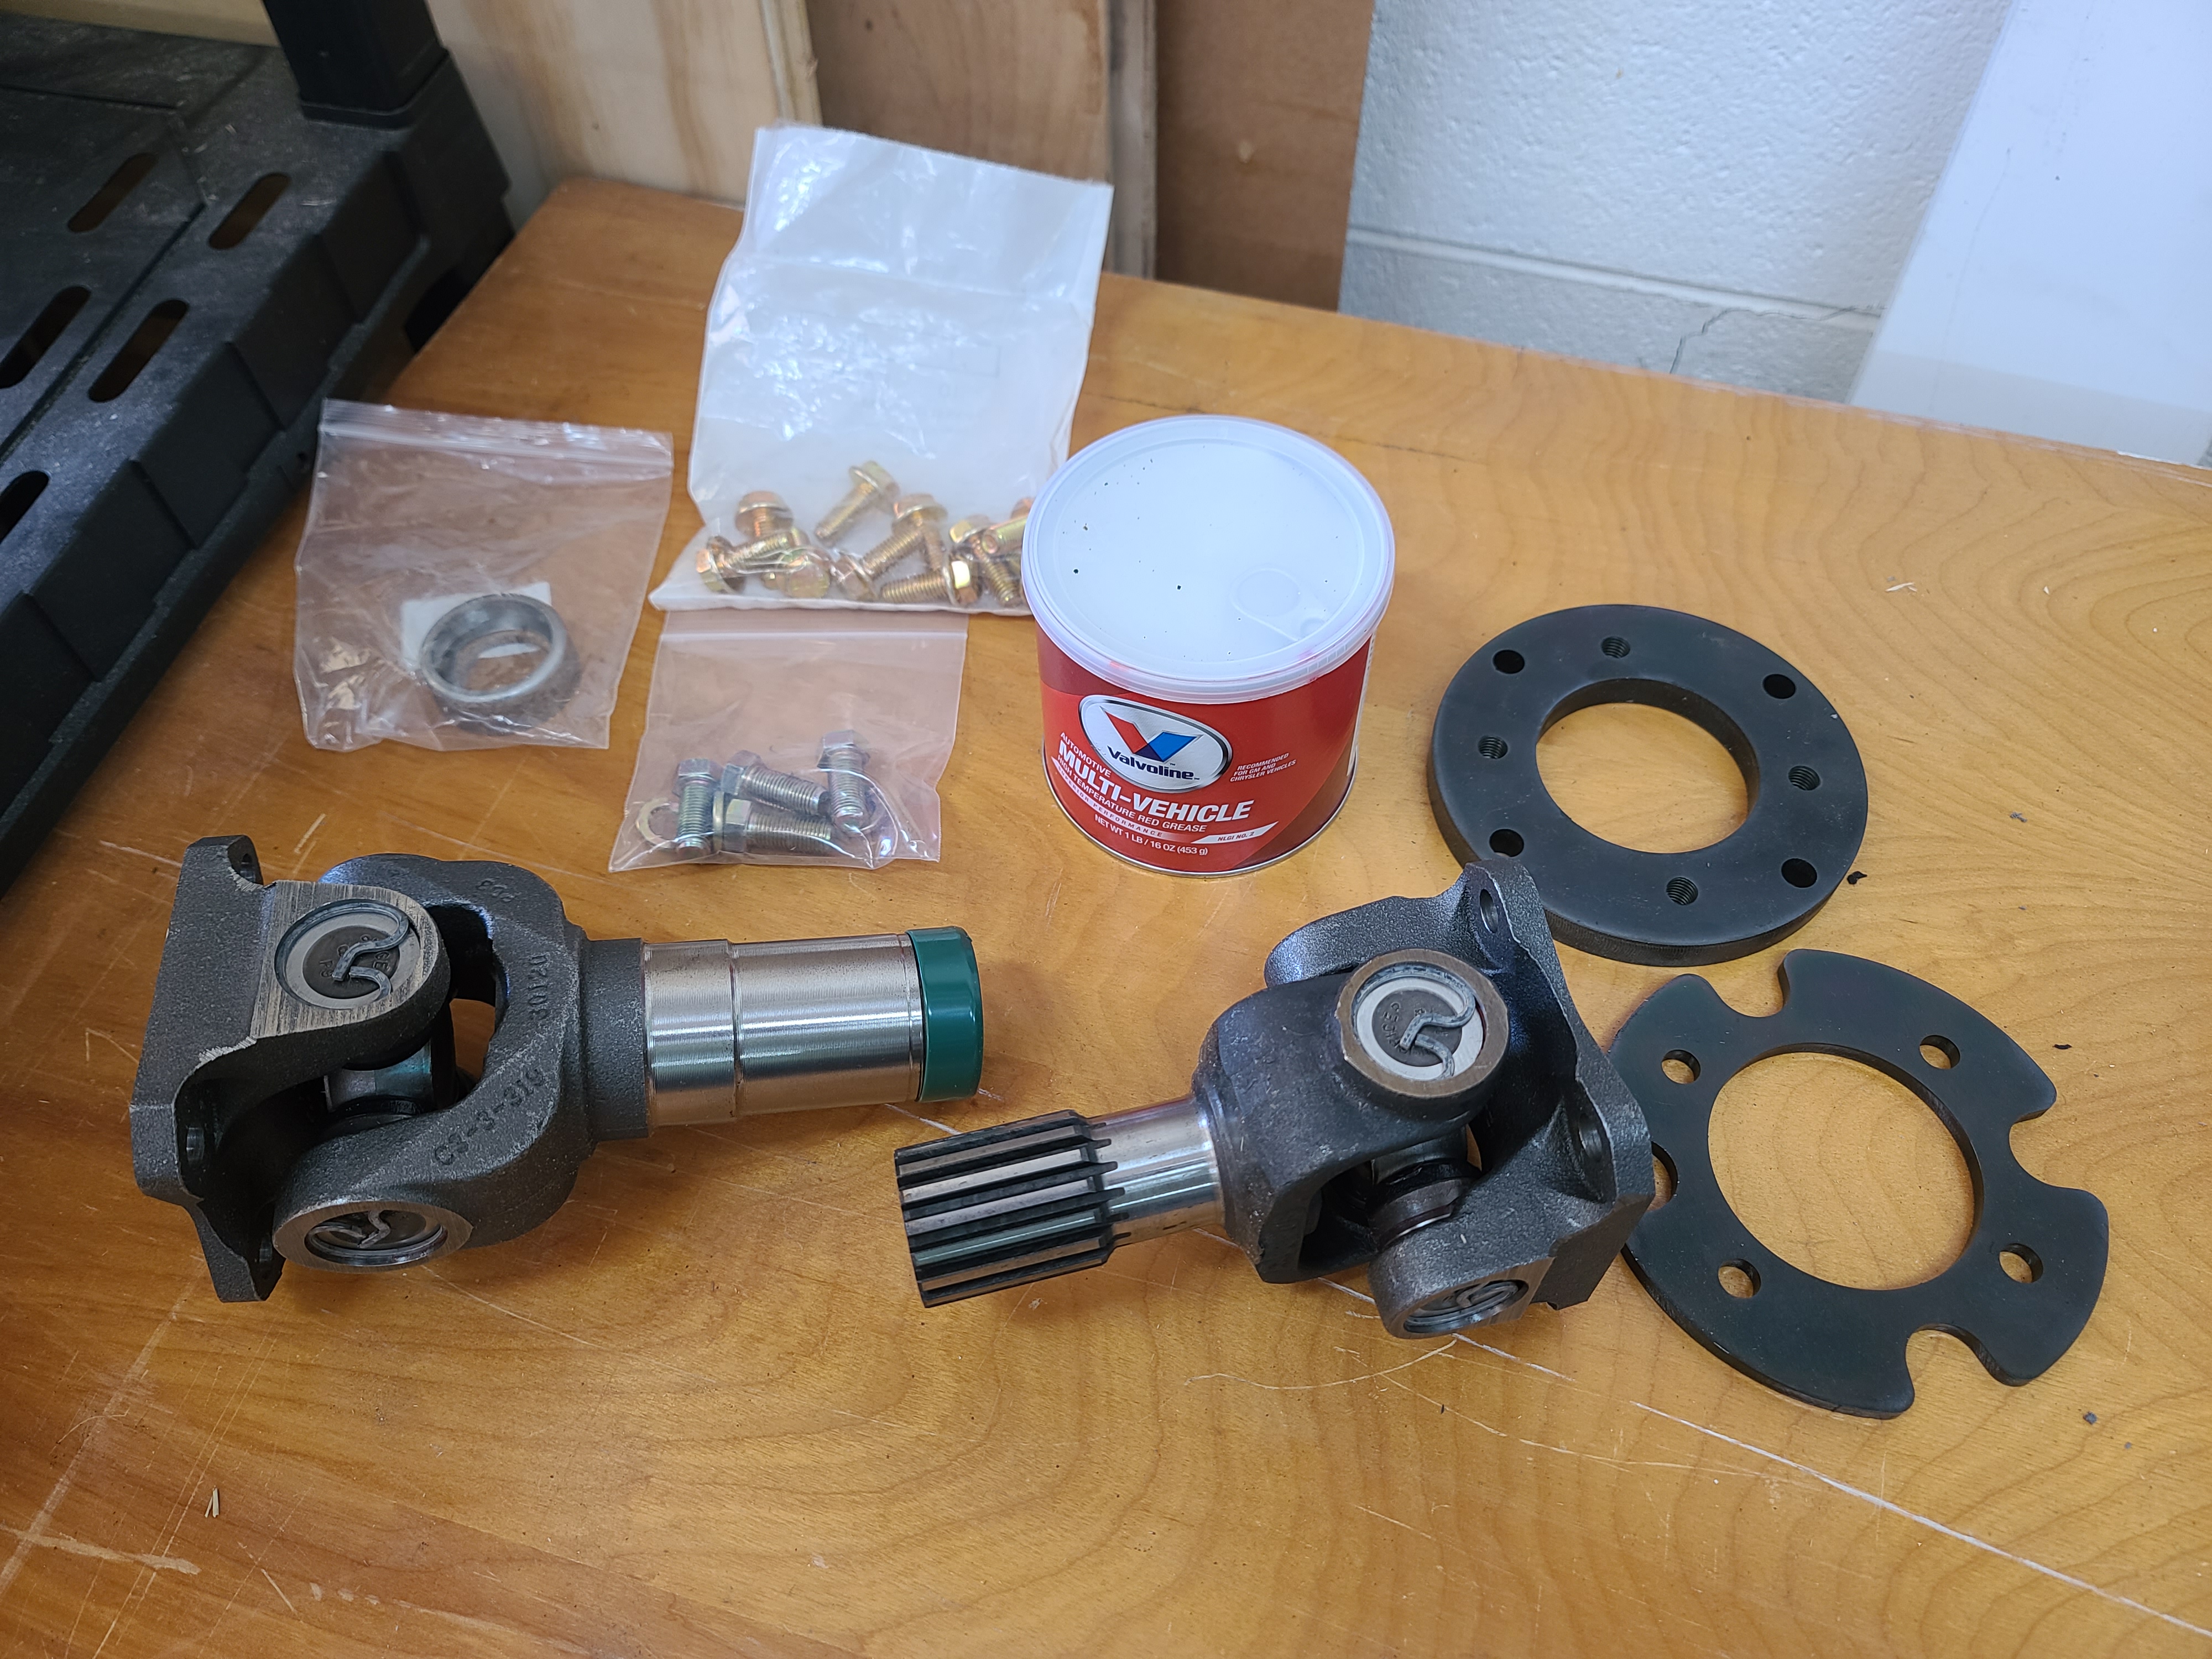
In addition, the differential pins had to be removed in order to install the AmpRevolt driveshaft adapters.
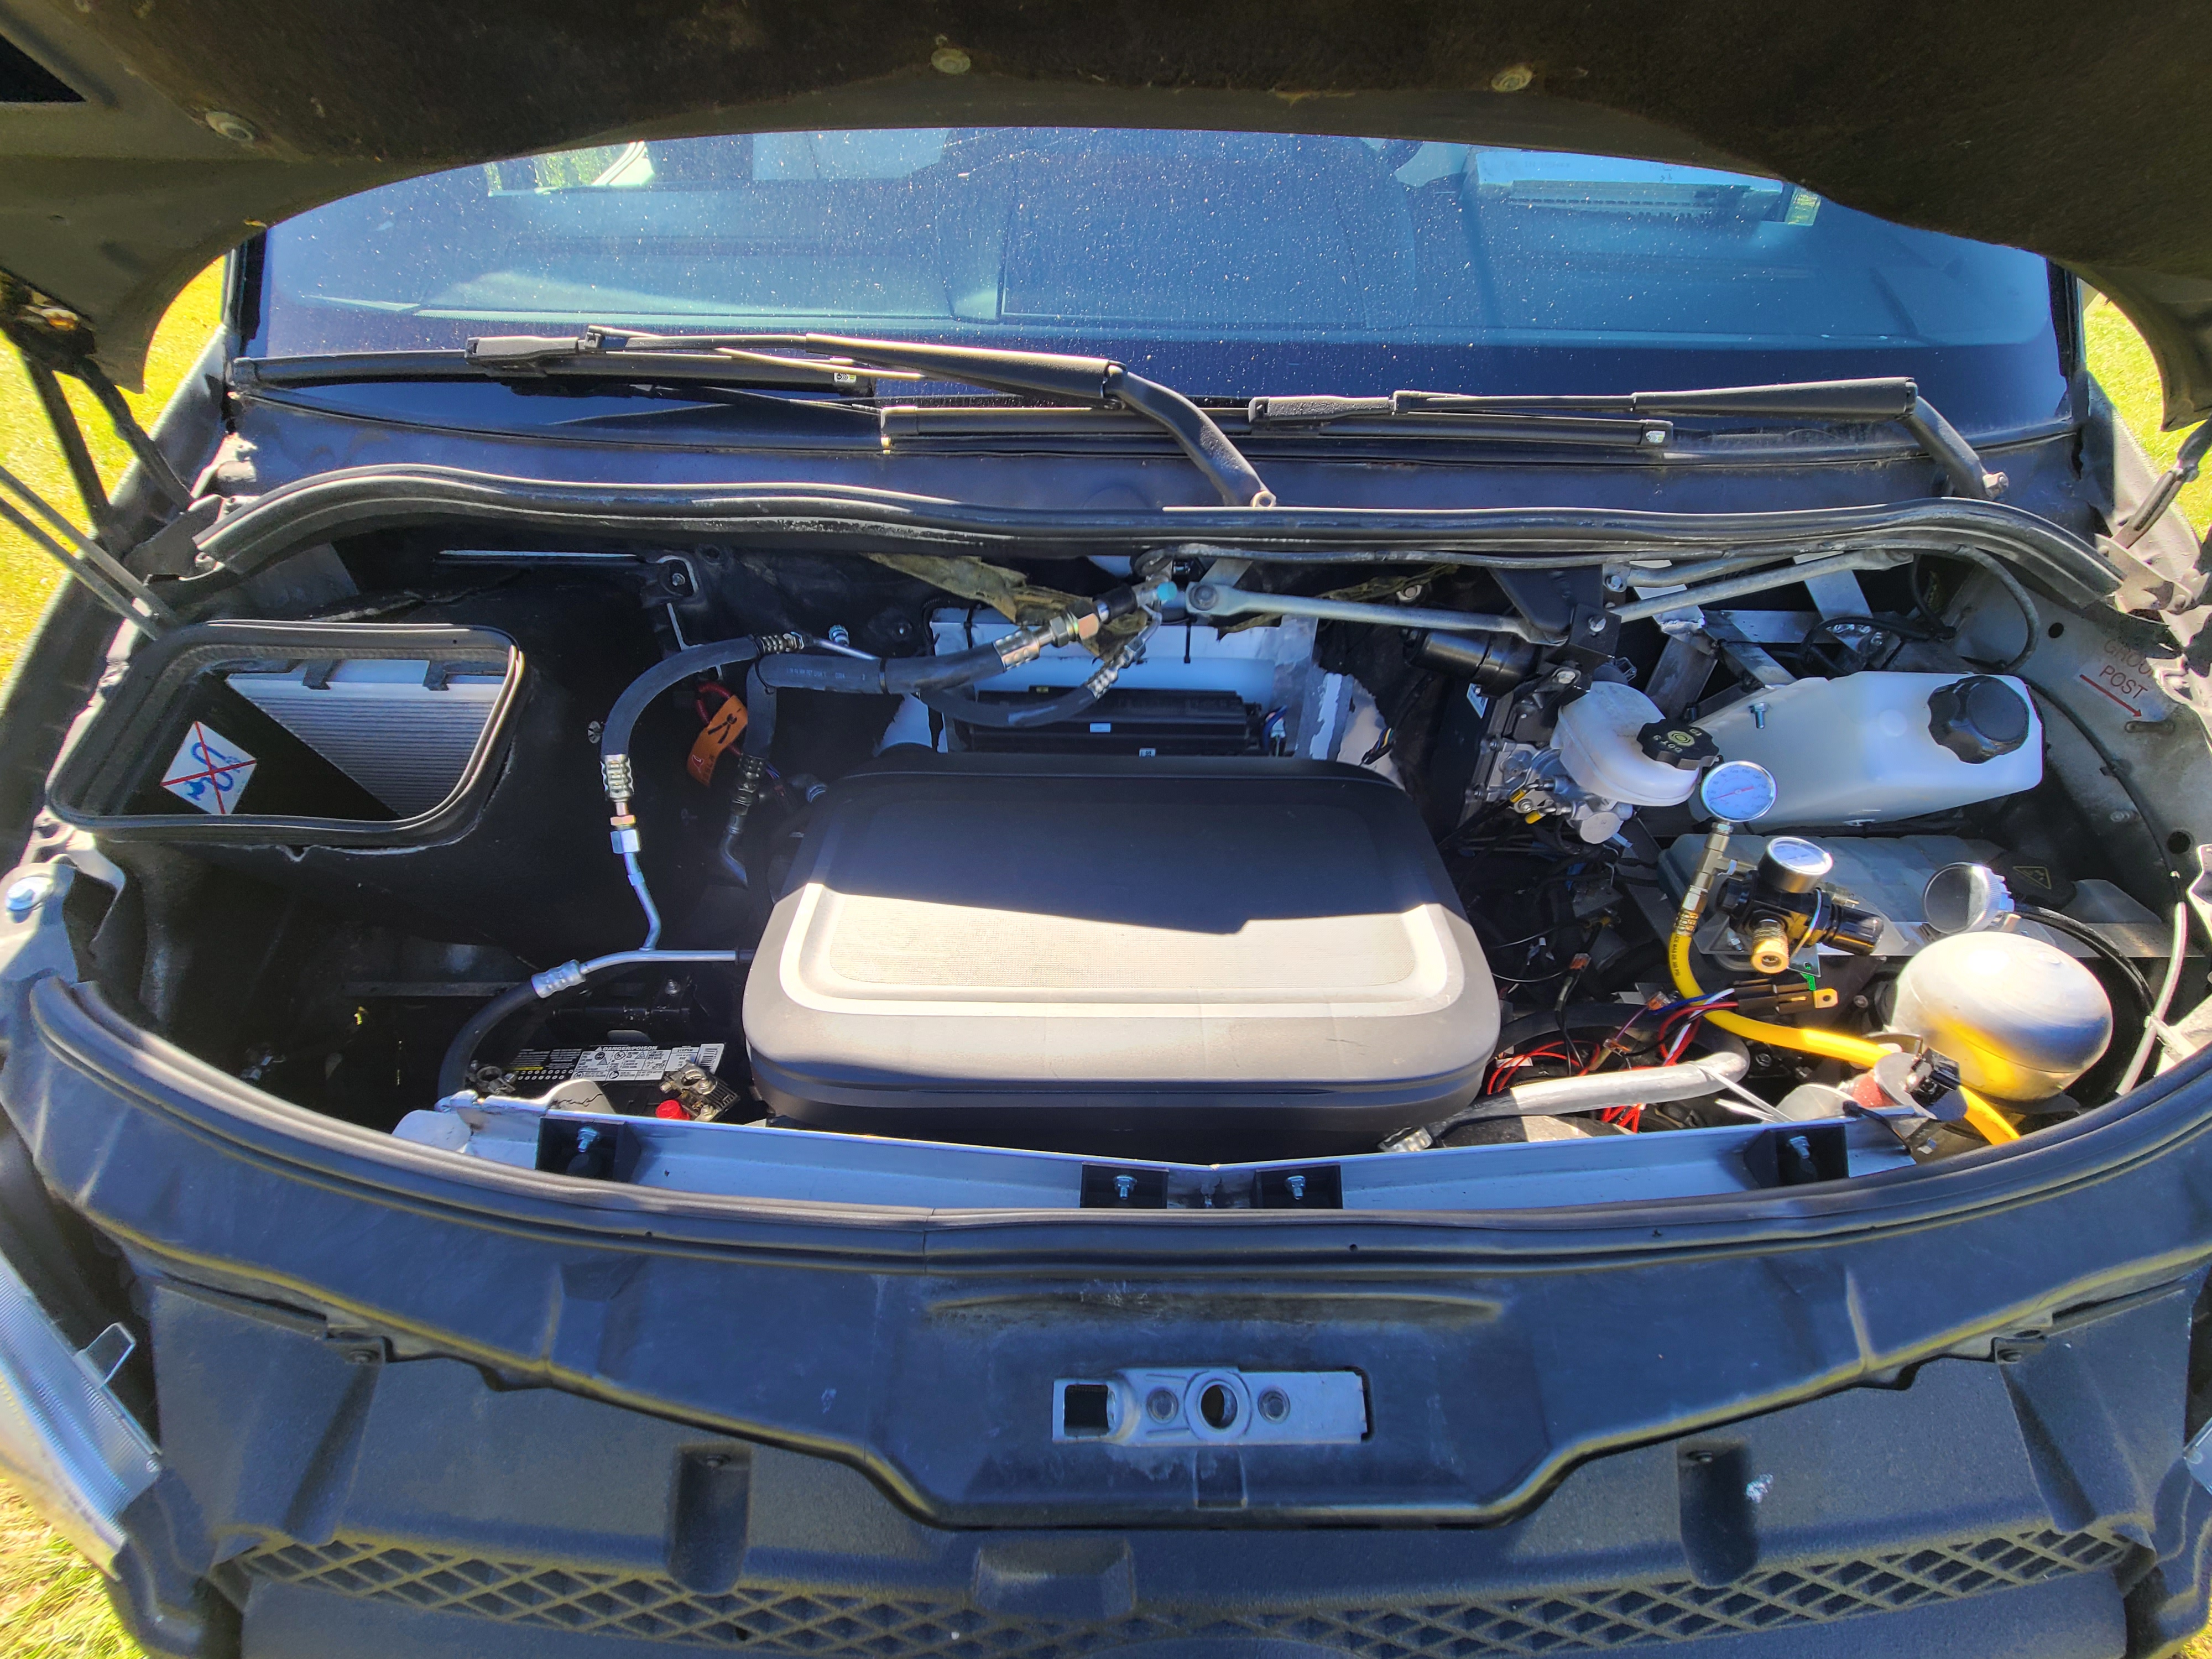
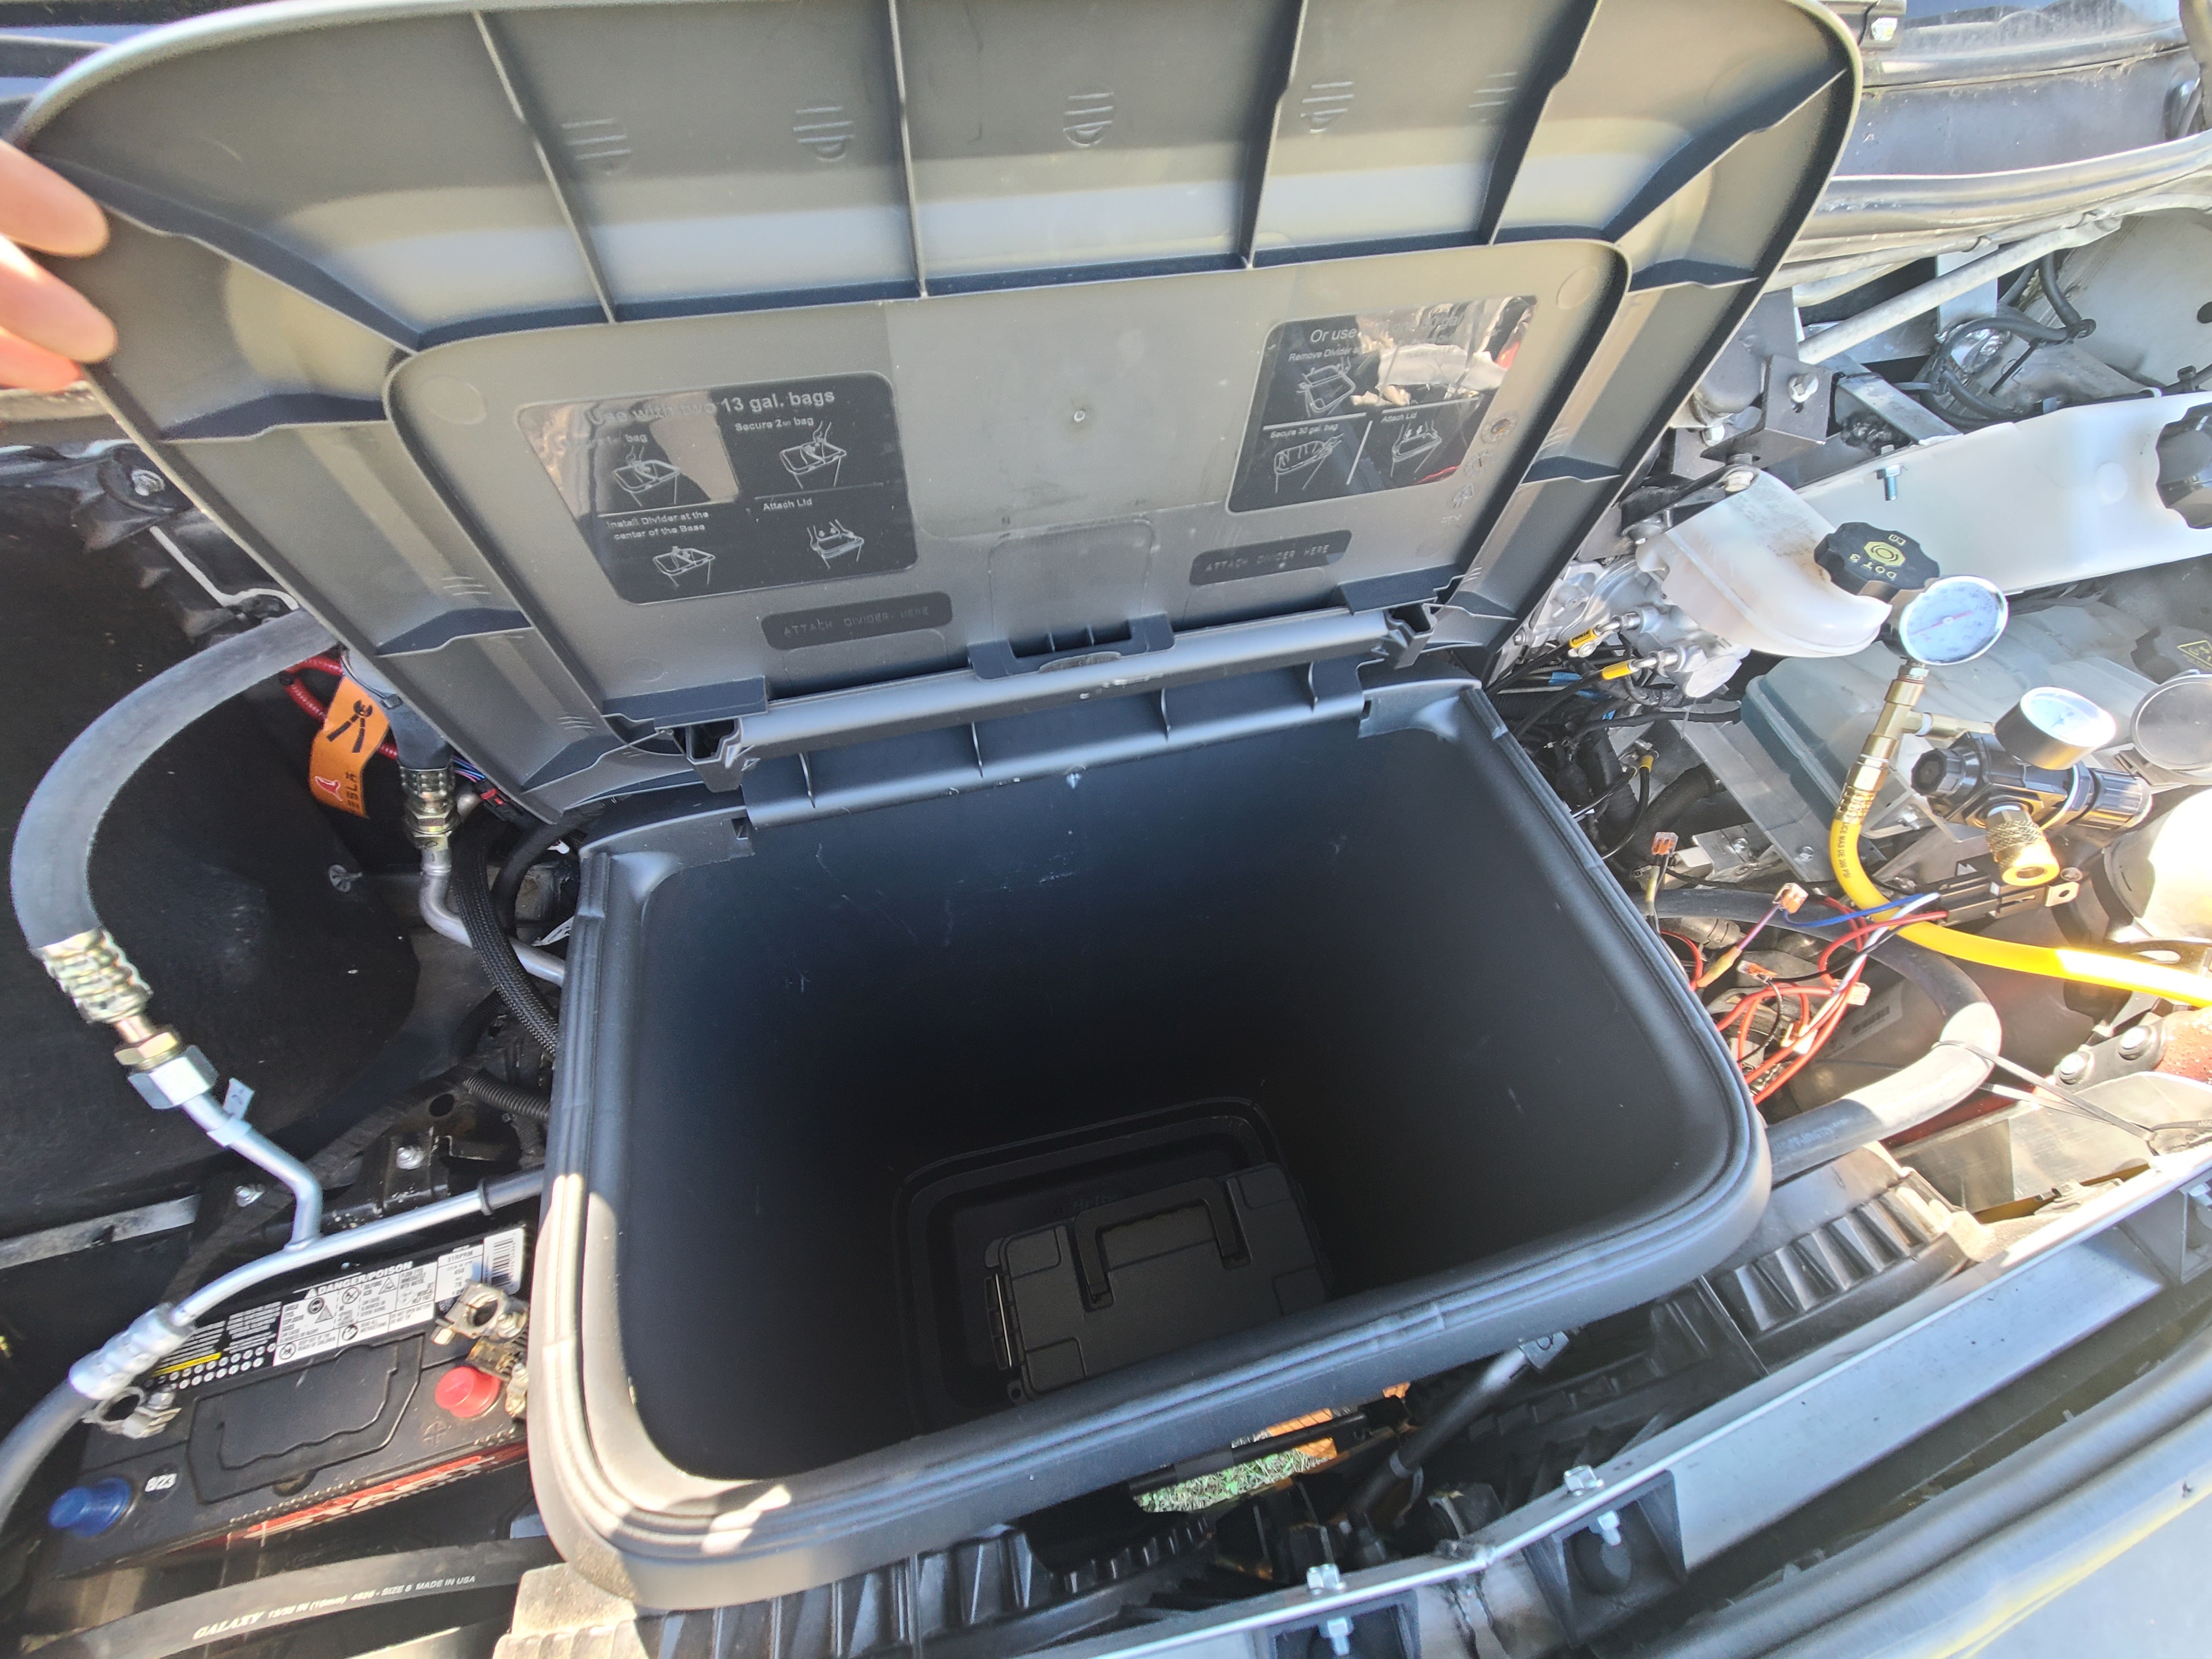
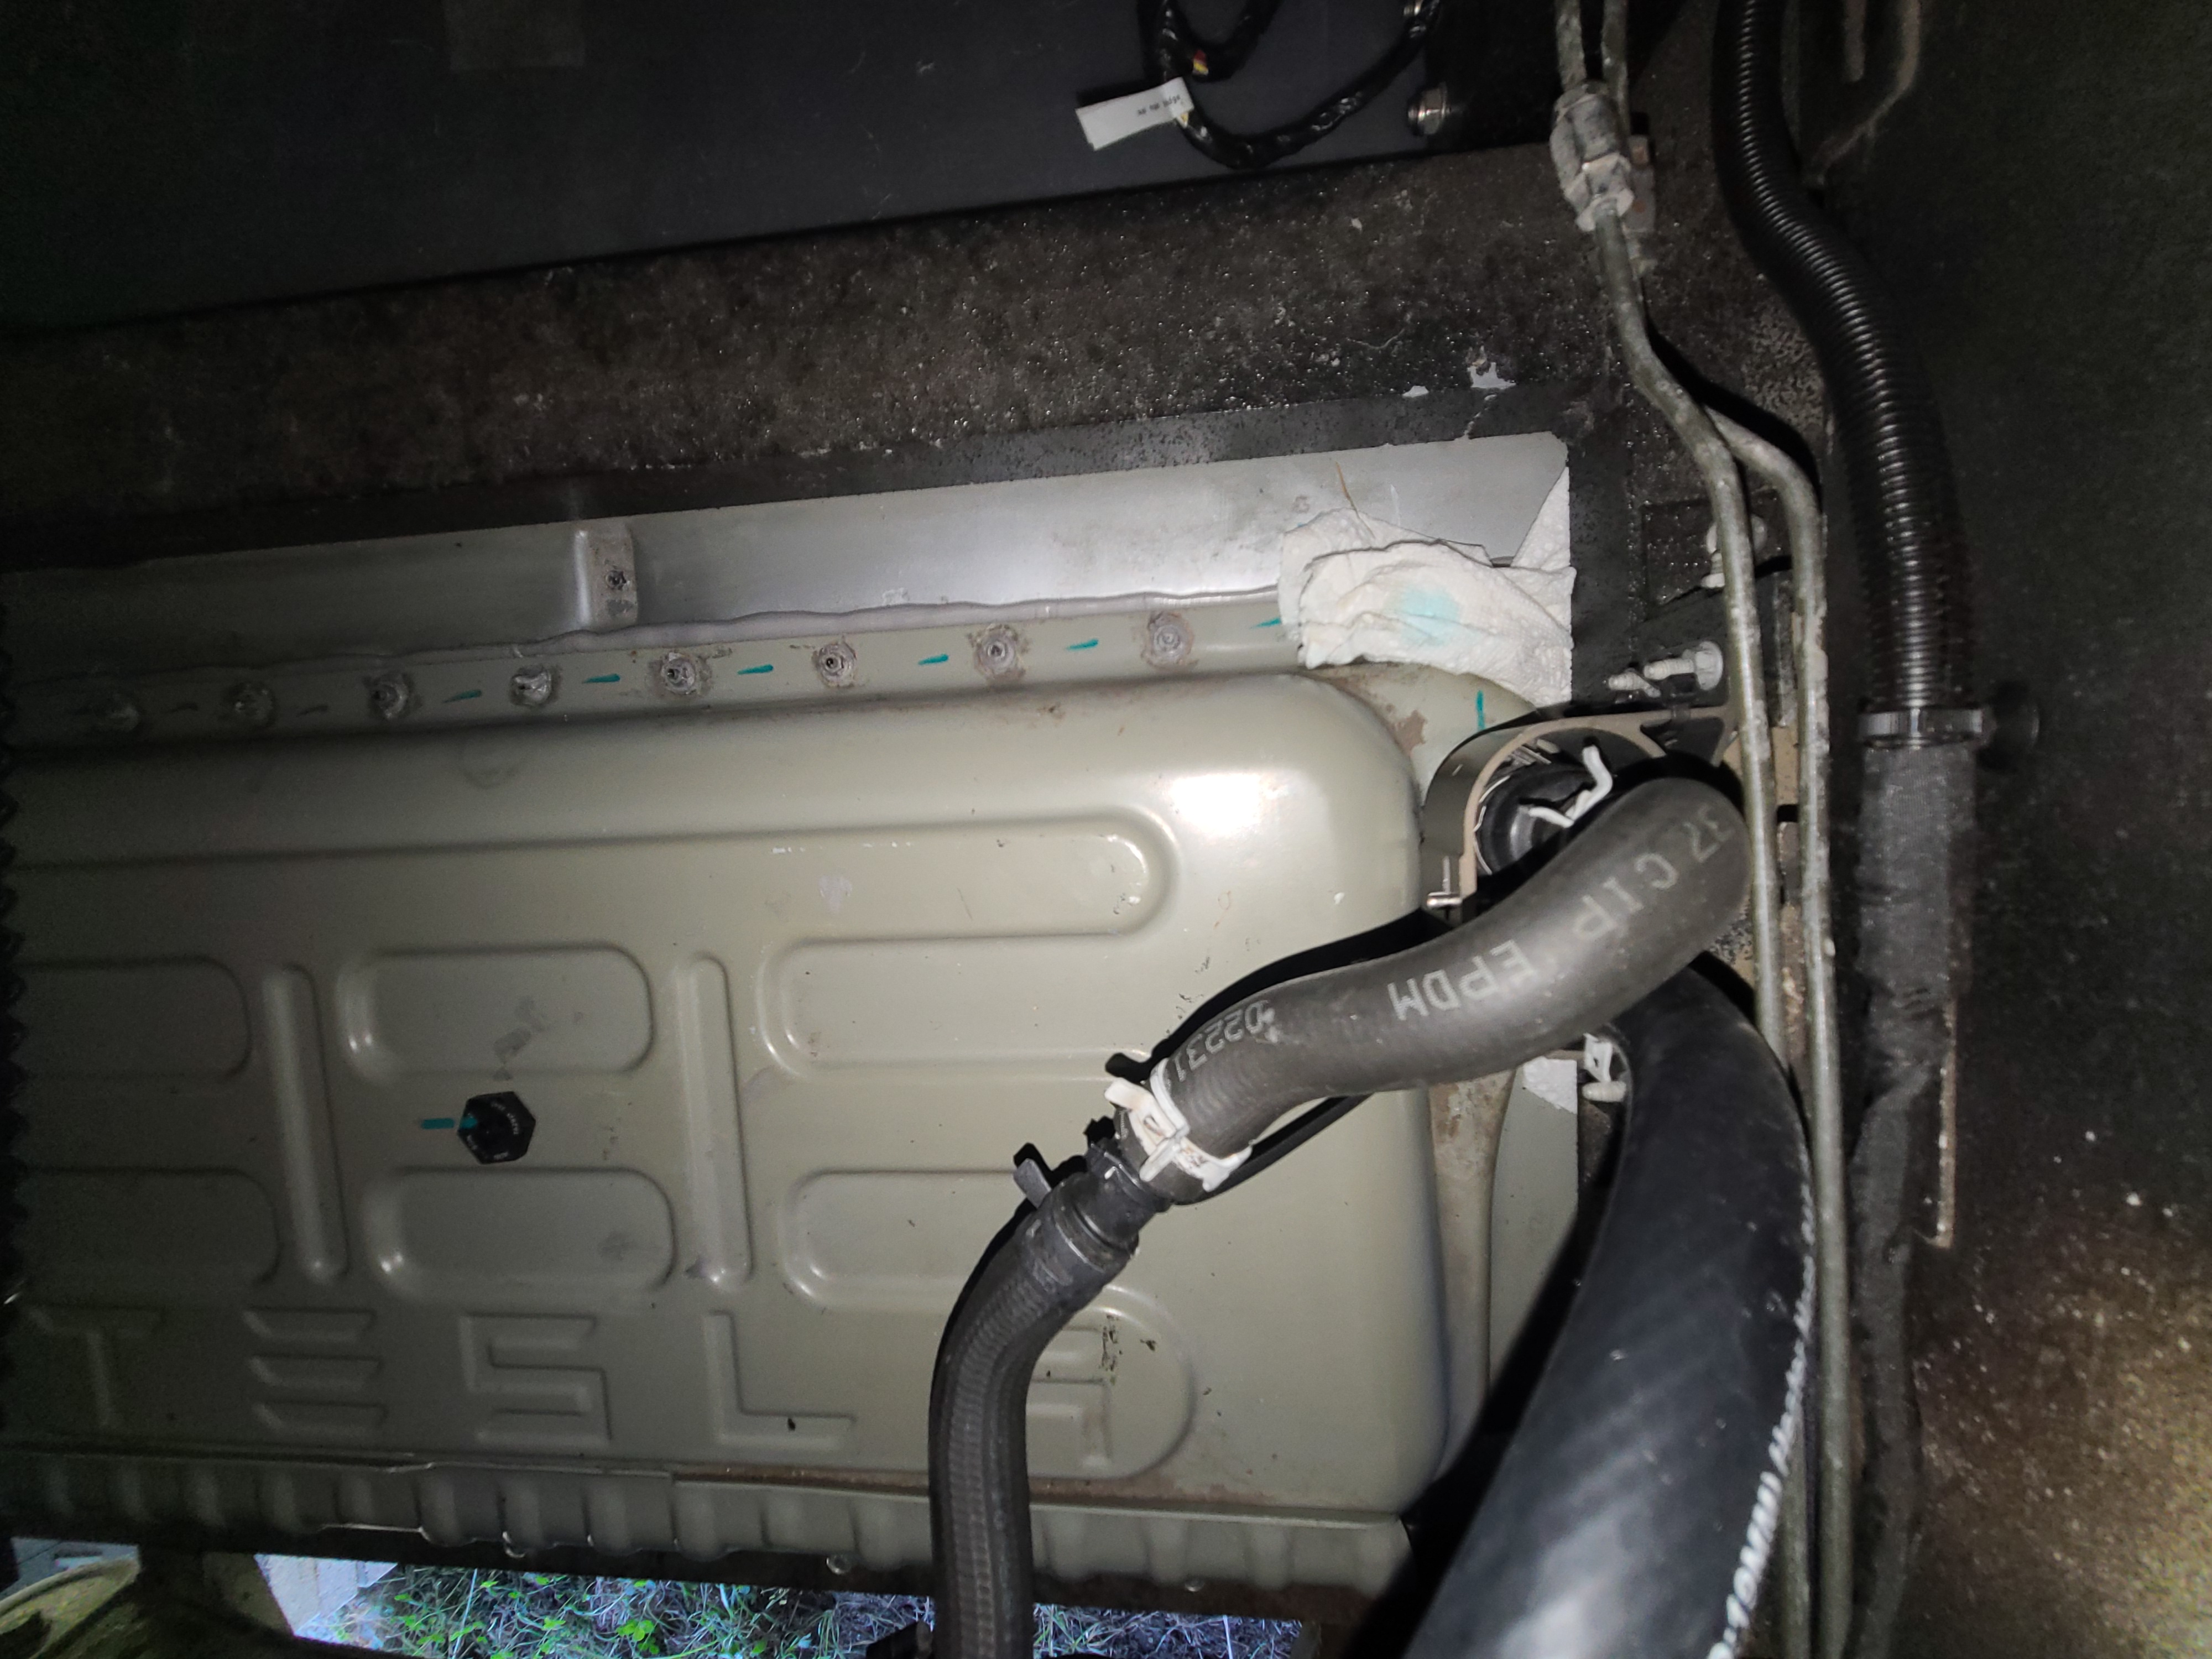
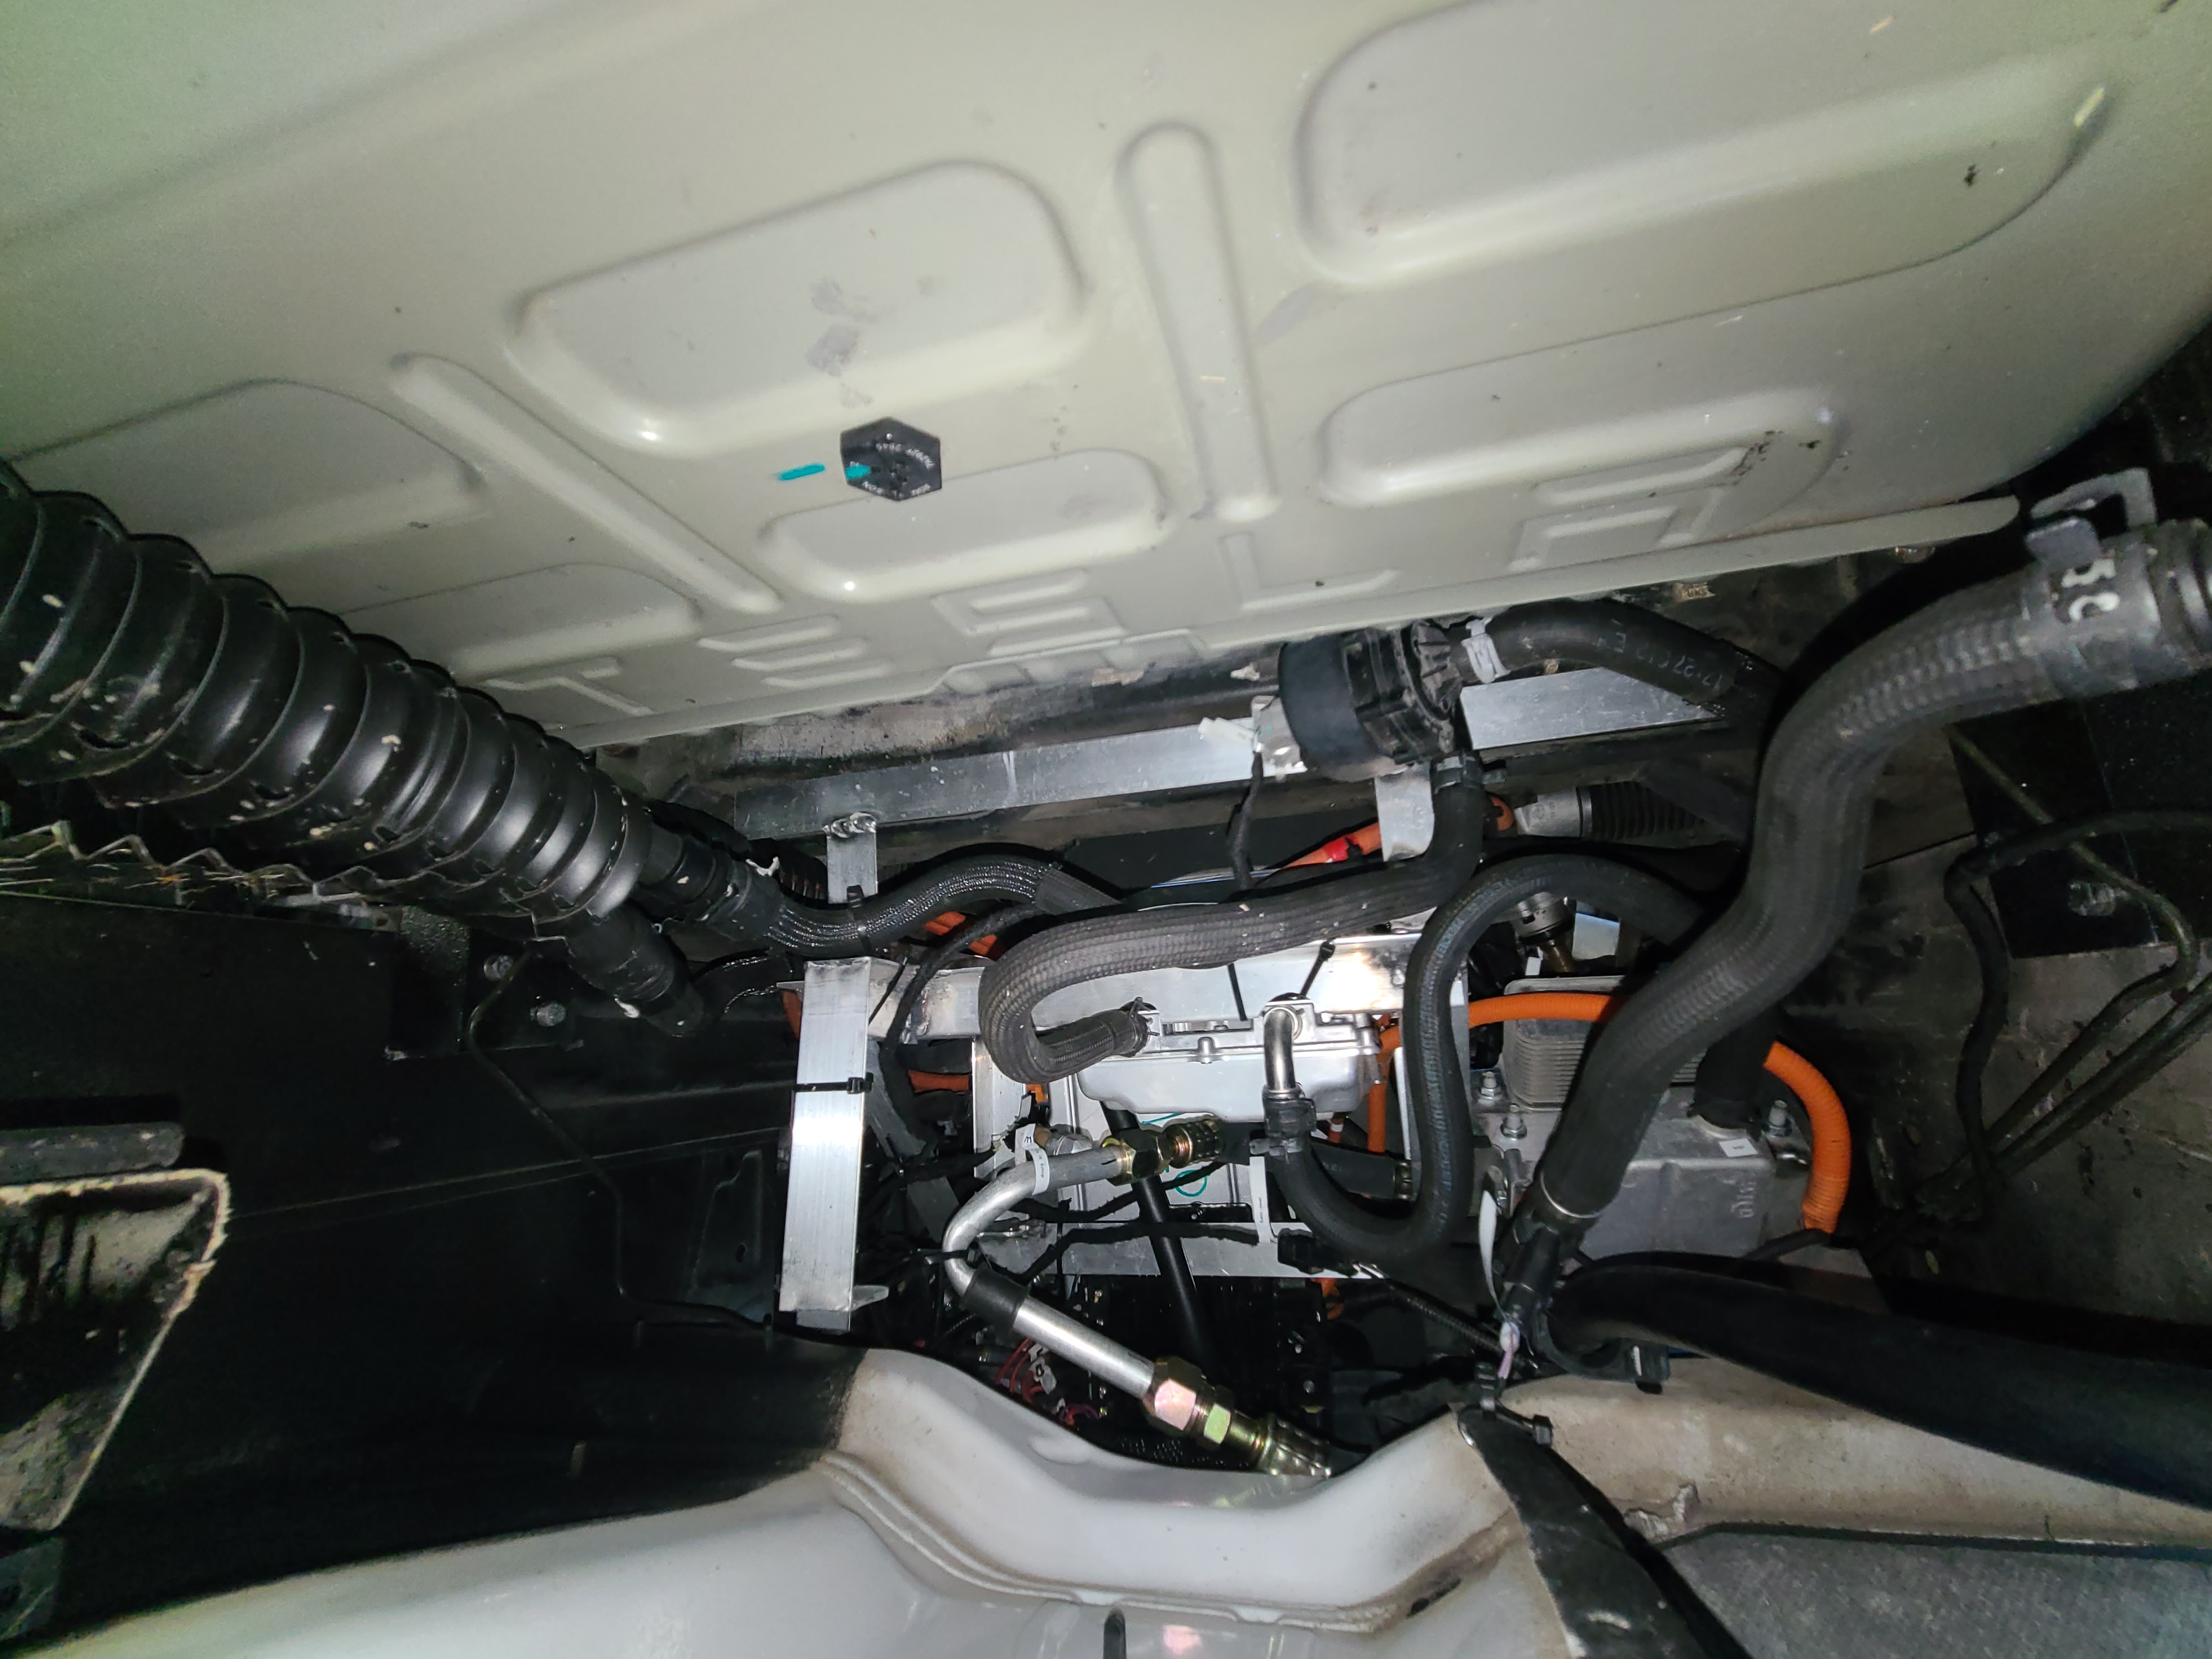
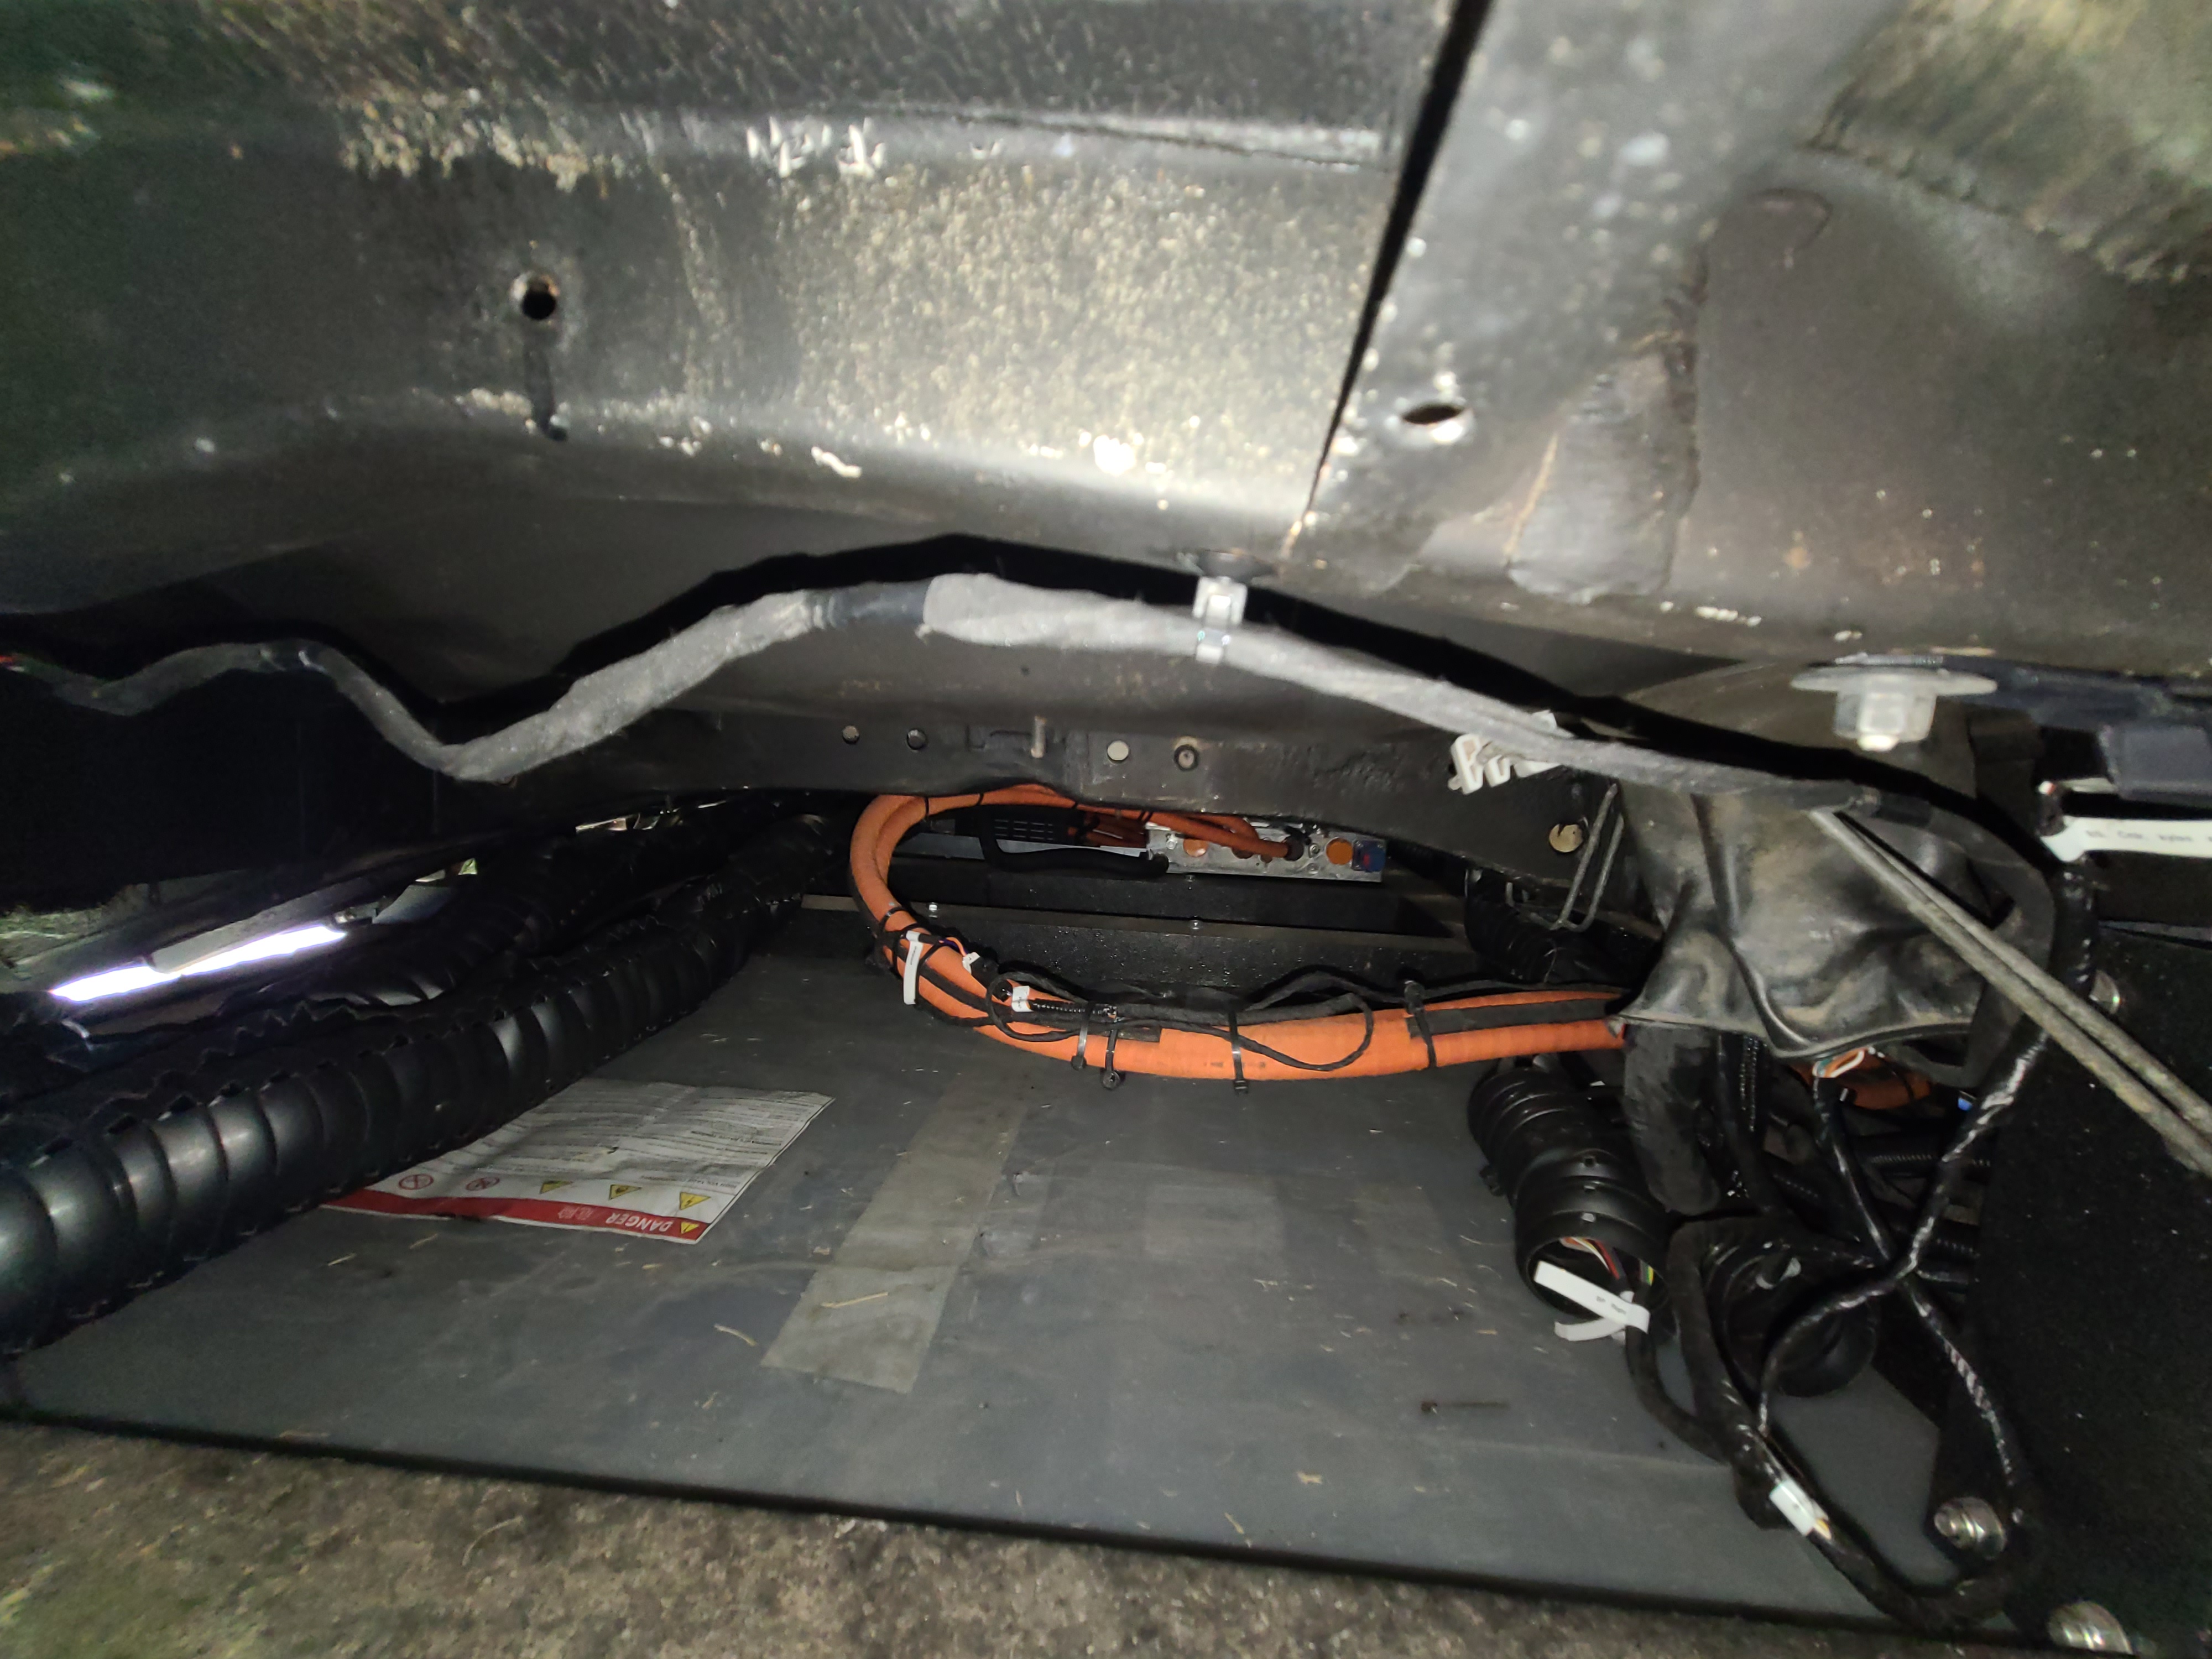
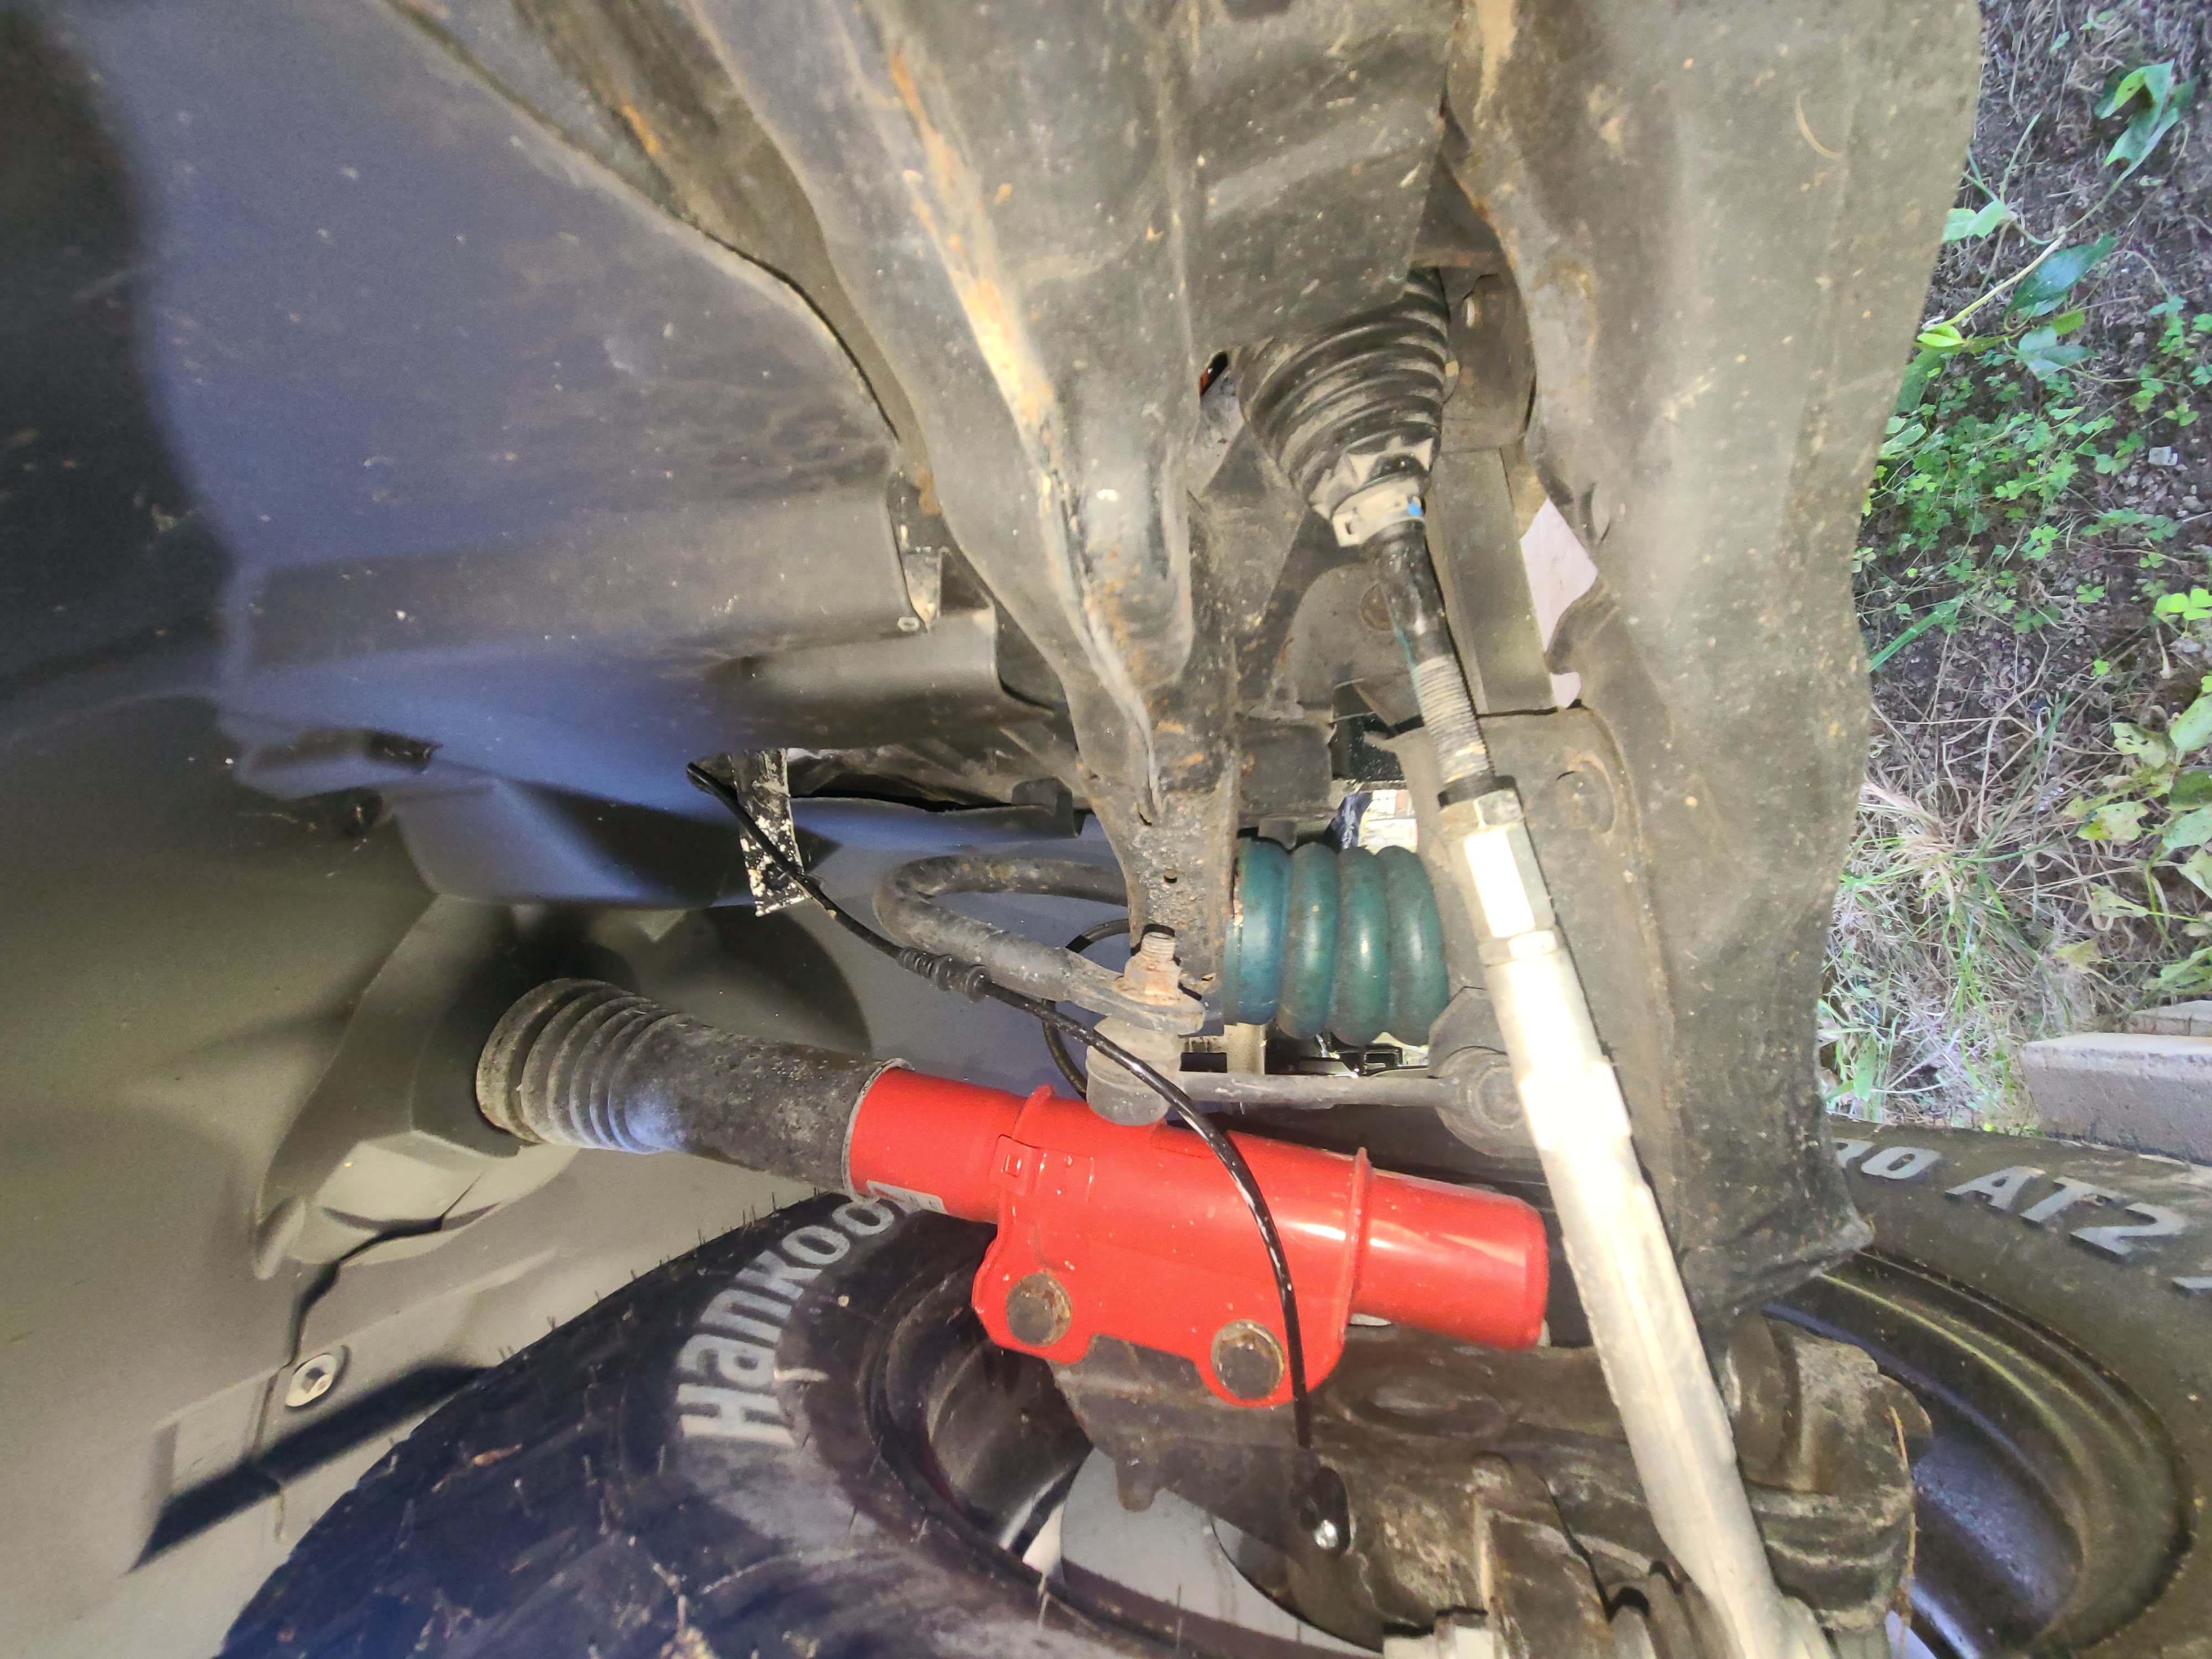
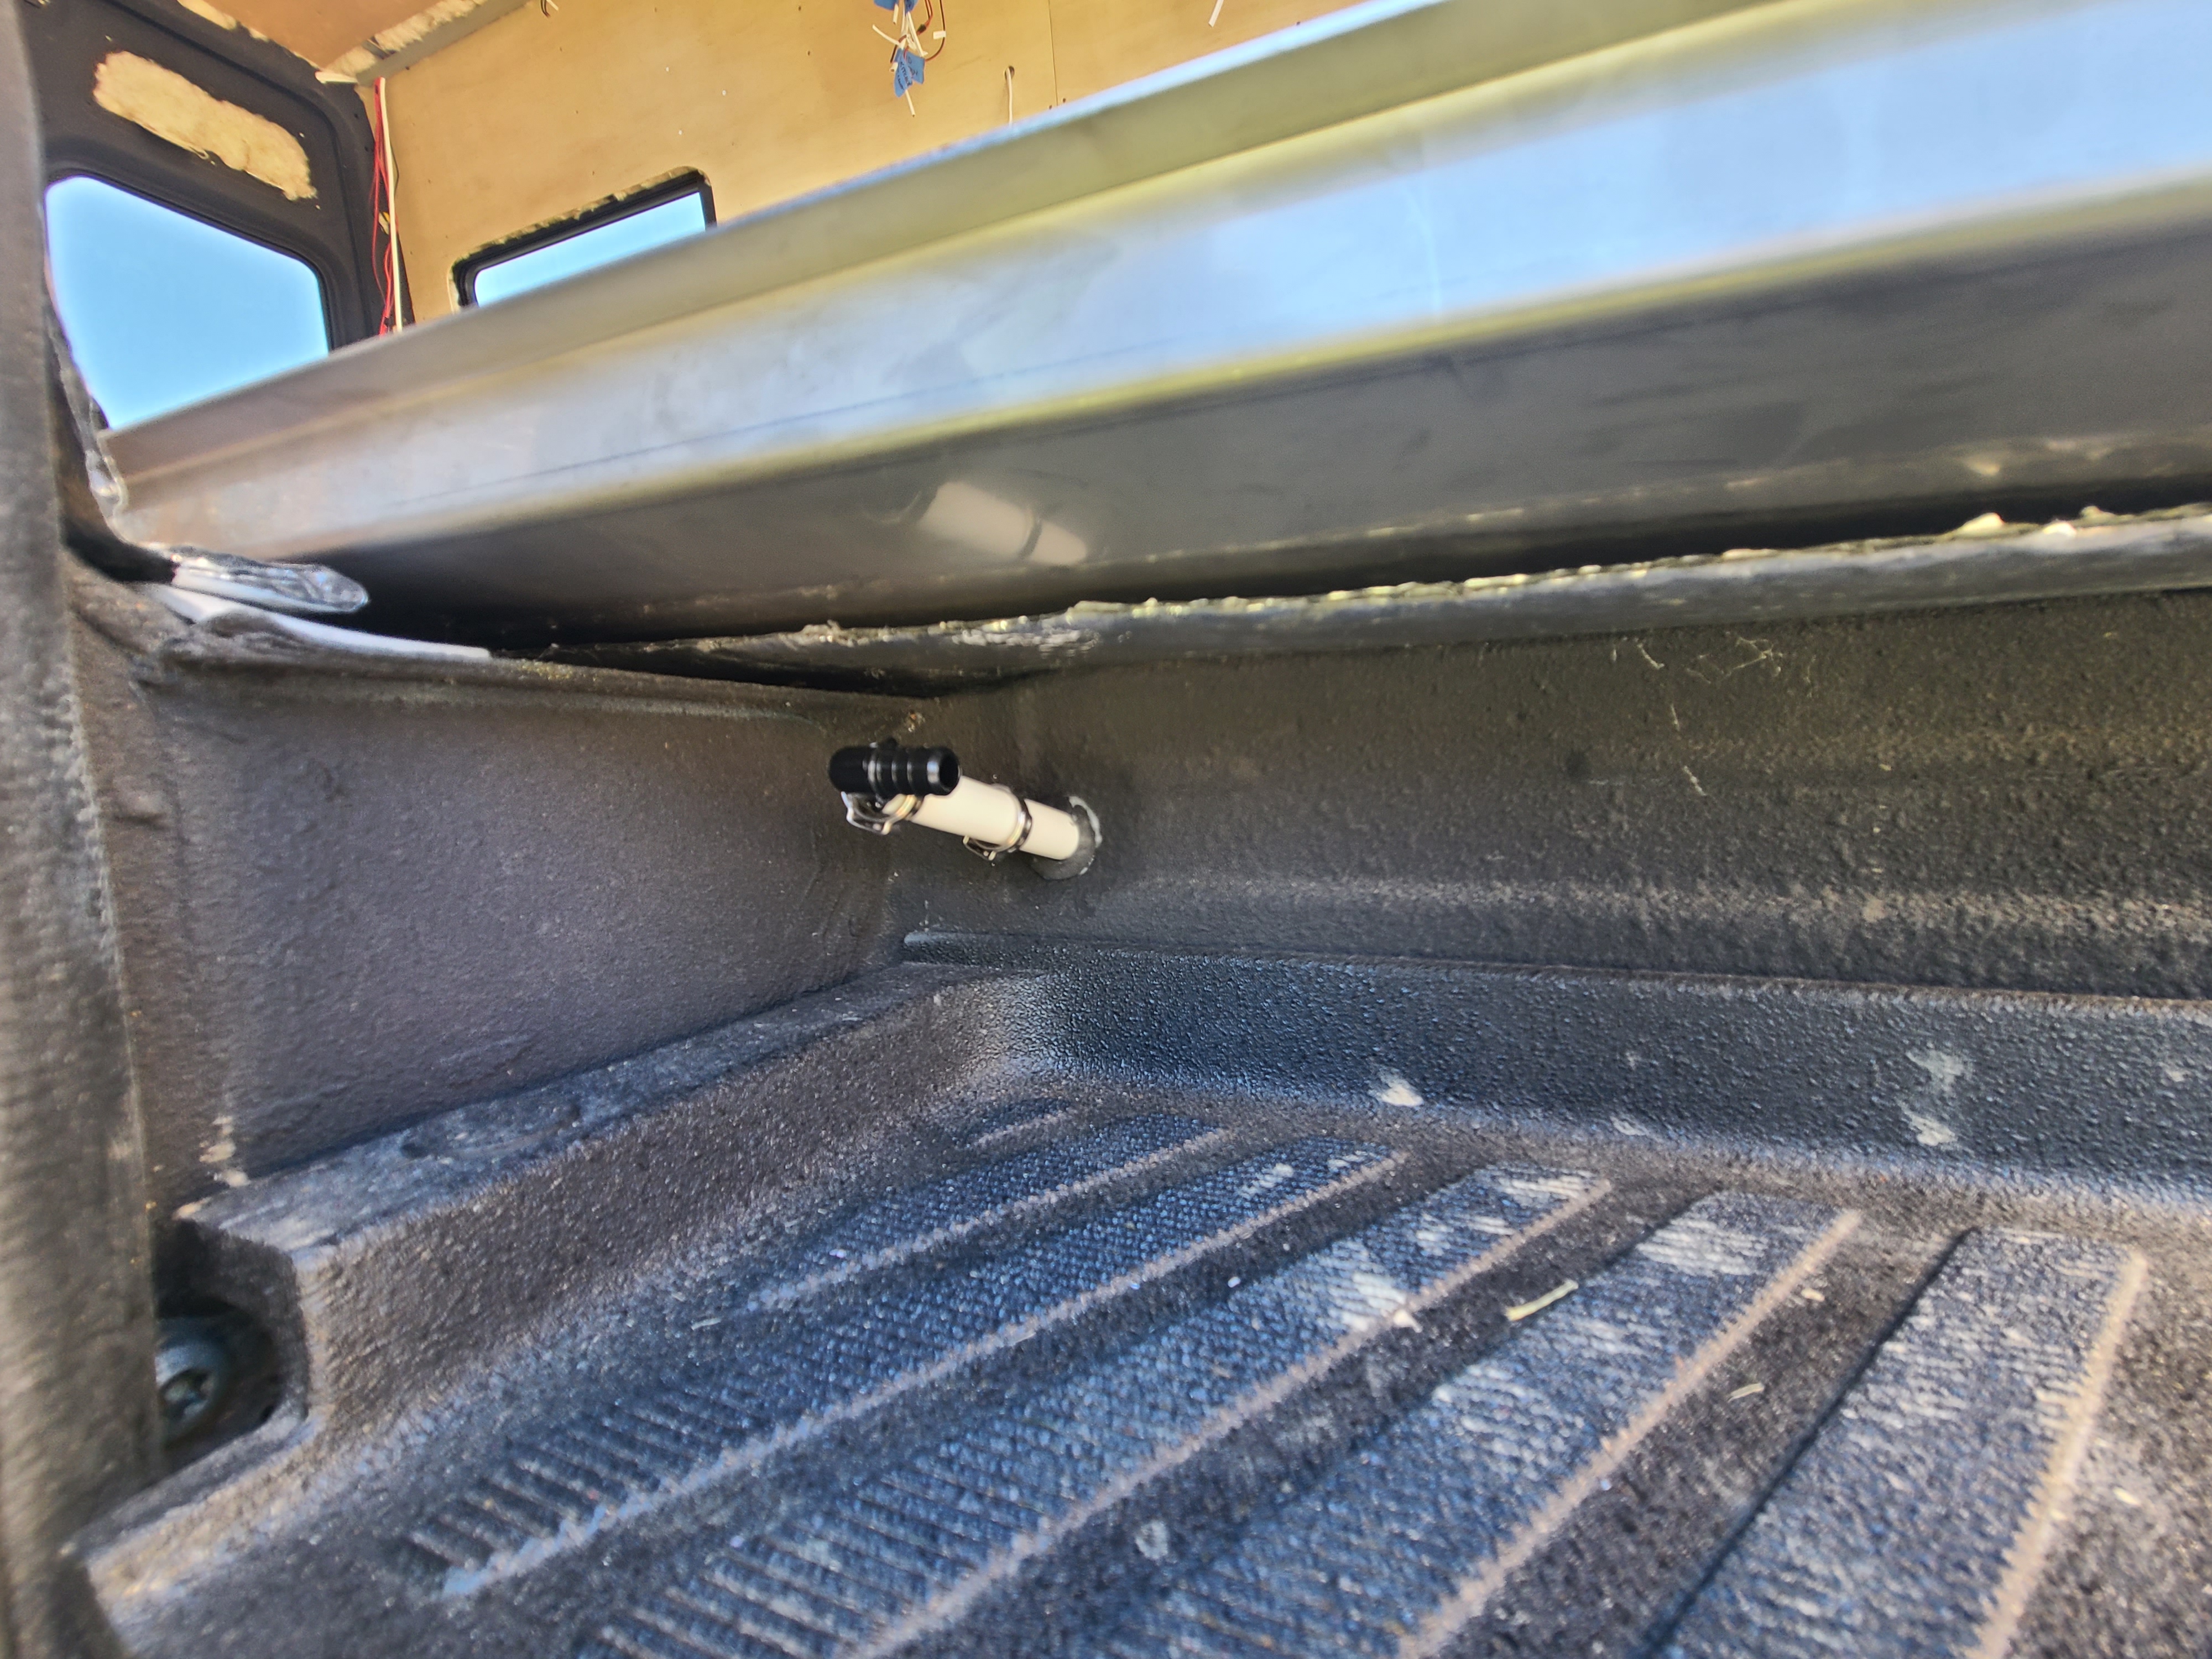
The first photo shows the frunk: a 20.4 gallon Hefty trashcan! The subsequent photos have the frunk removed to take photos.
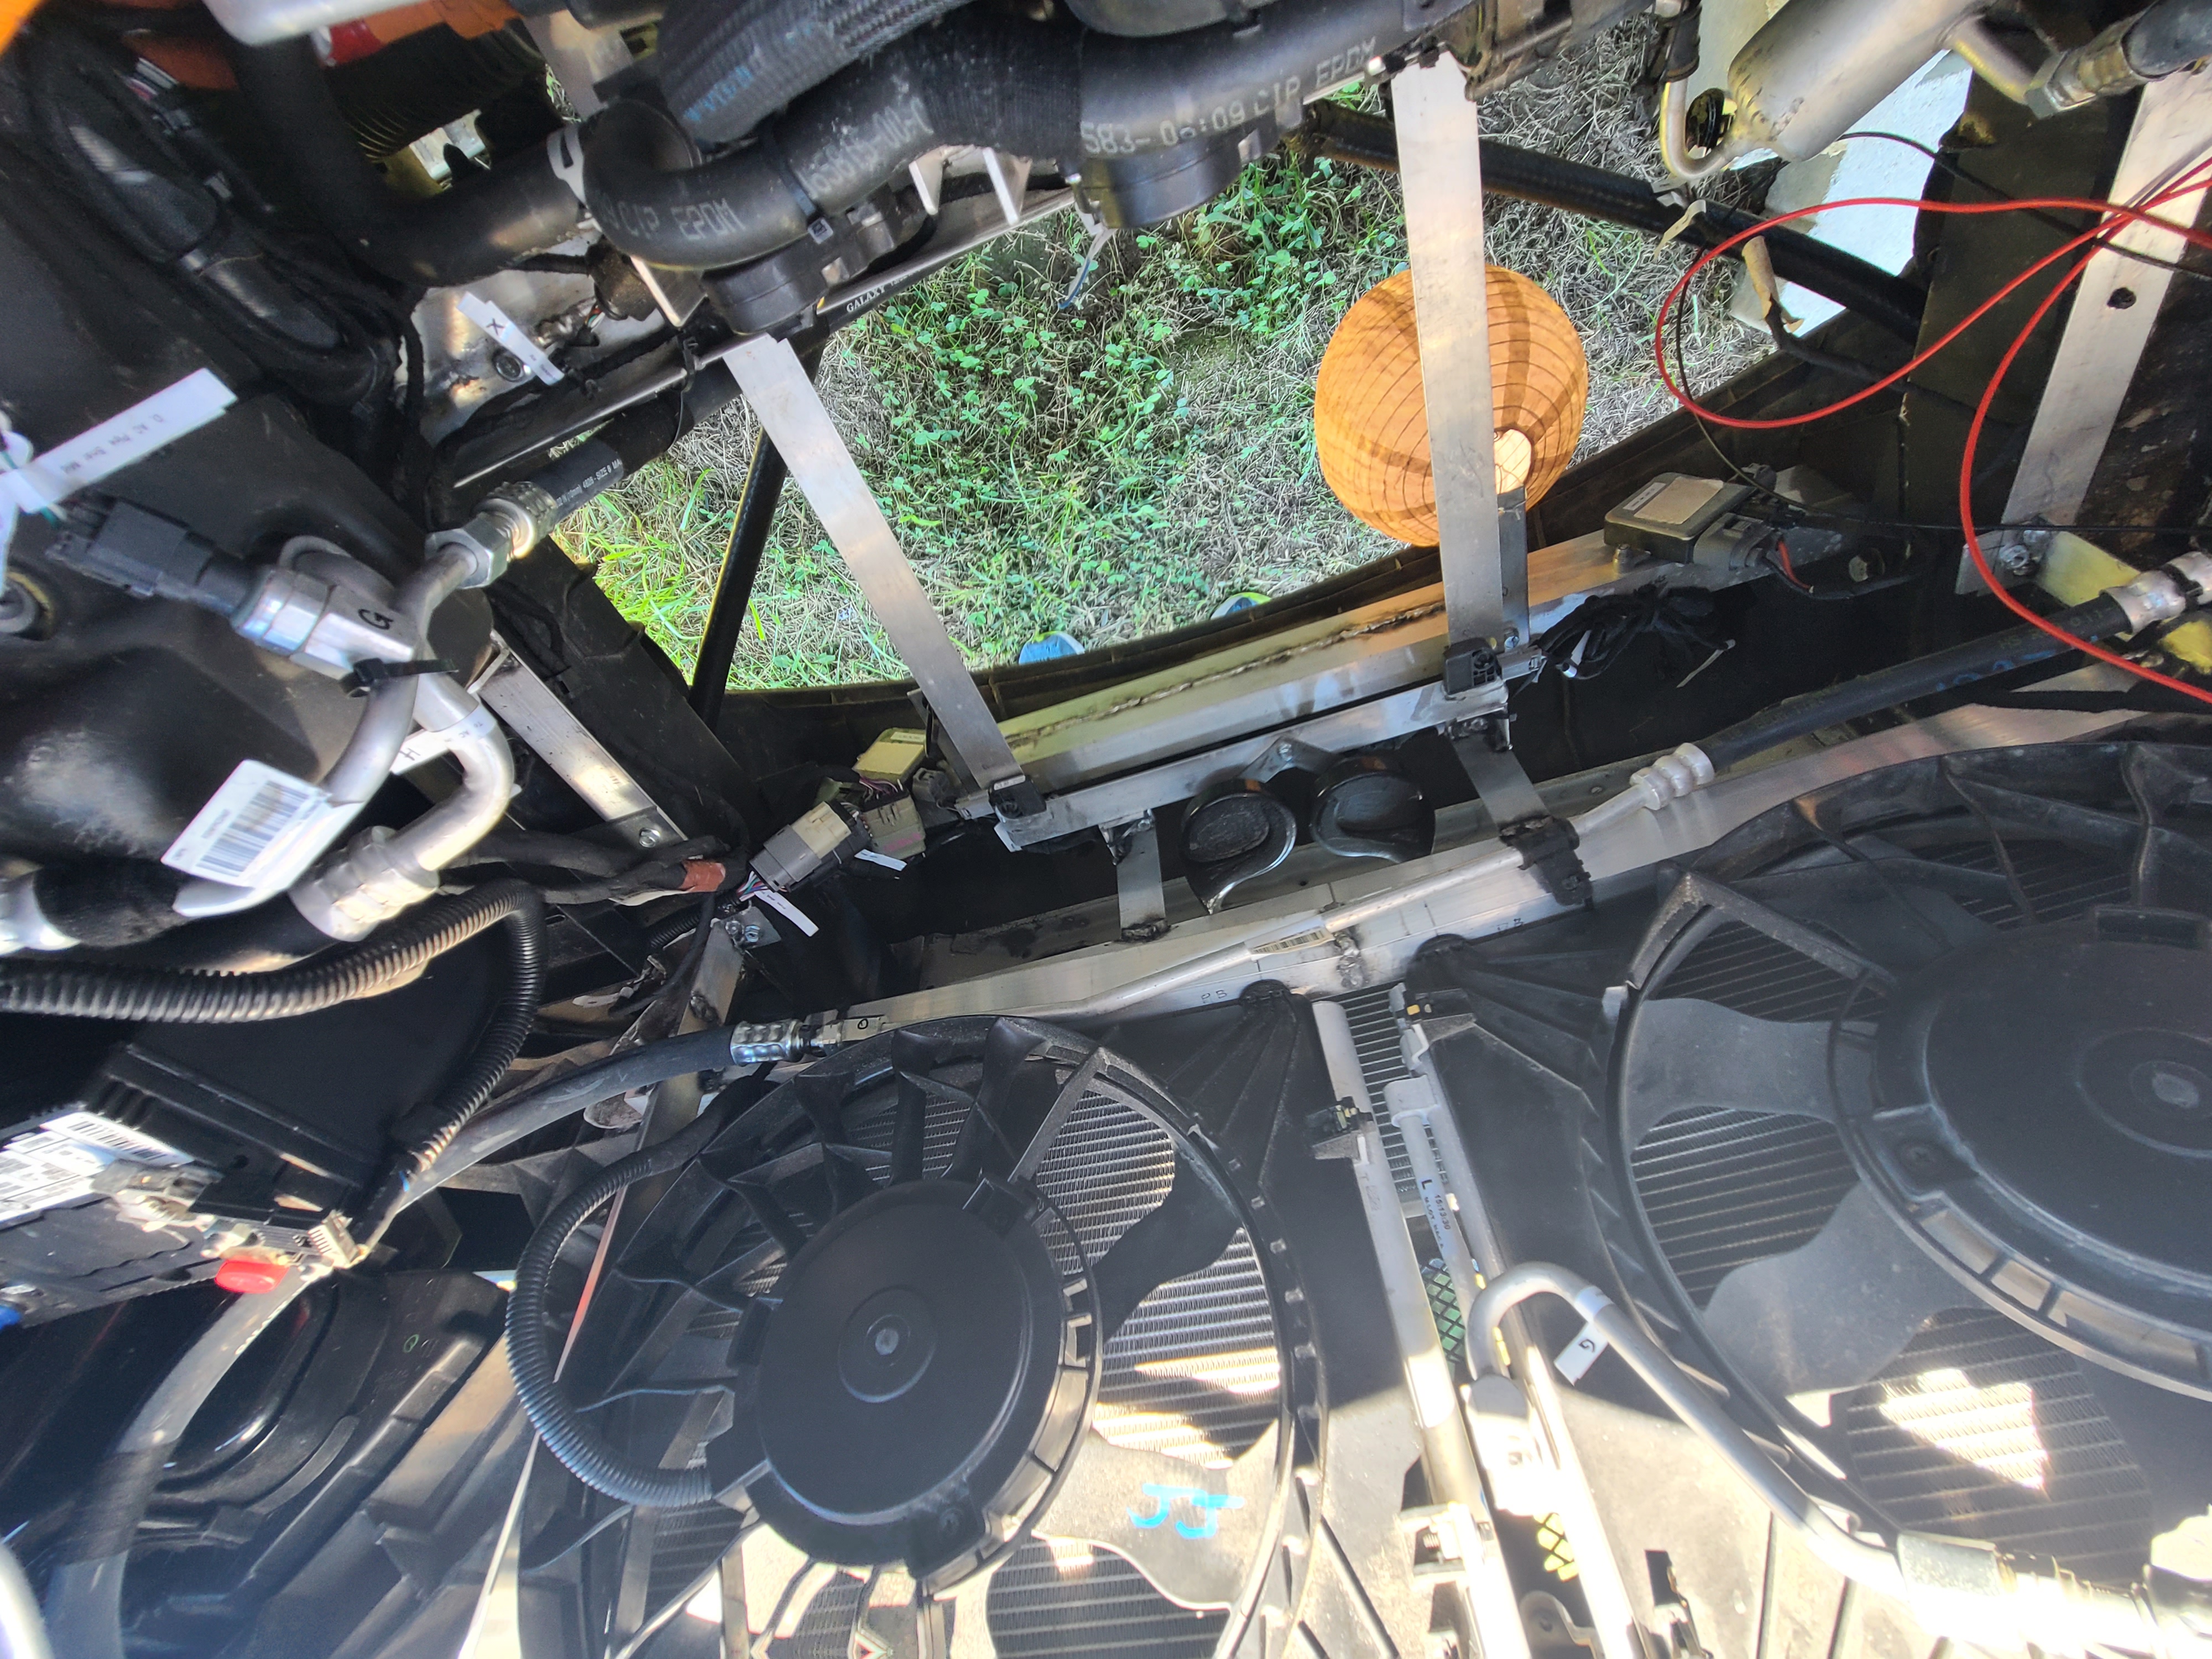
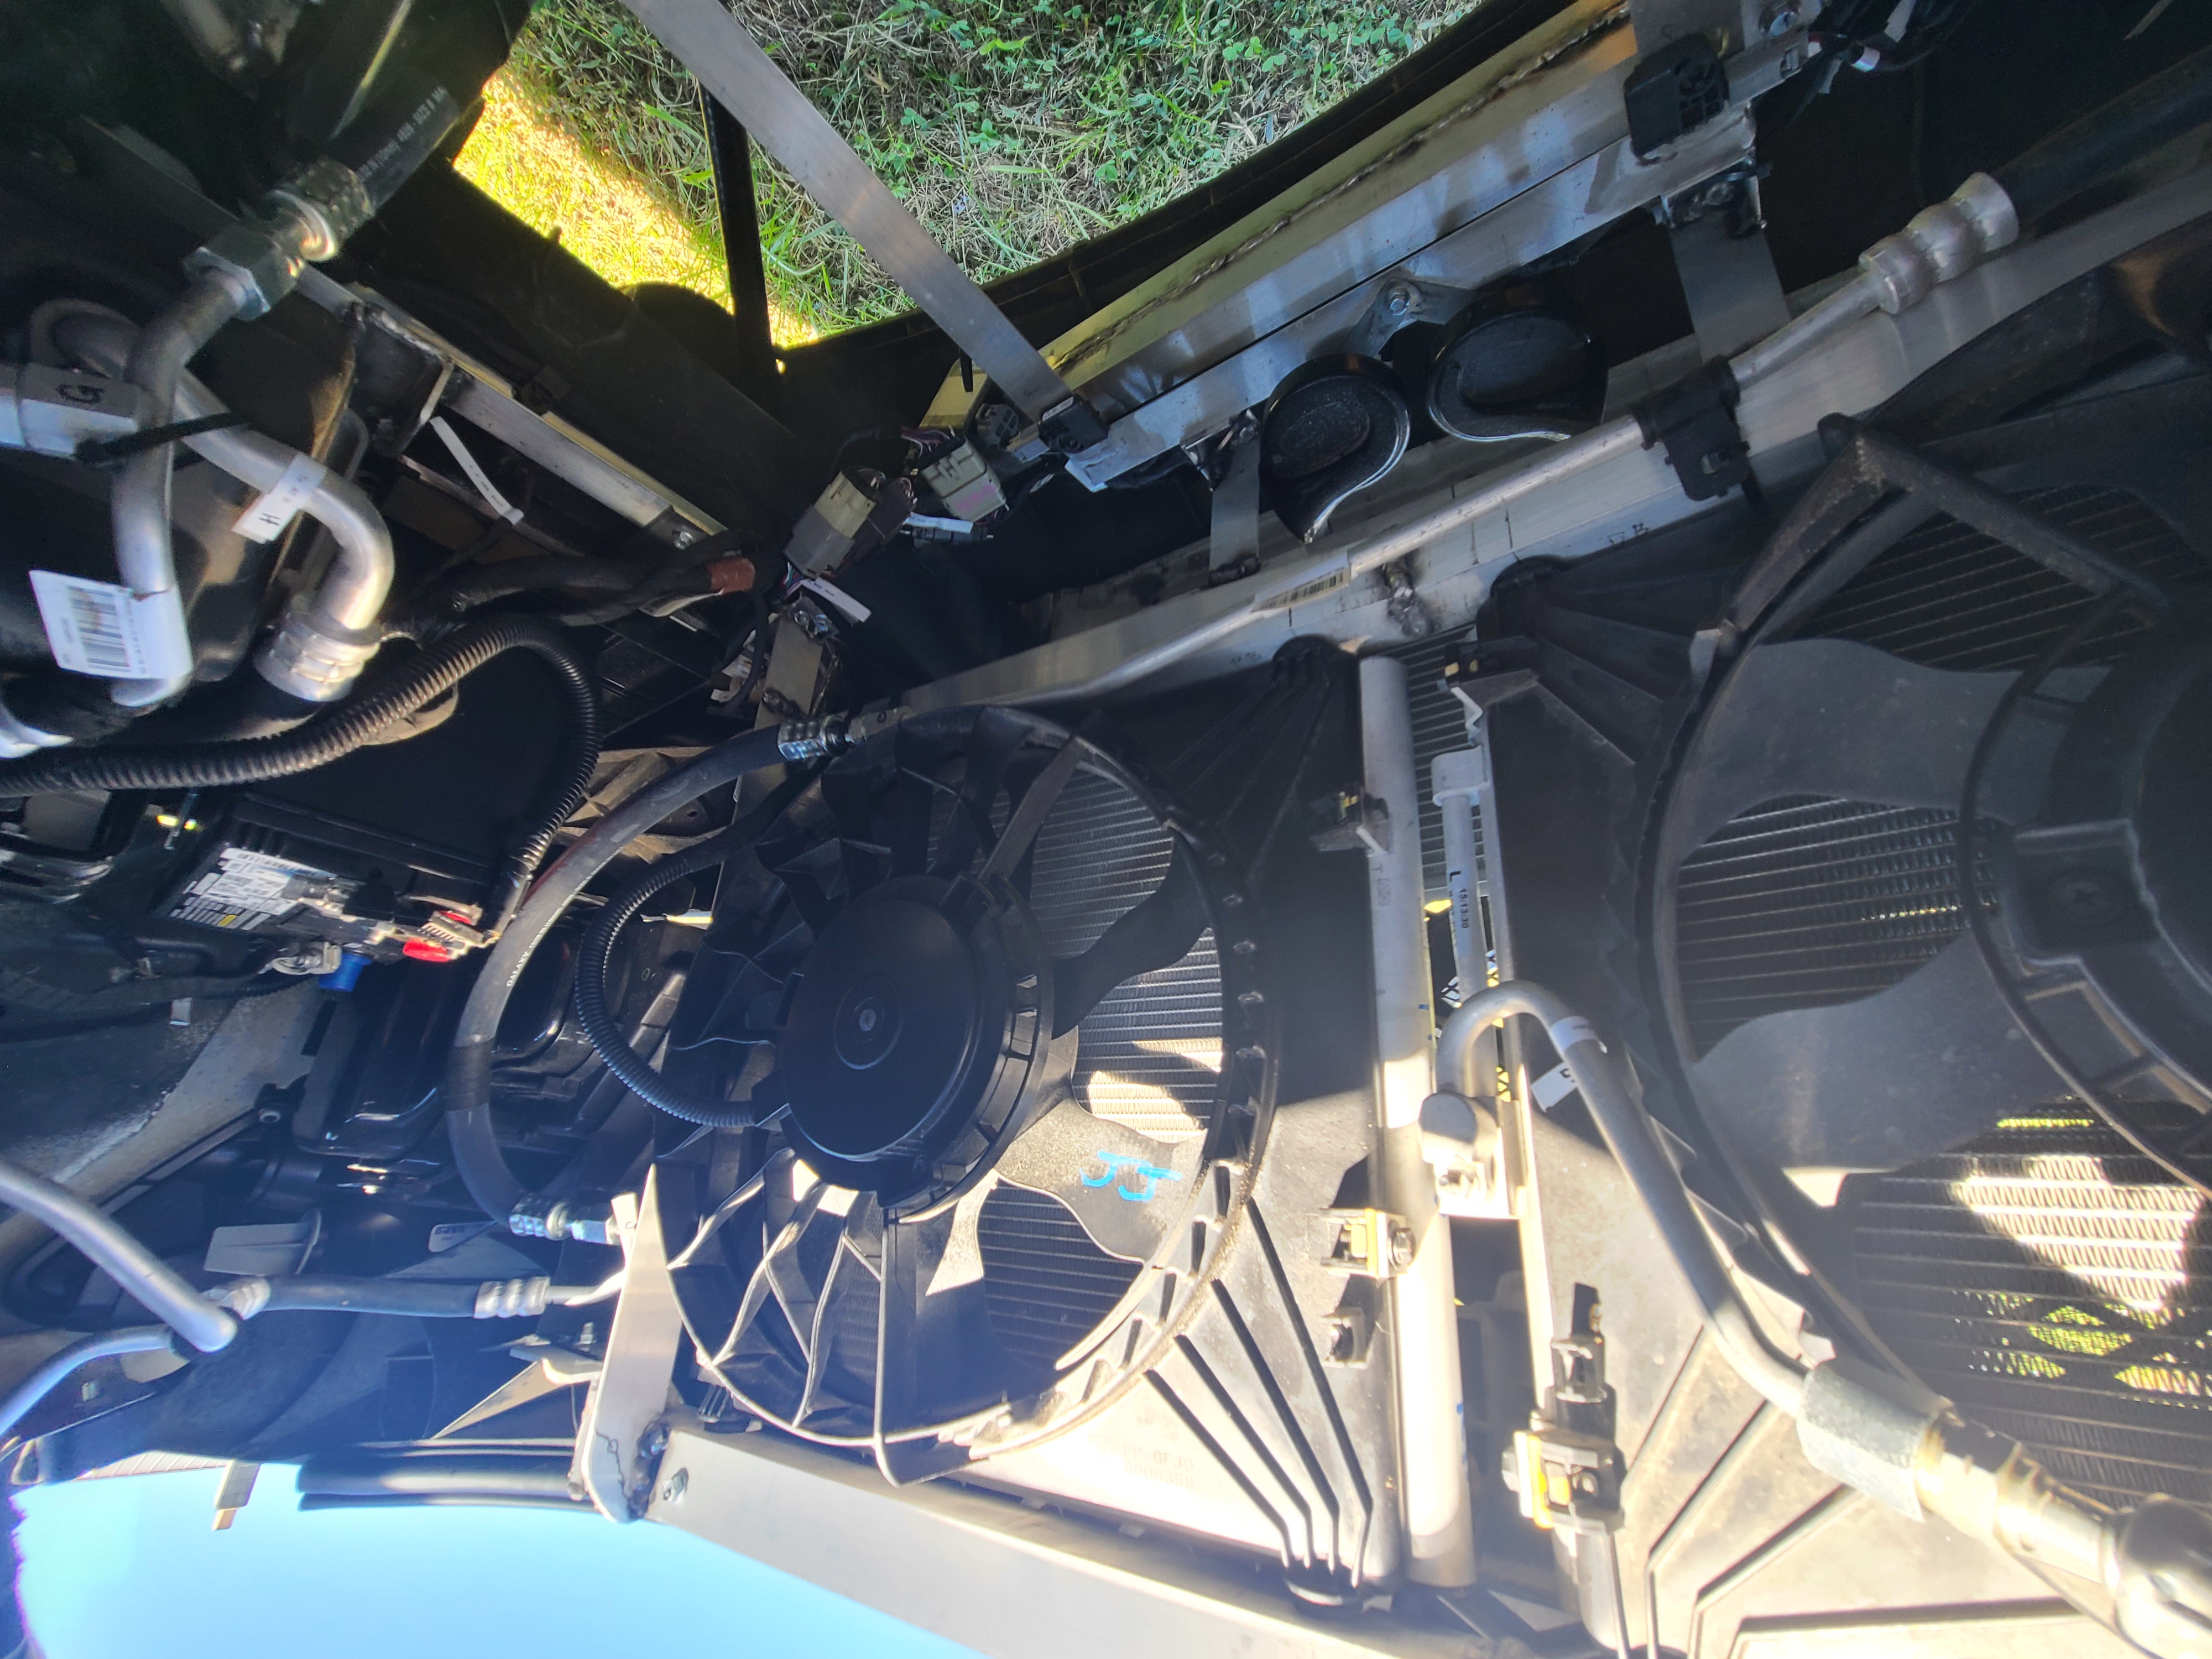
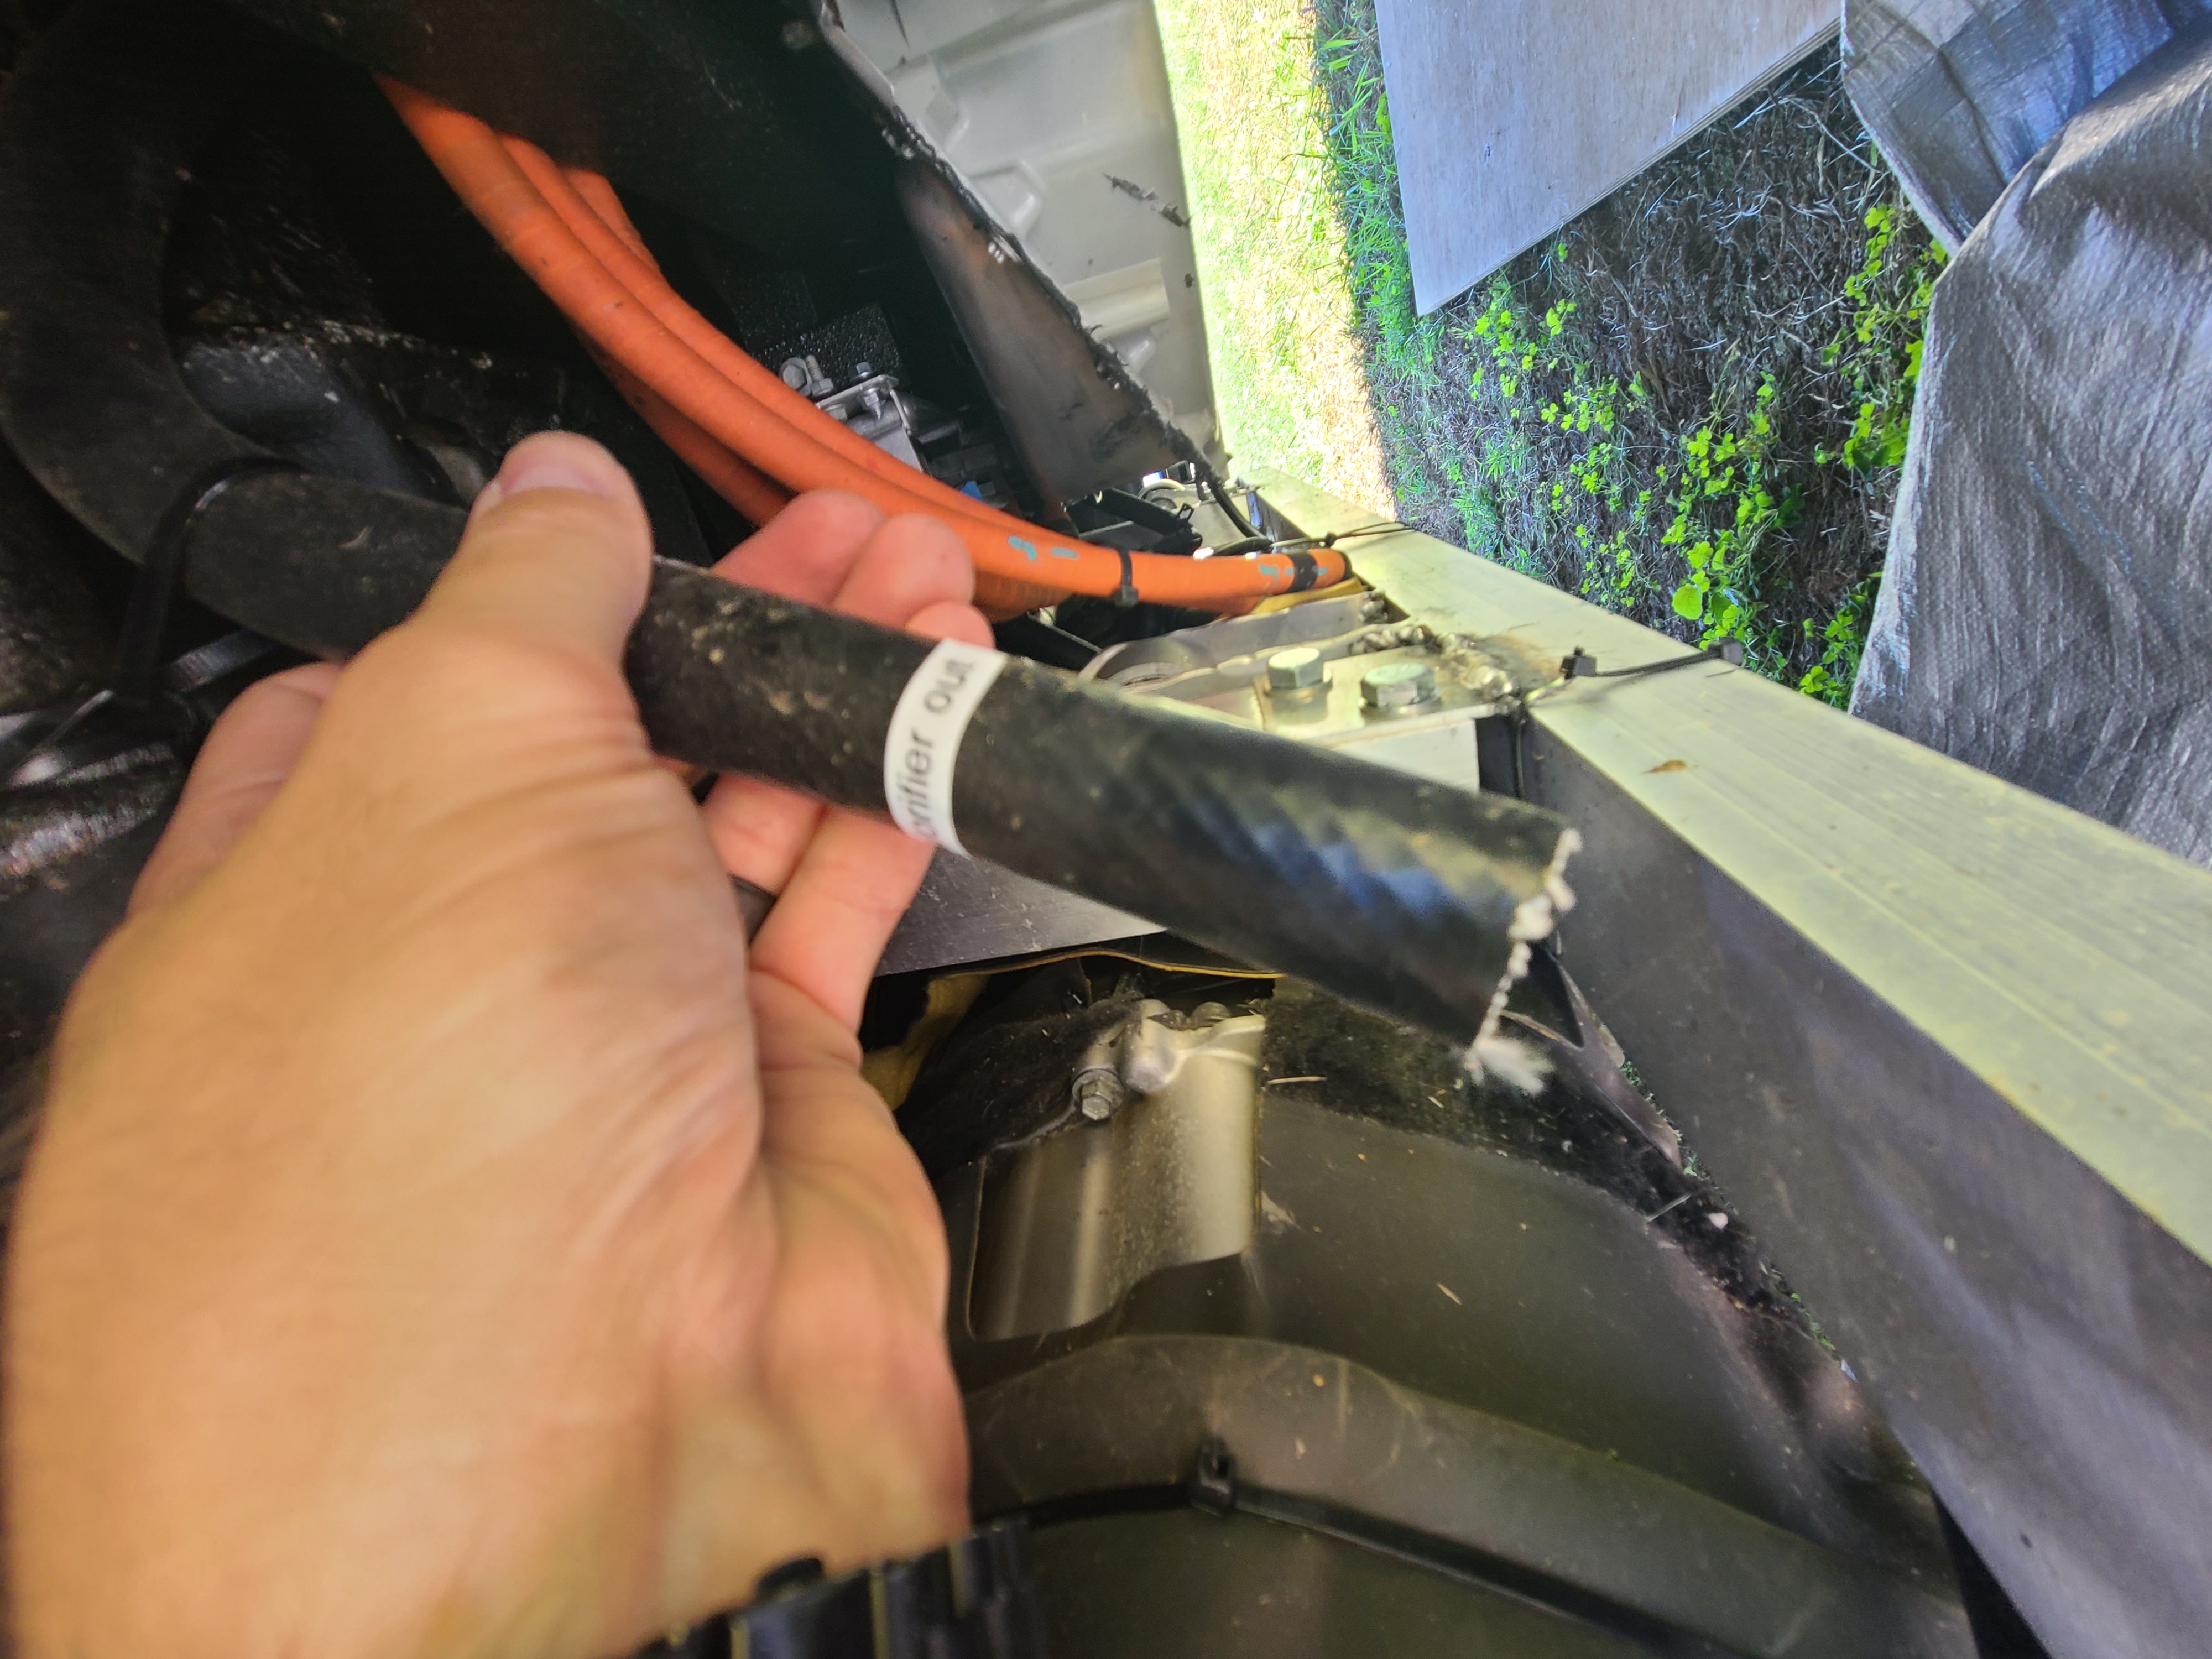
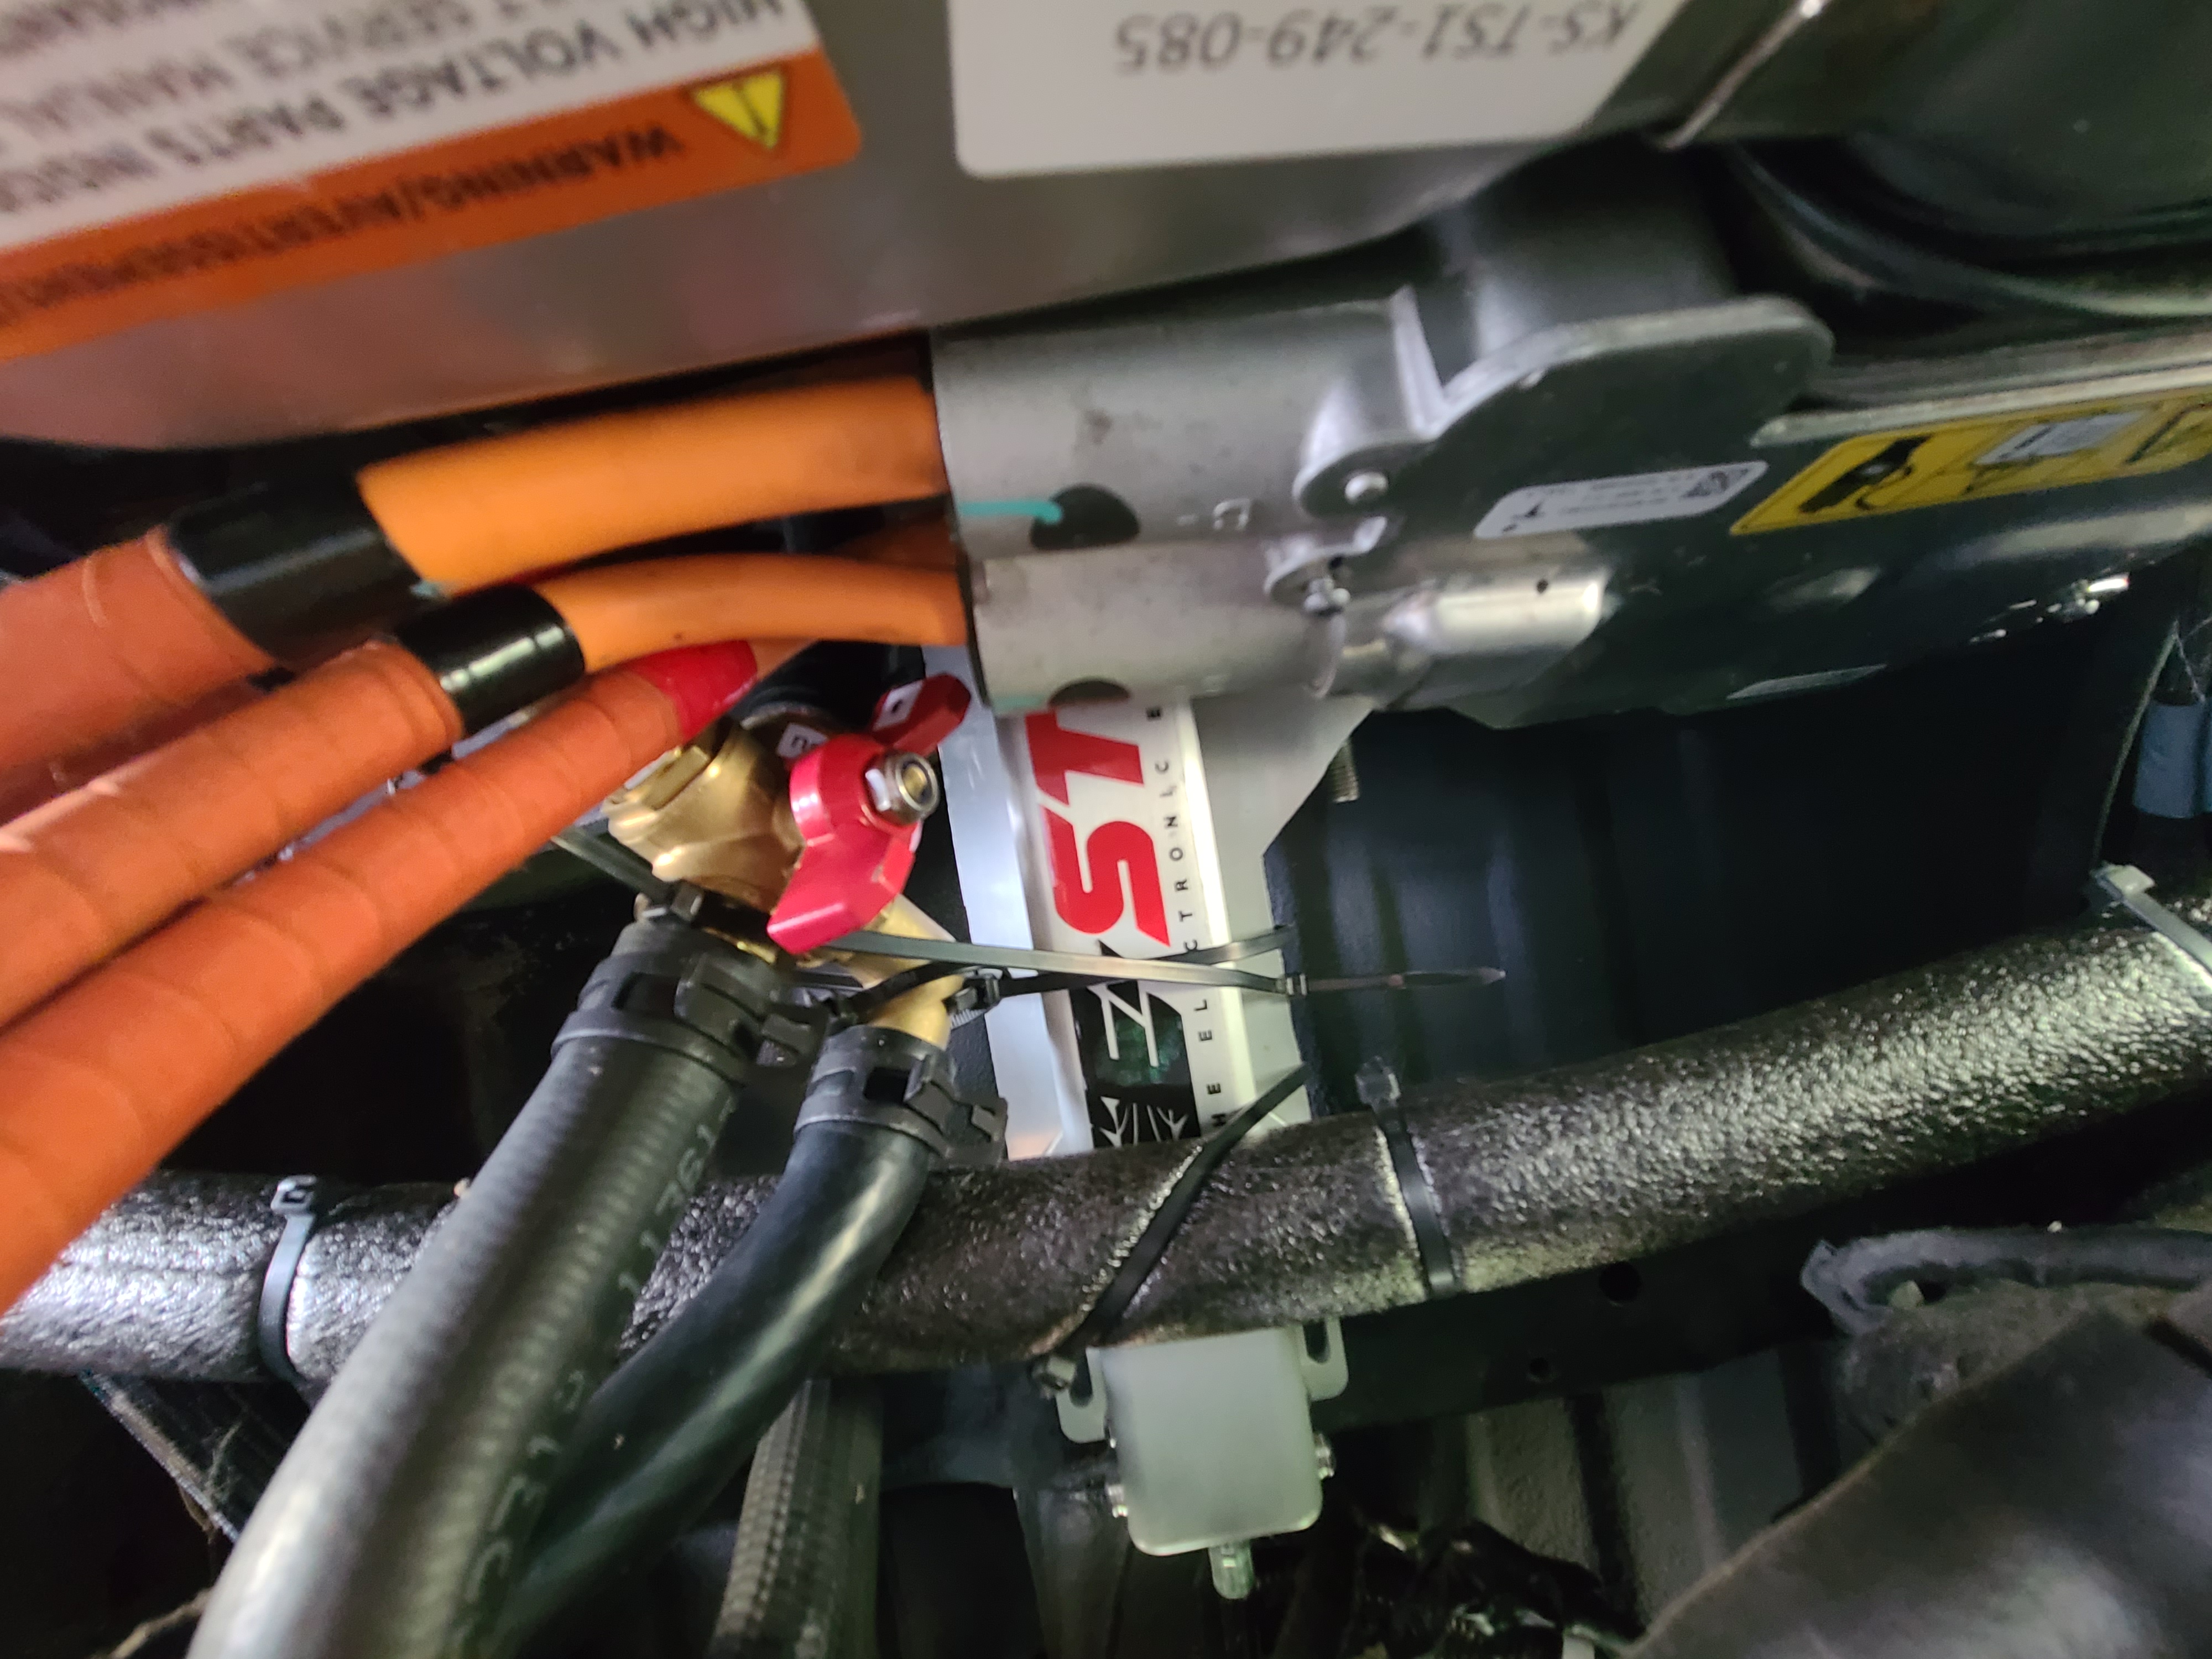
The last three images in the series below show the hookups for a calorifier to utilize waste heat from the electric motors. The 4-way valve is brass with the red knob to redirect flow once everything is hooked up.
(click image to expand)


Even more details...
Along with the sale of the van, you'll receive an external harddrive with all of the digital elements produced for this project: 3D digital recreations of the van, Lidar point clouds, 3D print files, electrical diagrams, photos, and more!
One of the hardest things to figure out was the flow of coolant in a 2018 Tesla Model S, we'll include that too.
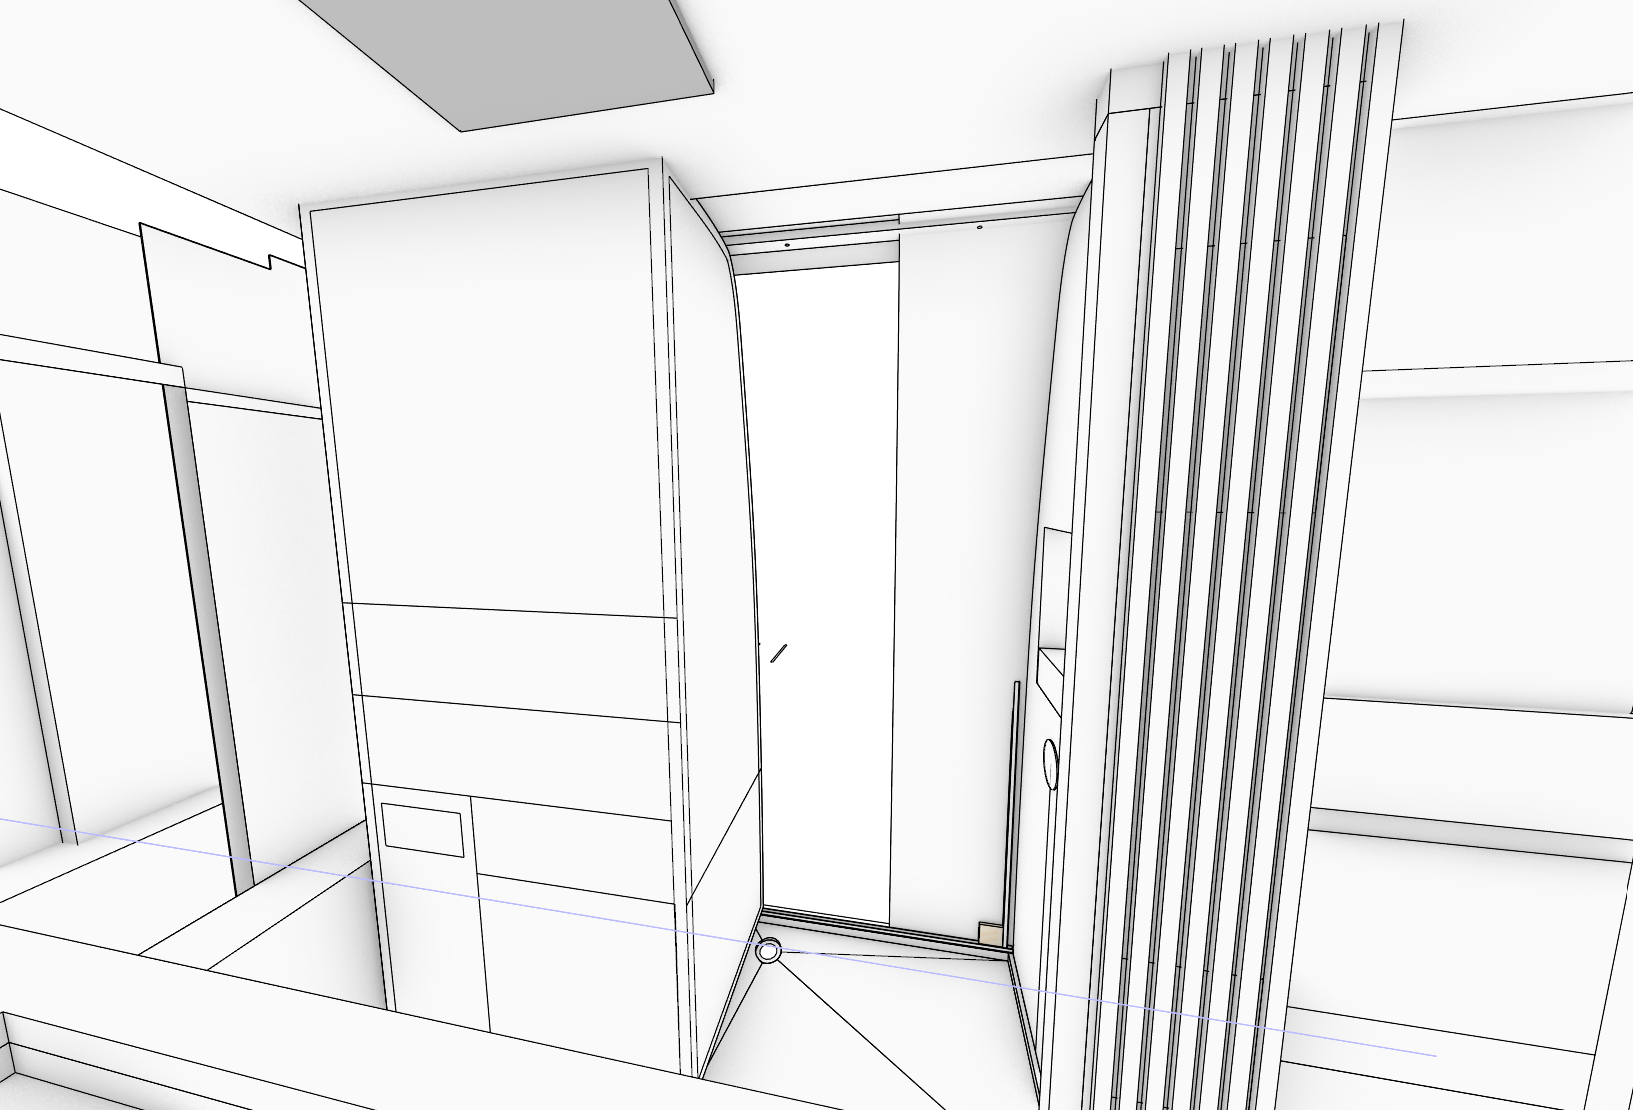
If you want the floor plan we designed (slide out closet bathroom, kitchen, murphy bed), we'll give you that as well.
Plus, you'll have our contact information and we'll encourage you to reach out with any questions regarding the van (where things are, why we did what we did, etc.)
See below for a few screenshots of our 3D models (all in Rhino3D, which can export to just about any format upon request).
(click image to expand)
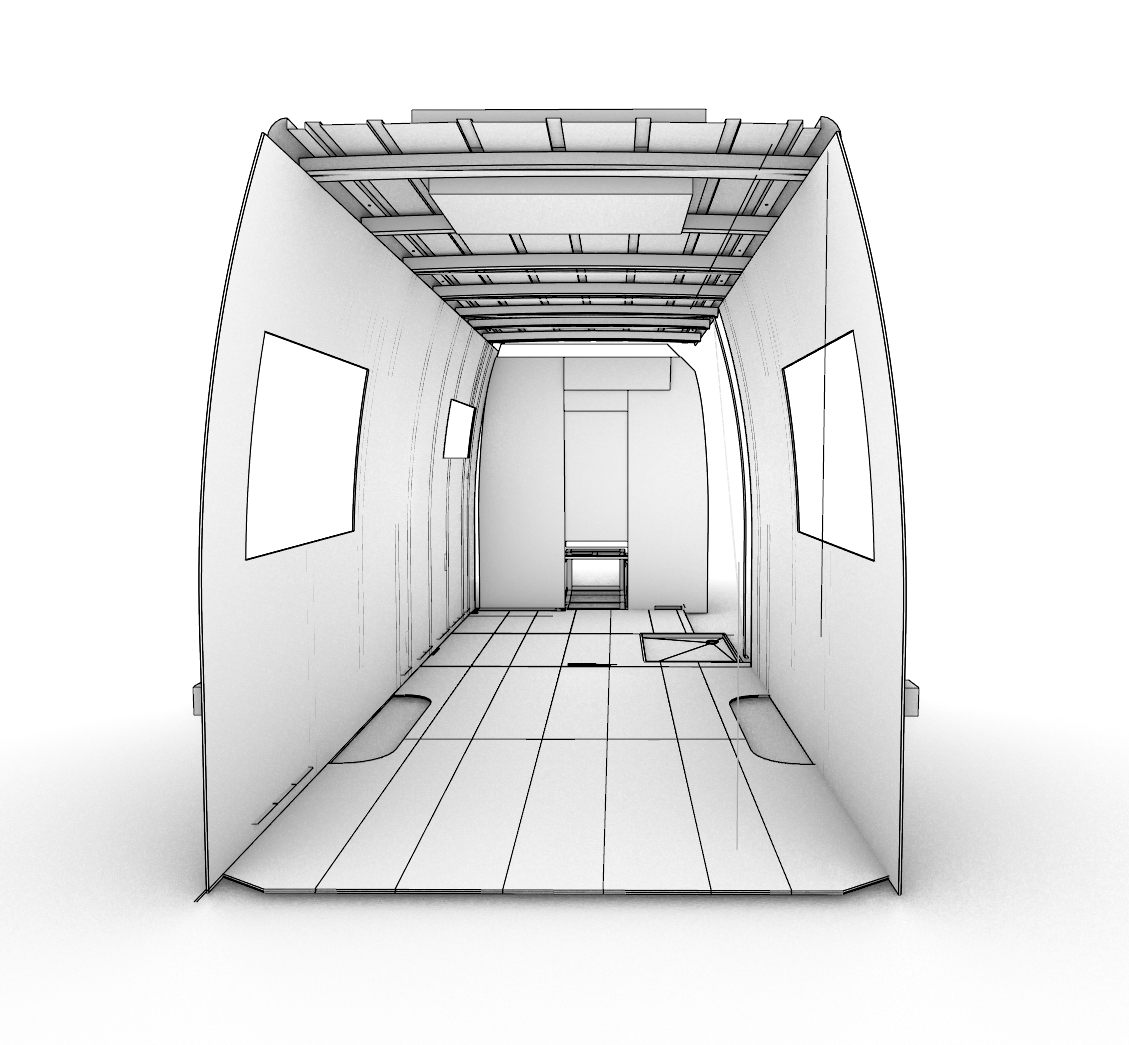
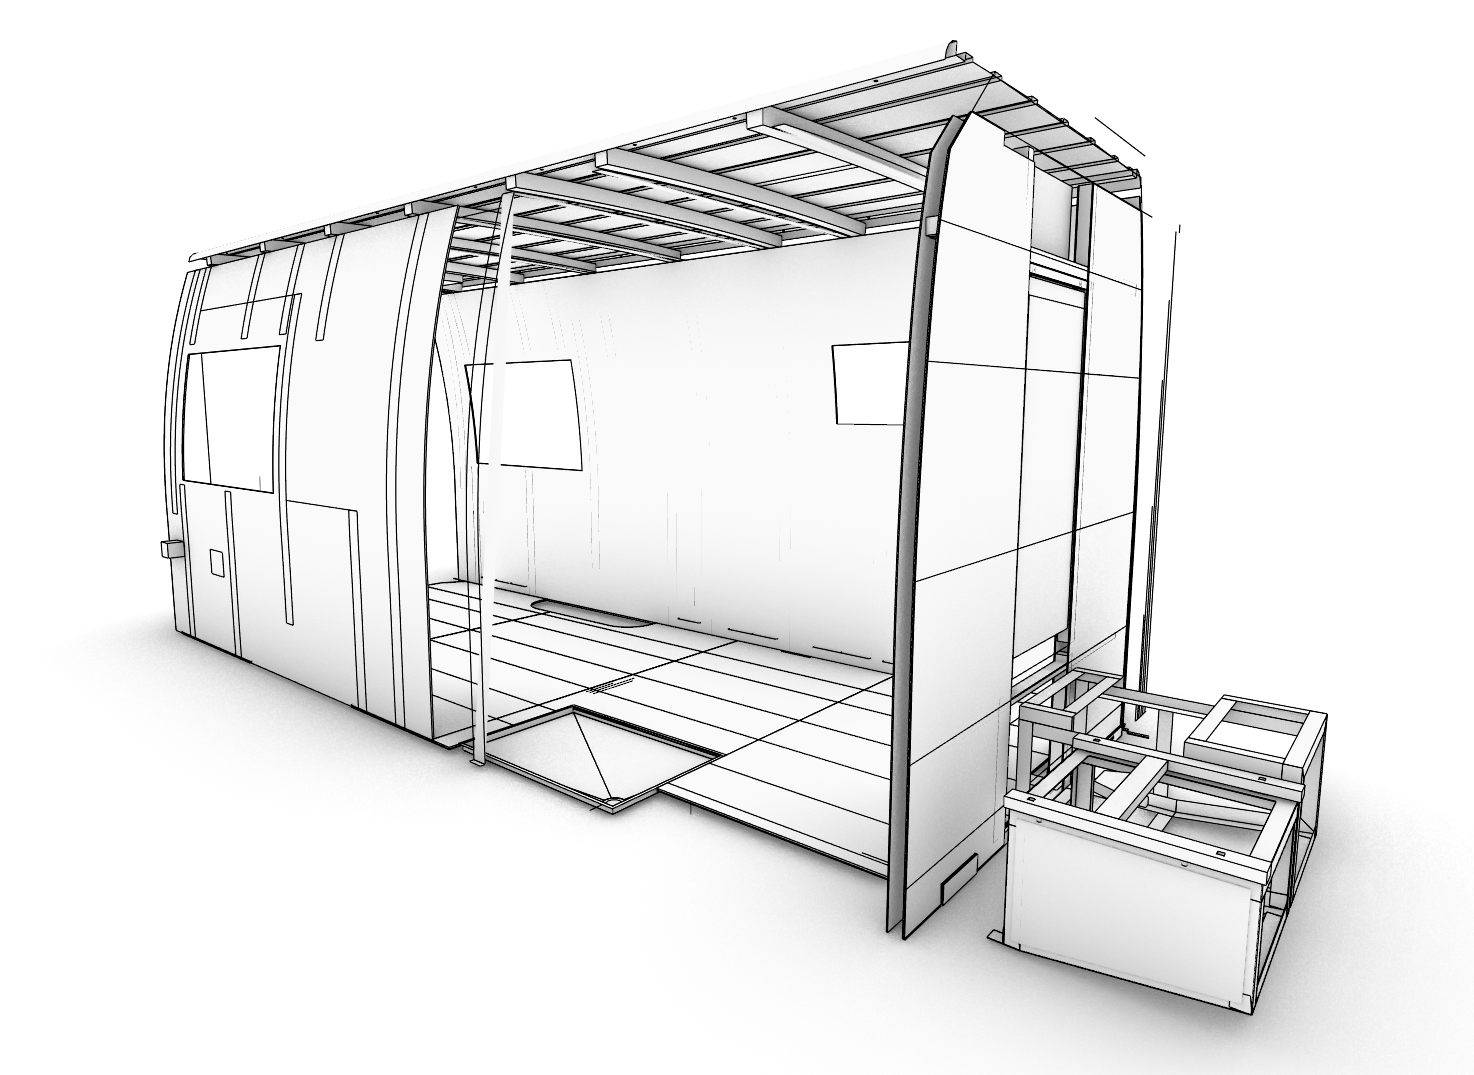

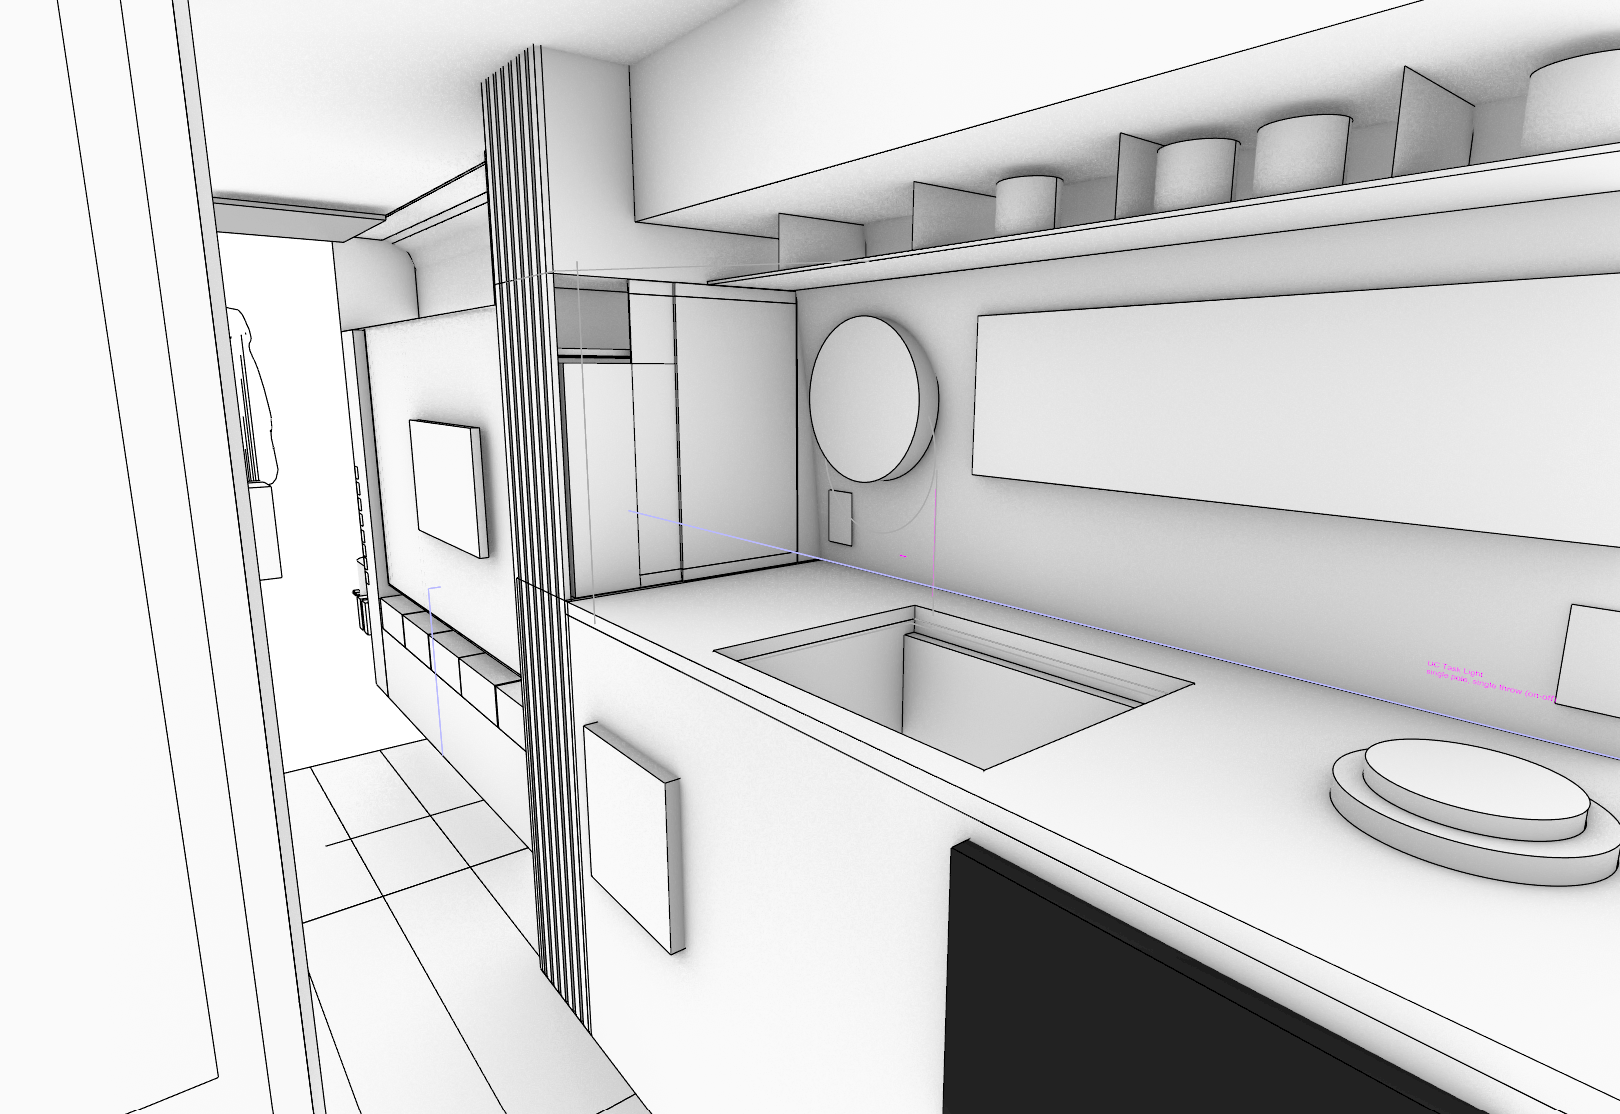

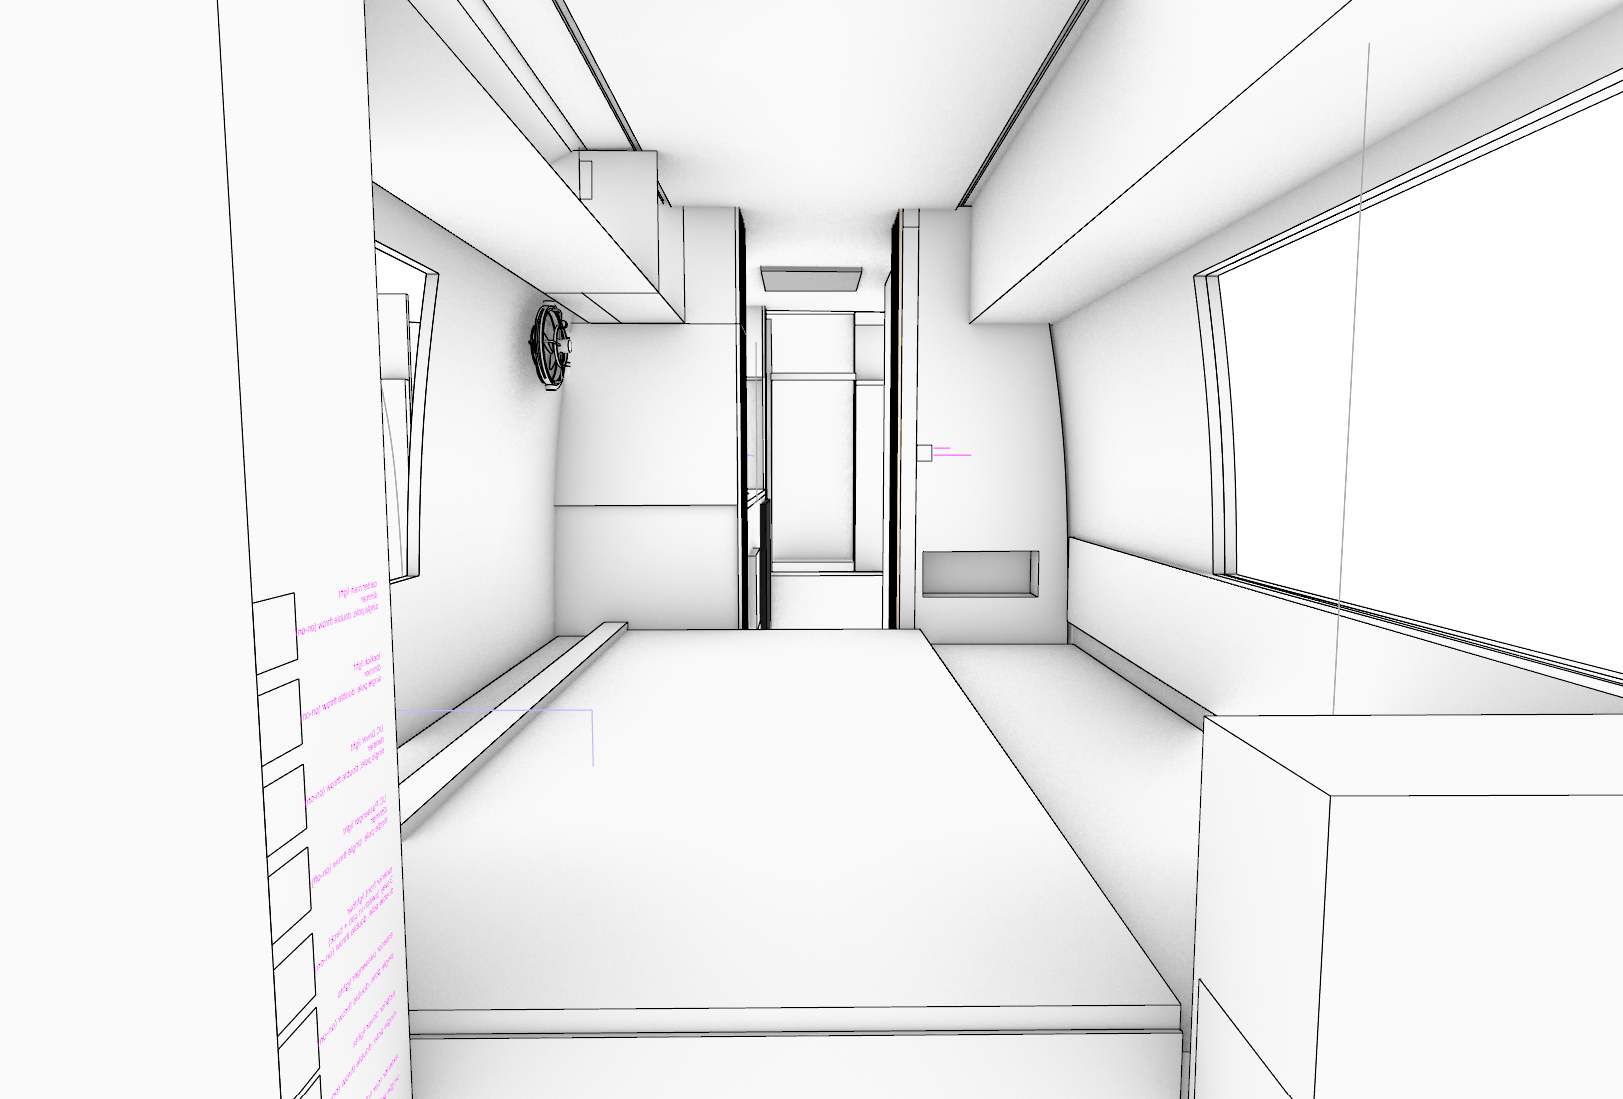
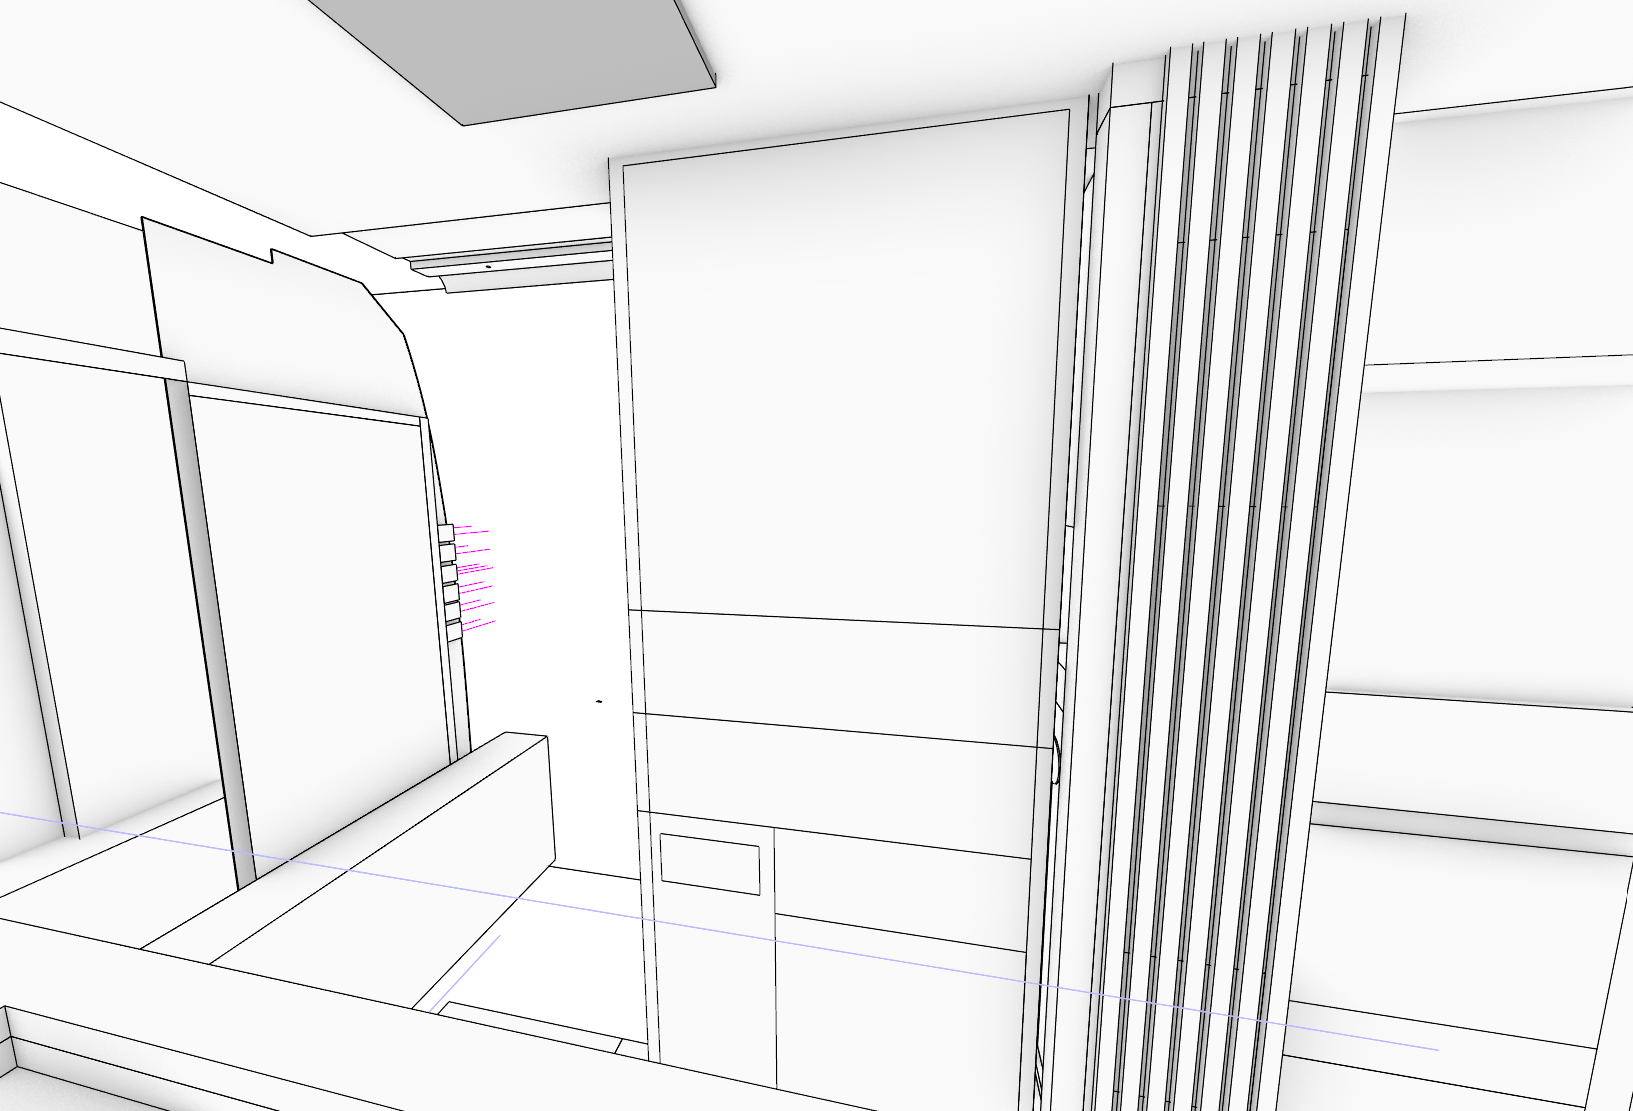
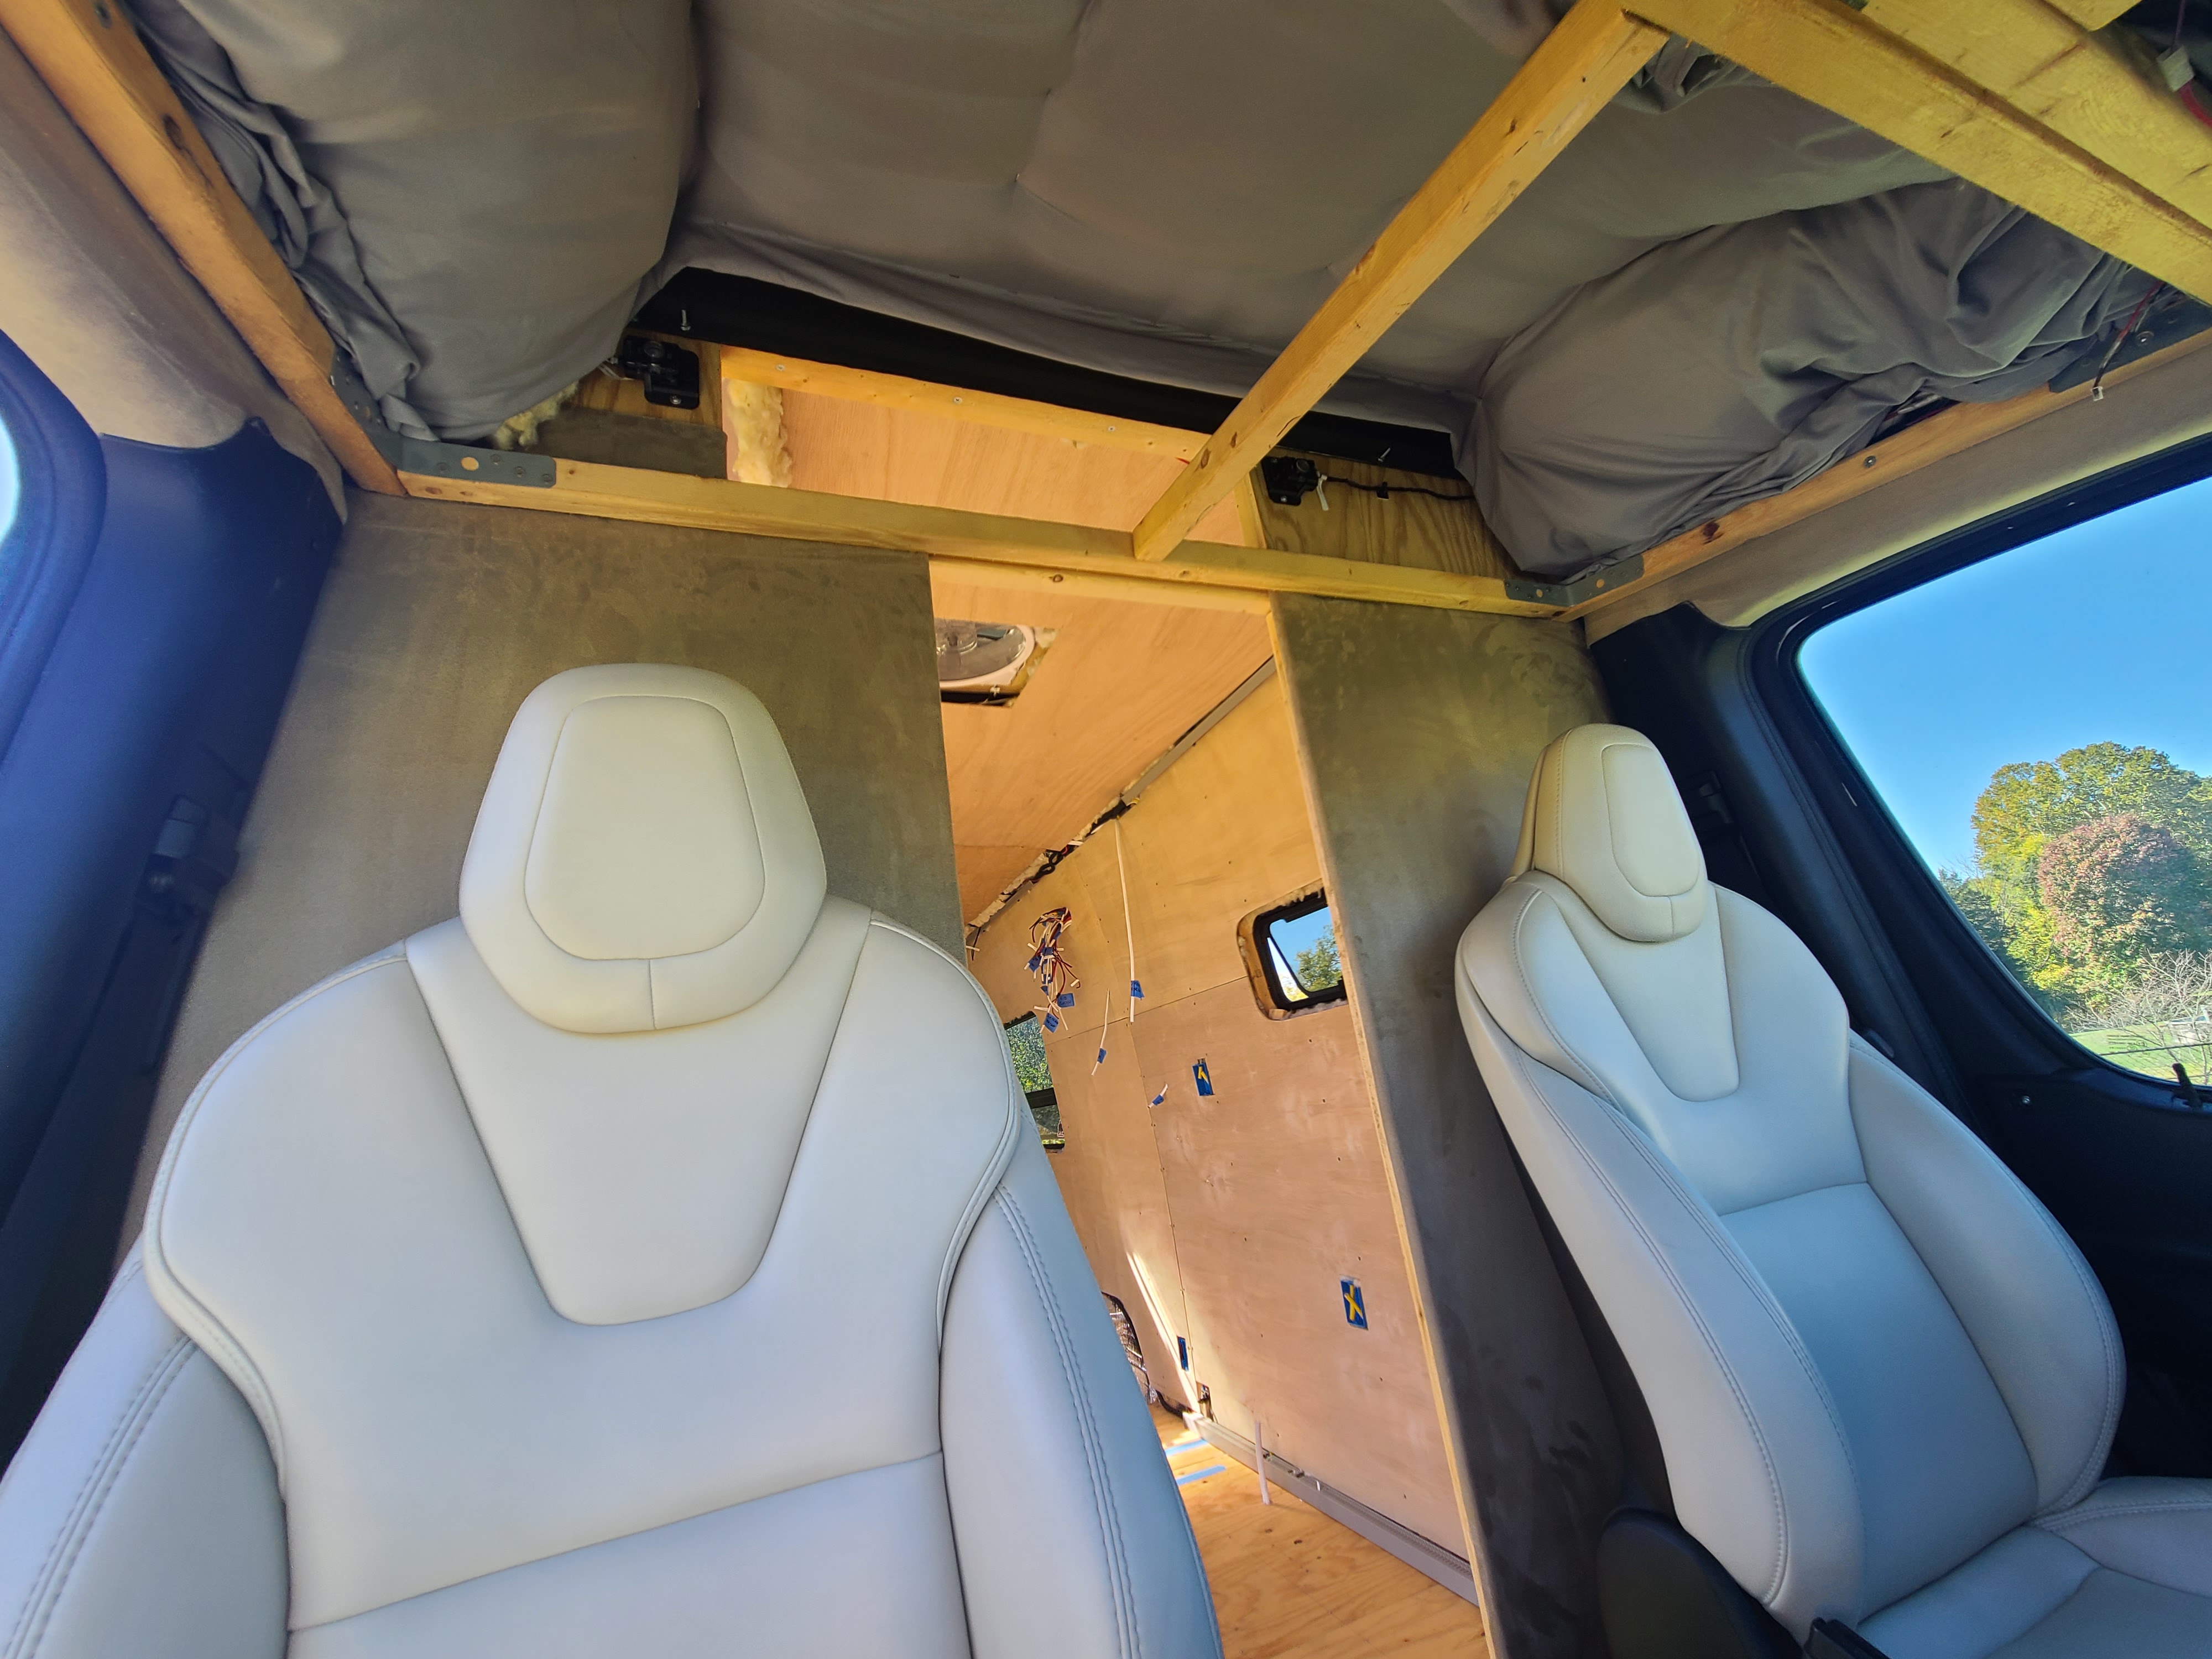
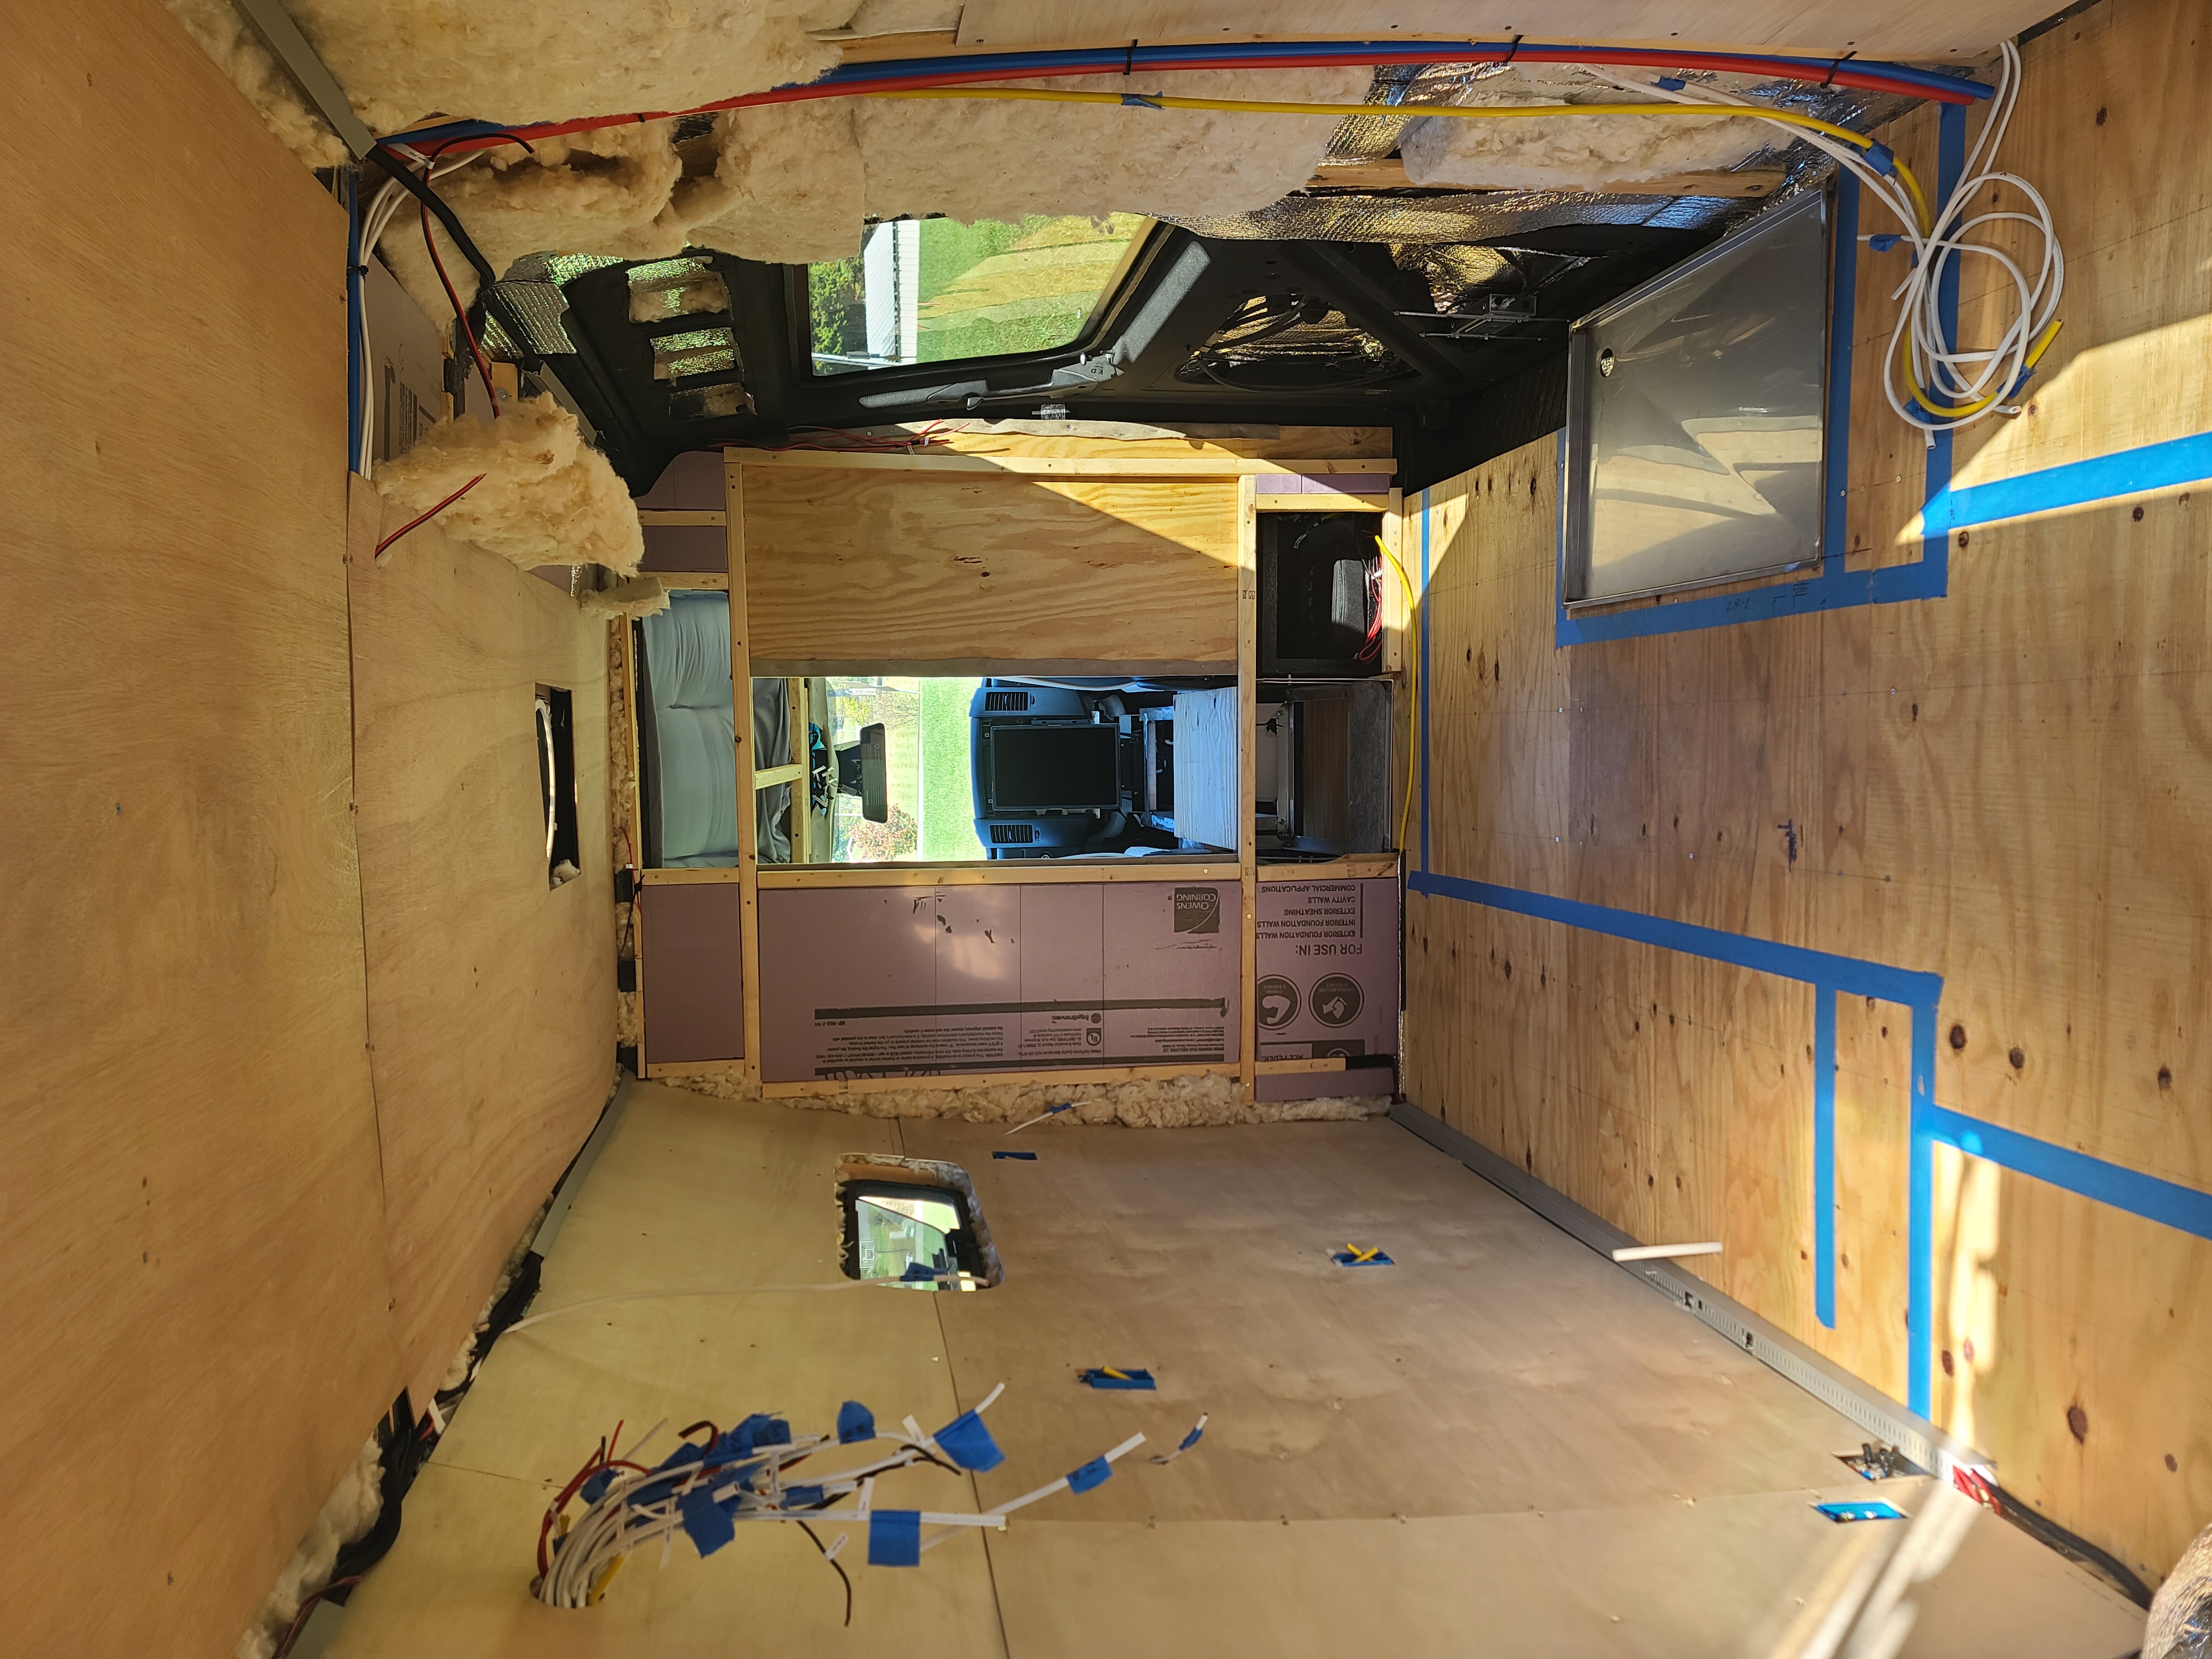
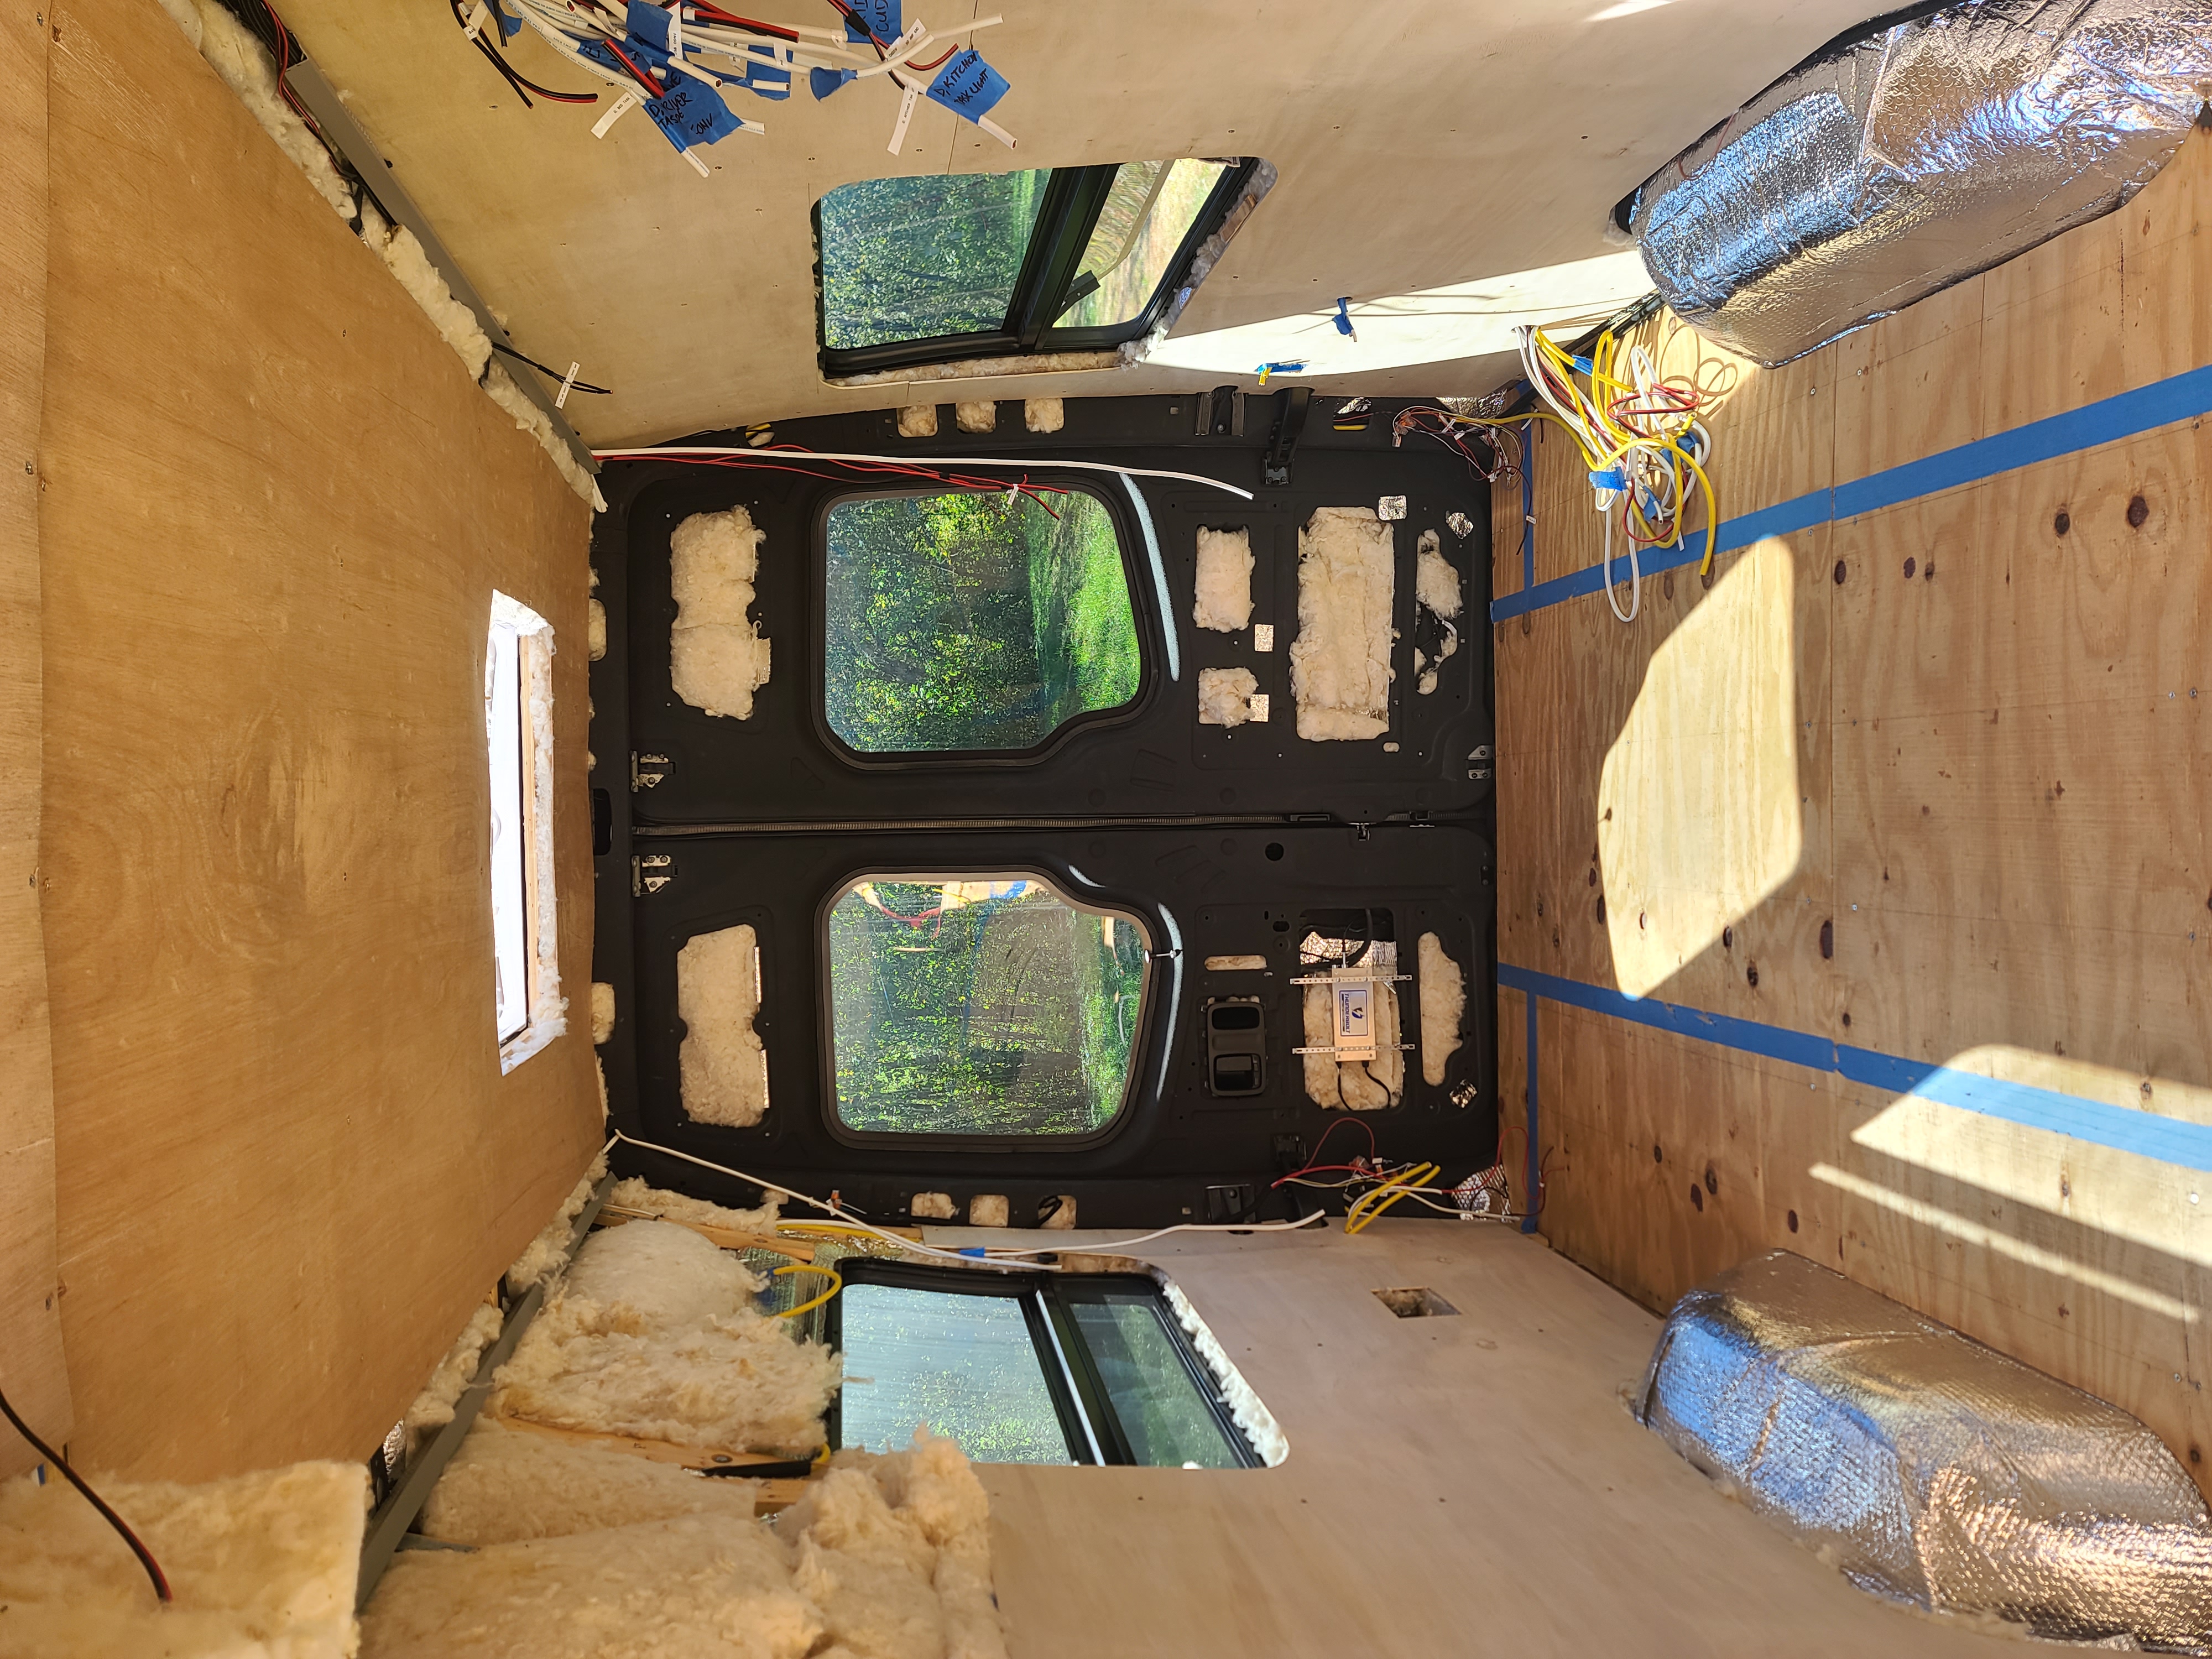
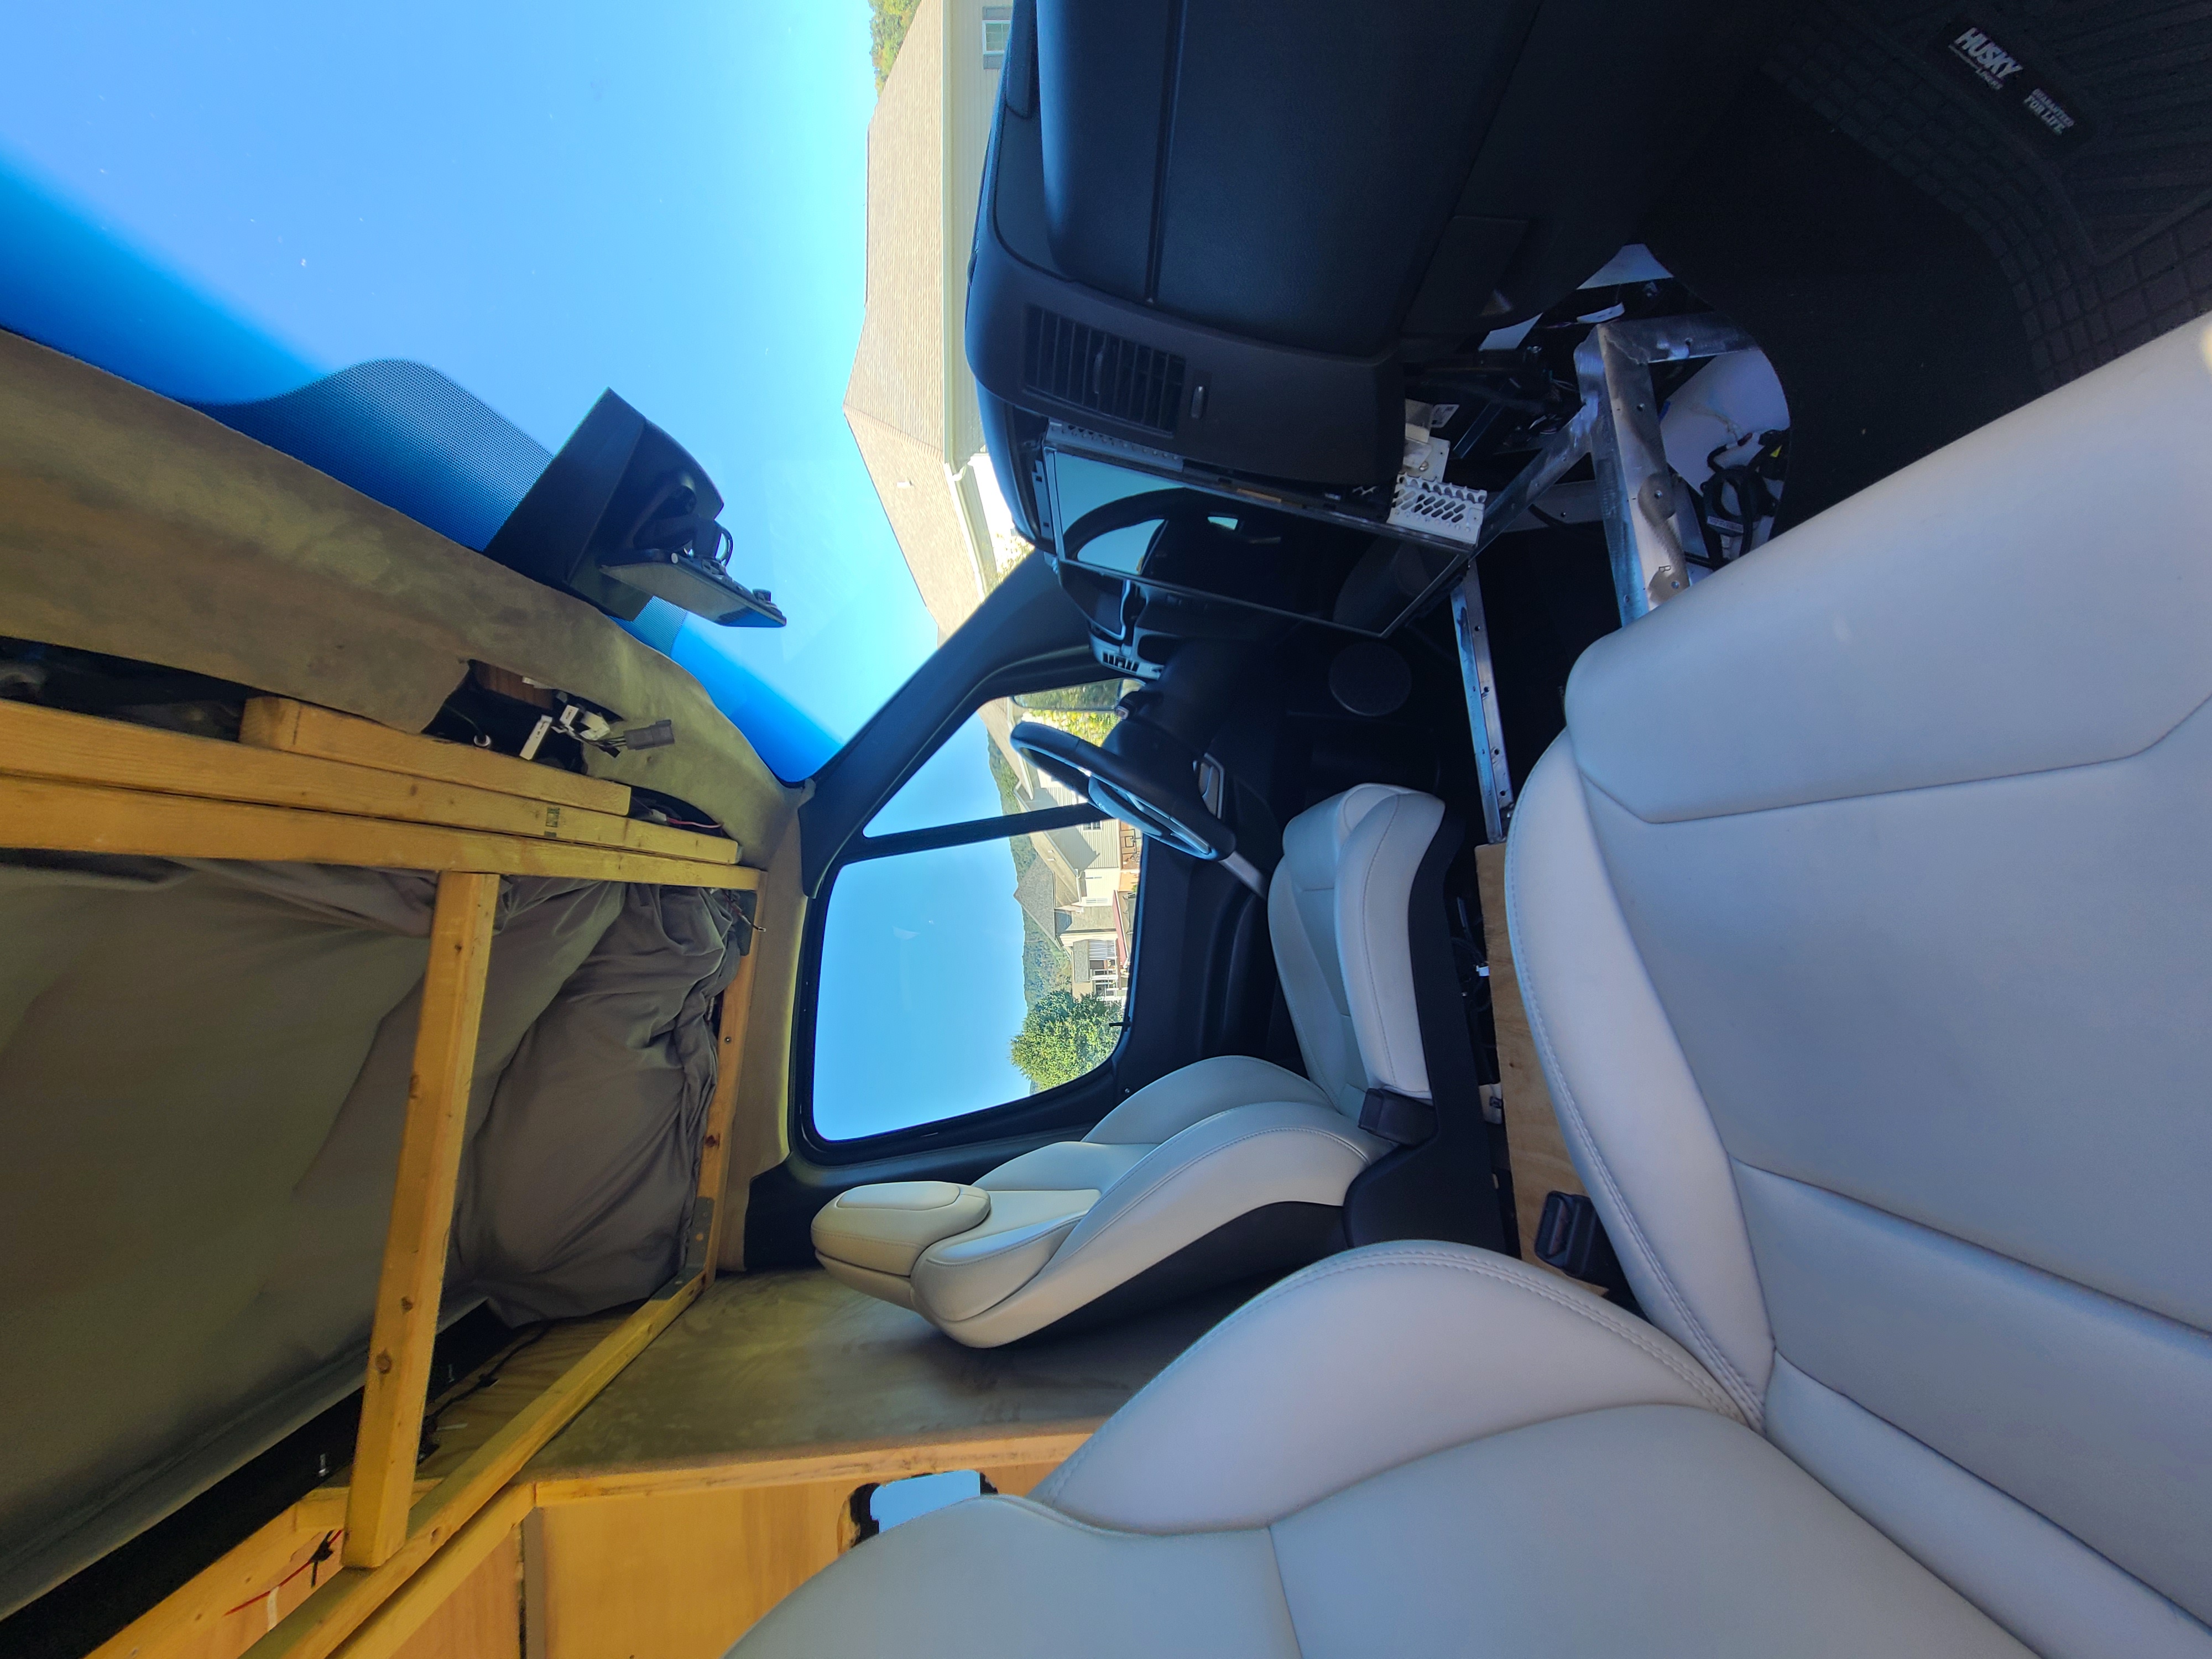
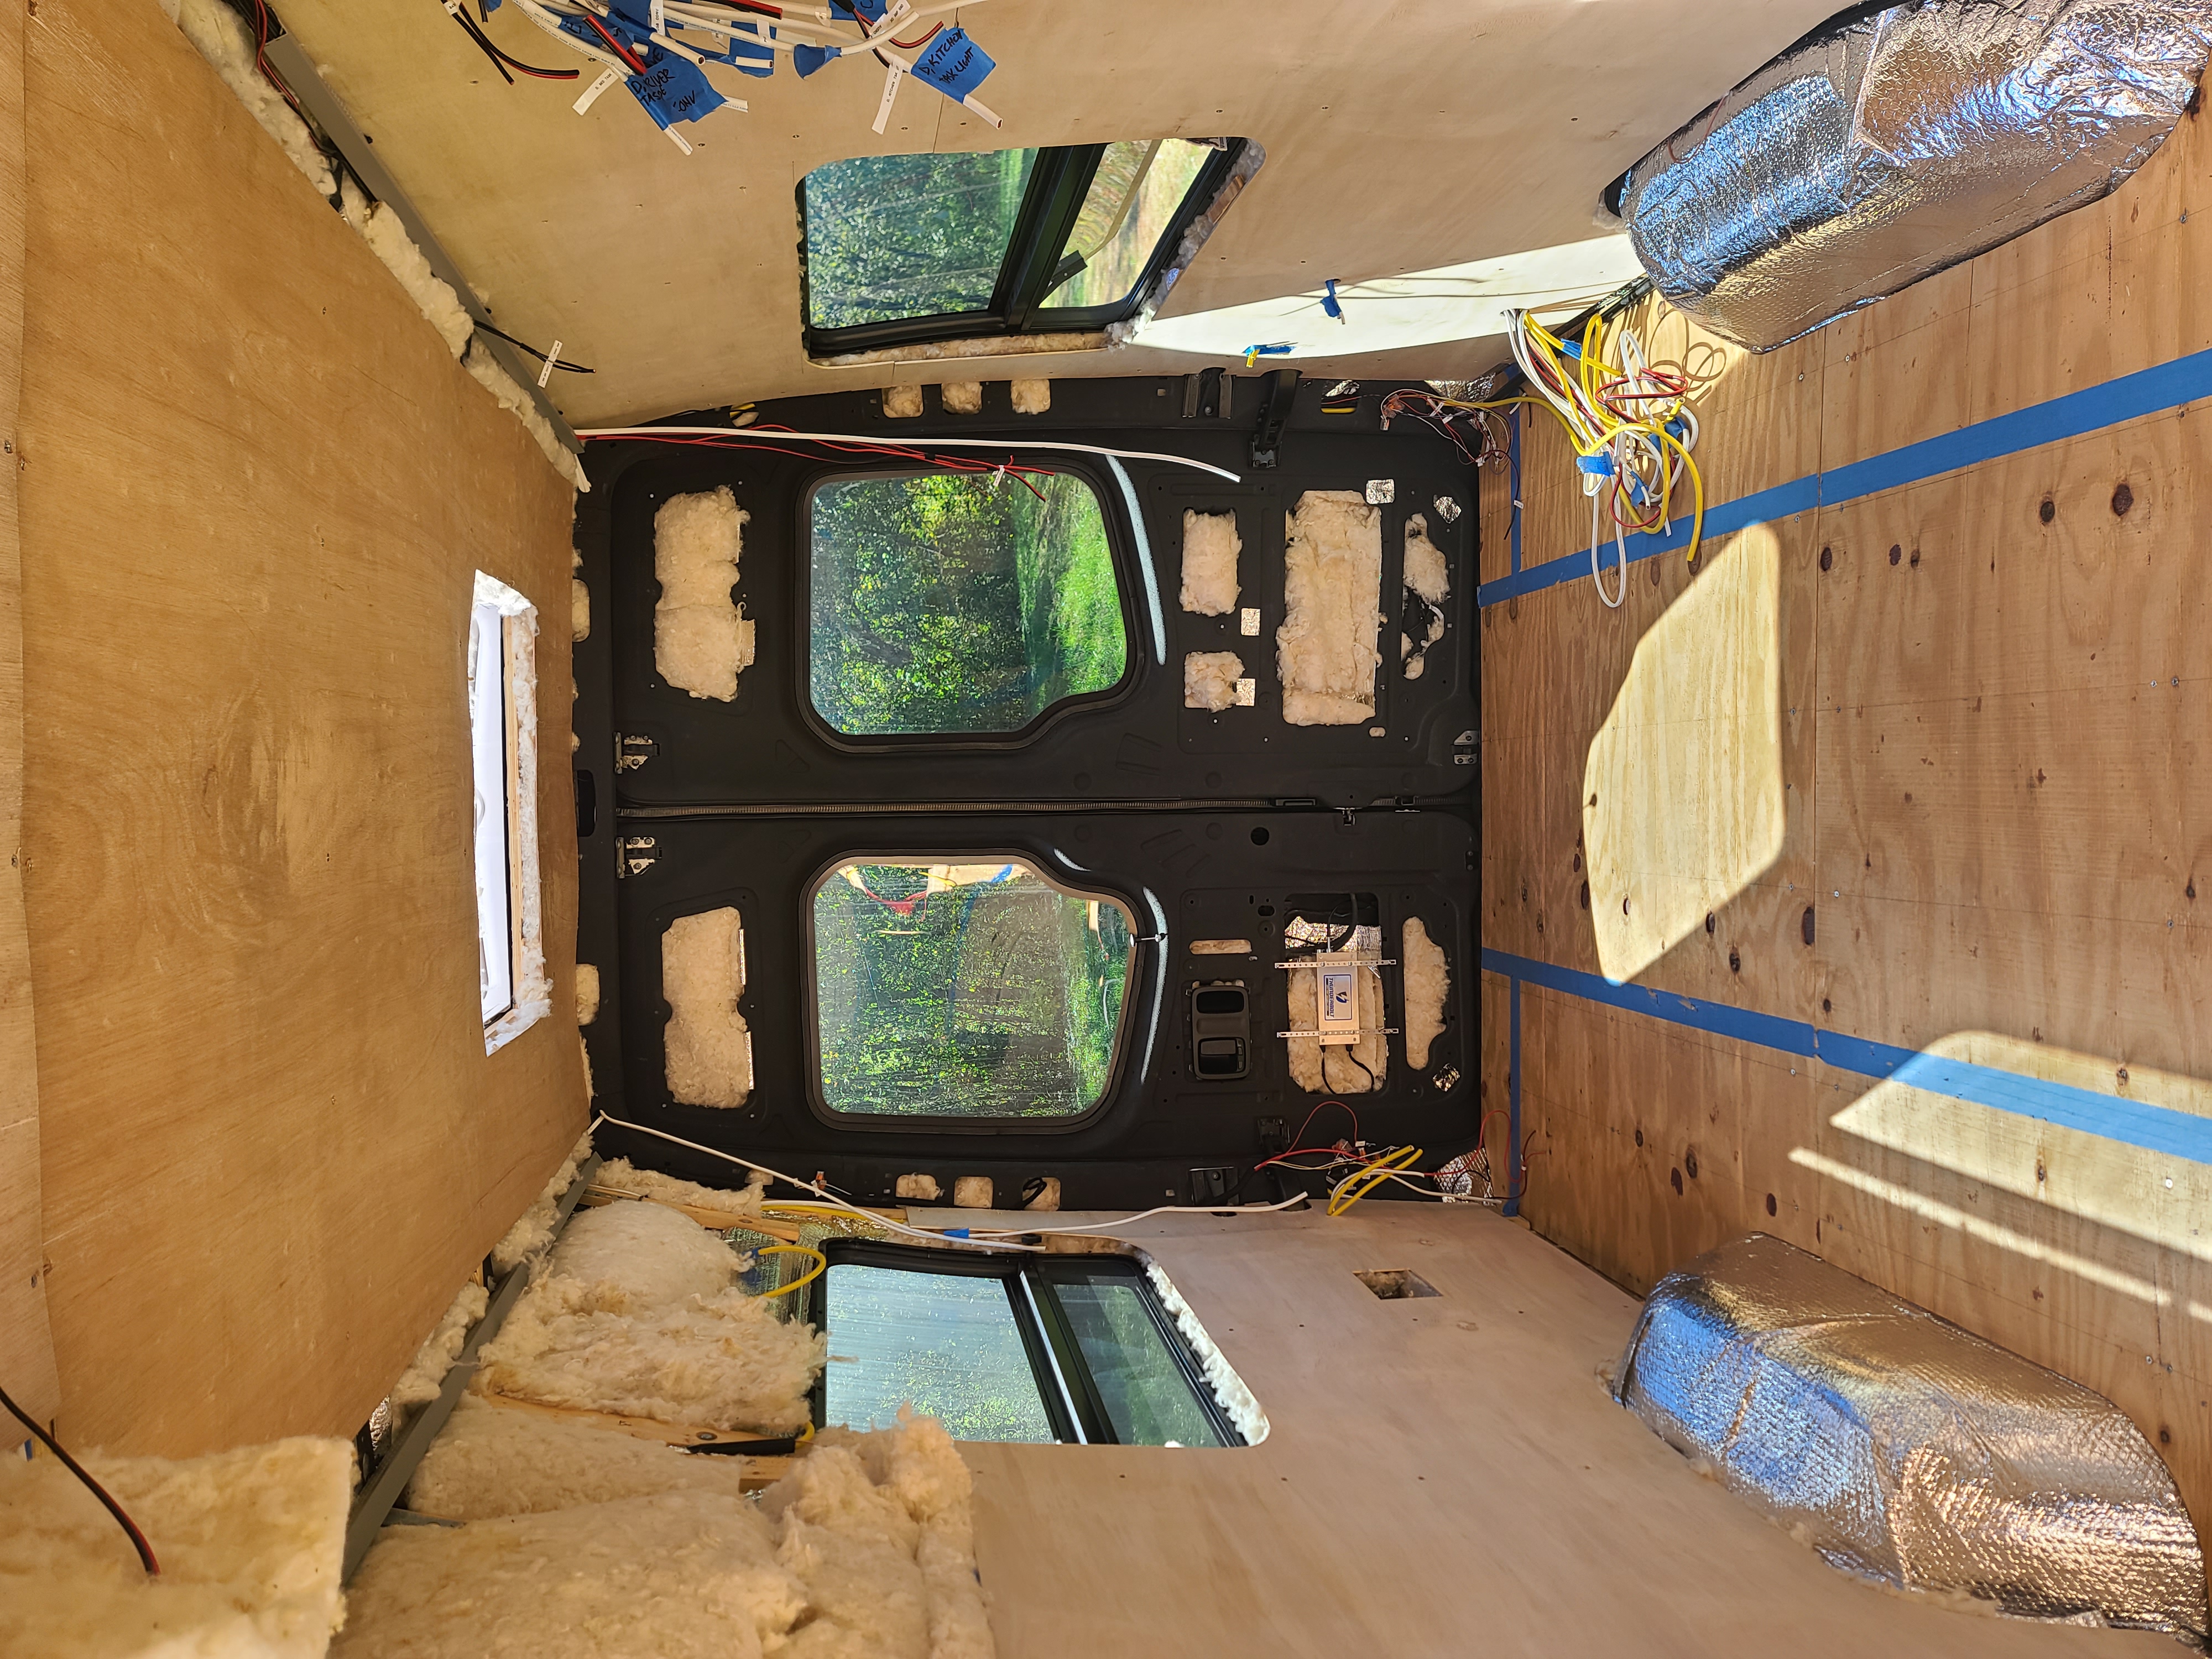
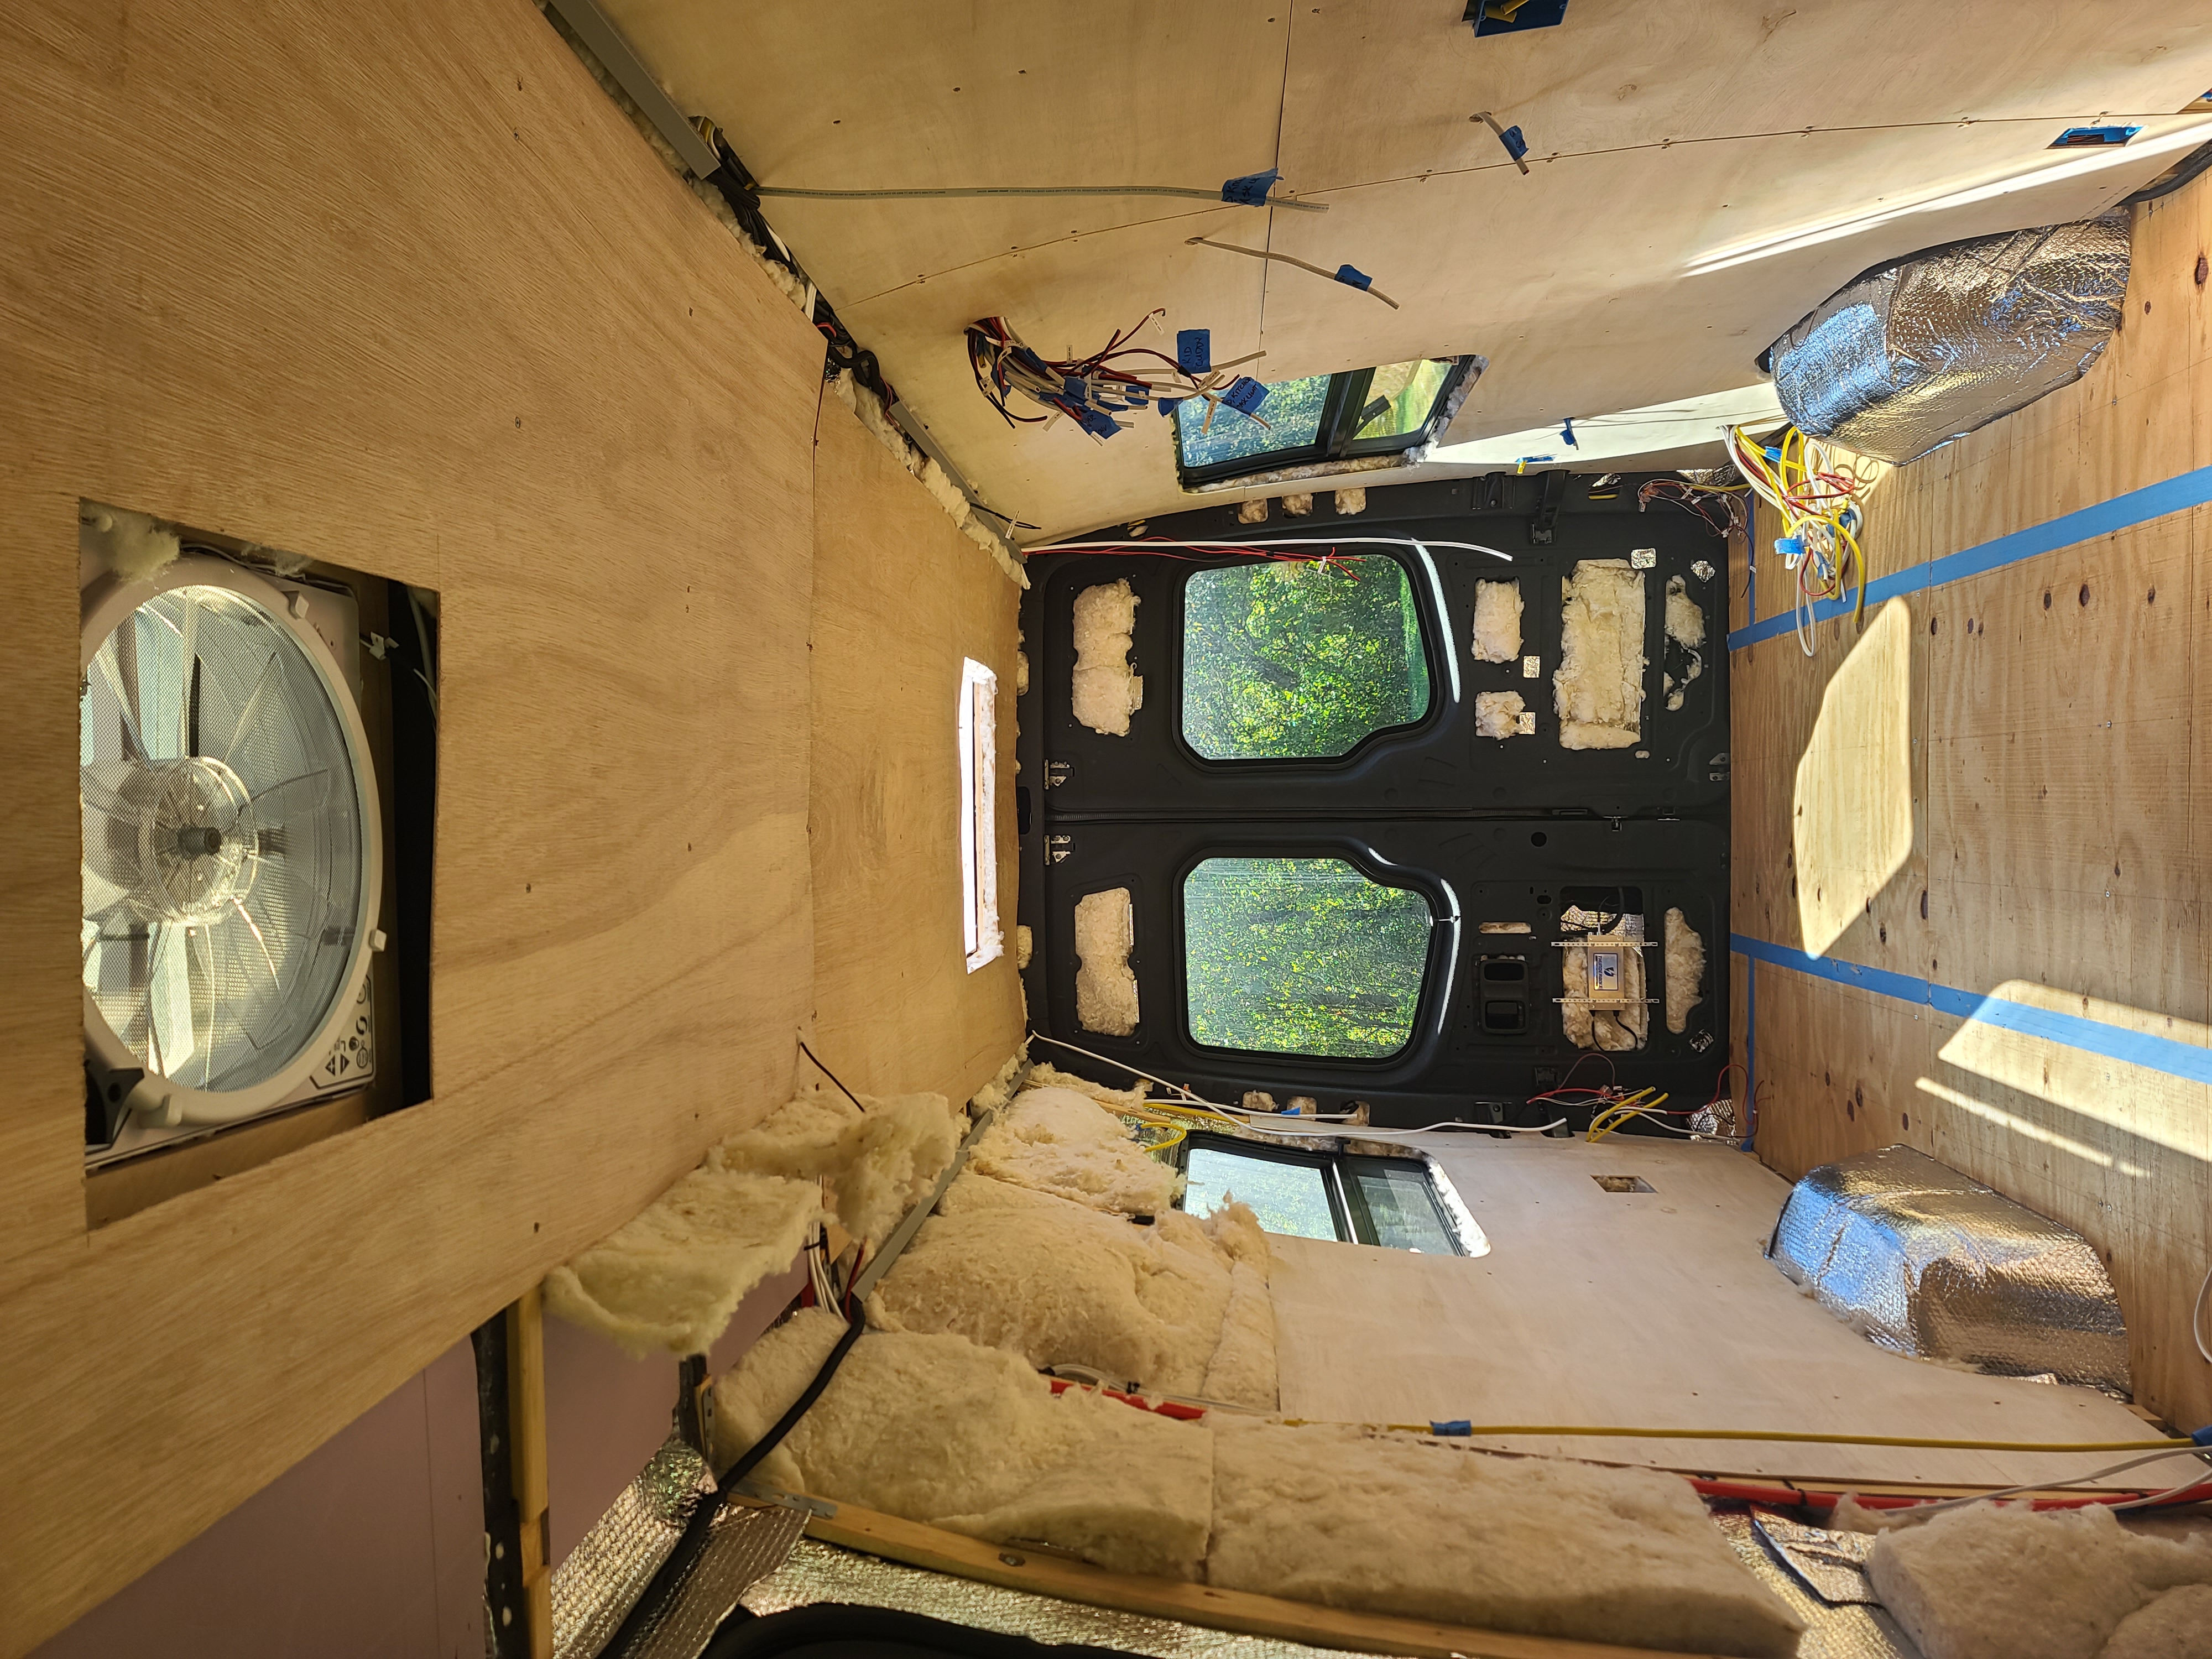
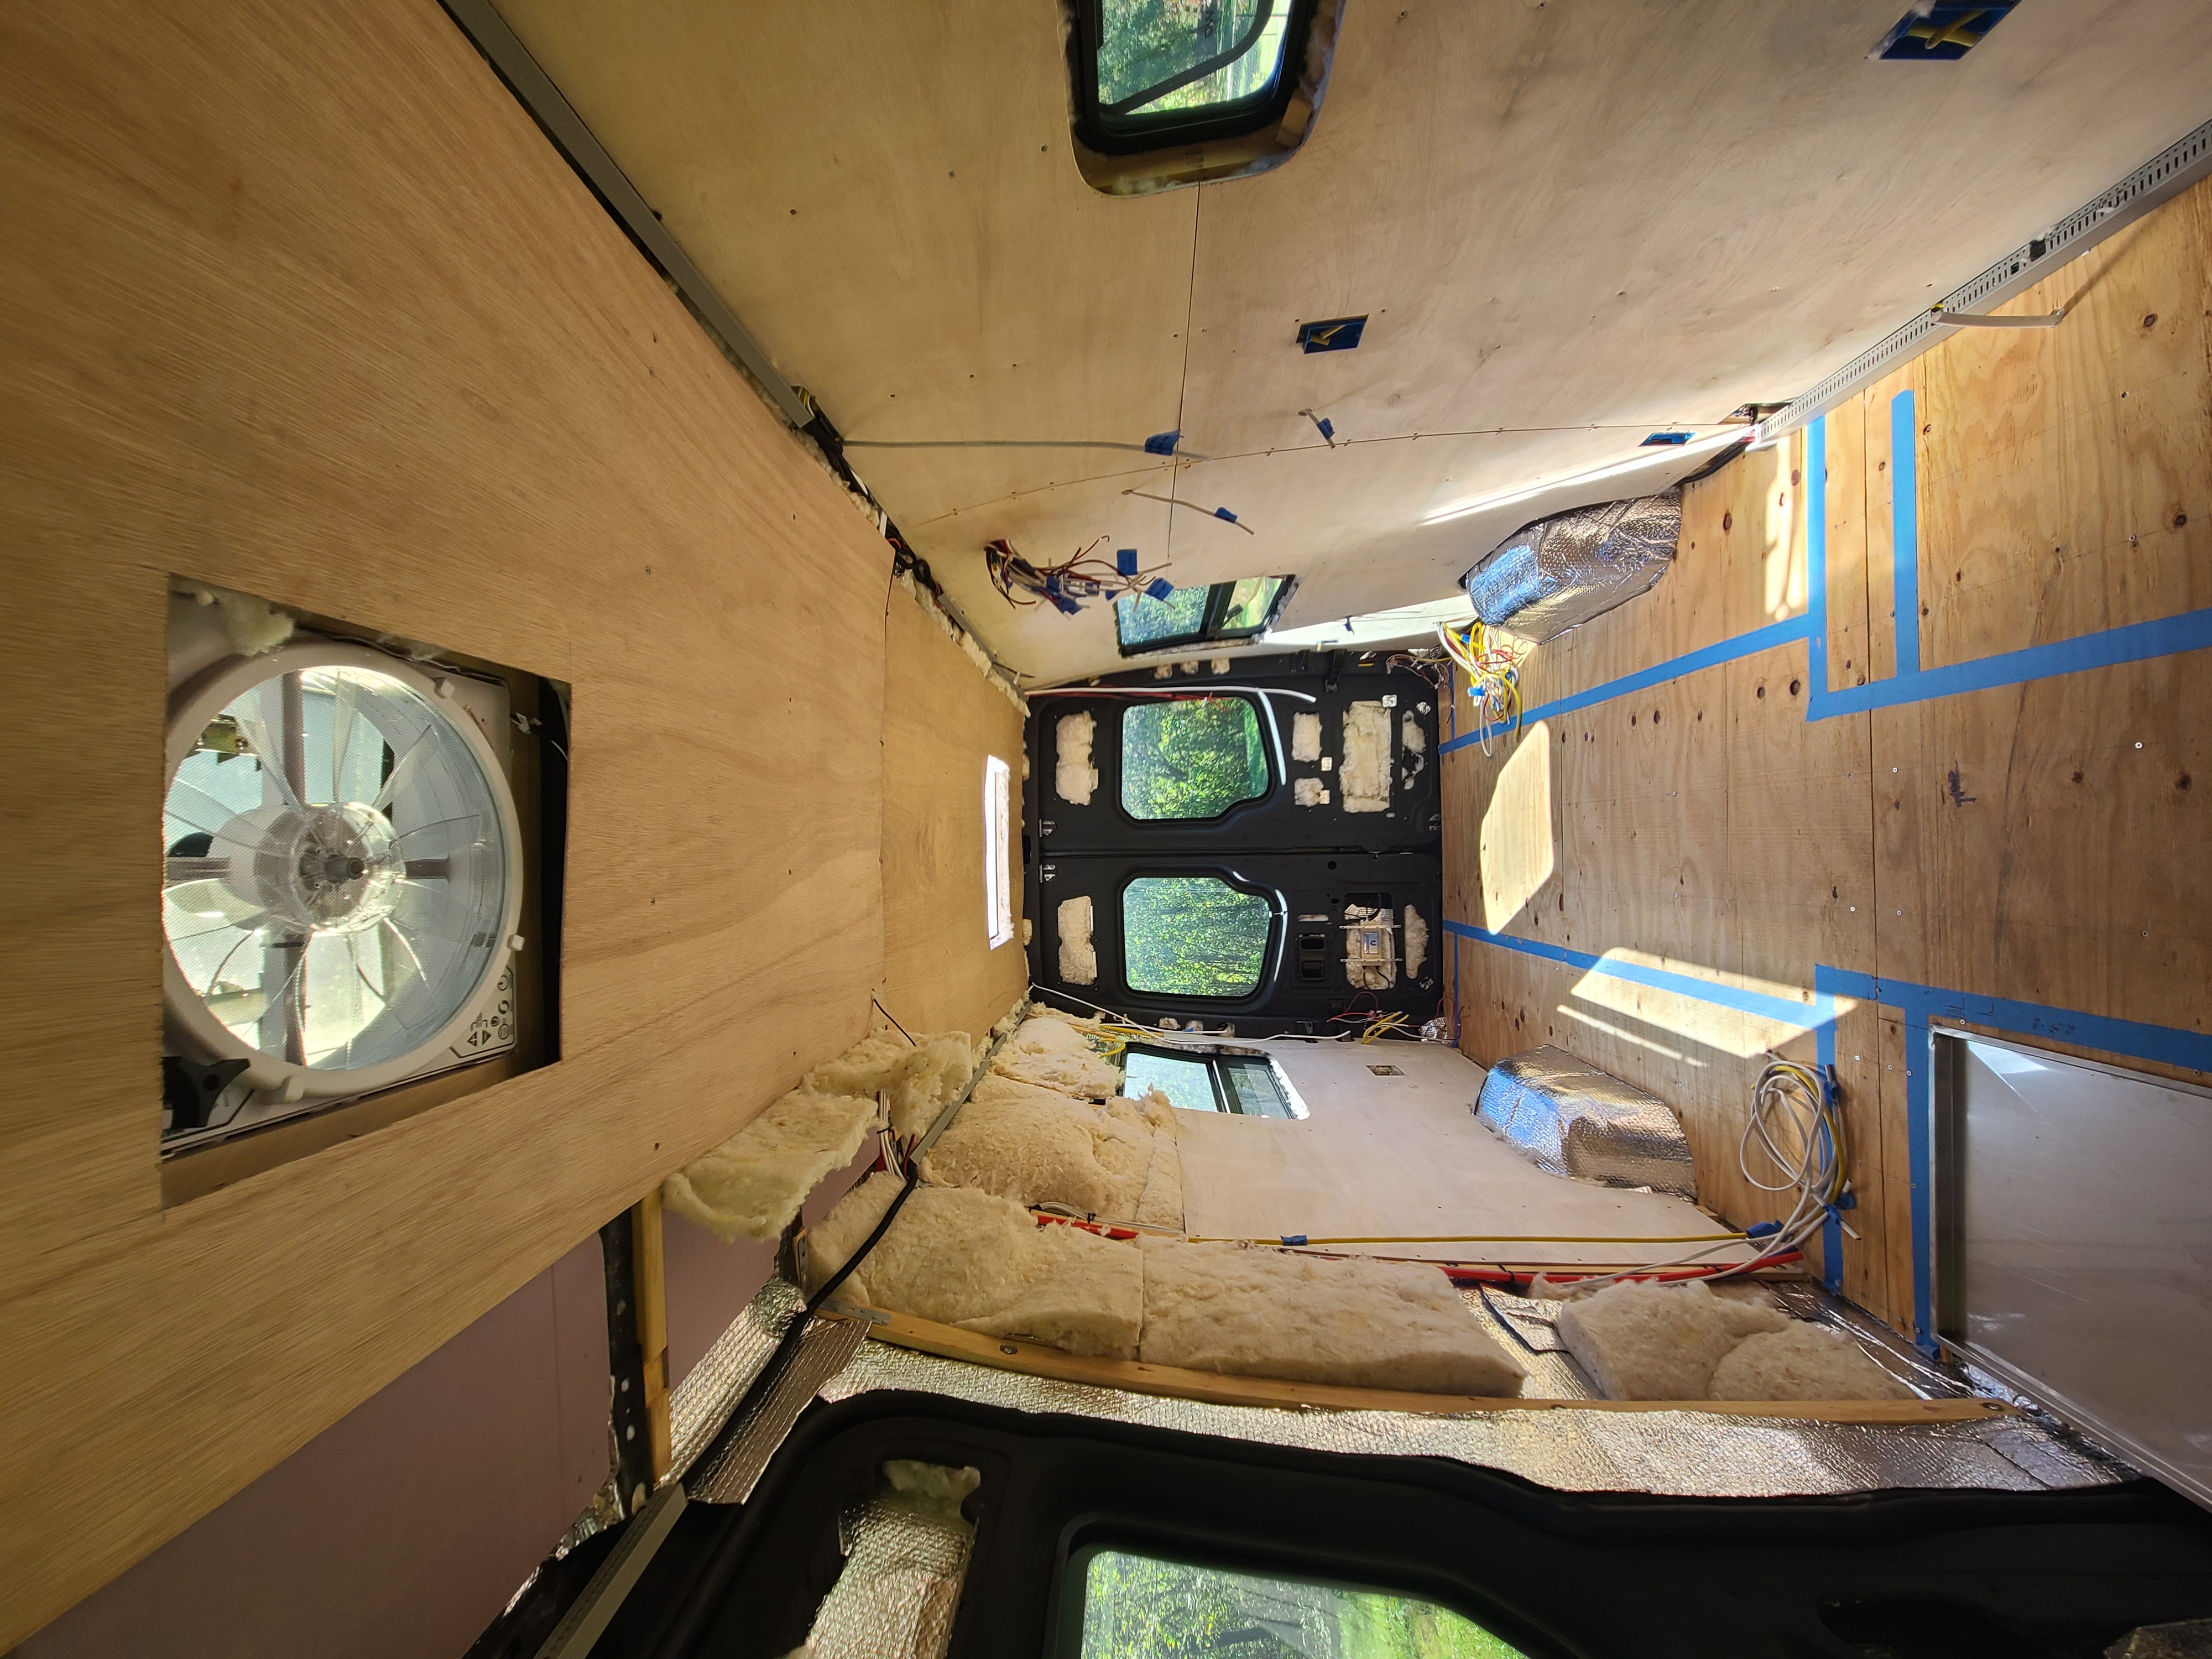
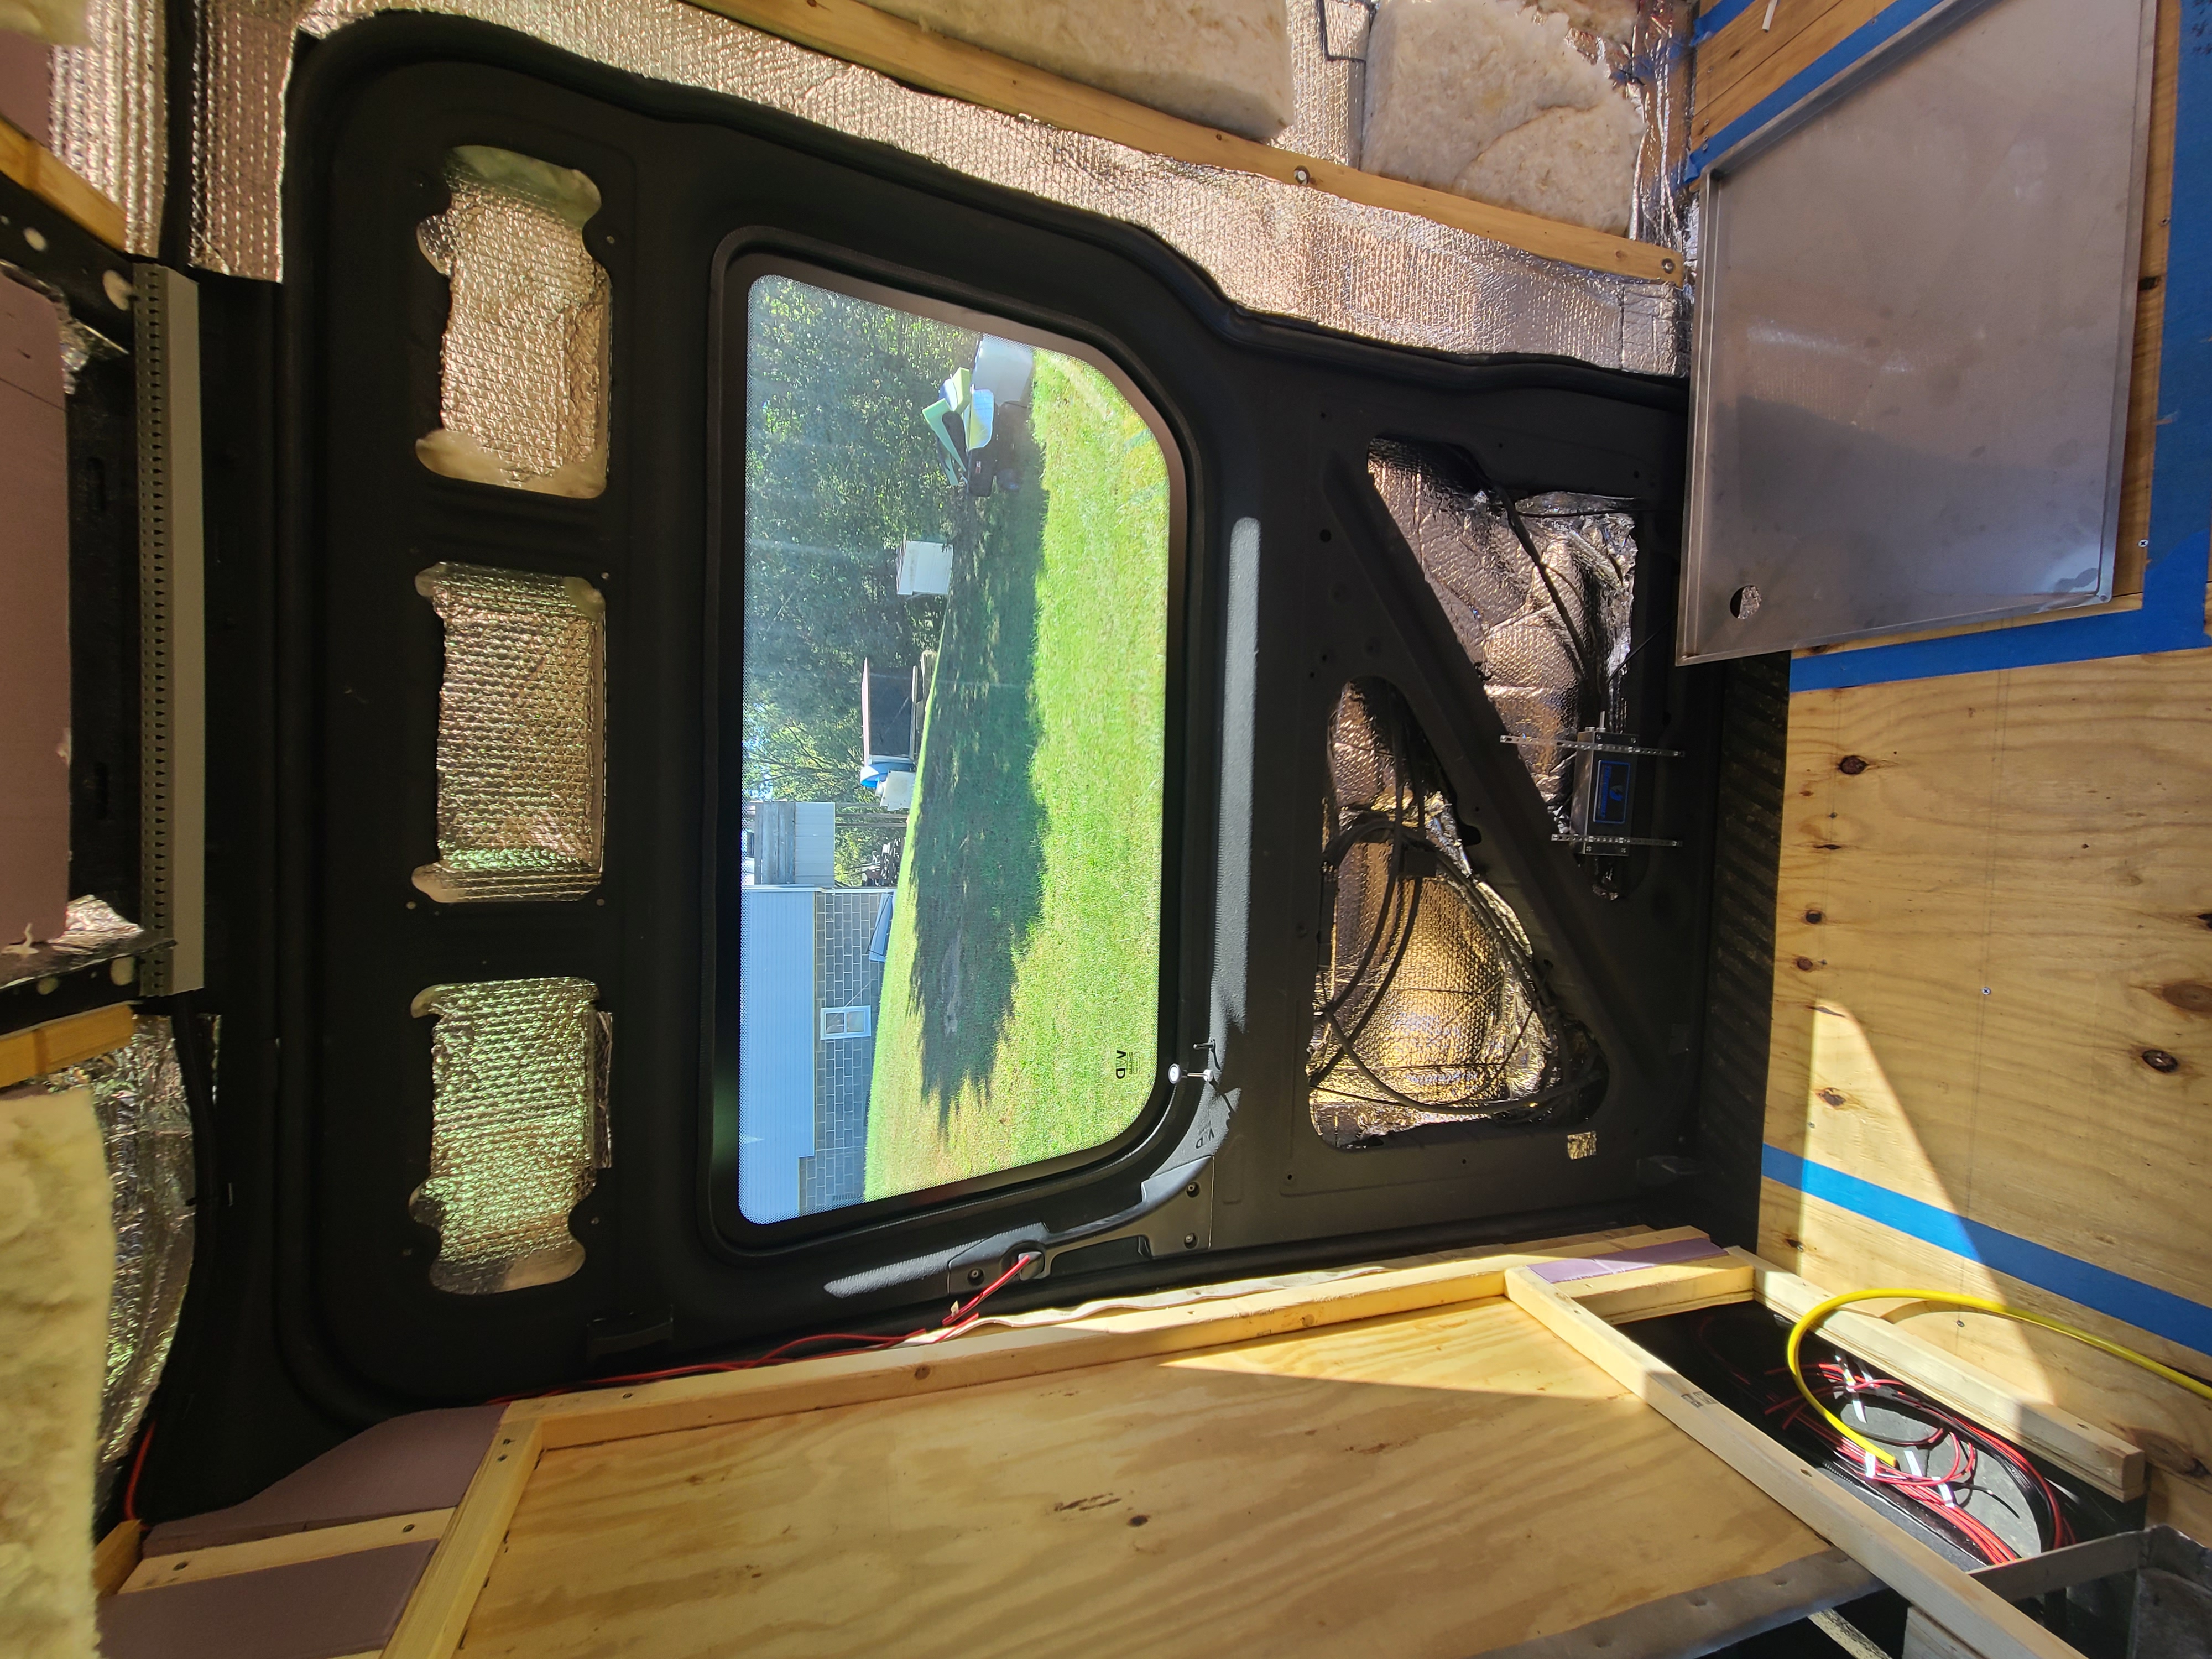
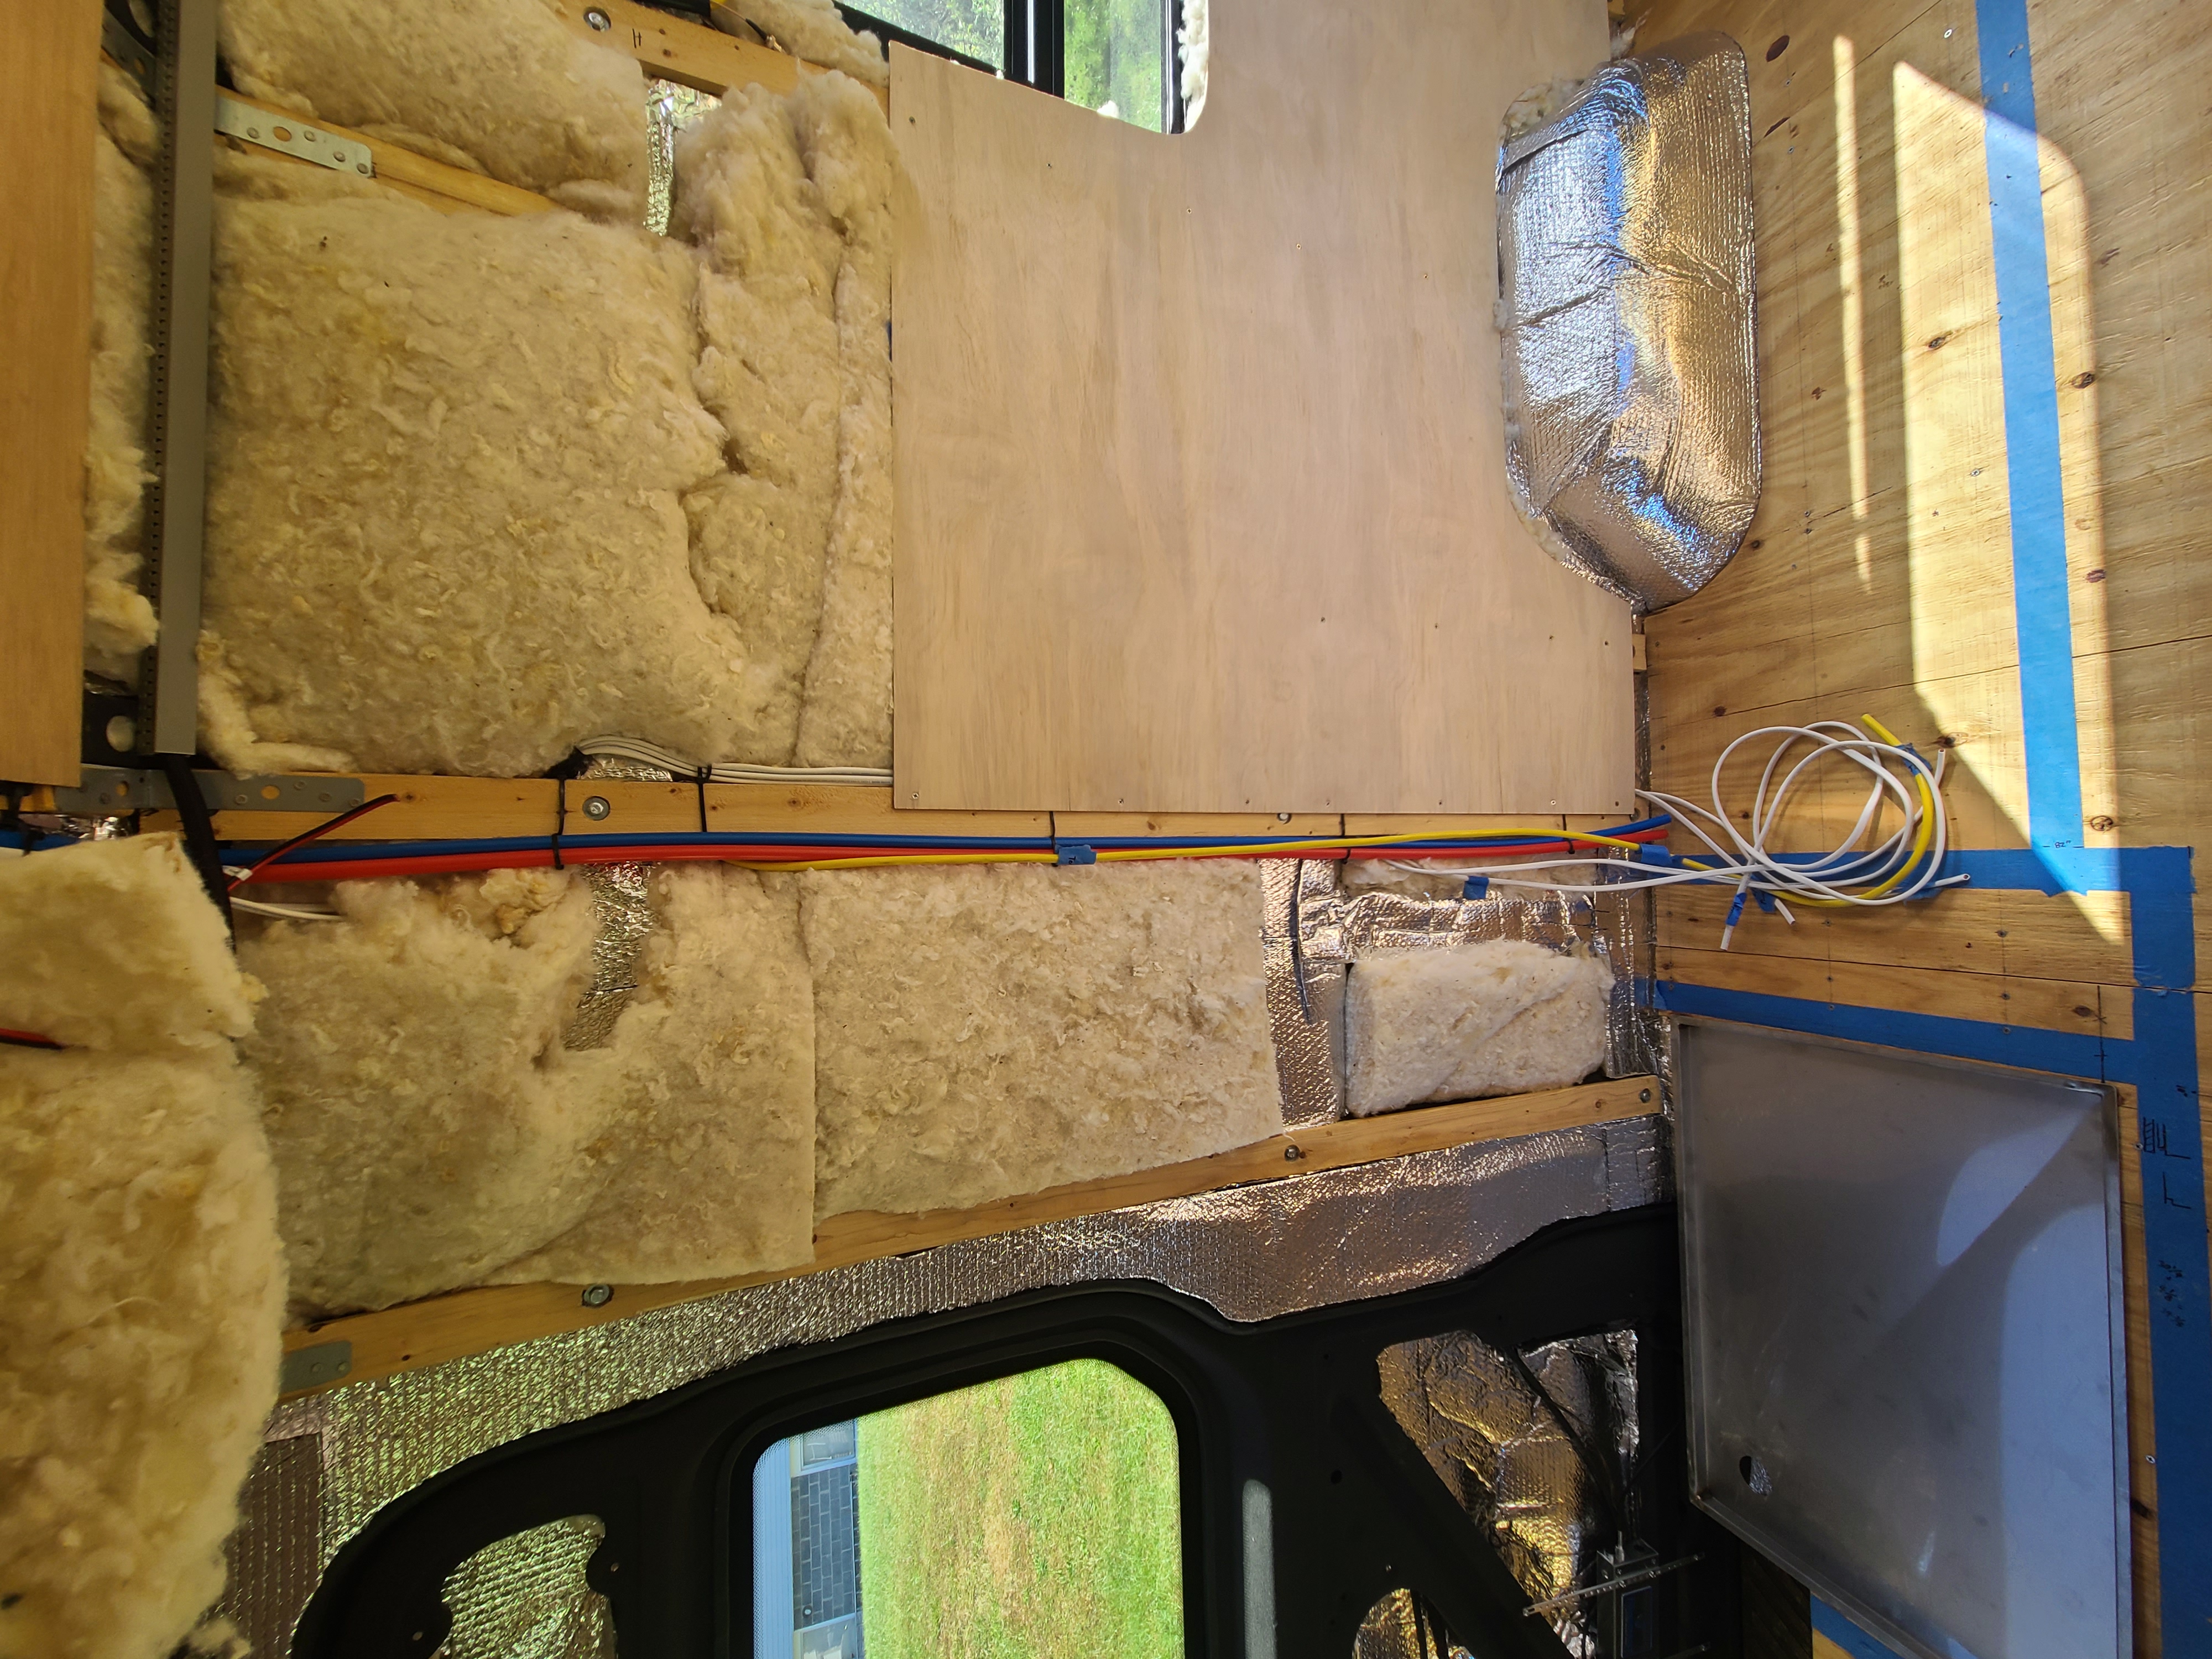
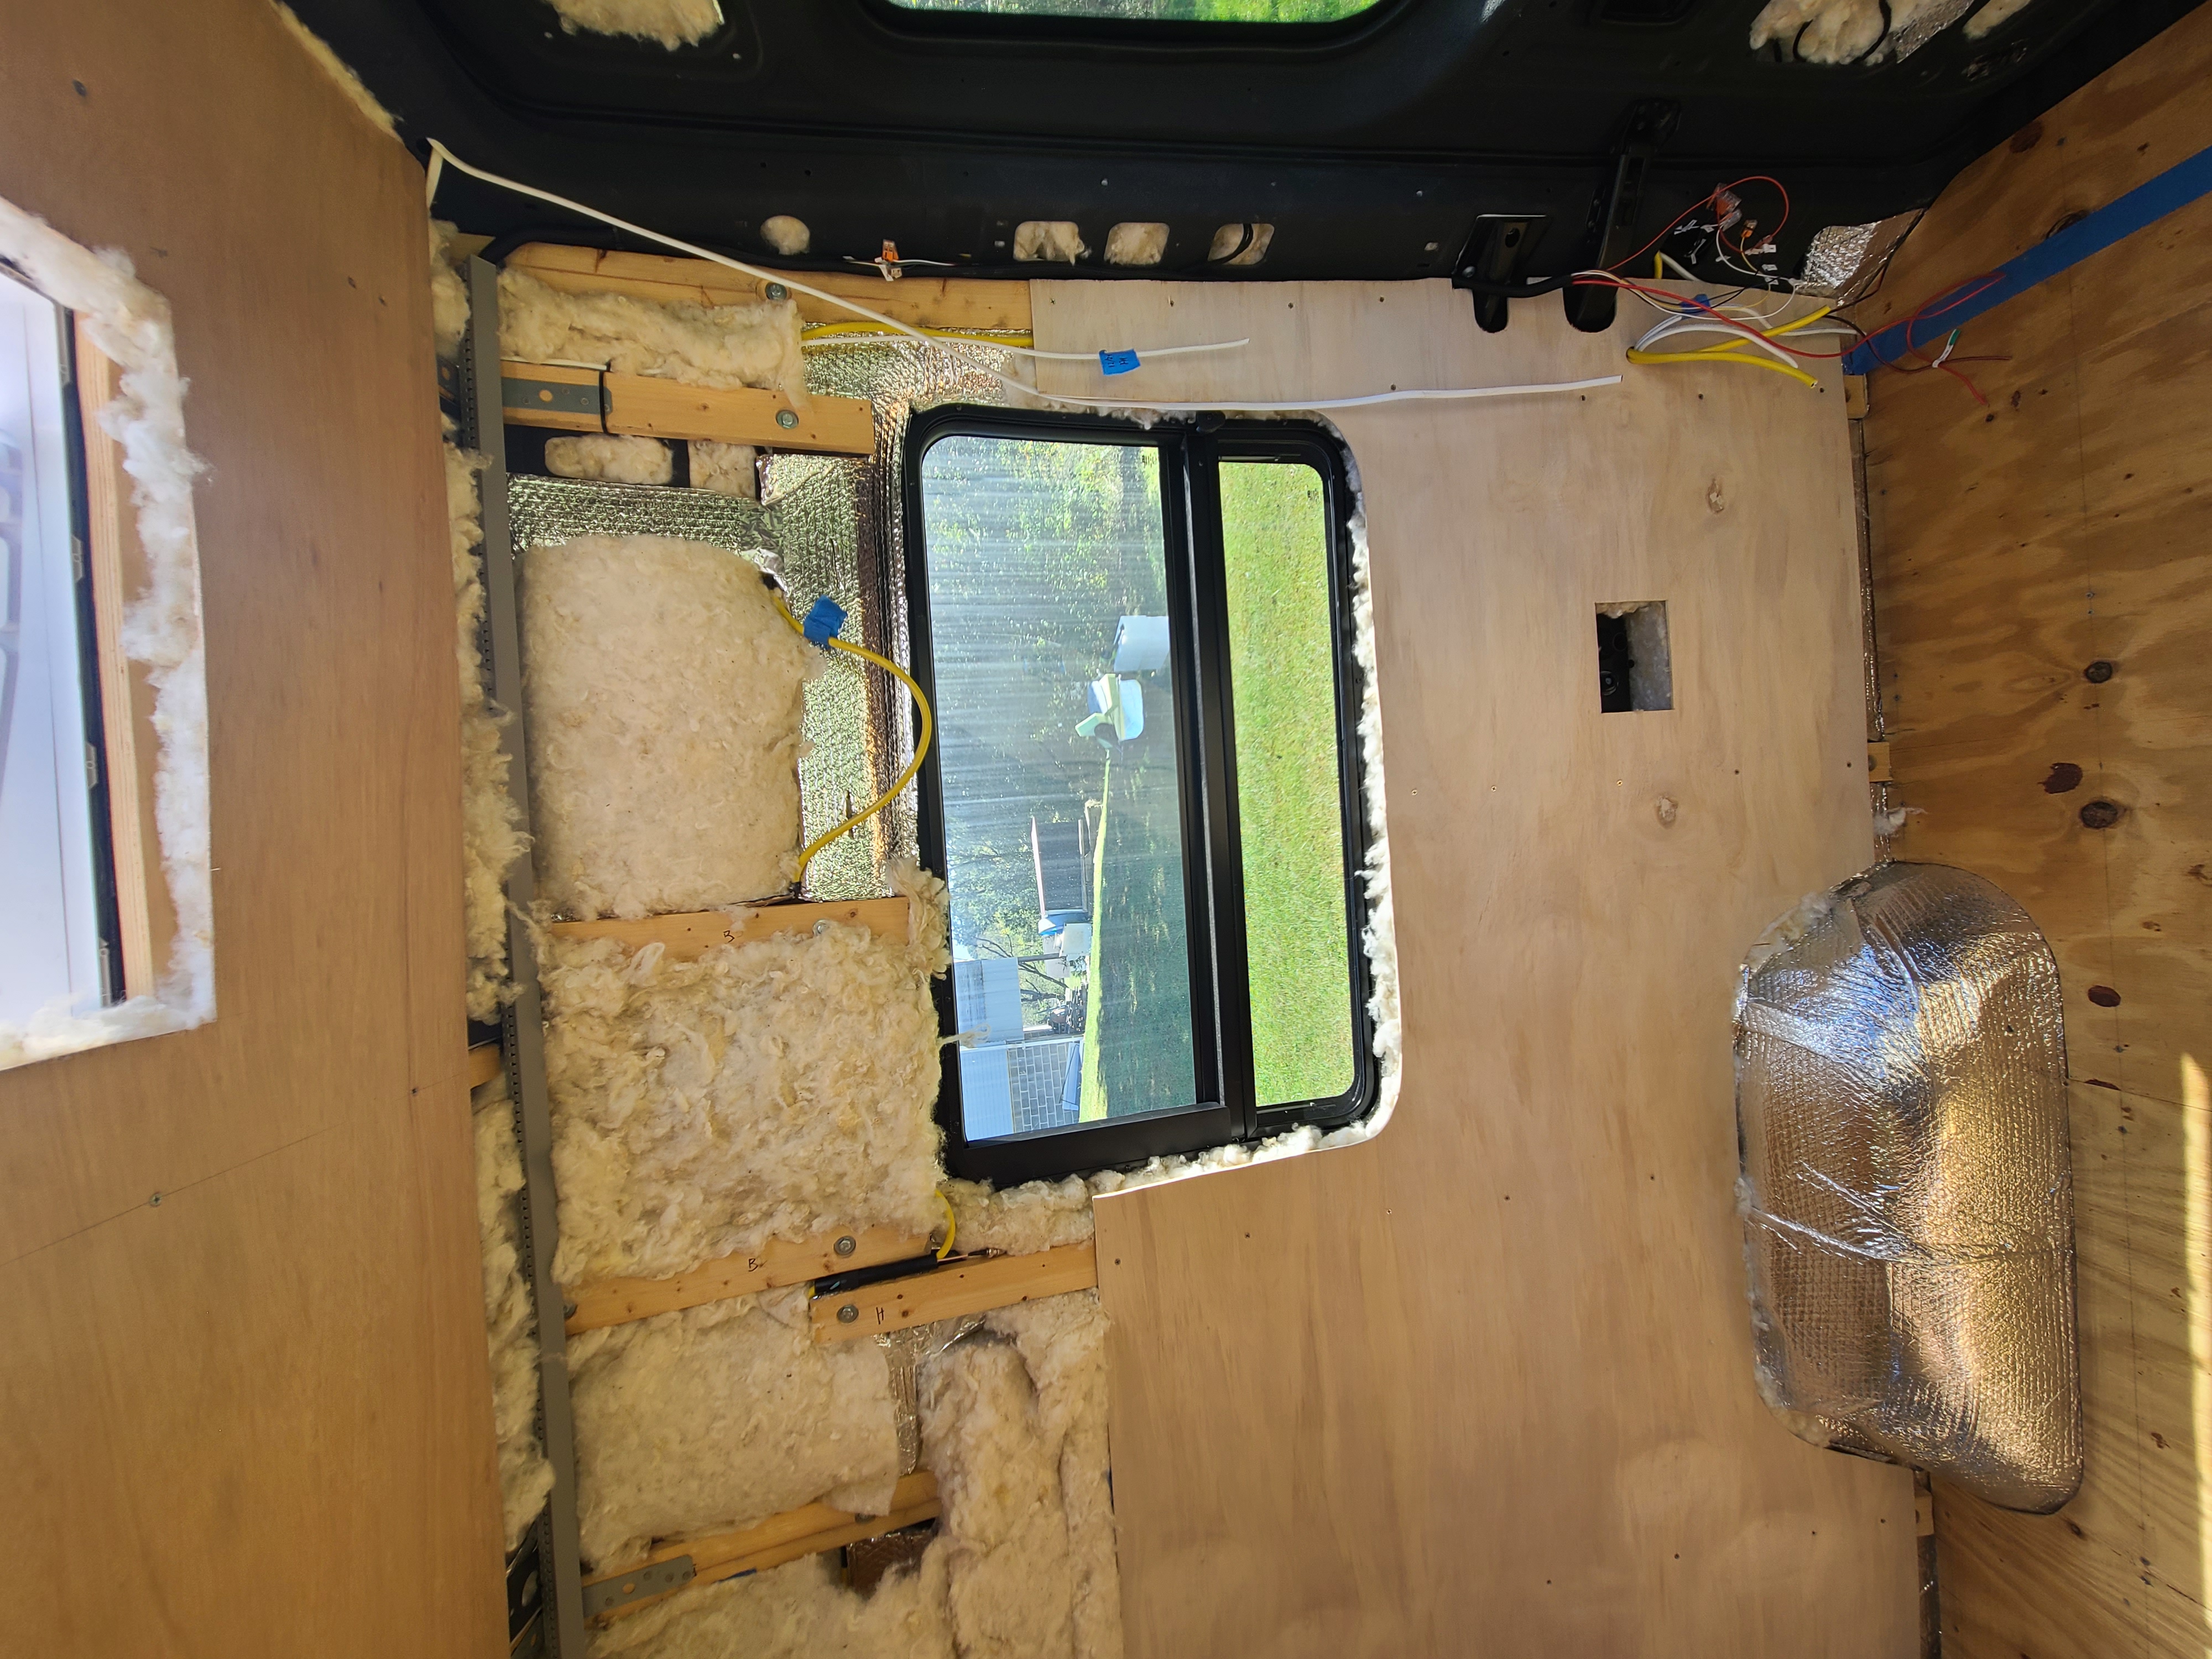
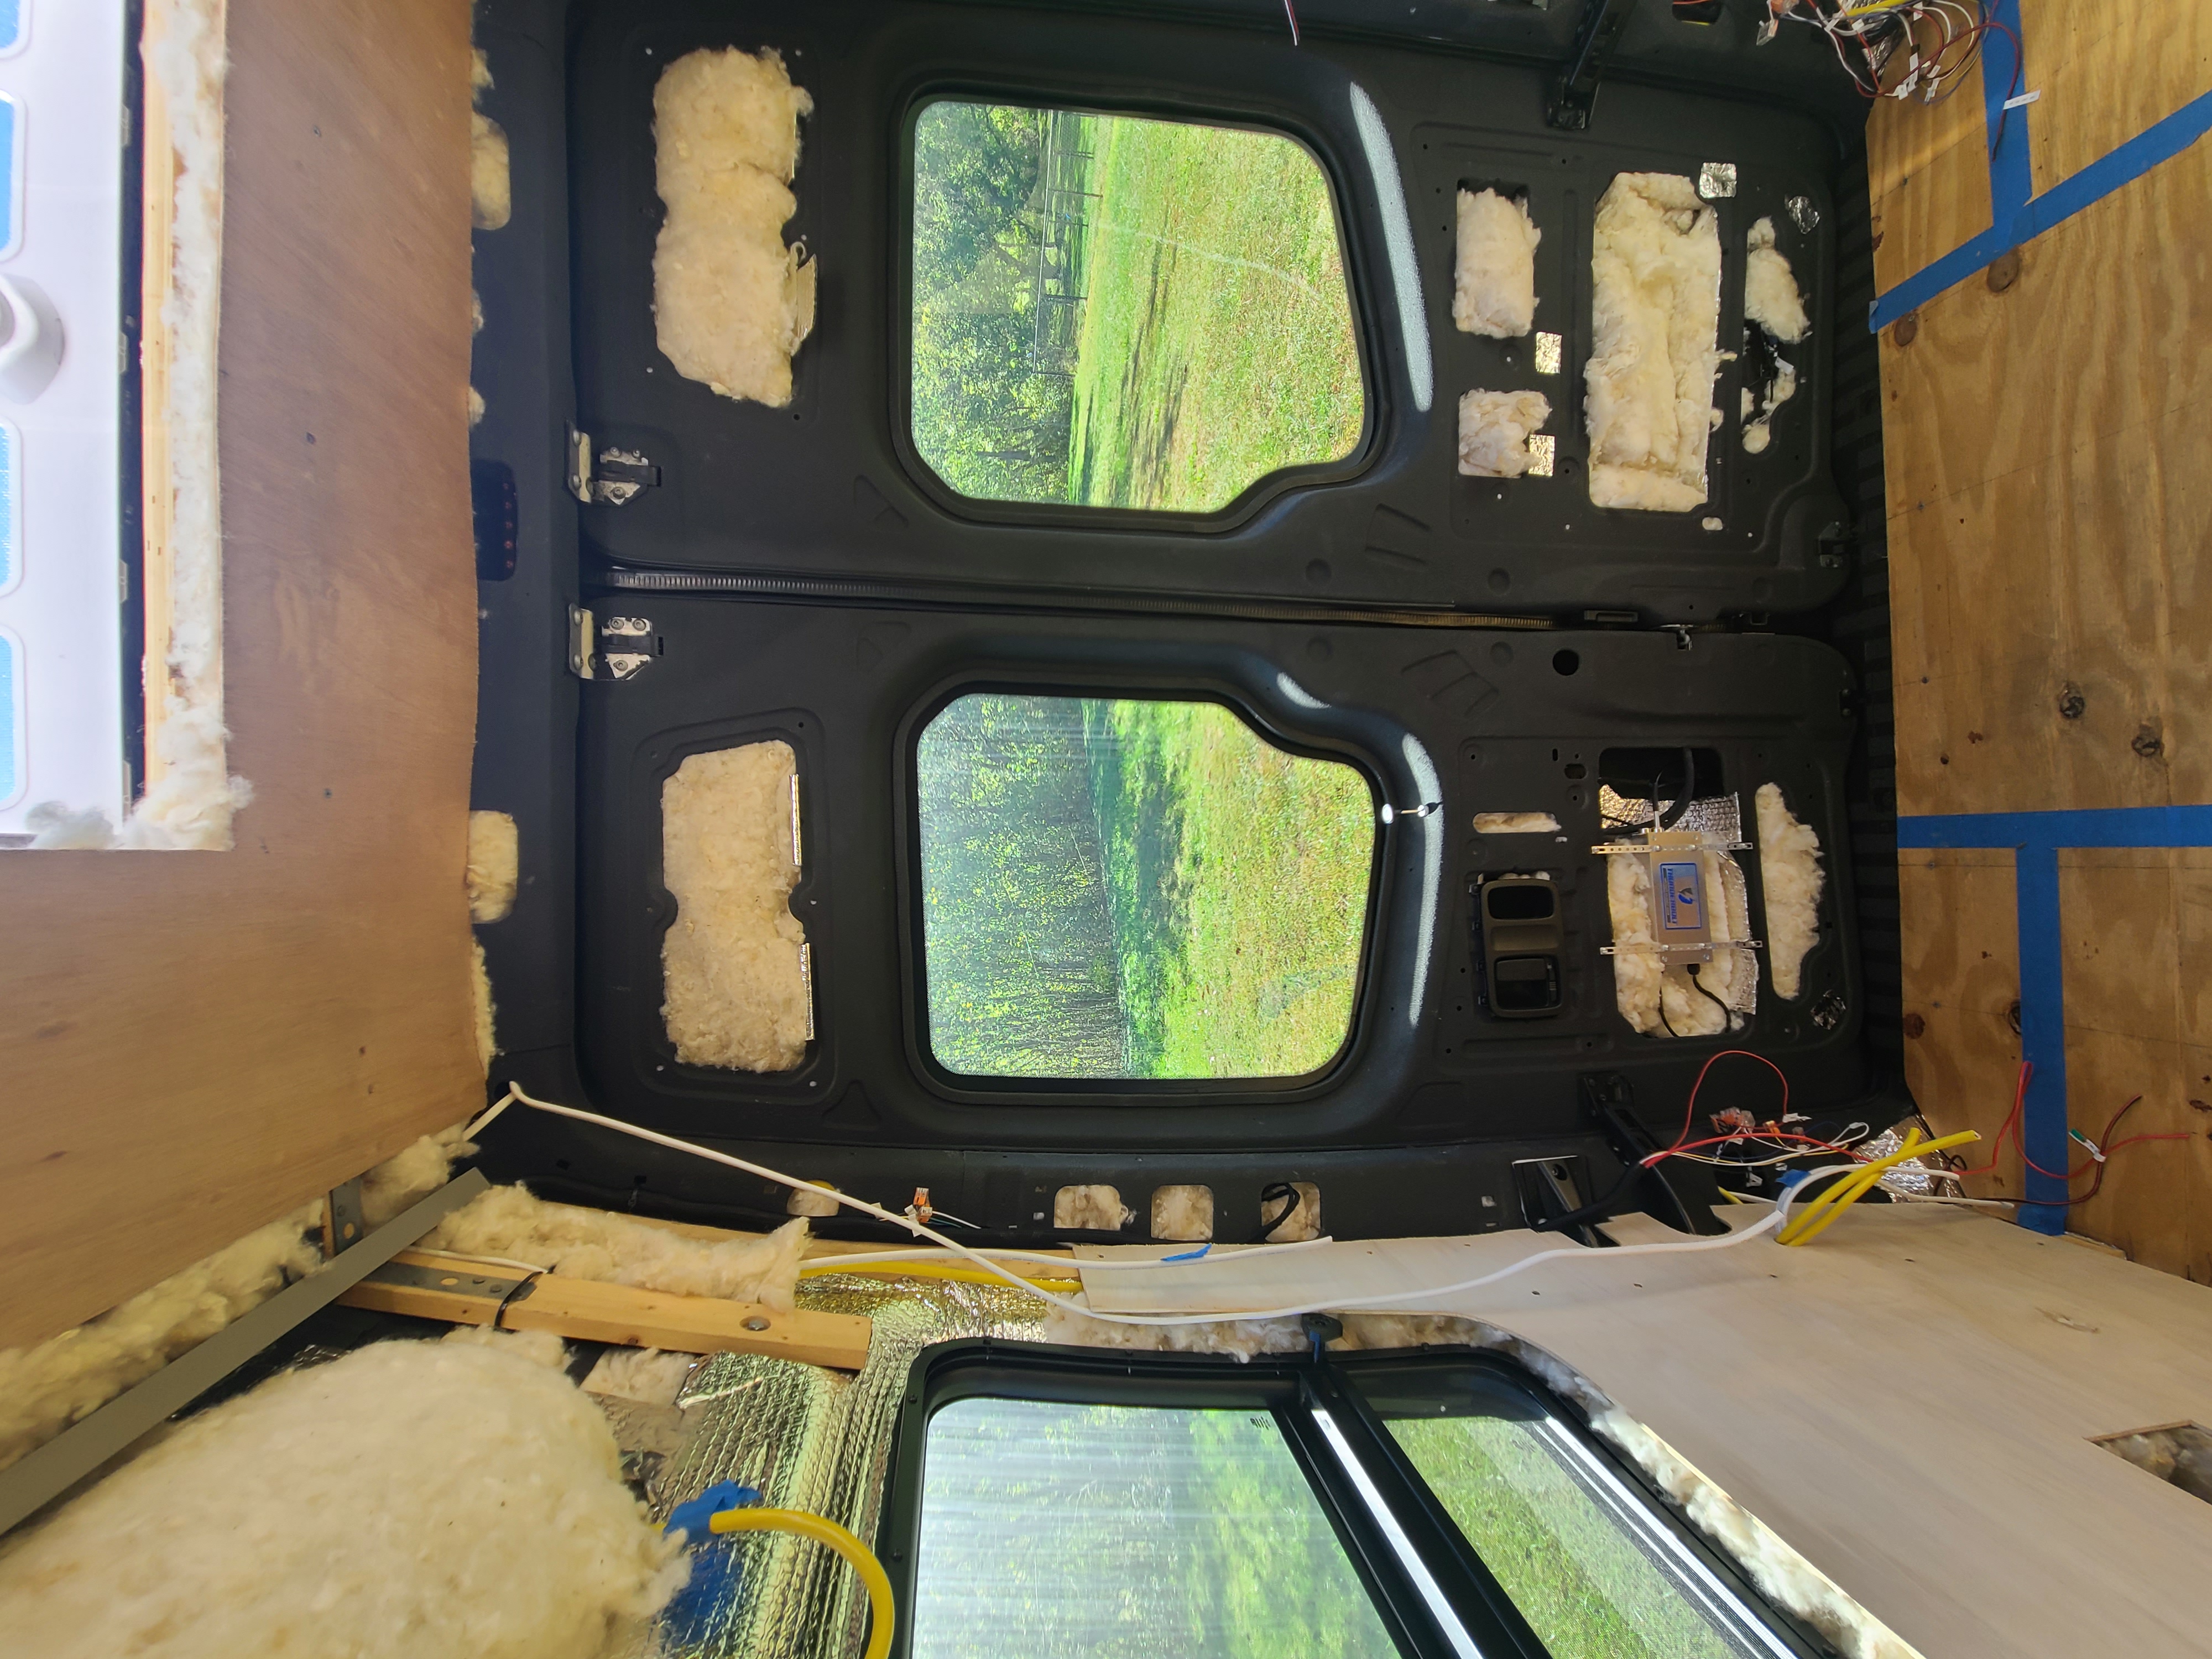
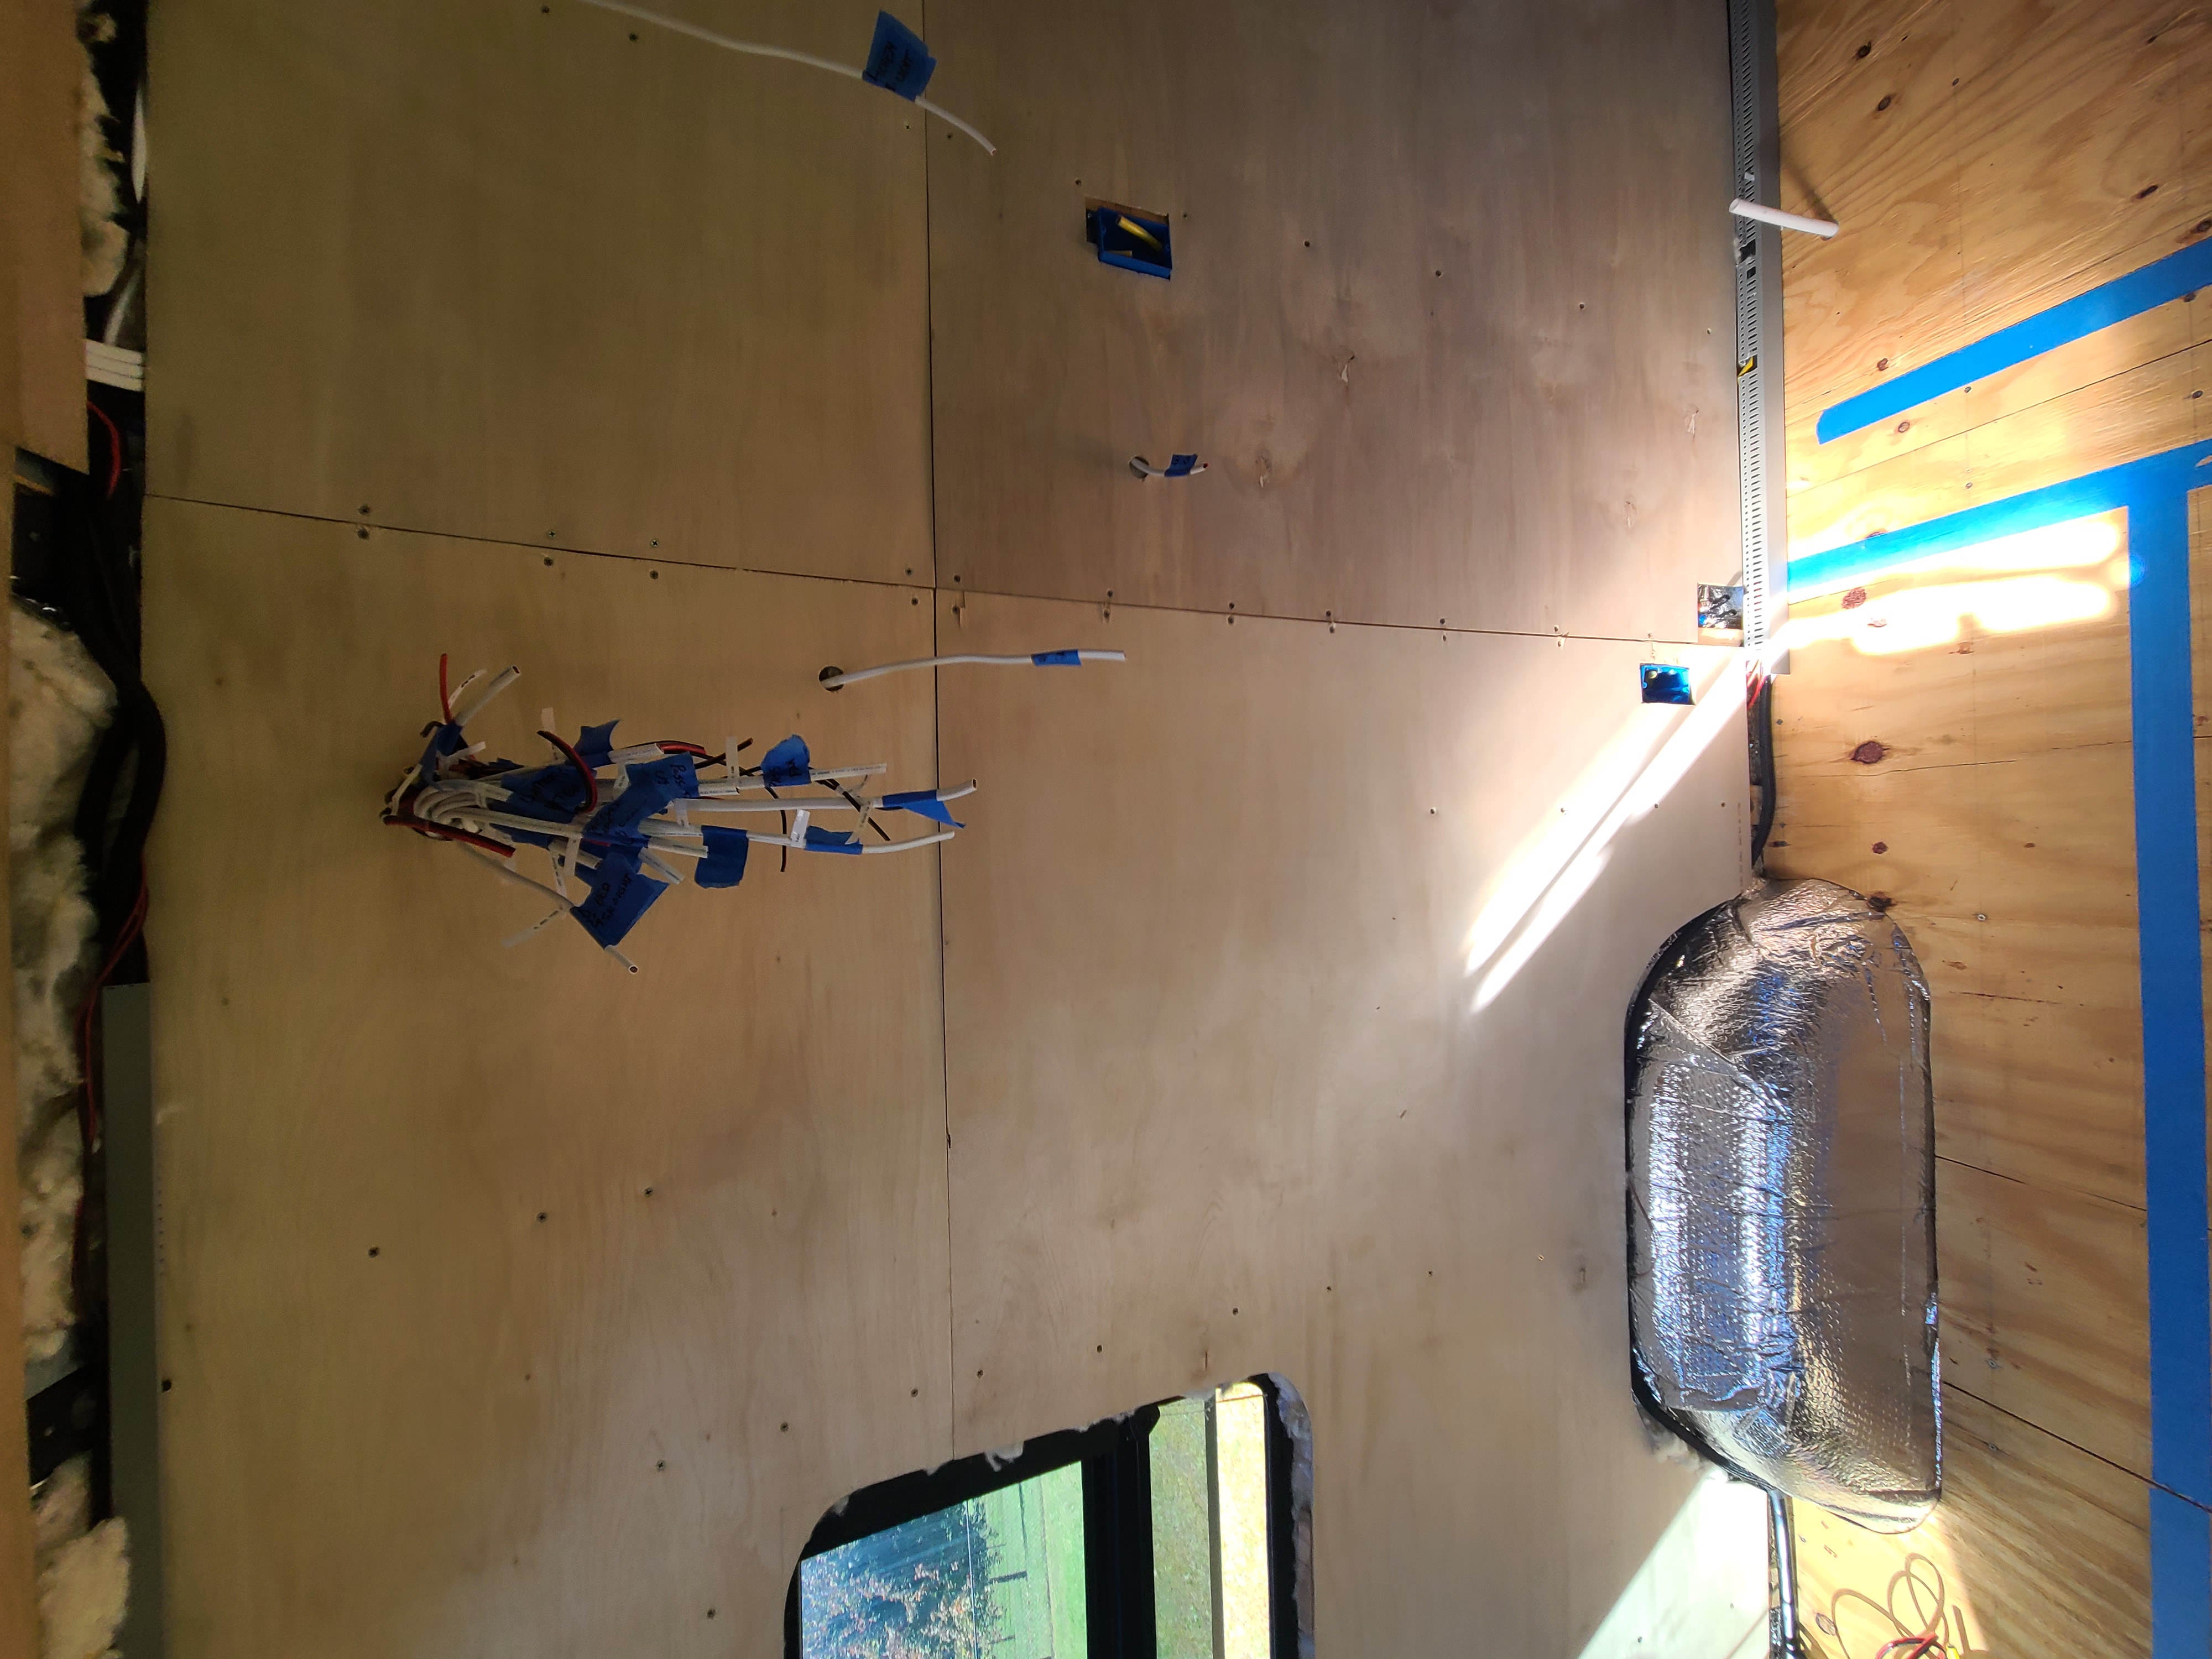
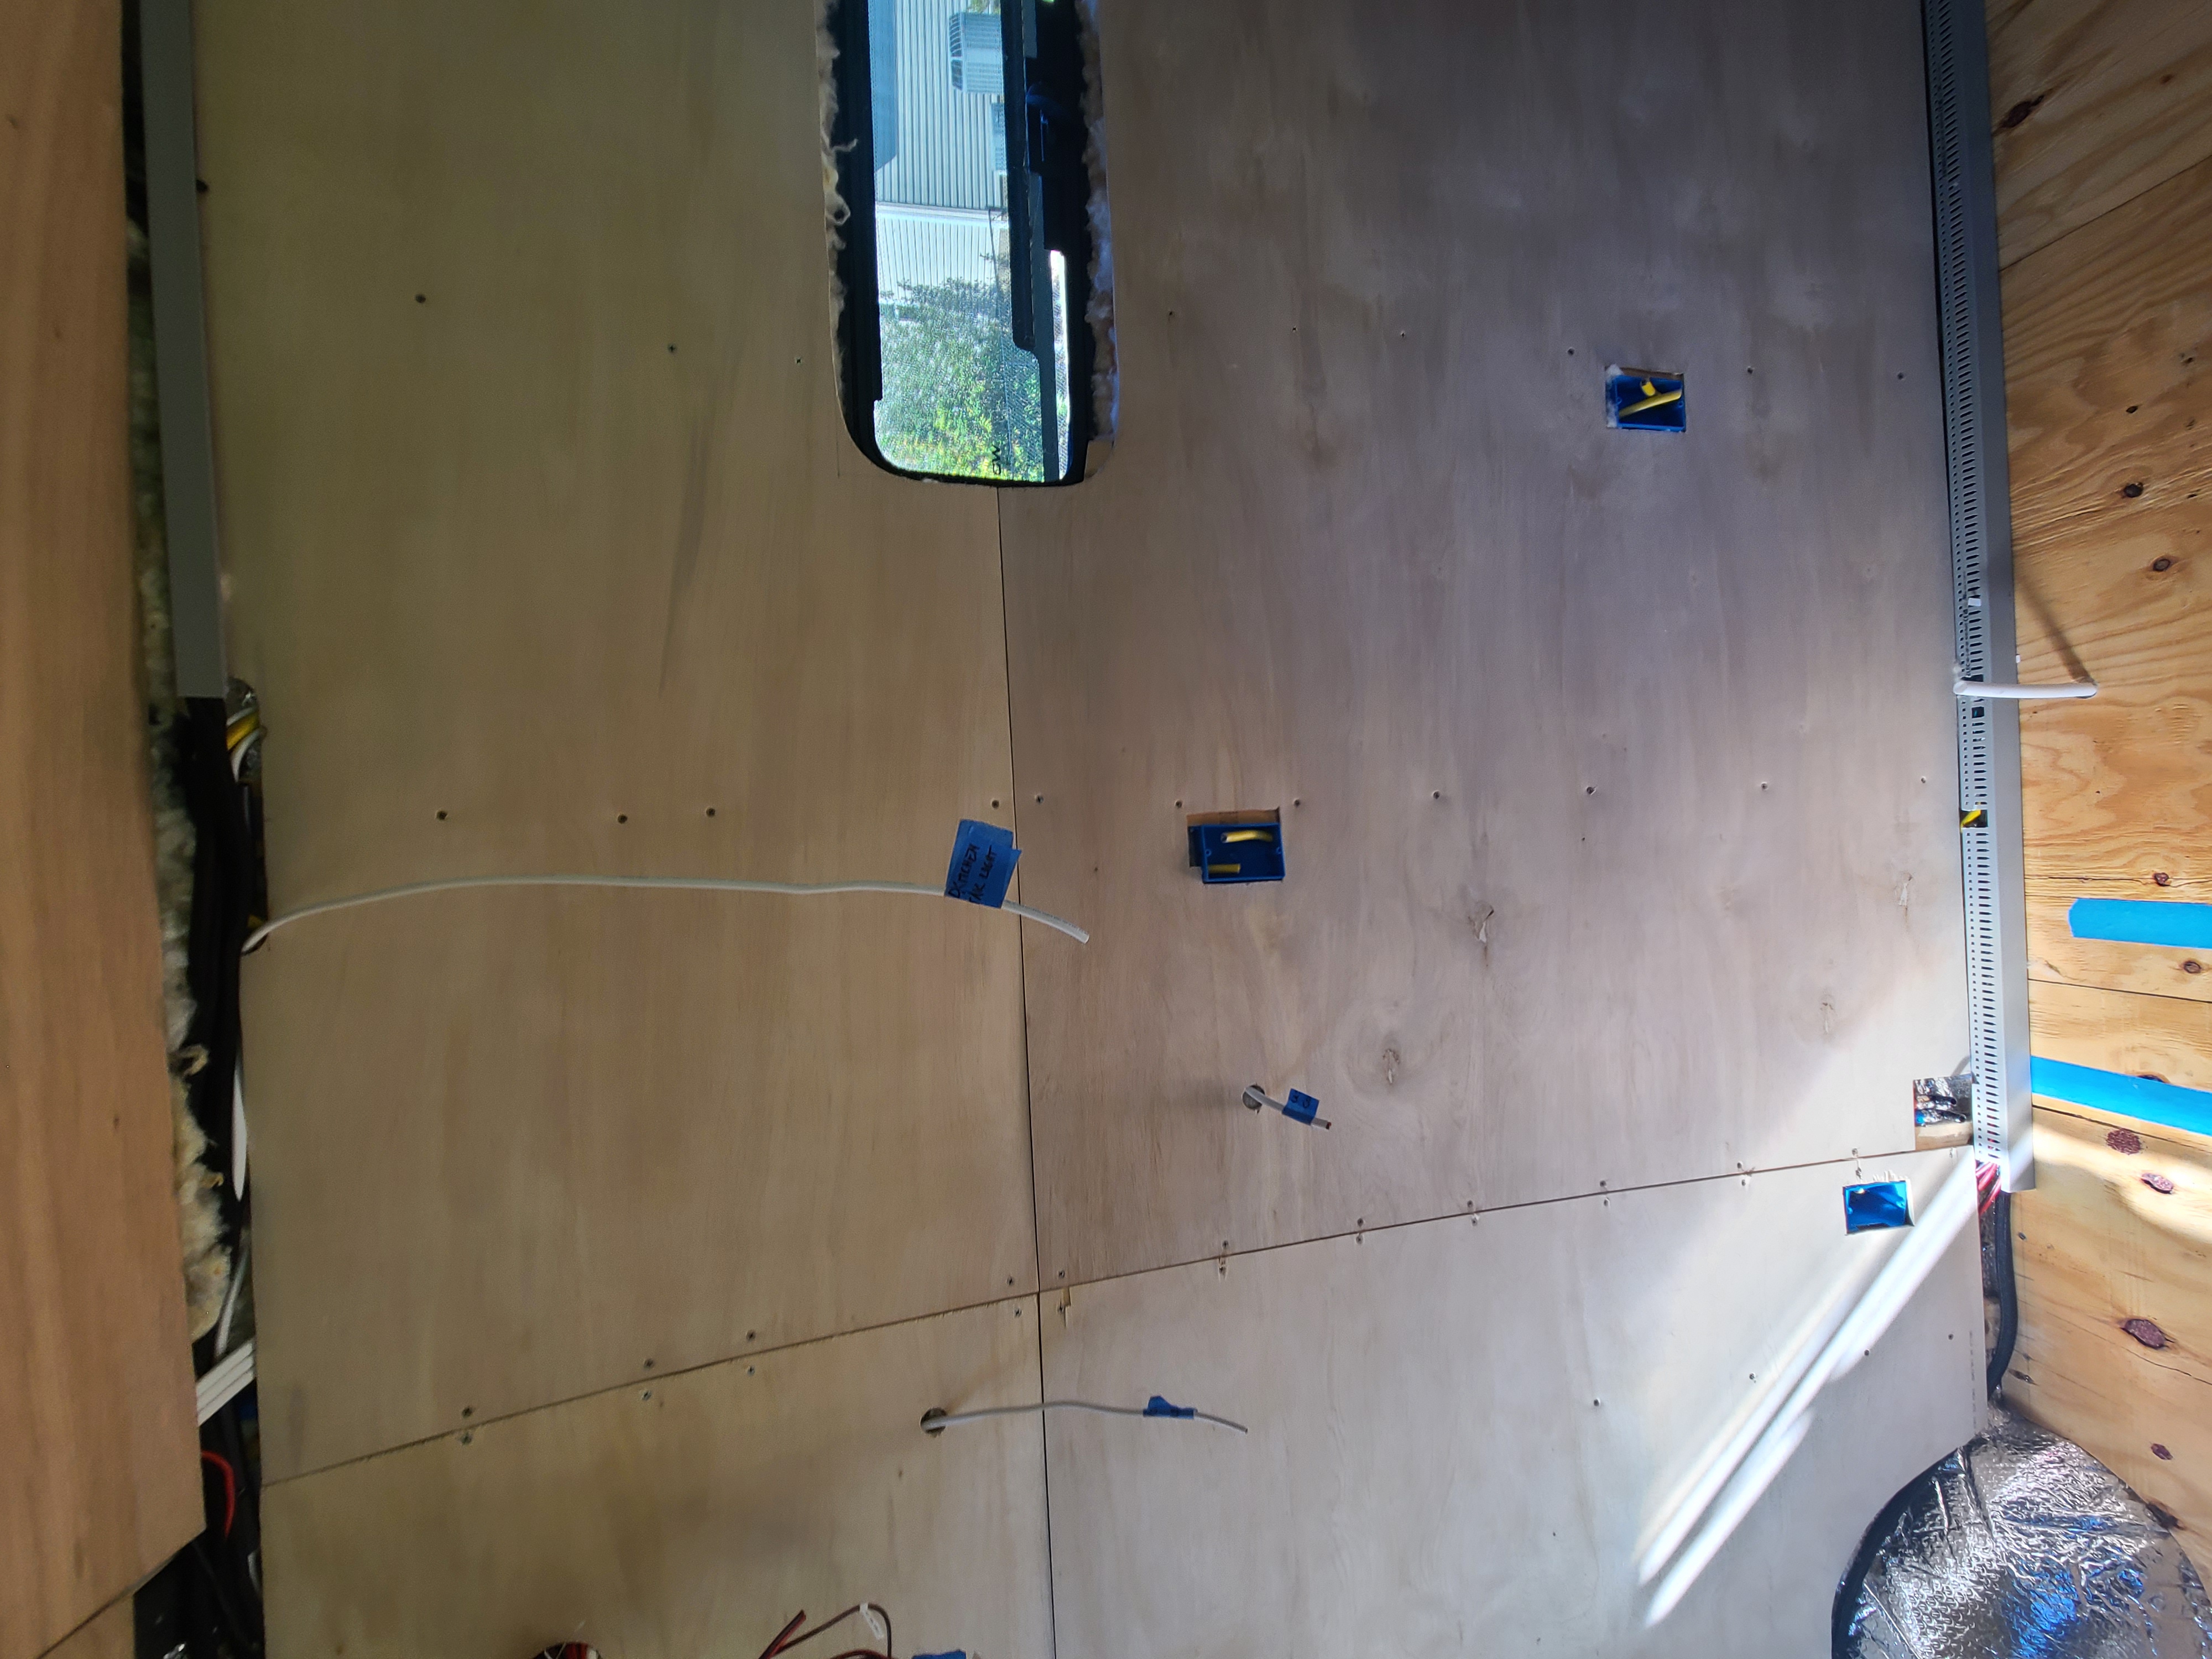
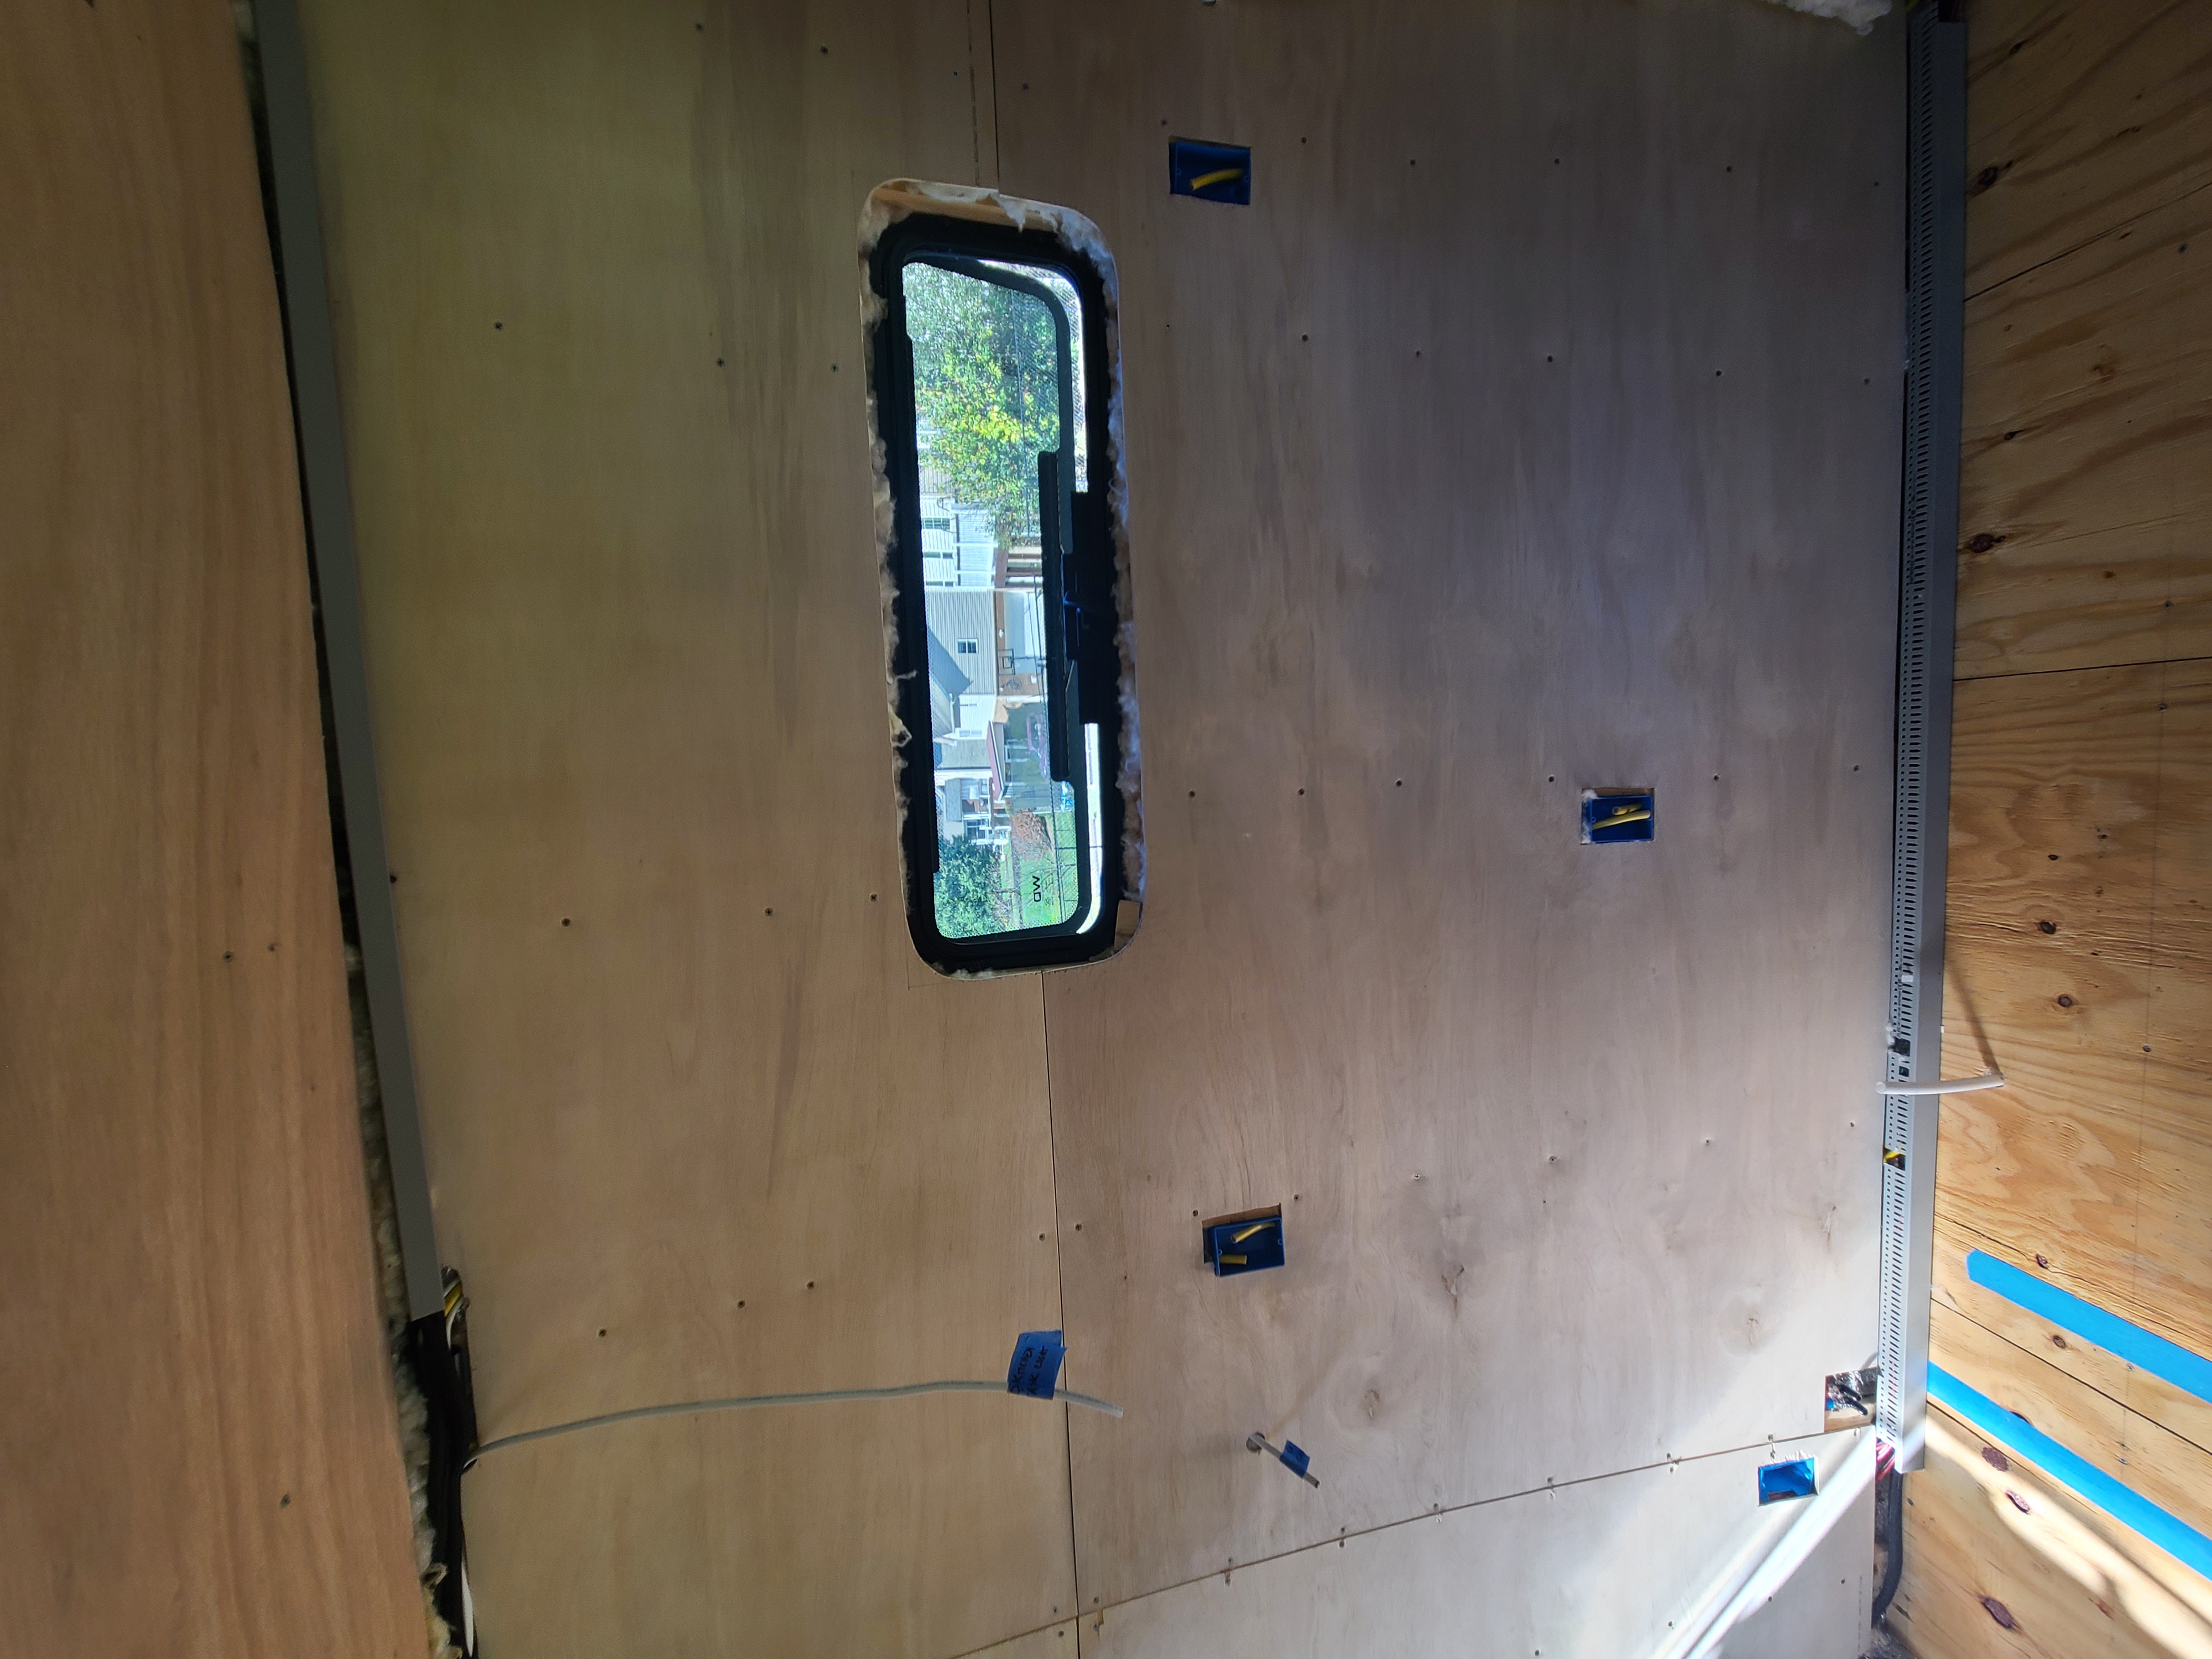
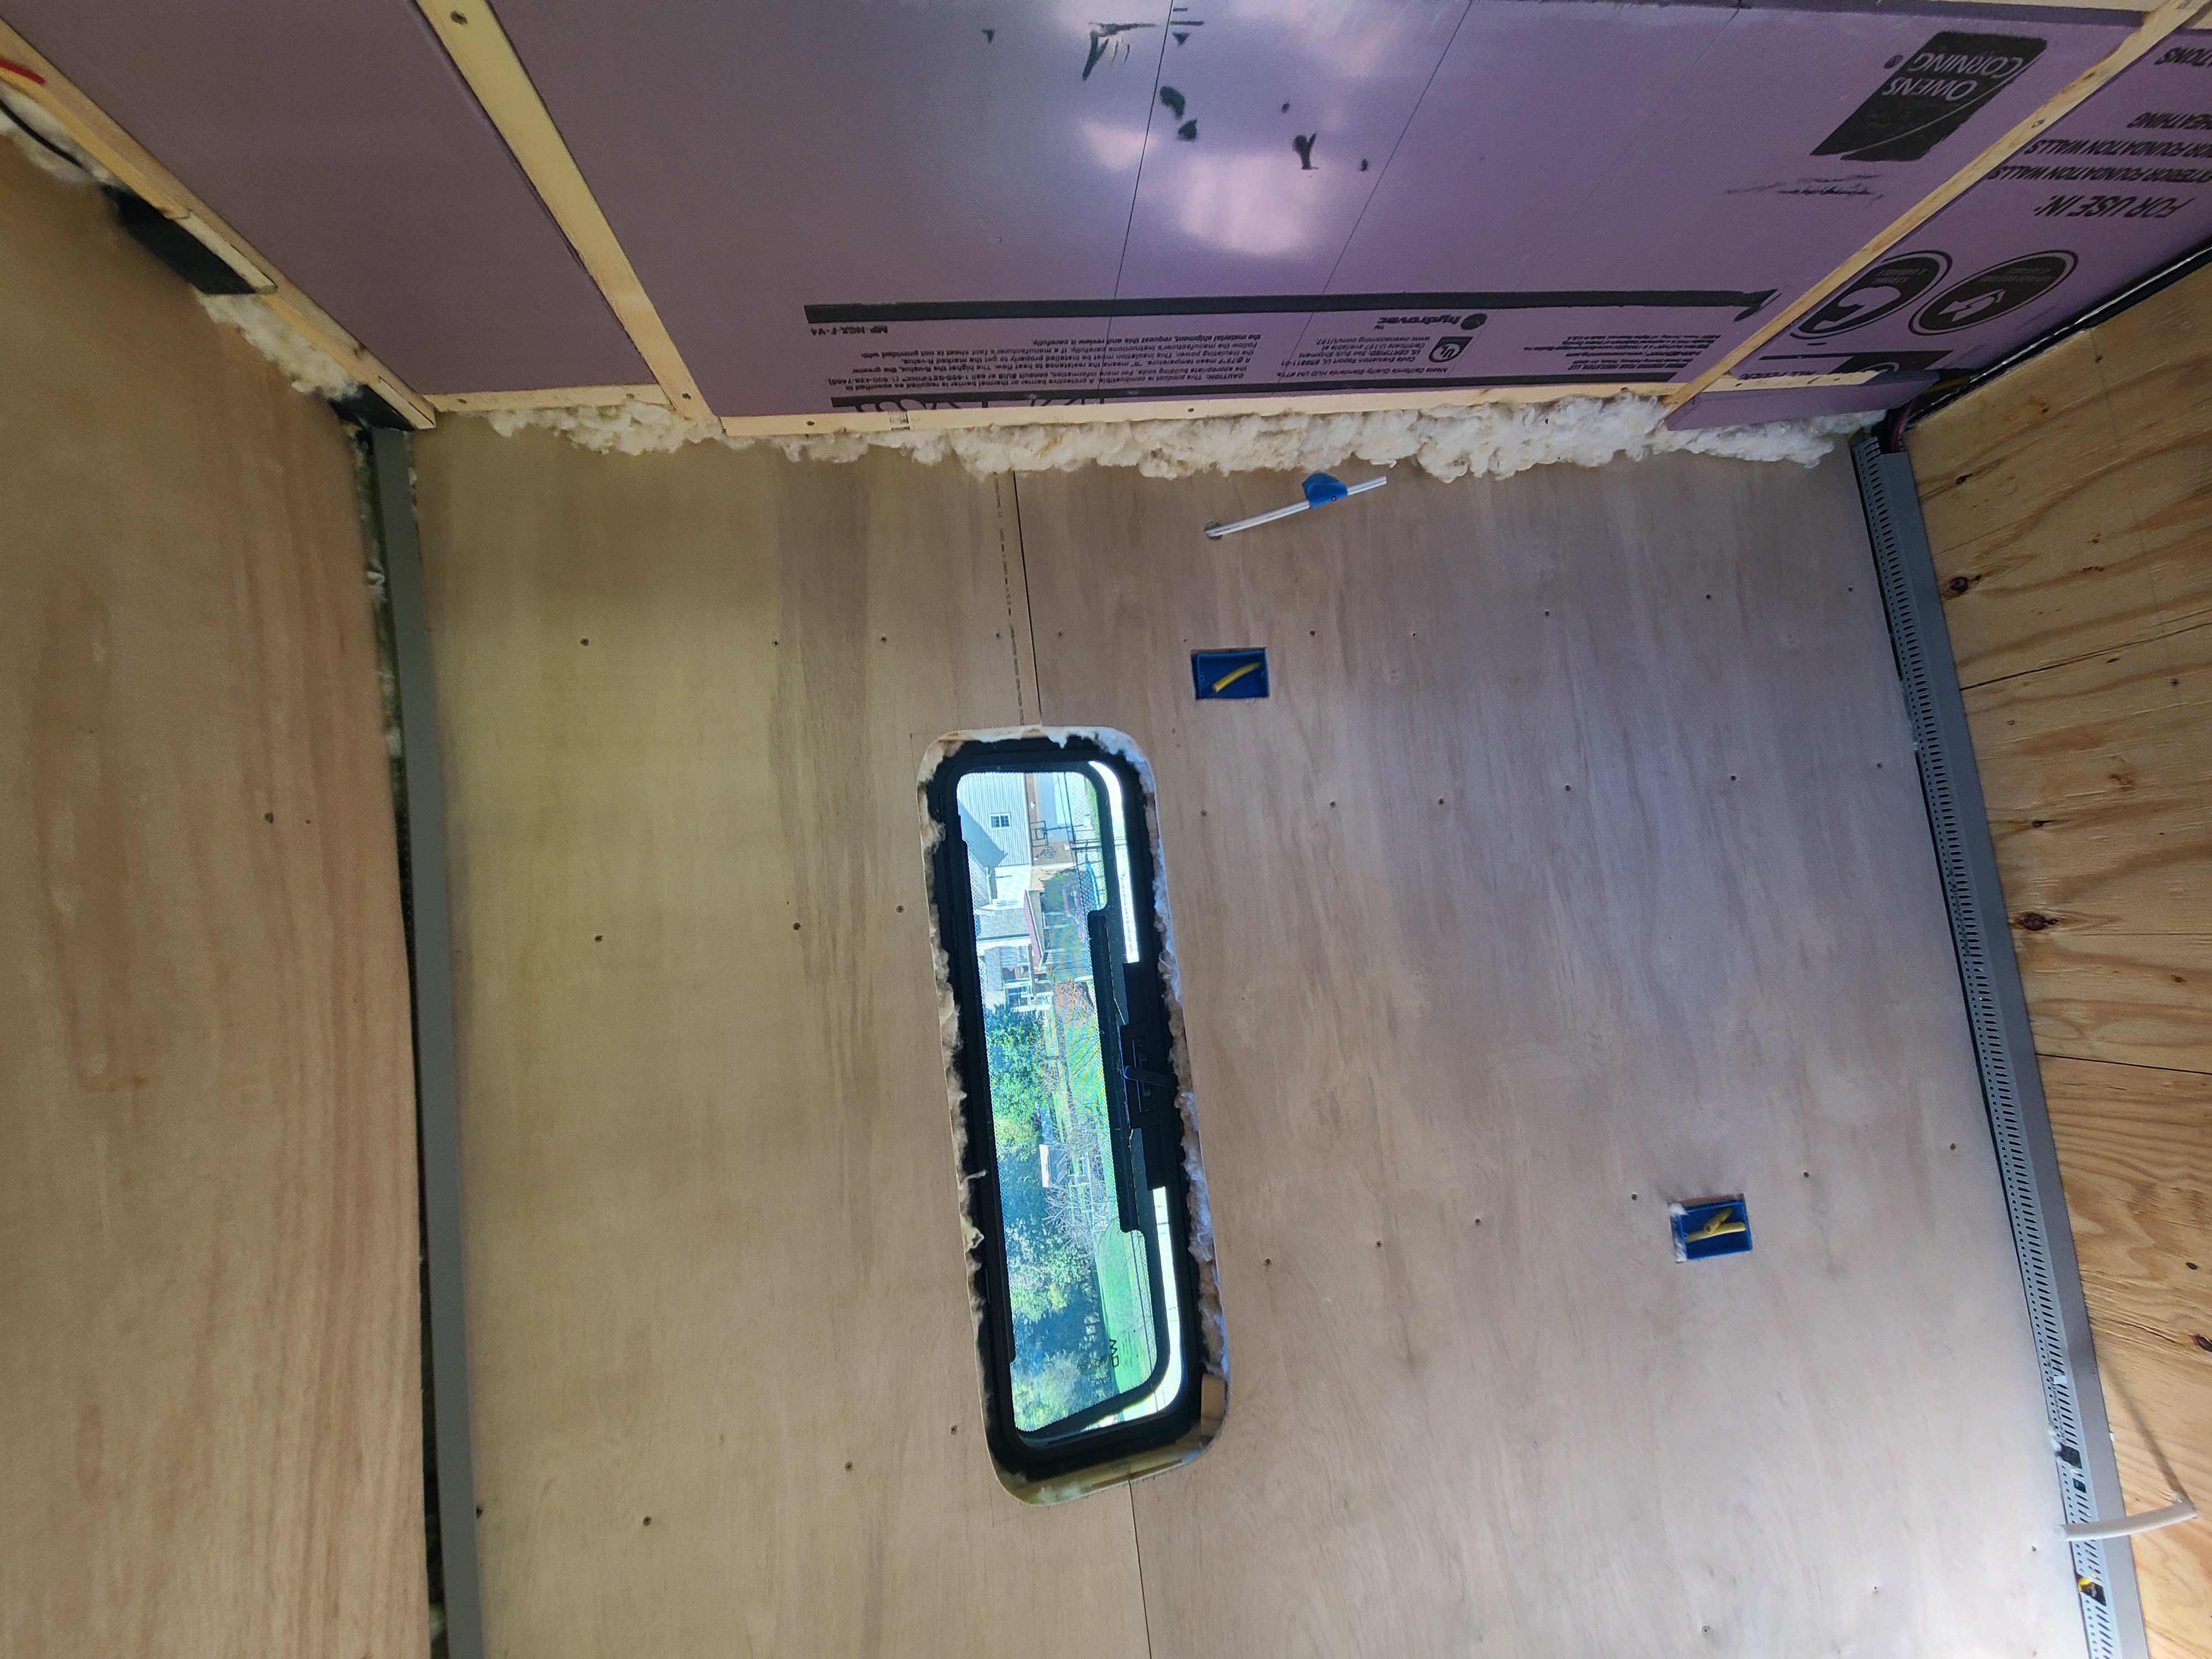
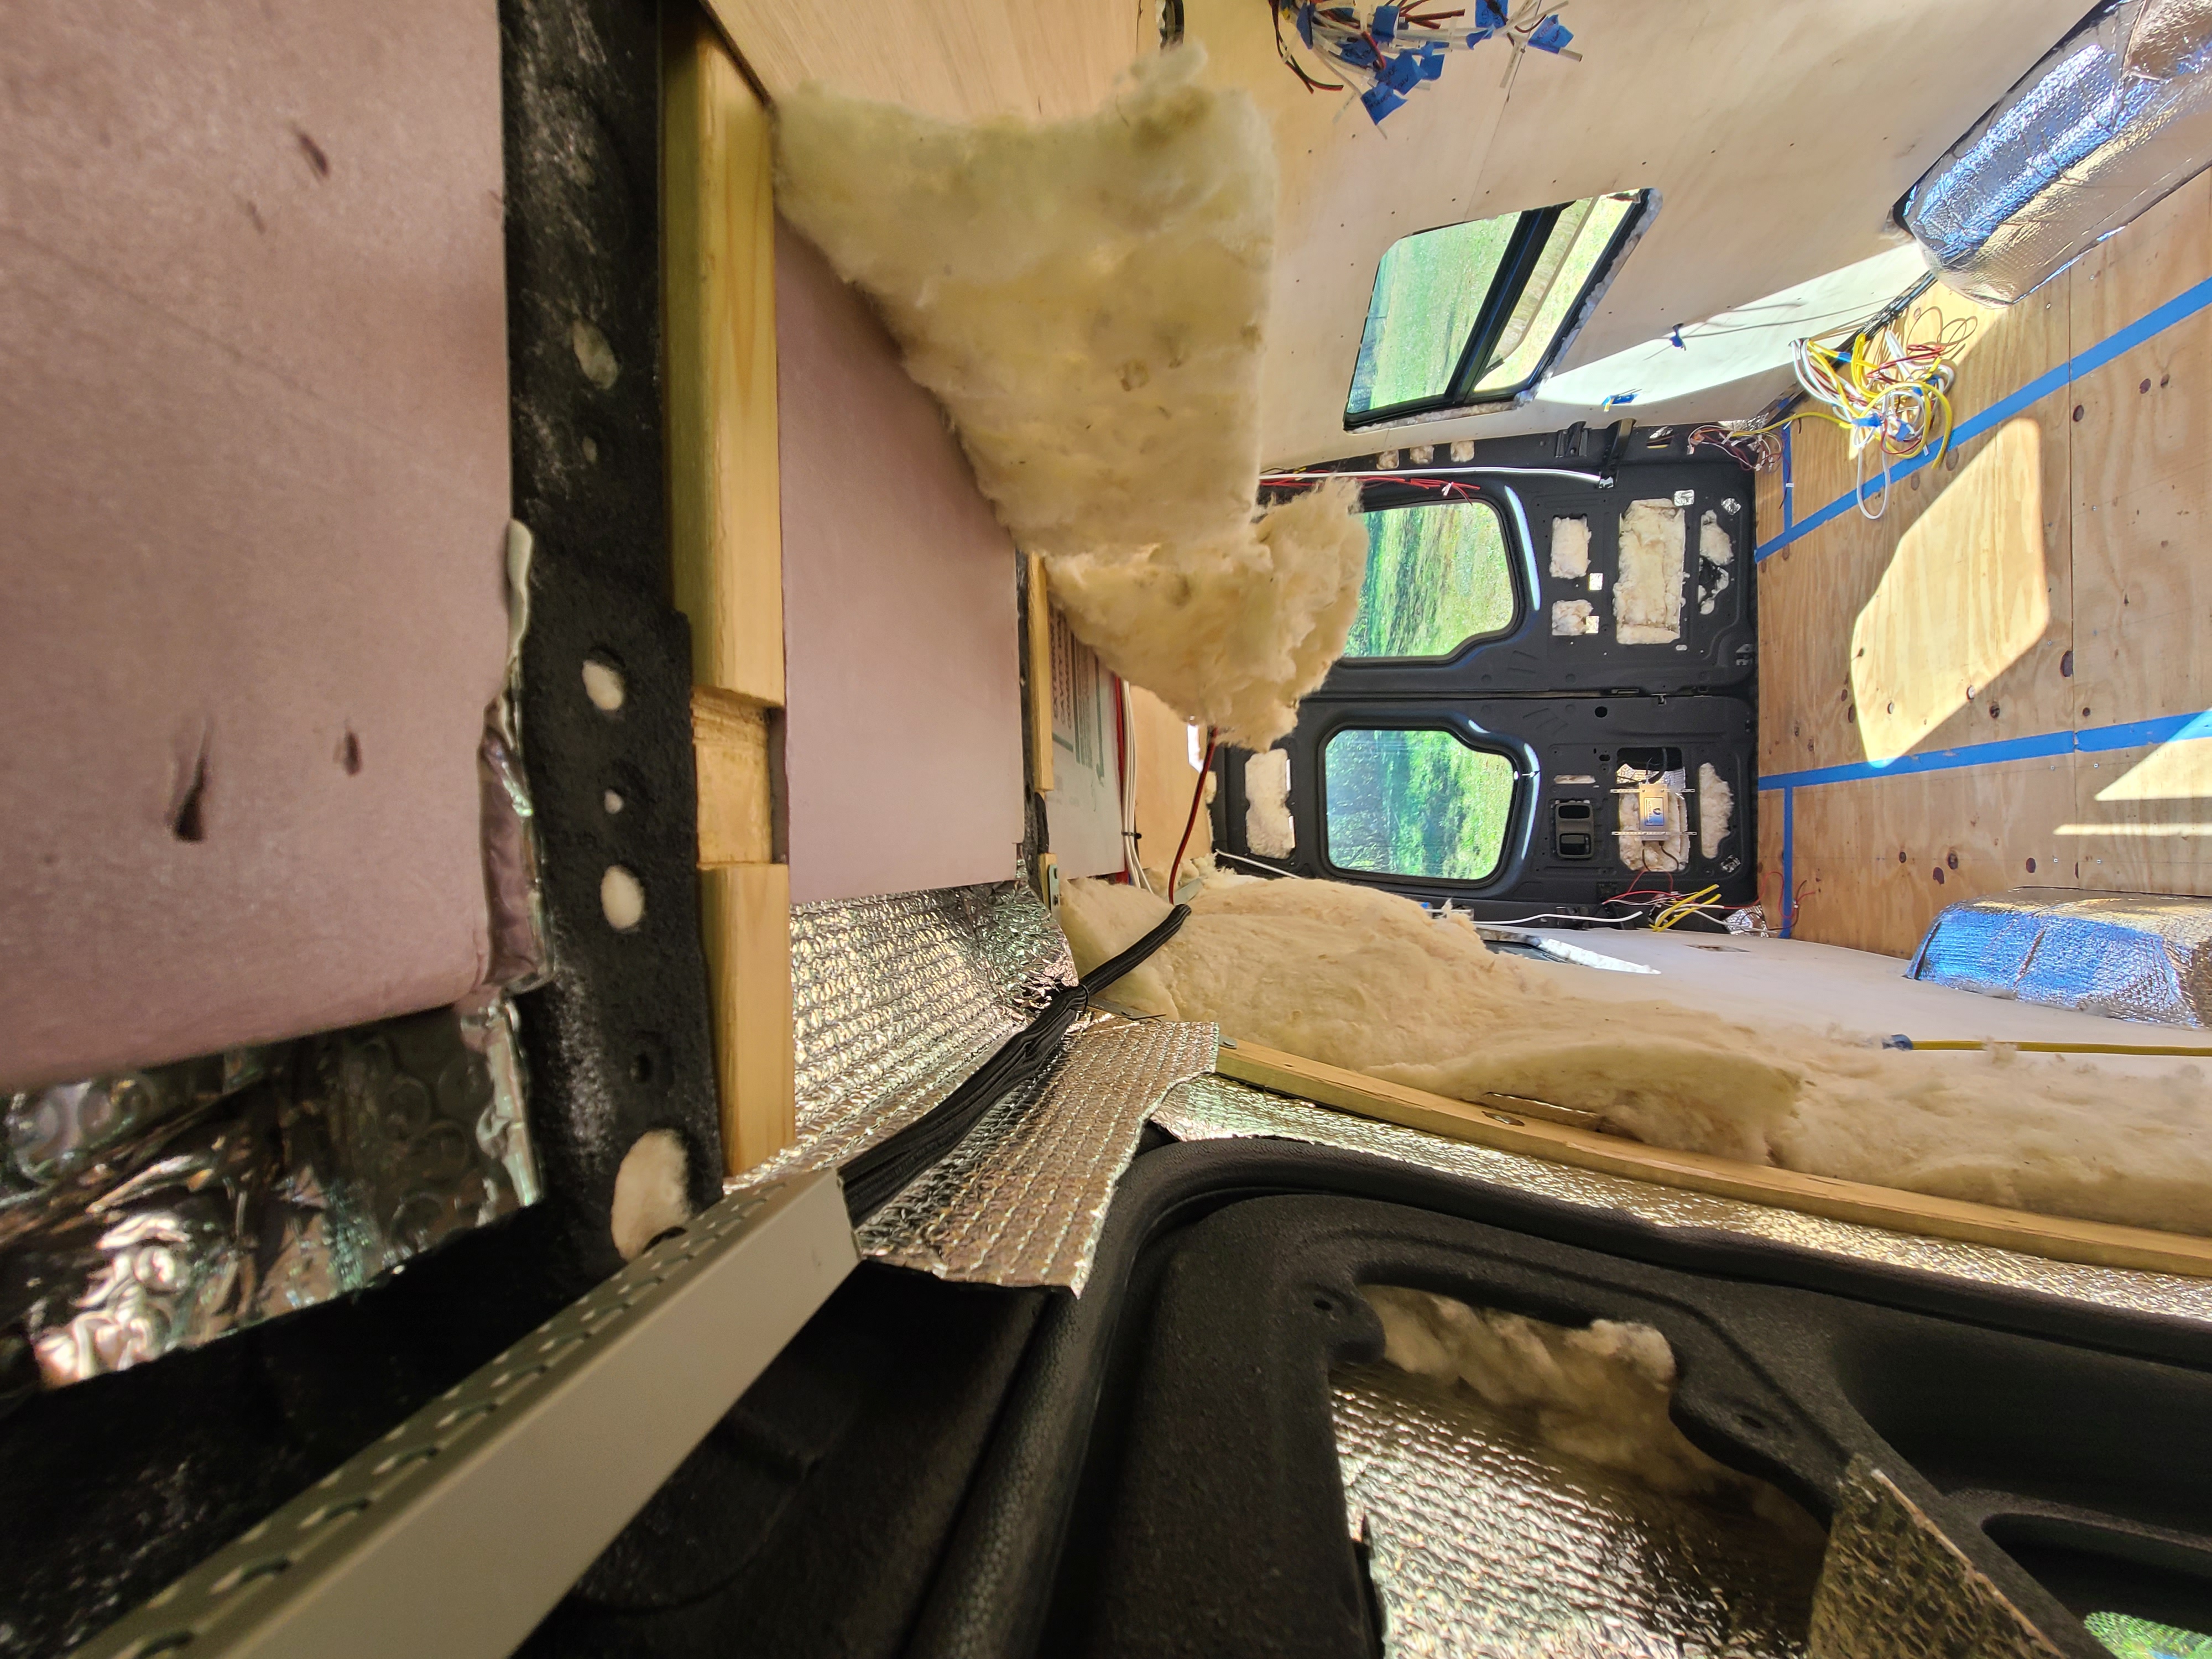
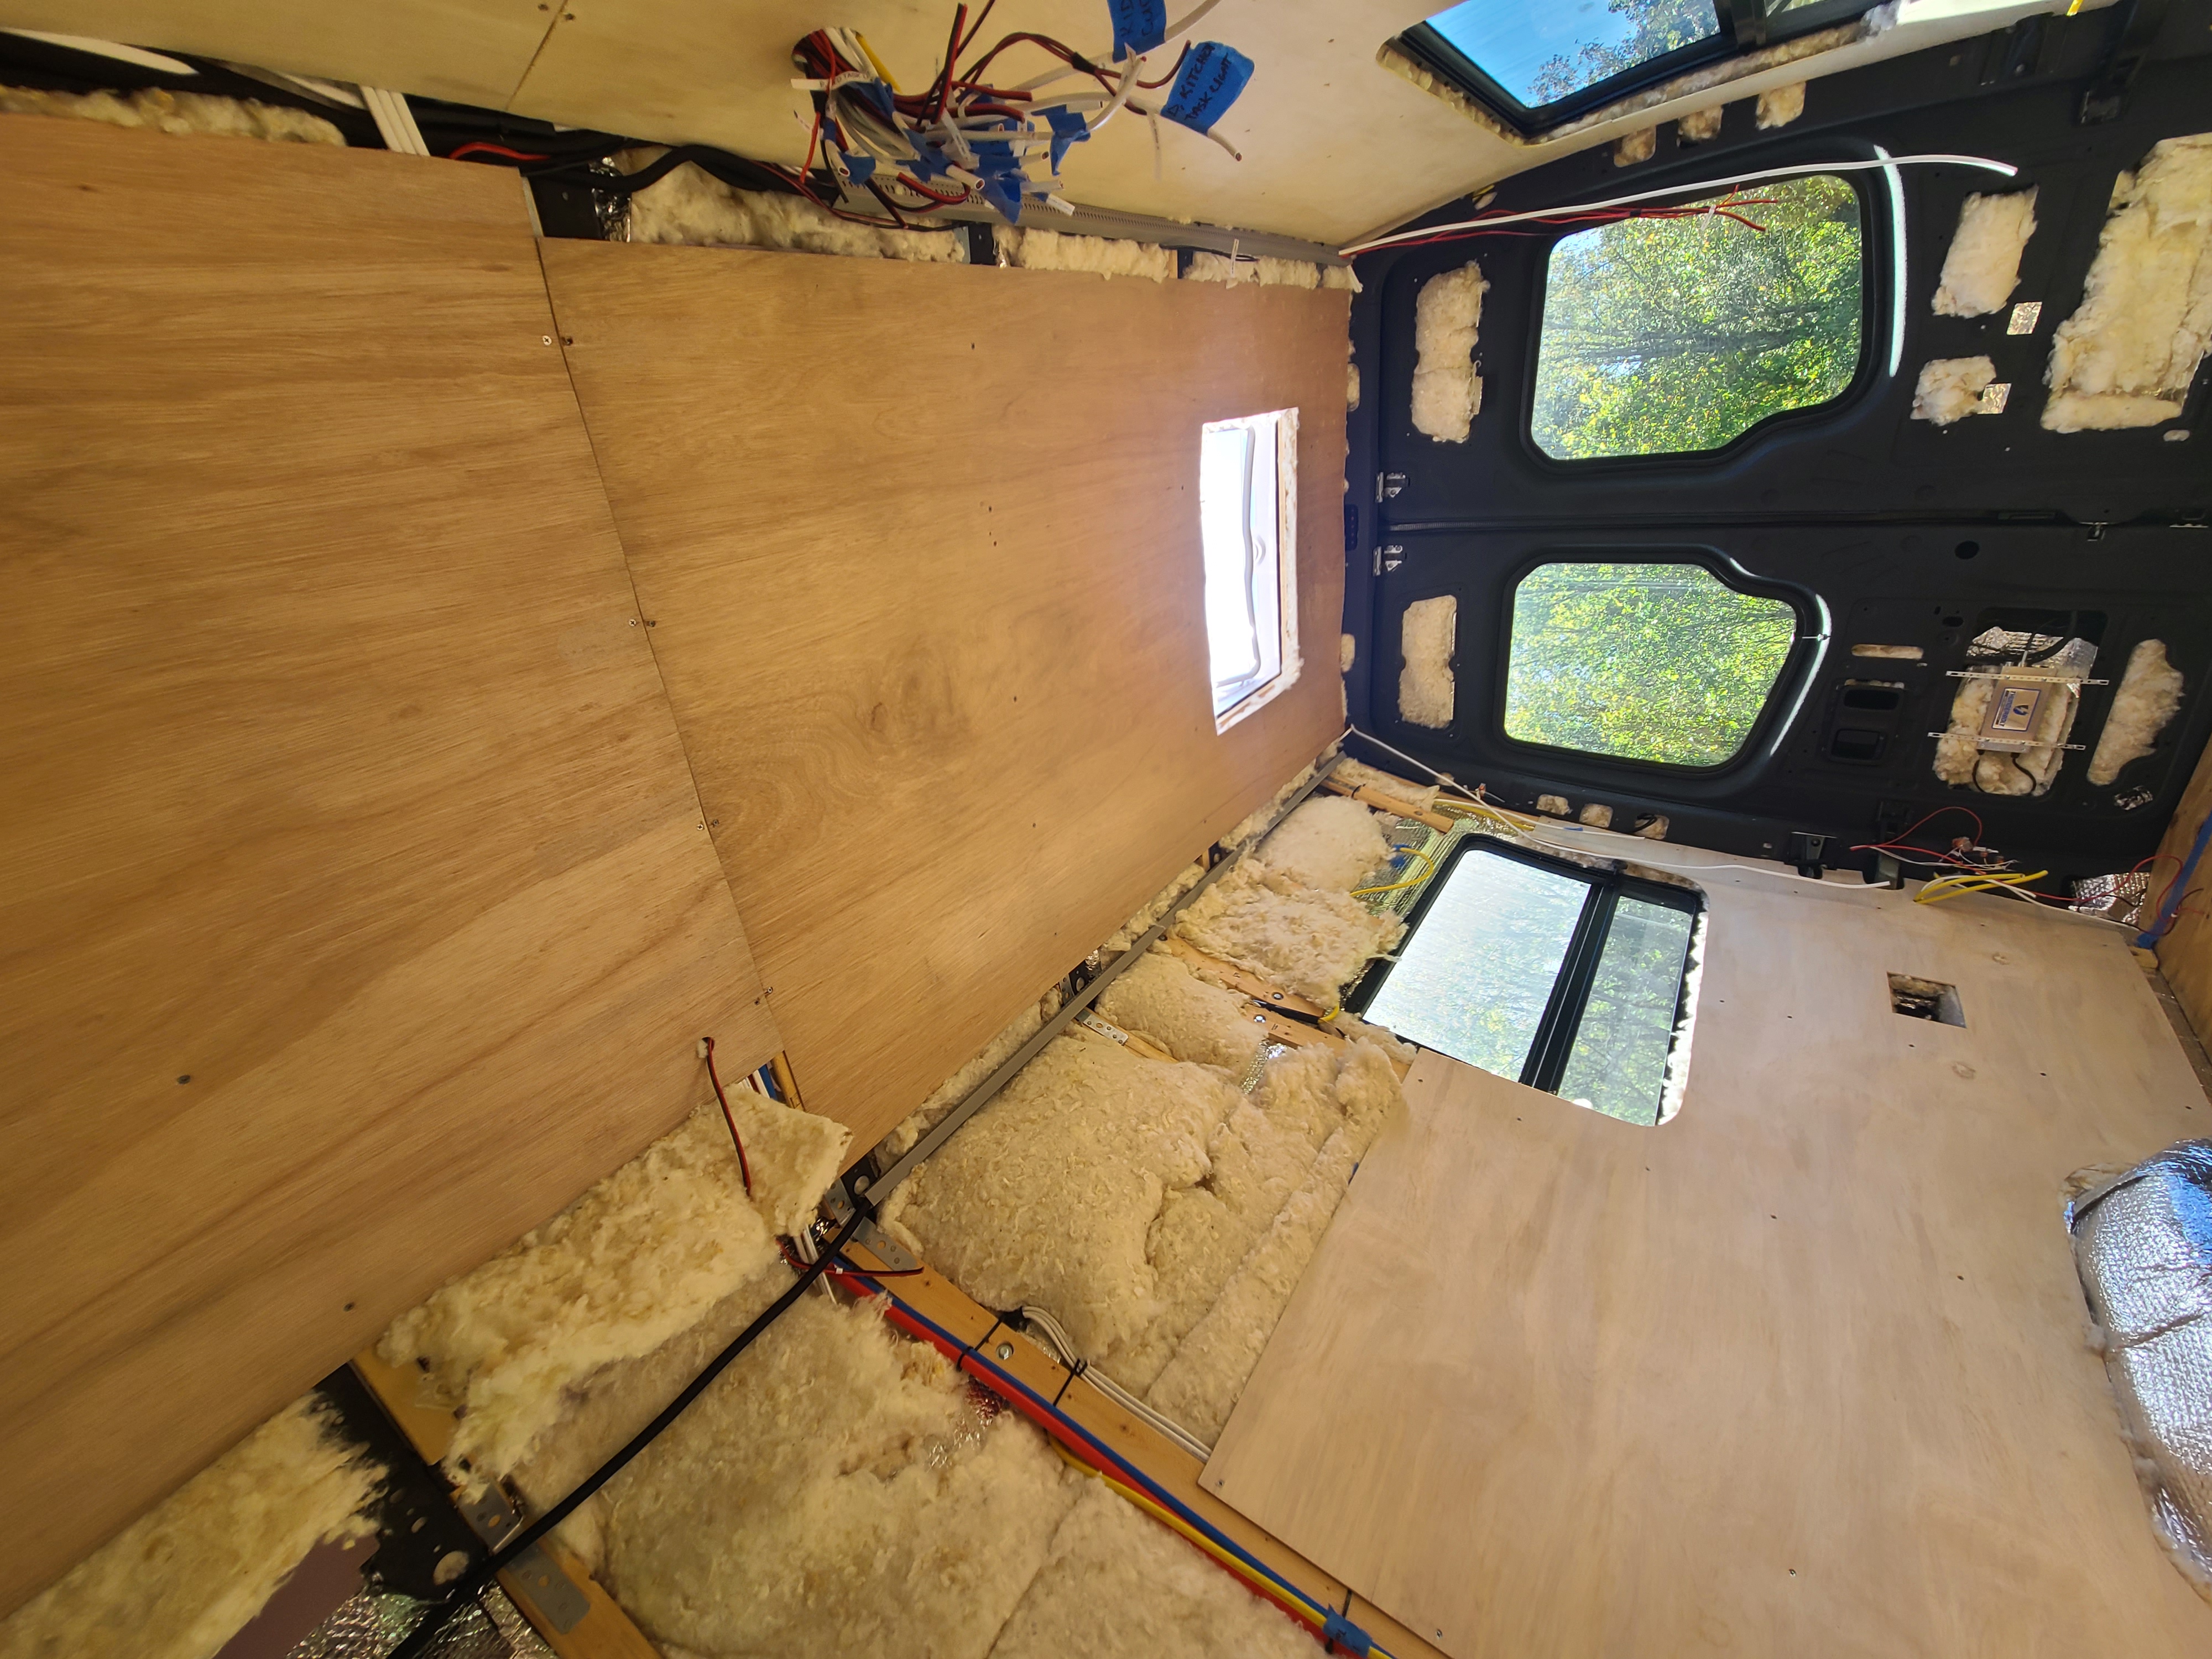
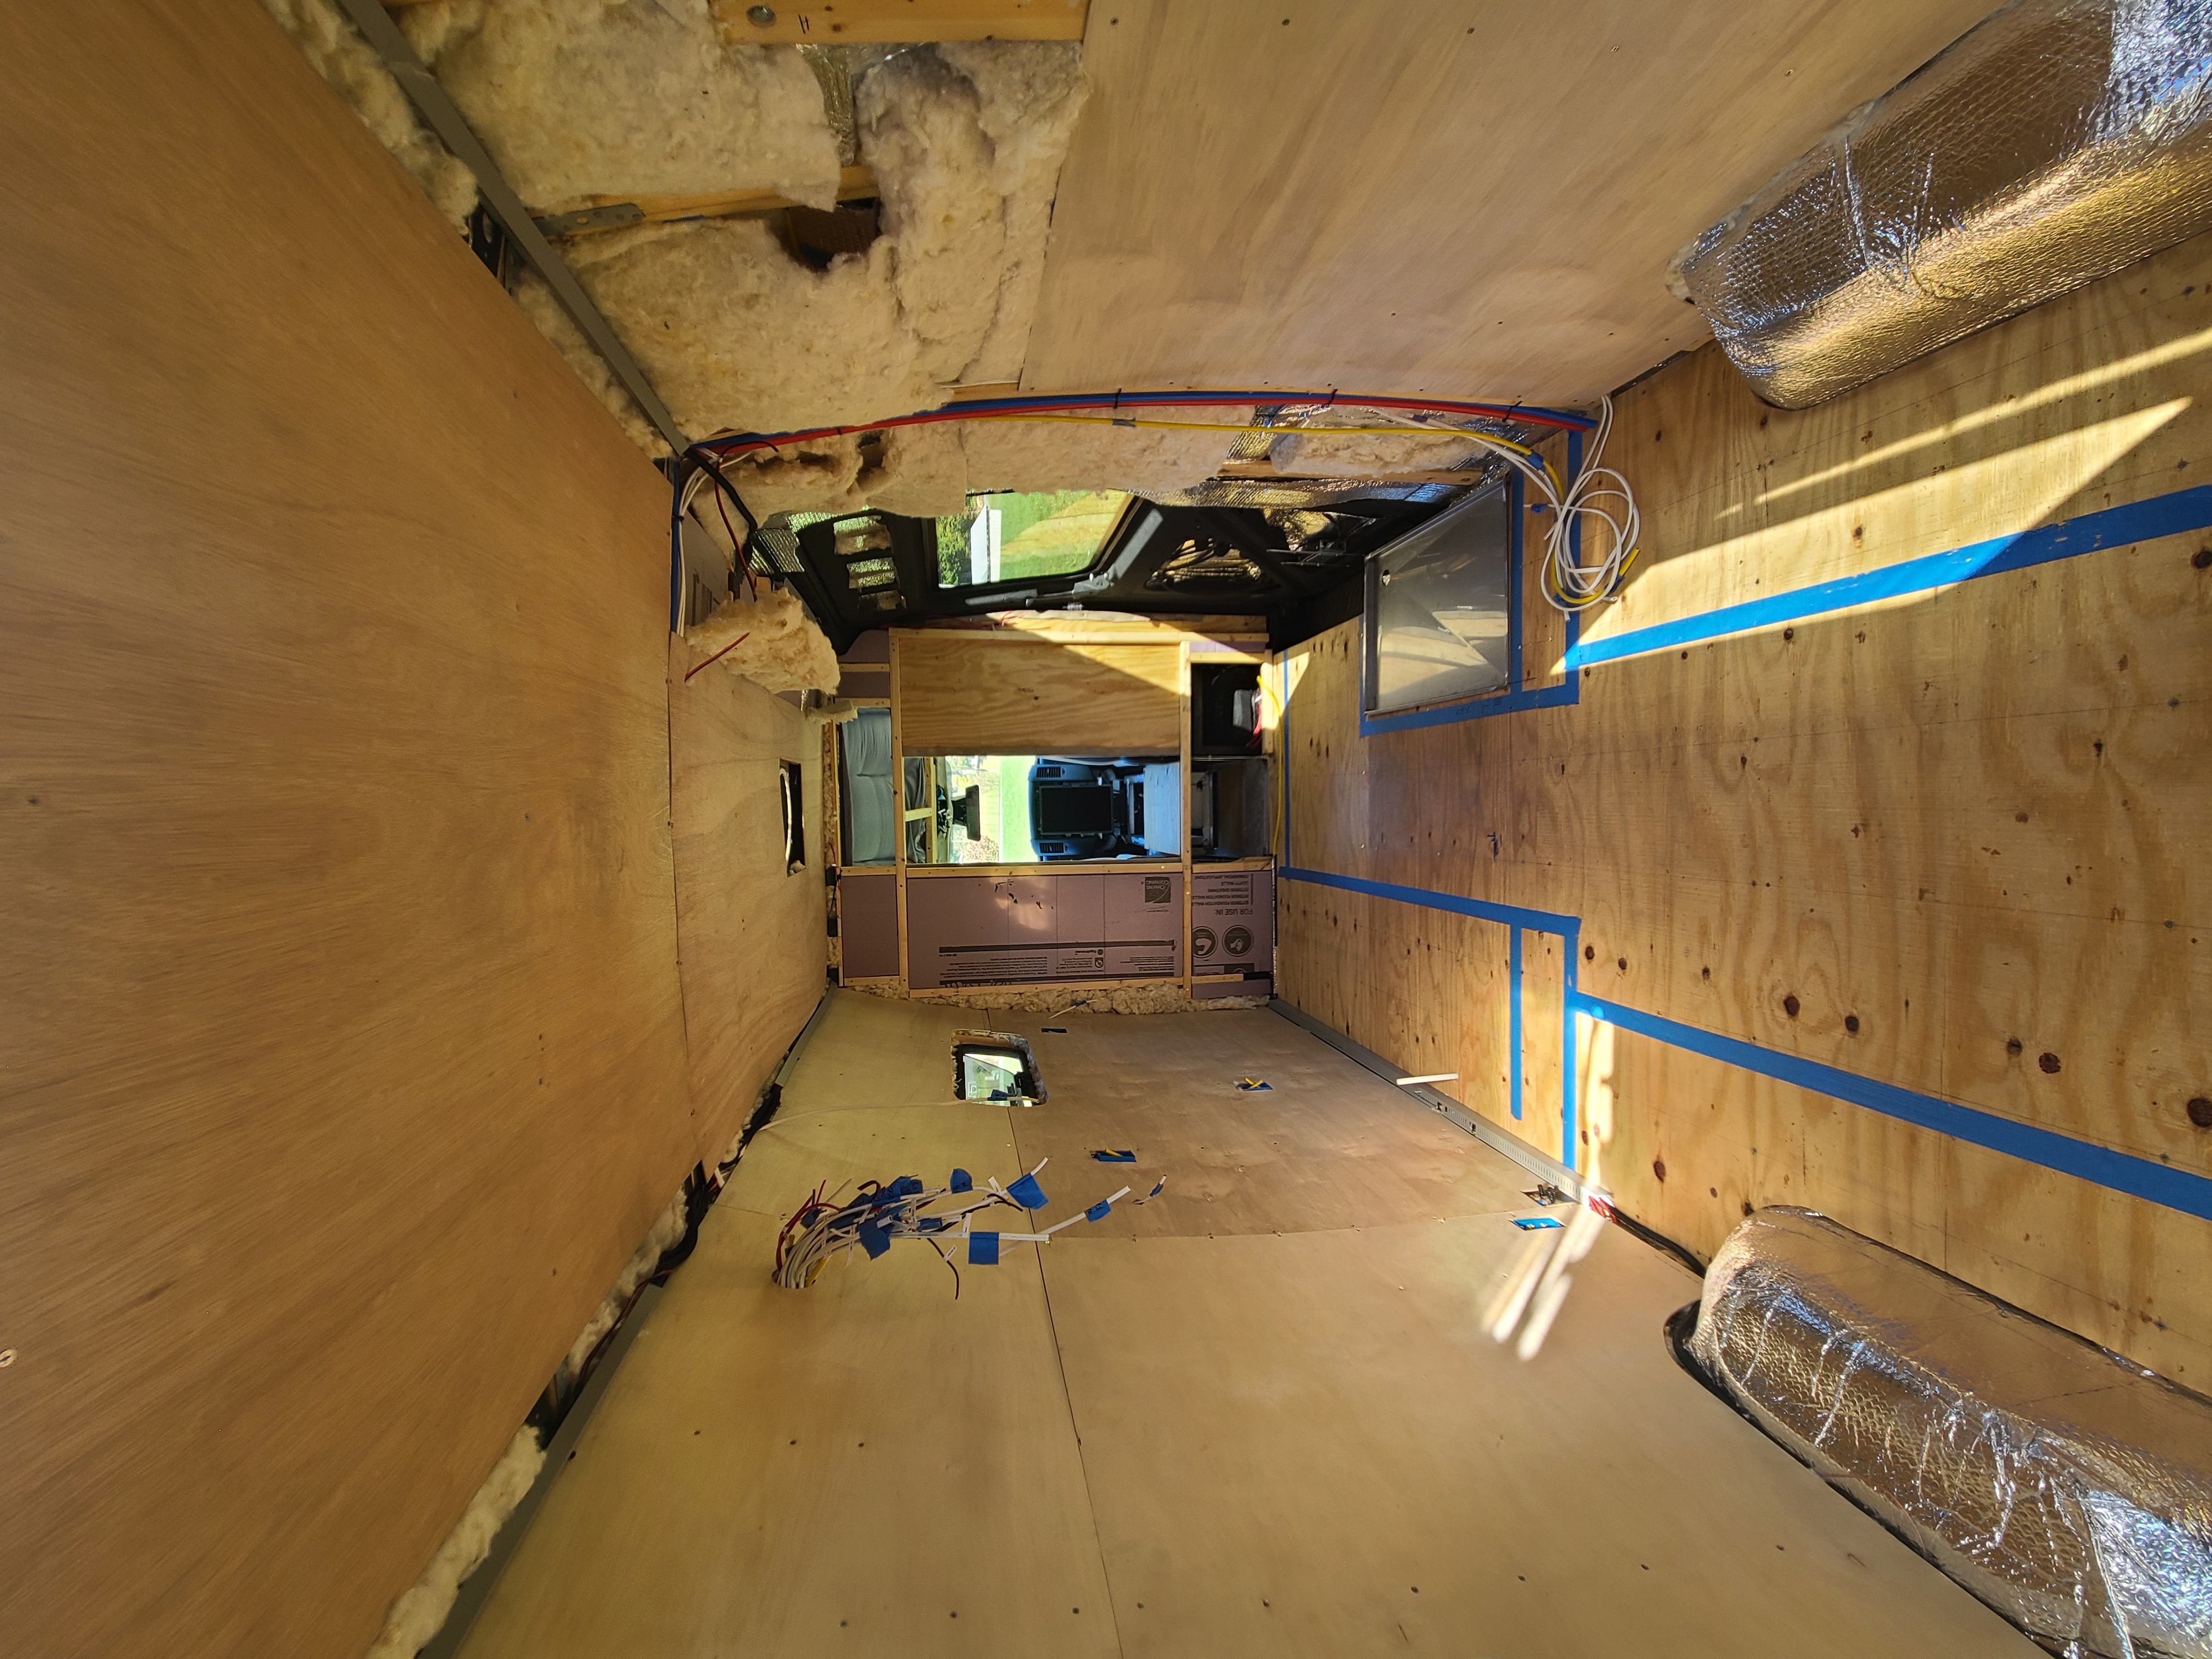
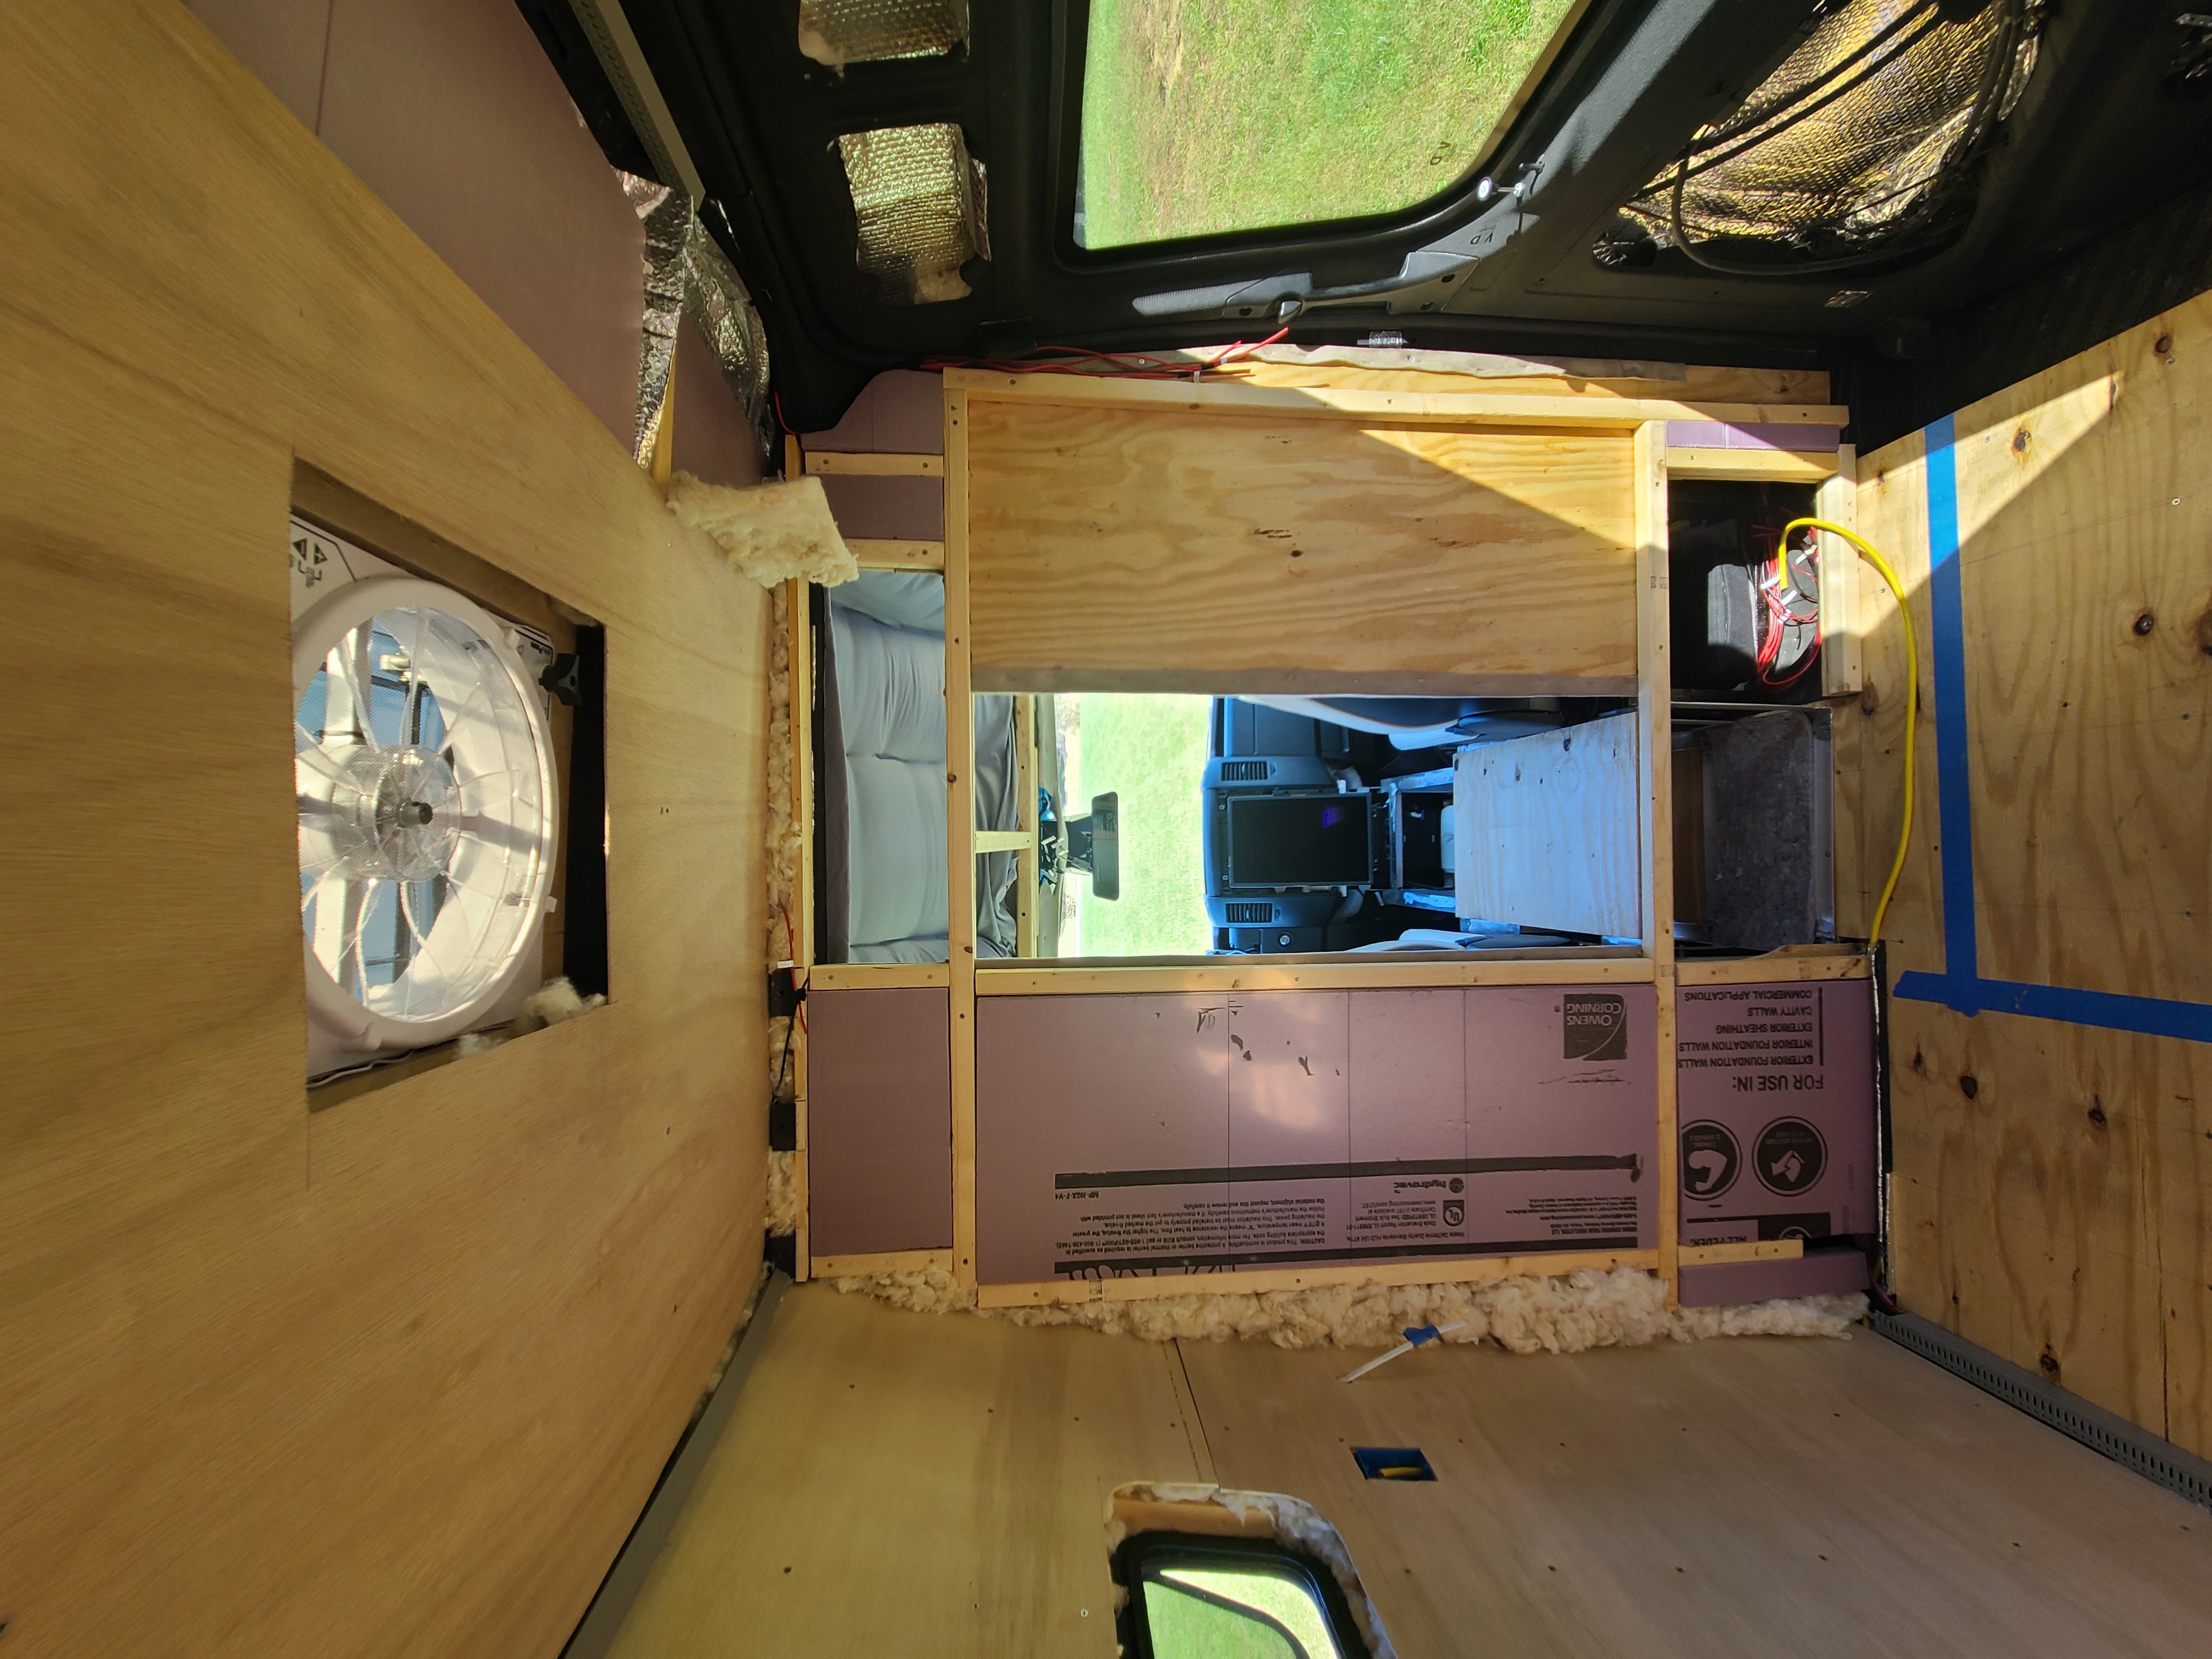
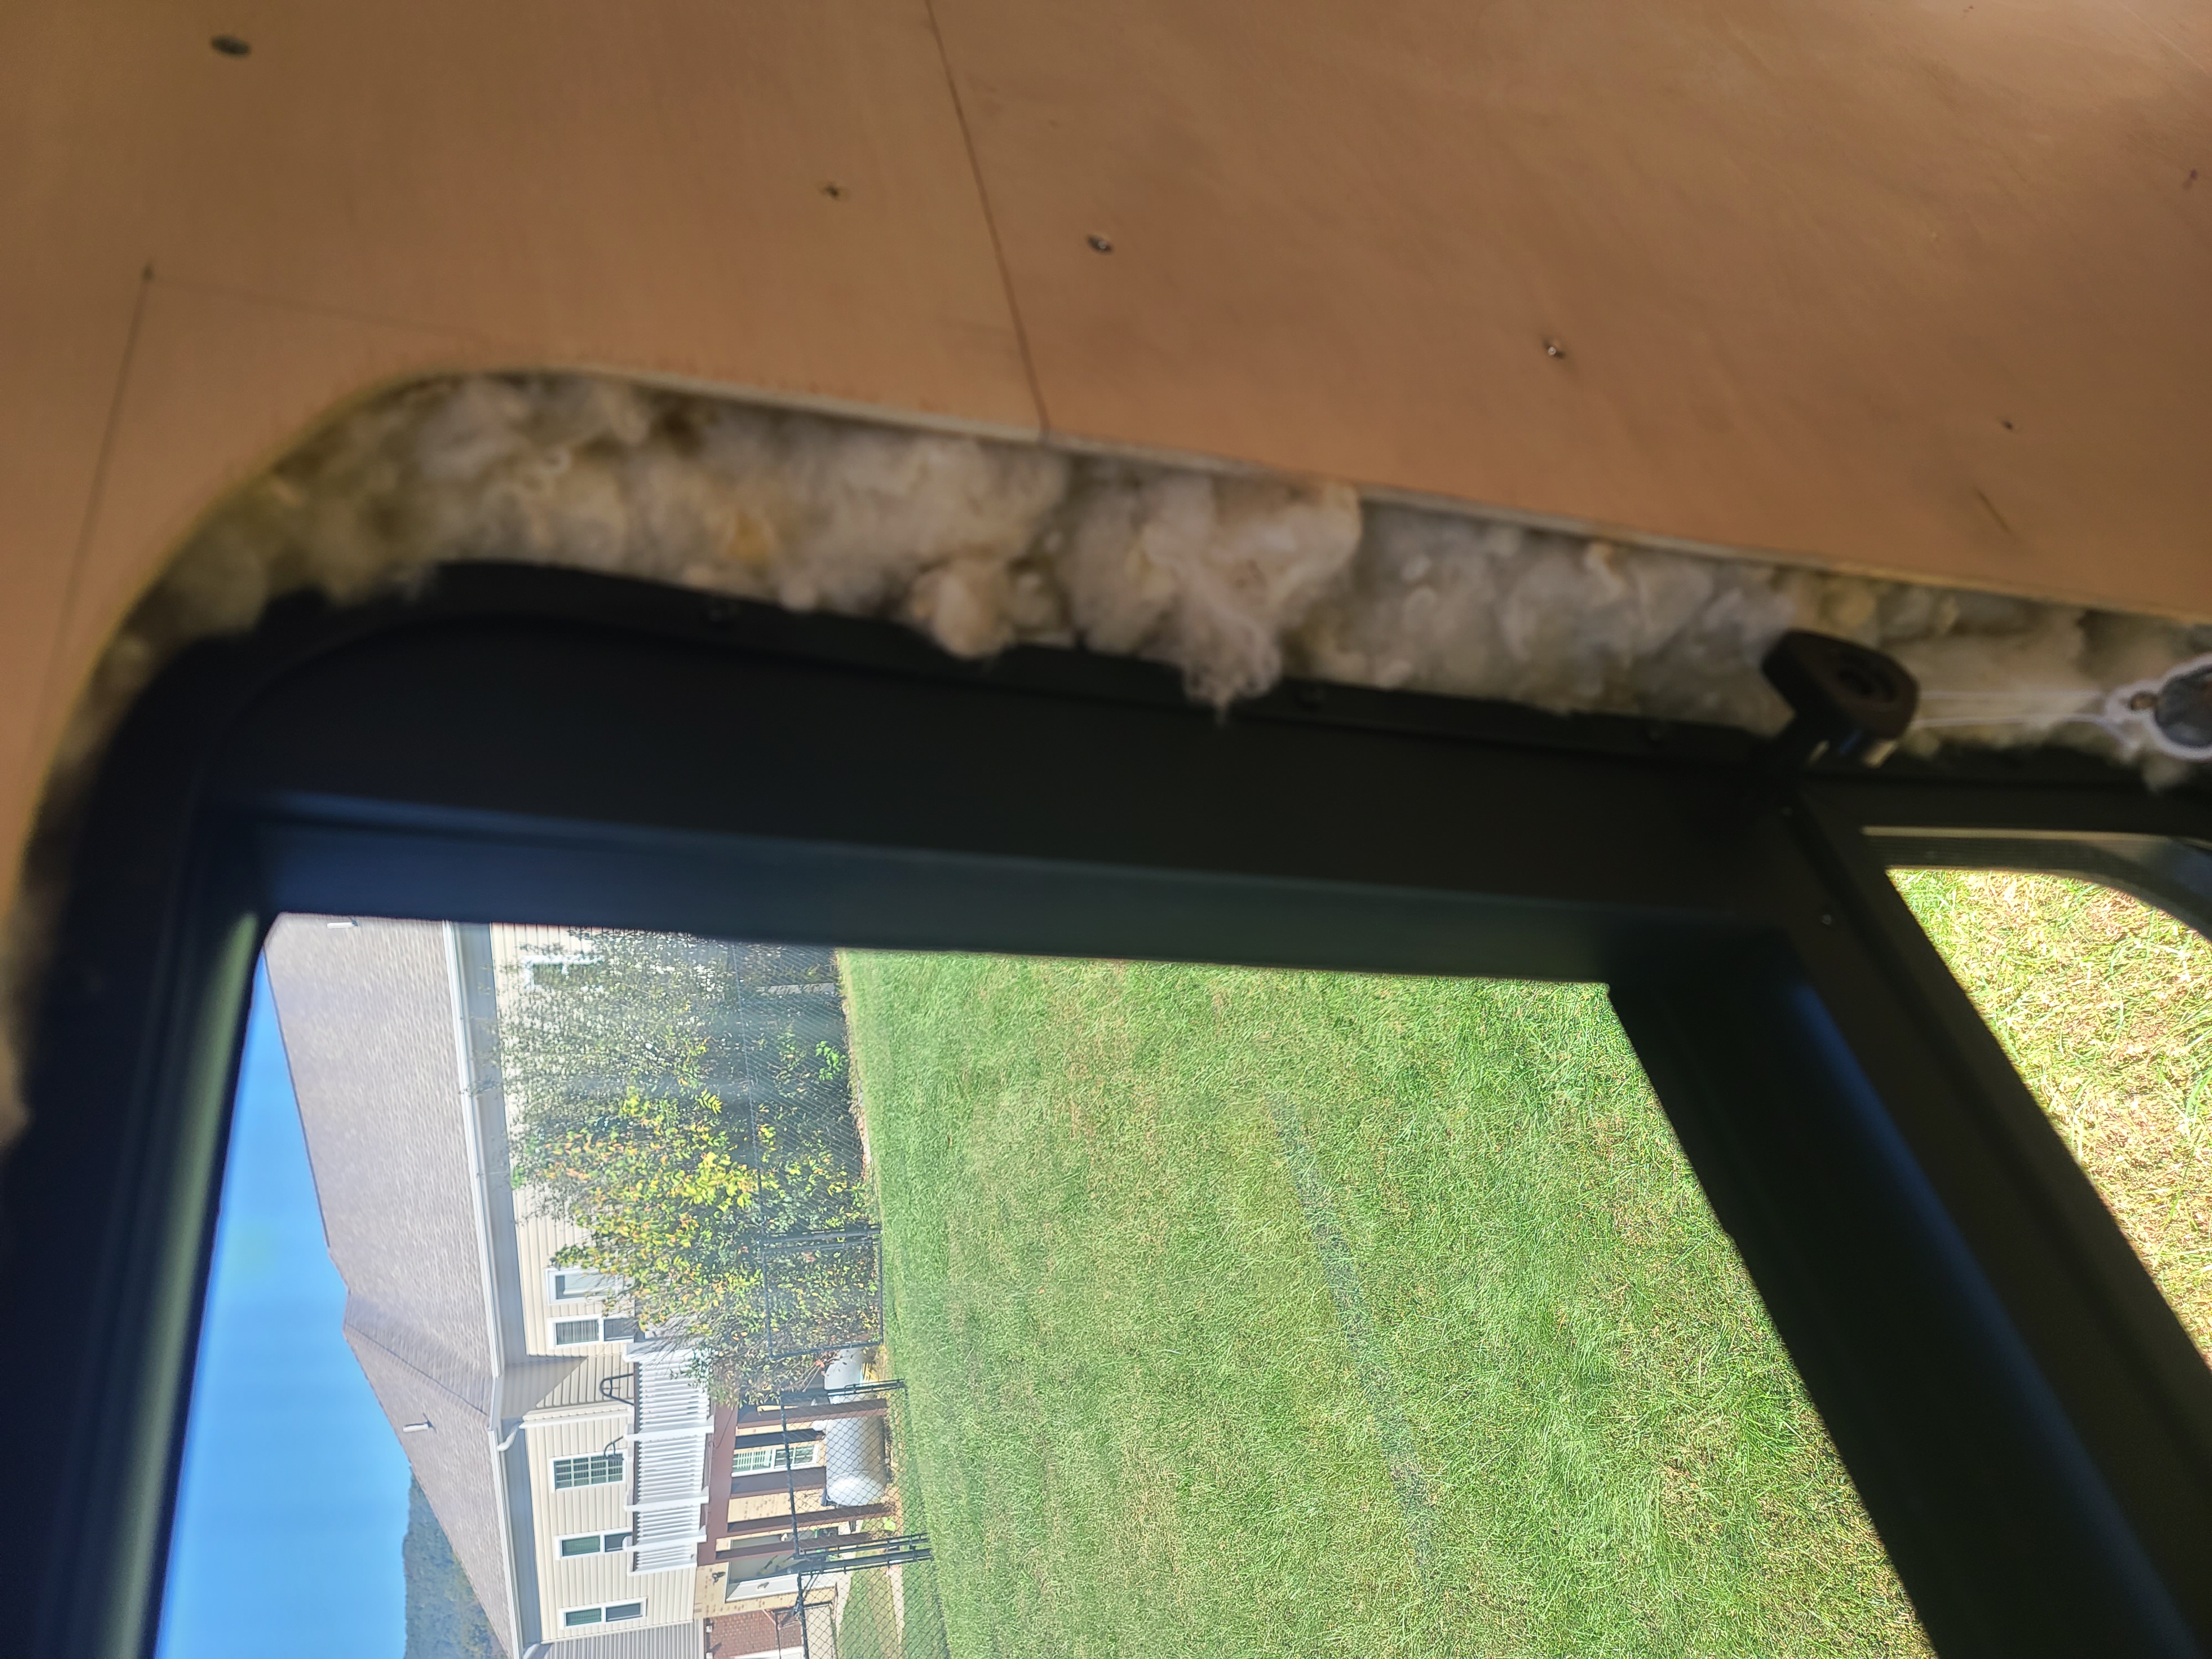
The cargo area is a blank slate, insulated and ready for however you want to live.
Over 500ft of 12V/24V DC cable has been run. 120V AC cable has been run, outlets will be included.
Grey water lines underneath have been run.
Cold and hot water lines running up and over have been run.
A custom Stainless Steel shower pan is included.
(click image to expand)


In addition to Zym, we developed the Power Package and the Roof Package to make this the most versatile off-grid camper possible.
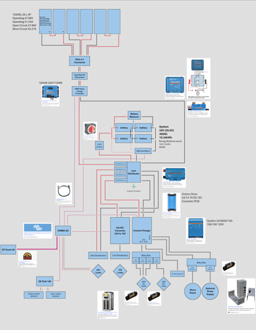
Power Package
Exactly what you think it is: all the brain electrical components that were purchased for this van build. Everything is unused, some of the packages may have been opened.
- Full 24V Victron Quattro Setup
- (6) 250W NewPowa Solar Panels for a total of 1500W
- (4) 200Ah Renogy LiFePO Batteries
- Detailed electrical diagram we made for this setup
Detailed List of Items +
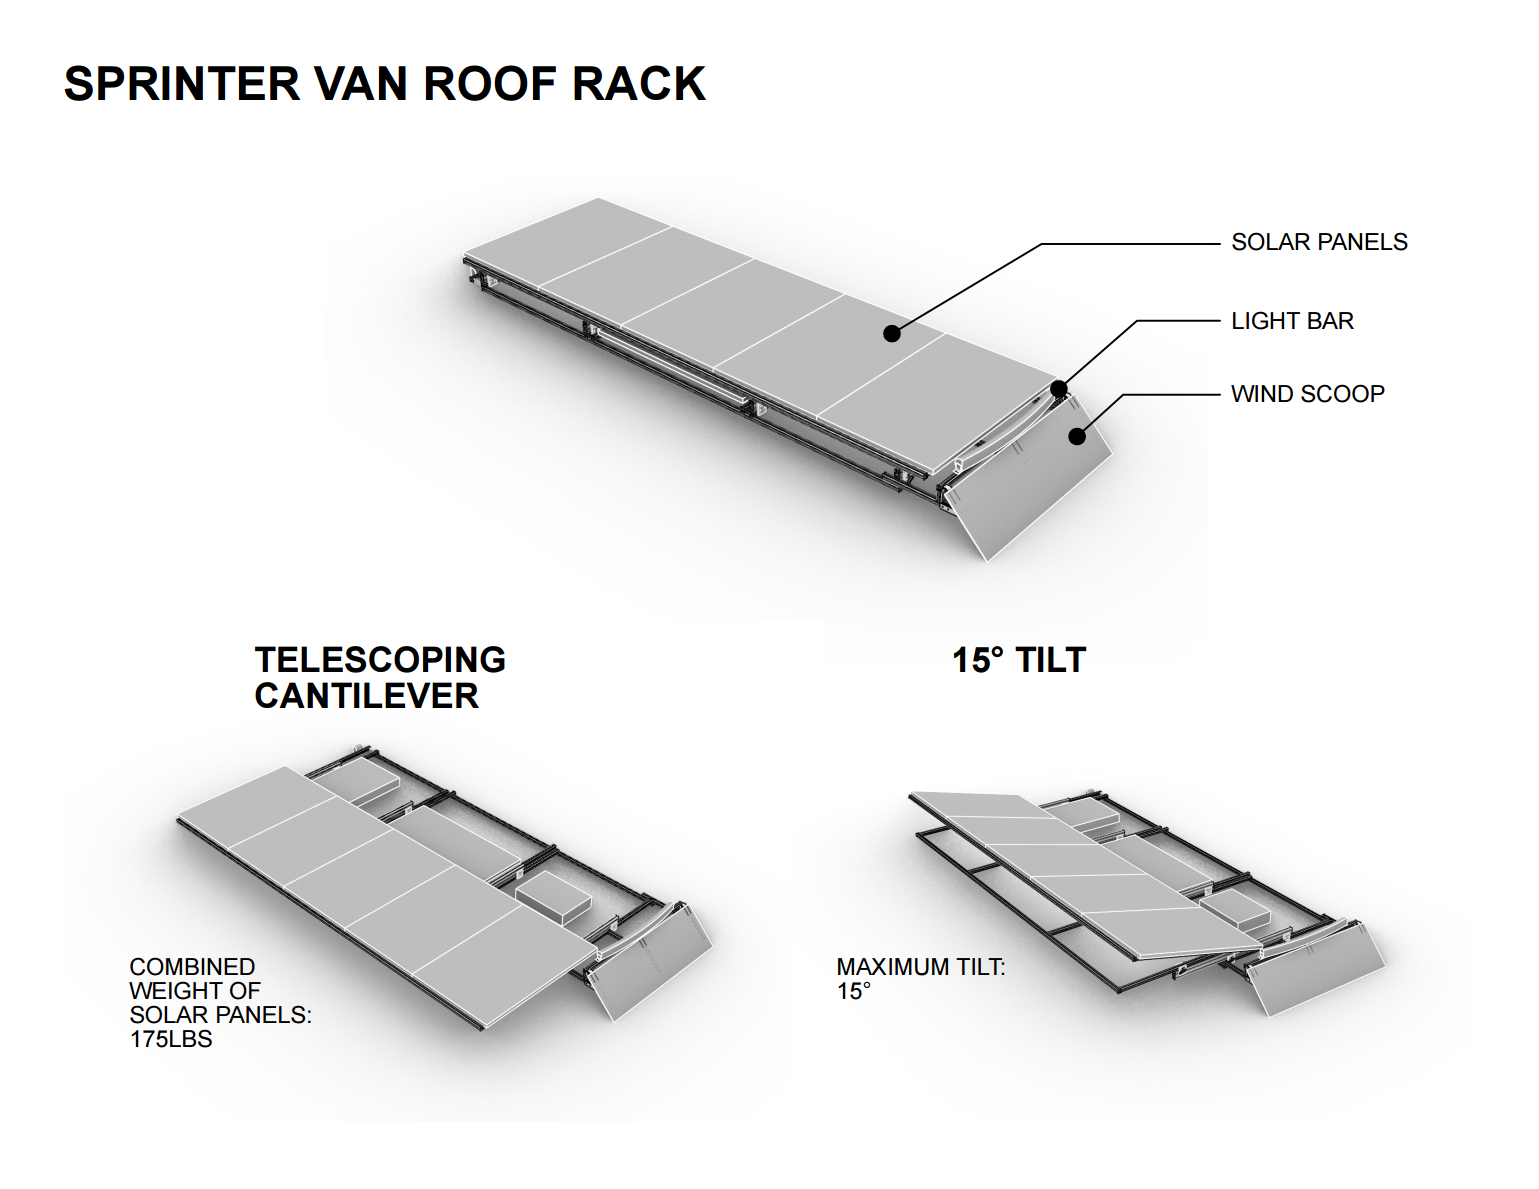
Roof Package
Never before attempted, we've designed and started building a telescoping AND tilting roof rack. Why install a roof rack and awning separate when you can have one system that does it all!
It's built primarily out of 80/20, utilizes industrial telescoping rails, and holds (5) 250W solar panels. It's tall enough to go over the skylight, Maxxair fan, and roof mounted internet antenna. There are spots to mount a lightbar and up to (6) exterior puck lights.
We have the expensive and long lead items on hand. This package includes all the intellectual property we have on the design. Different versions of the design have been worked out to include a less expensive, manual design as well as a more expensive, electrically actuated design.
Detailed List of Items +
If you are interested to hear more, please fill out the form below:
This webpage is just the tip of the iceberg. We (literally) have thousands of photos documenting the process and we're more than happy to share them with you upon request.